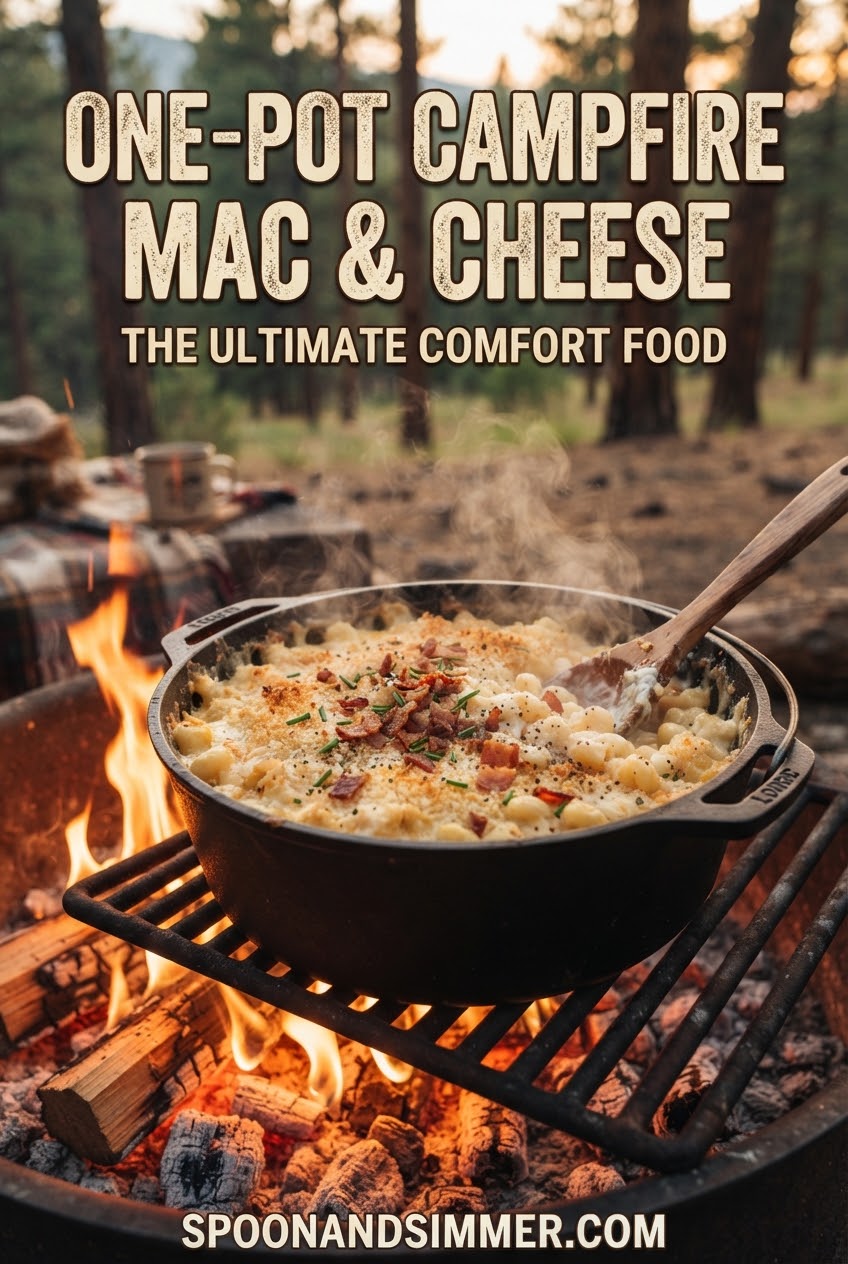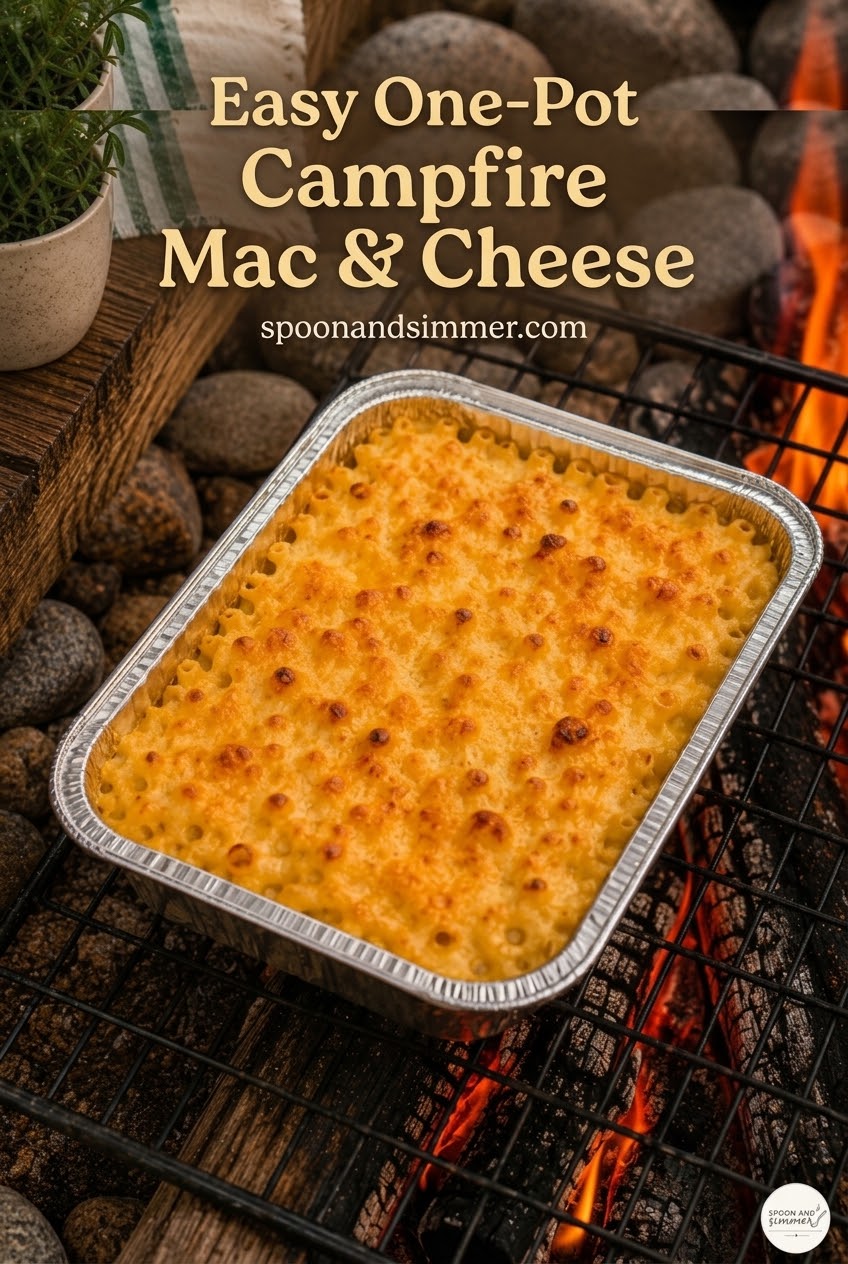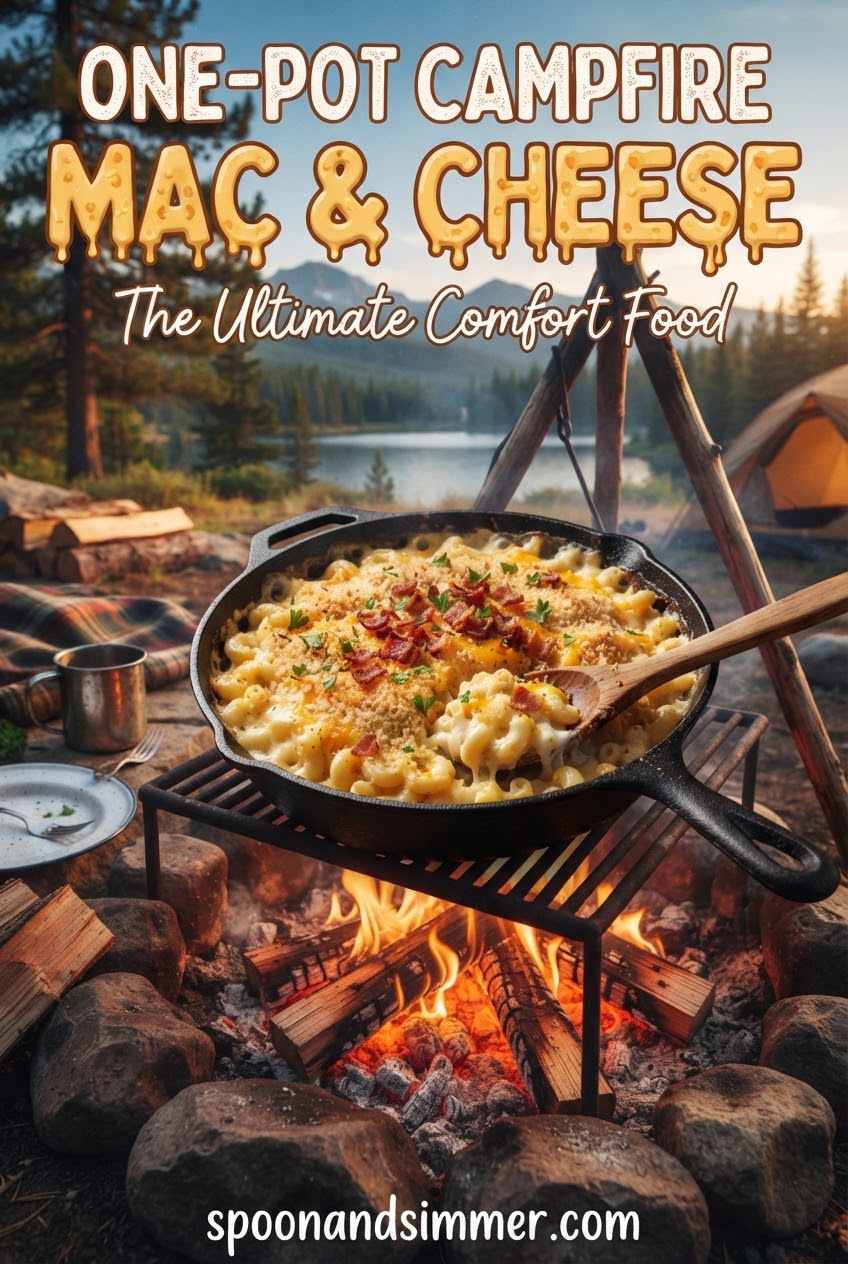
I have made mac and cheese in a lot of settings — a restaurant line, my own kitchen at 5:45 on a Tuesday, and, as of last summer, on a rock ledge above a fire pit near Mt. Hood with Leo insisting he could ‘smell it’s almost ready’ from twenty feet away. This is the campfire version, cooked start to finish over flame with no stove, no boiling pot of water, and only a cast iron skillet and a disposable foil pan doing all the work. It is messier than the kitchen version and about ten times more fun.
Measuring Everything Right Into the Skillet
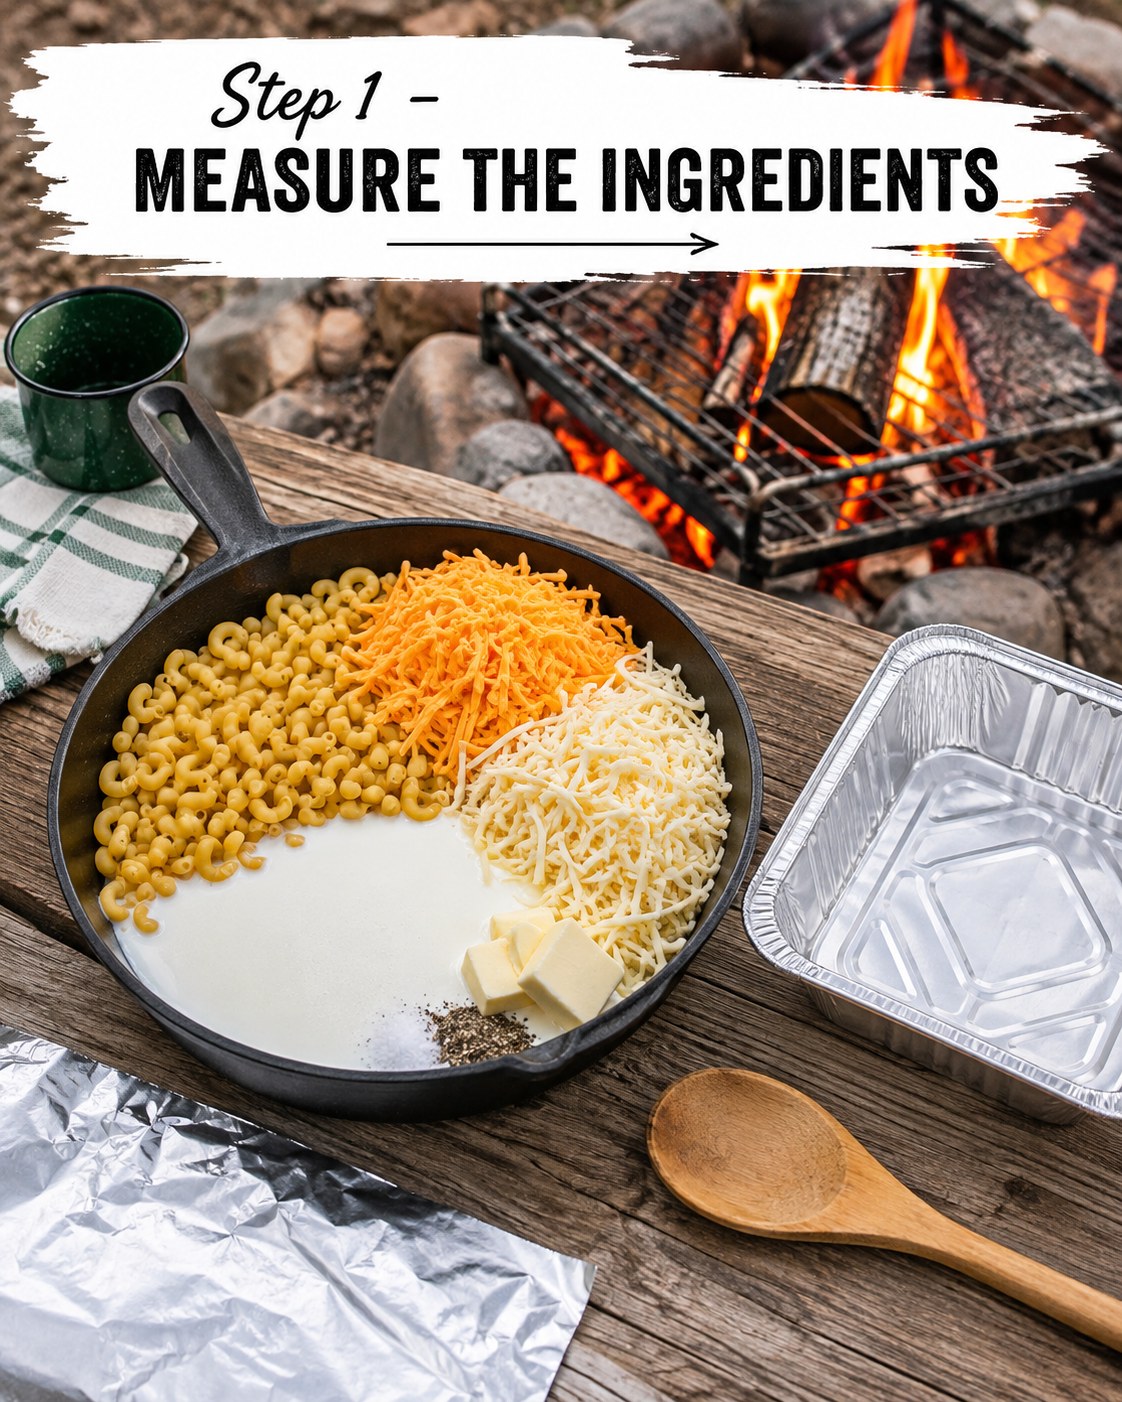
There is no pre-boiling here, and that trips people up the first time. You simply measure the raw macaroni, milk, cubed butter, and both shredded cheeses straight into the cold cast iron skillet, right at the picnic table, before the pan ever touches heat. I set my ingredients up exactly like the photo — noodles on one side, the two cheeses on the other, milk and butter pooled in the middle with a pinch of salt and pepper waiting.
This is the same one-pan trick I use for skillet mac at home on busy nights, just scaled for open flame and simplified because there is no stovetop to fuss with. Leo's job on our last trip was counting out the macaroni into the enamel cup first — kids love a job with a container involved.
- Whole milk works best here; low-fat milk can make the sauce thinner and more likely to separate over direct flame.
- Shred your own cheese if you can — pre-shredded often has anti-caking starch that makes for a grainier sauce.
Stirring It Over the Flames Until It Comes Together
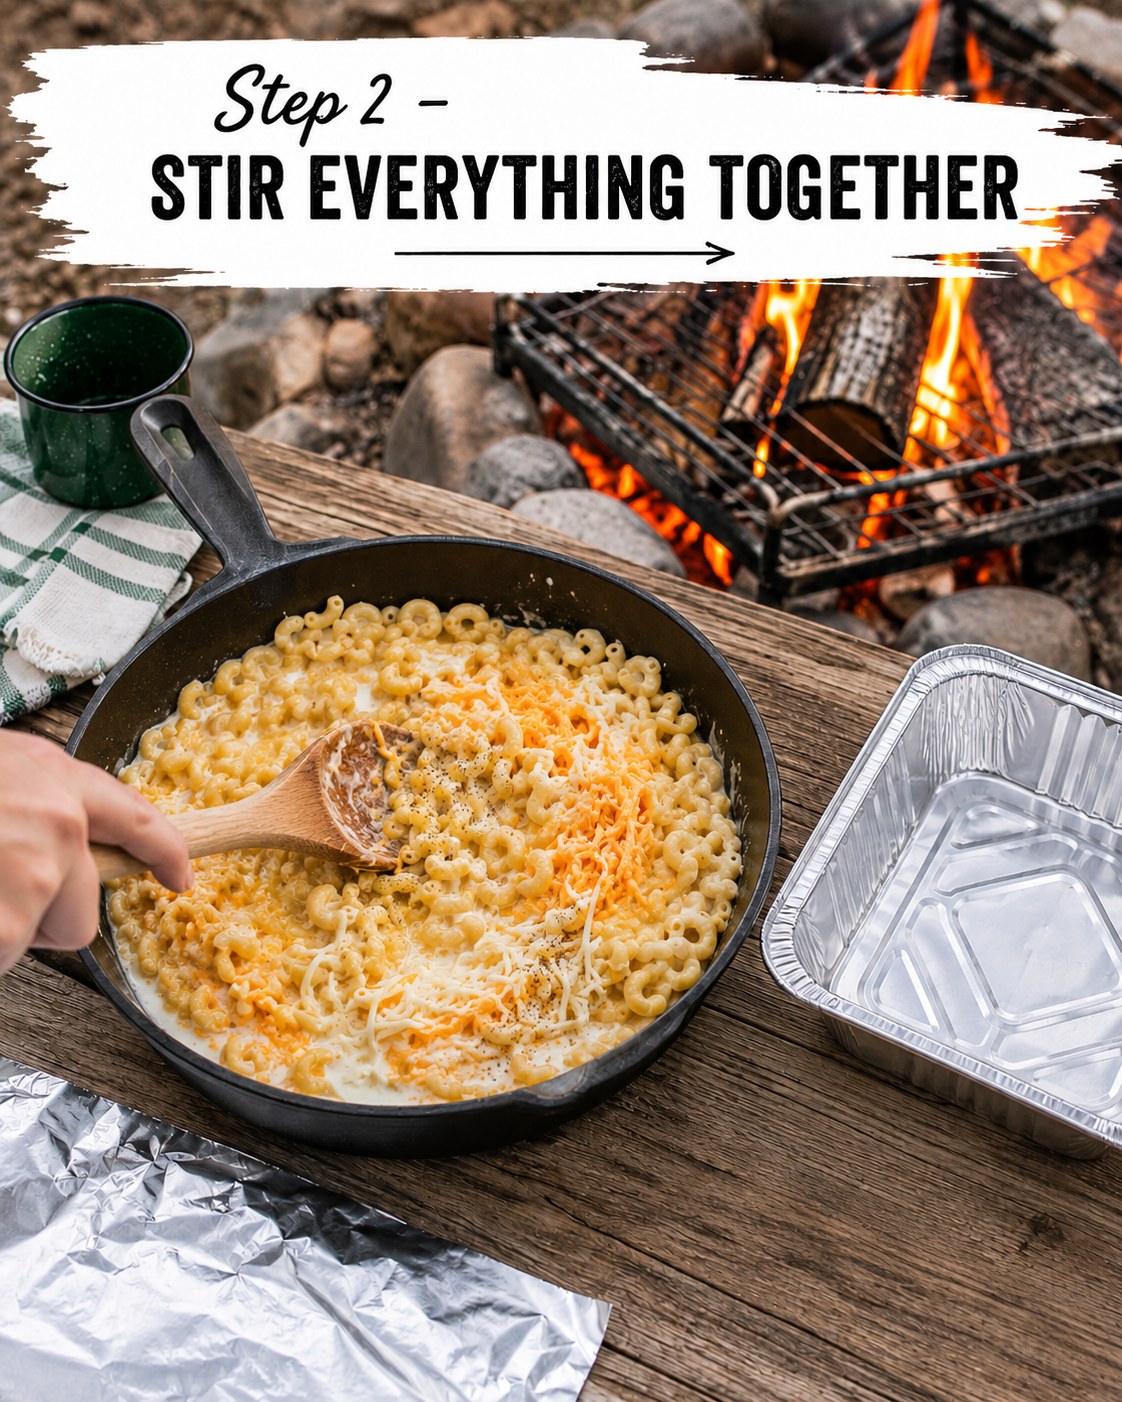
Once the skillet goes onto the grate over the fire, the real work starts. You are stirring almost constantly for 10 to 12 minutes, watching the milk go from thin and pale to thick and glossy as the macaroni absorbs liquid and the cheese melts in. In the photo you can see the noodles are already coated and softened, the cheddar and white cheese just starting to disappear into the sauce.
Direct fire is hotter and less even than a stovetop burner, so if you smell anything close to scorching, slide the skillet to a cooler edge of the grate rather than lifting it off entirely — you want steady heat, not a stop-start situation.
My six years on a restaurant line taught me this: a sauce that looks like it is about to curdle almost never actually has — keep stirring, pull it slightly off the hottest heat, and it will smooth right back out.
Scraping It All Into the Foil Pan
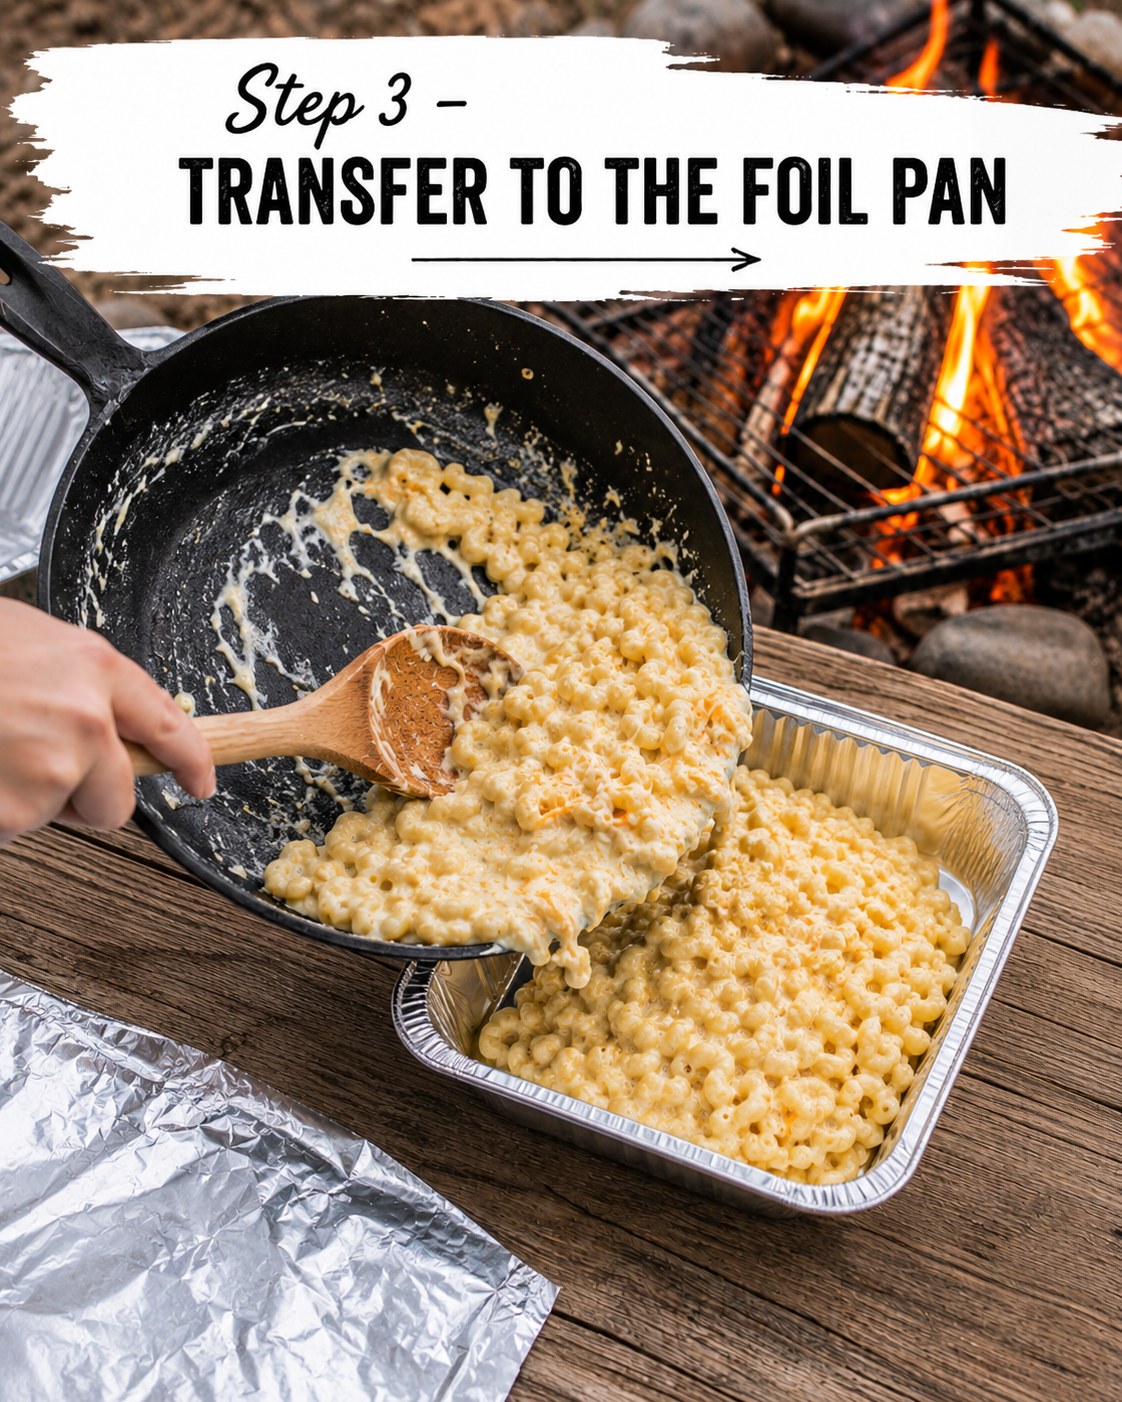
When the pasta is tender and the sauce coats the back of your wooden spoon, it is time to move everything into the disposable foil pan. I use a rubber spatula or the same wooden spoon to scrape every bit out of the skillet — you can see in the photo how thick and stretchy it has gotten, almost reluctant to leave the pan.
The foil pan matters for a few reasons: it is disposable (no scrubbing at the campsite), it handles direct fire heat safely, and its low sides mean the top surface gets more exposure once it goes back over the flames. An 8x8-inch foil pan is the right size for this batch — any smaller and it will overflow once the topping cheese starts bubbling.
A Second Layer of Cheese on Top
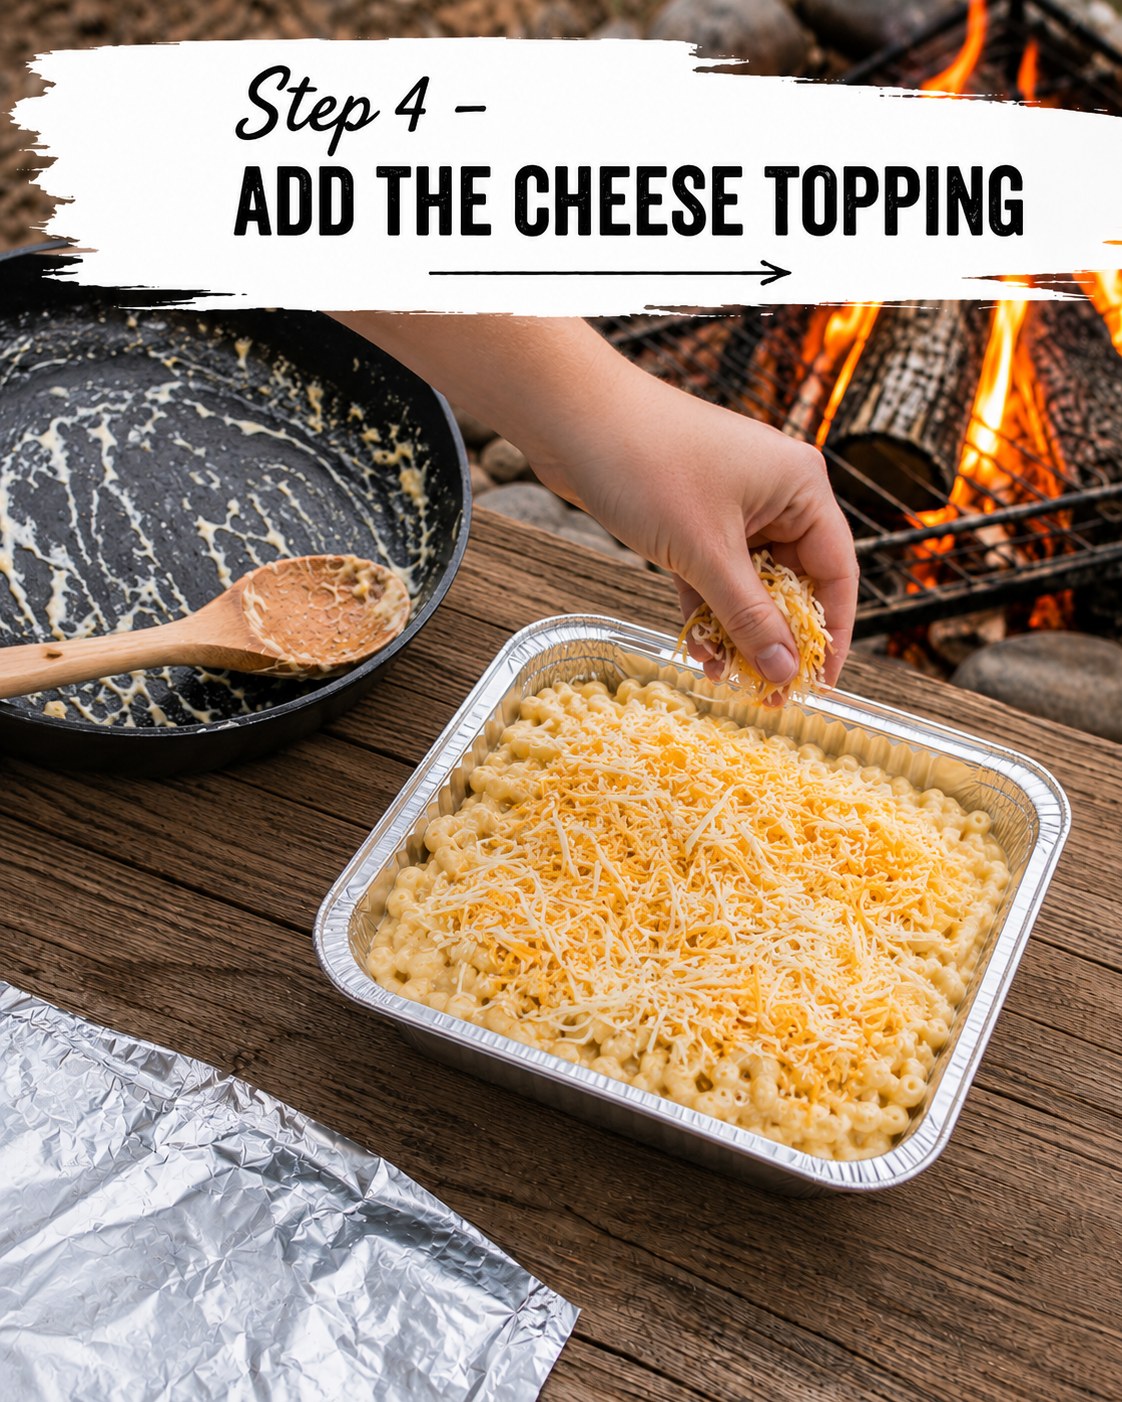
This is the step people skip when they are rushing, and it is the difference between fine mac and cheese and the kind that gets photographed. A handful of extra shredded cheddar goes right over the top, evenly, before the pan goes anywhere near the fire again.
- Cheddar alone gives you sharp flavor and a deeper golden color as it browns.
- A cheddar-and-Monterey-Jack mix melts a little glossier if that is what you have in the cooler.
- Go generous, not sparing — this layer is what turns into the blistered, spotty crust everyone fights over.
Ivy calls this part ‘the snow,’ and she is not entirely wrong about the effect once it melts.
Covering the Pan and Setting It Over the Fire
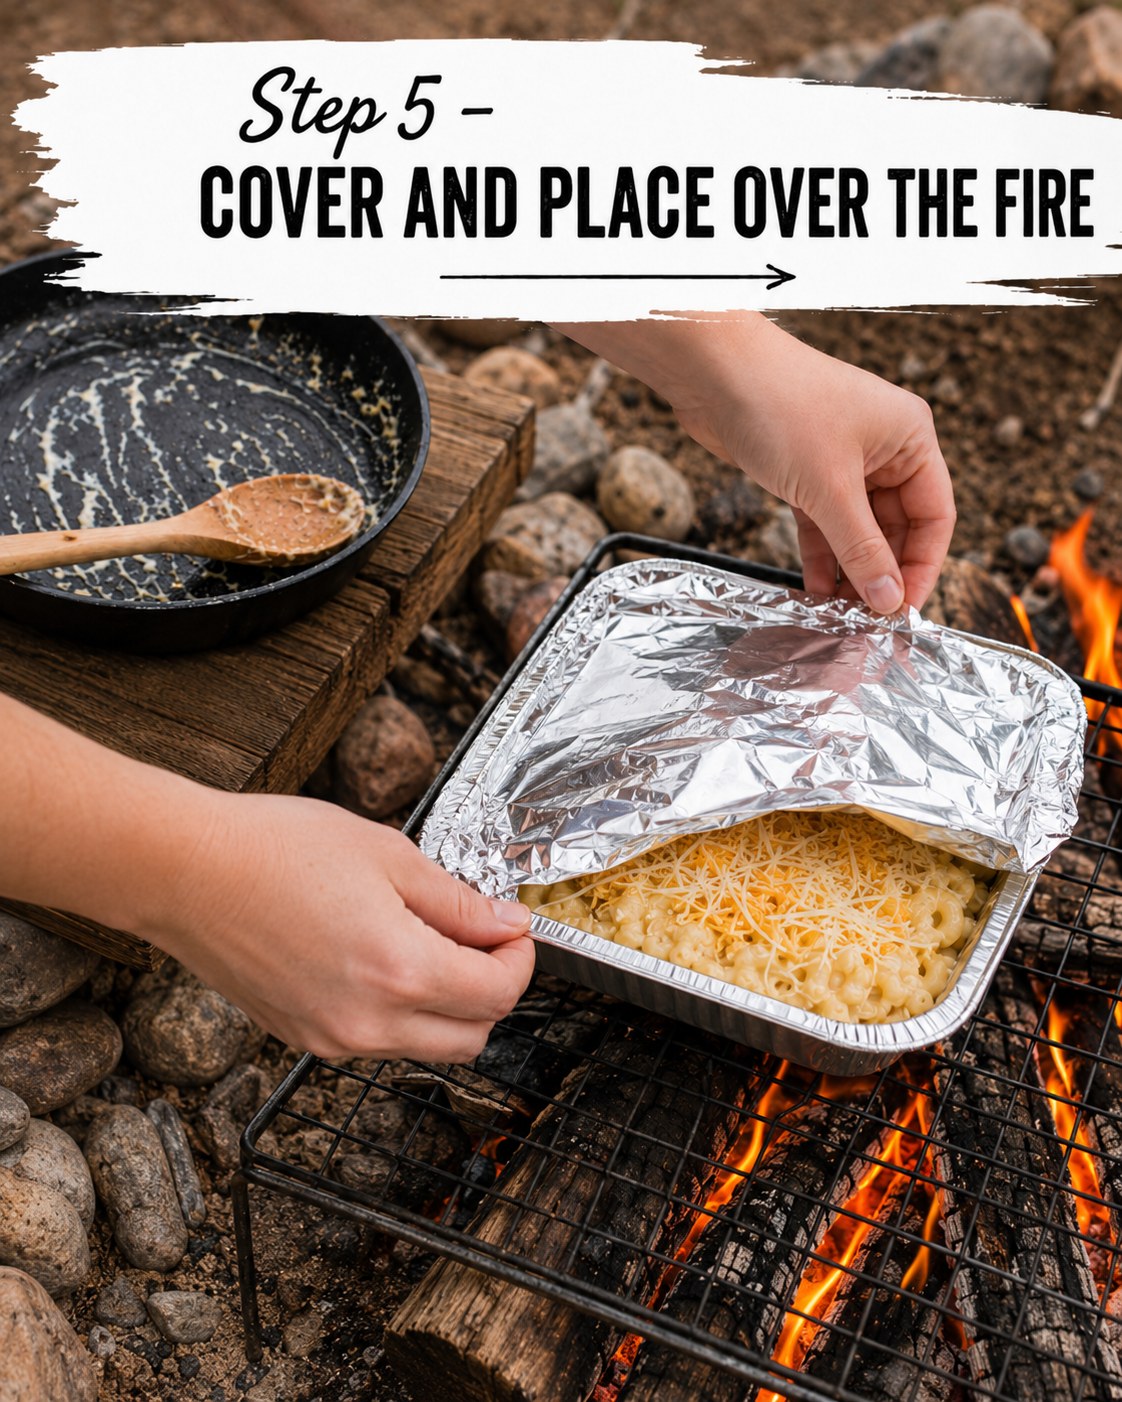
Once the topping is on, cover the pan tightly with heavy-duty foil — you want a real seal, not a loose tent, so the heat inside stays trapped like a mini oven. Set the covered pan on the grate over the fire and let it sit for about 15 minutes.
This covered stage is doing the job your oven would normally do: melting the topping cheese into the pasta below and letting the whole thing finish cooking through gently, without direct exposure to flame that would burn the top before the inside is hot.
Move the pan to a slightly cooler part of the grate if your fire is running hot and aggressive — you are aiming for steady heat, not a blast furnace under foil.
Peeling Back the Foil to Check
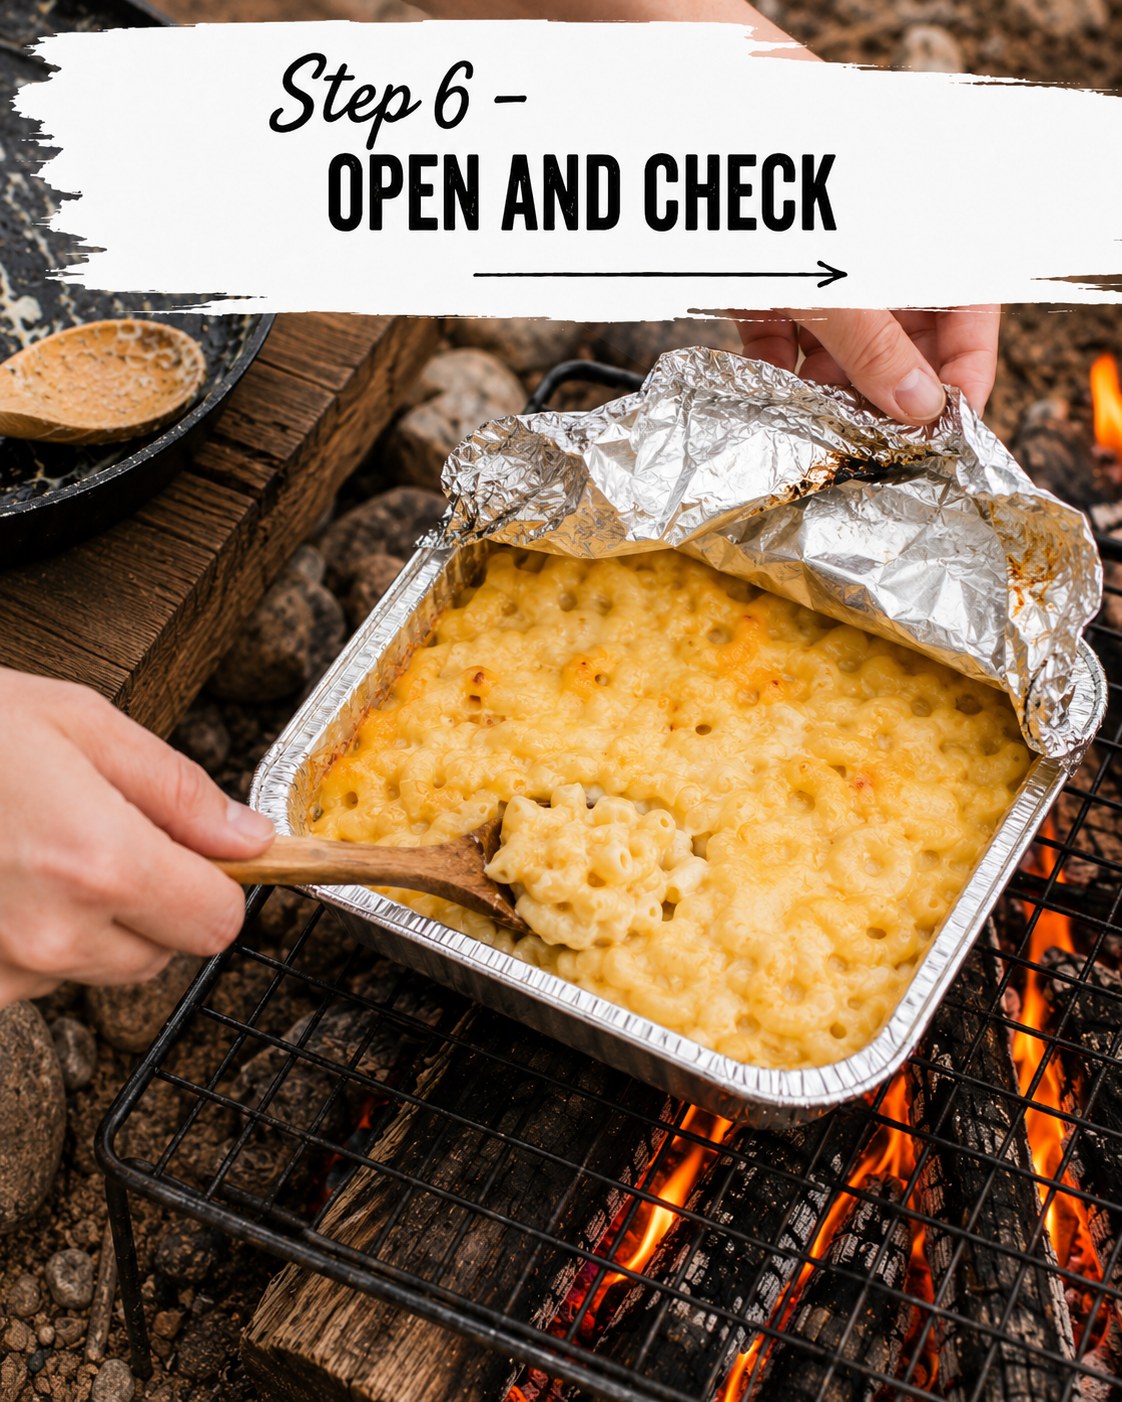
Around the 15-minute mark, pull the pan off the heat carefully — the foil traps steam and it will be genuinely hot — and peel back one corner to check. You are looking for the cheese fully melted, the edges bubbling gently, and the surface glossy rather than dry.
If it still looks pale and unmelted in the center, reseal it and give it another 5 minutes over the fire. If everything looks melted but you want more color, that is exactly what the next step is for.
This is also your moment to smell for trouble — if anything smells sharply of scorched foil or burnt cheese at the edges, the pan has been sitting directly over a hot spot too long and needs to move.
Letting the Top Go Bubbly and Golden
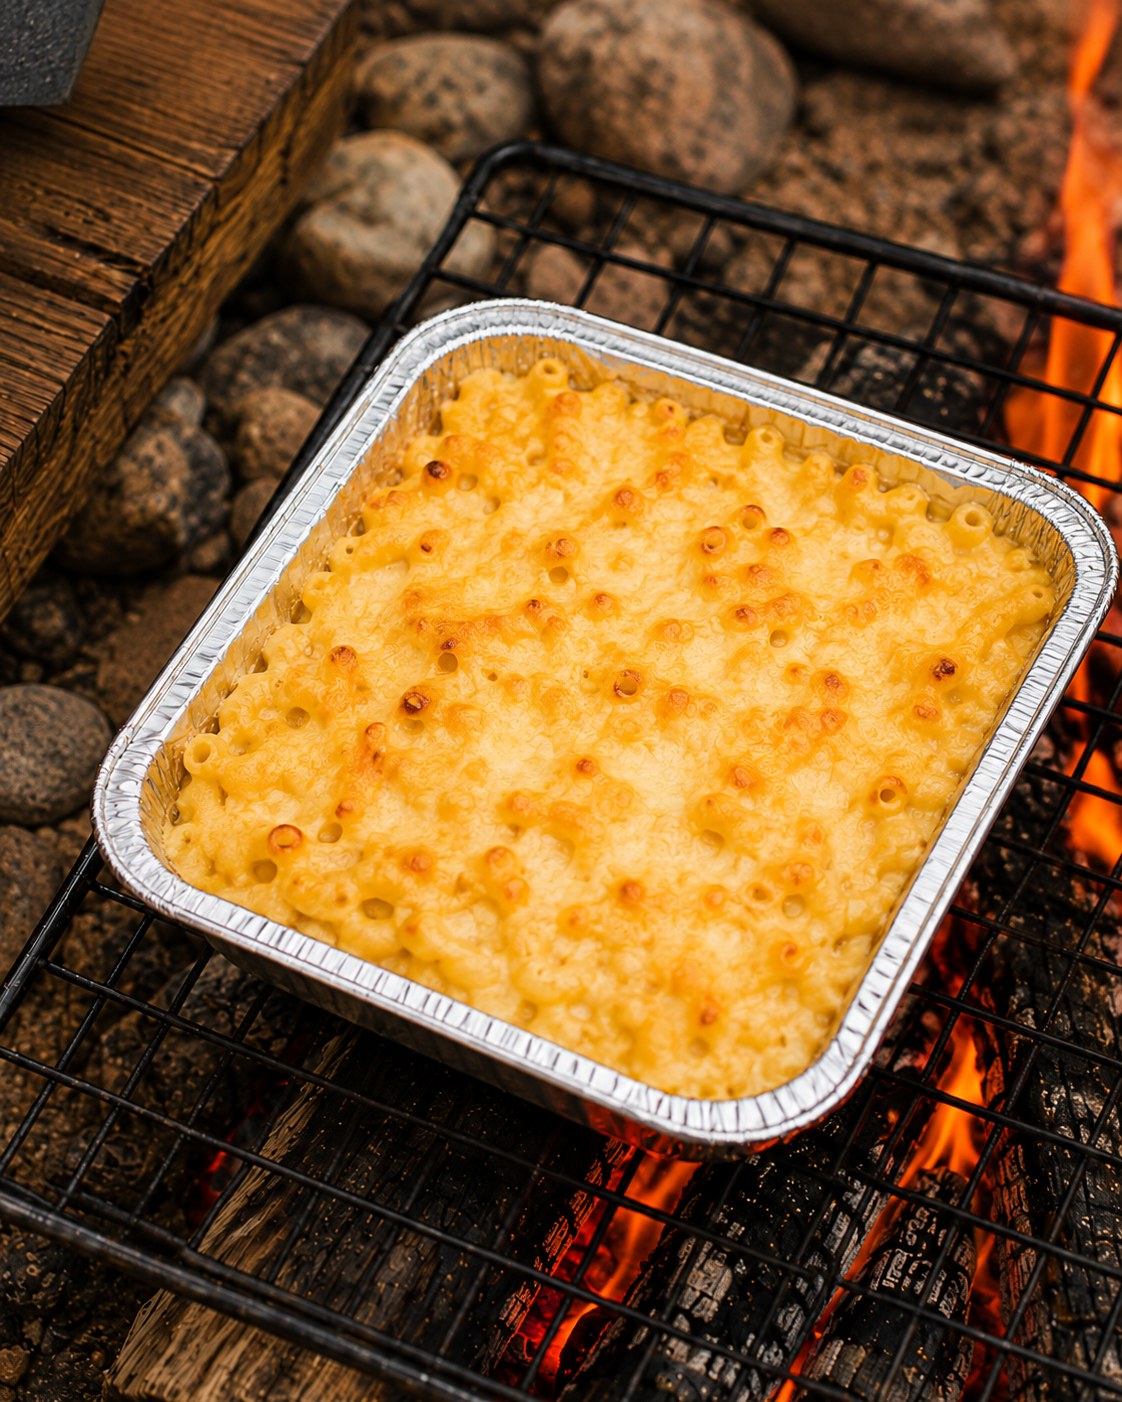
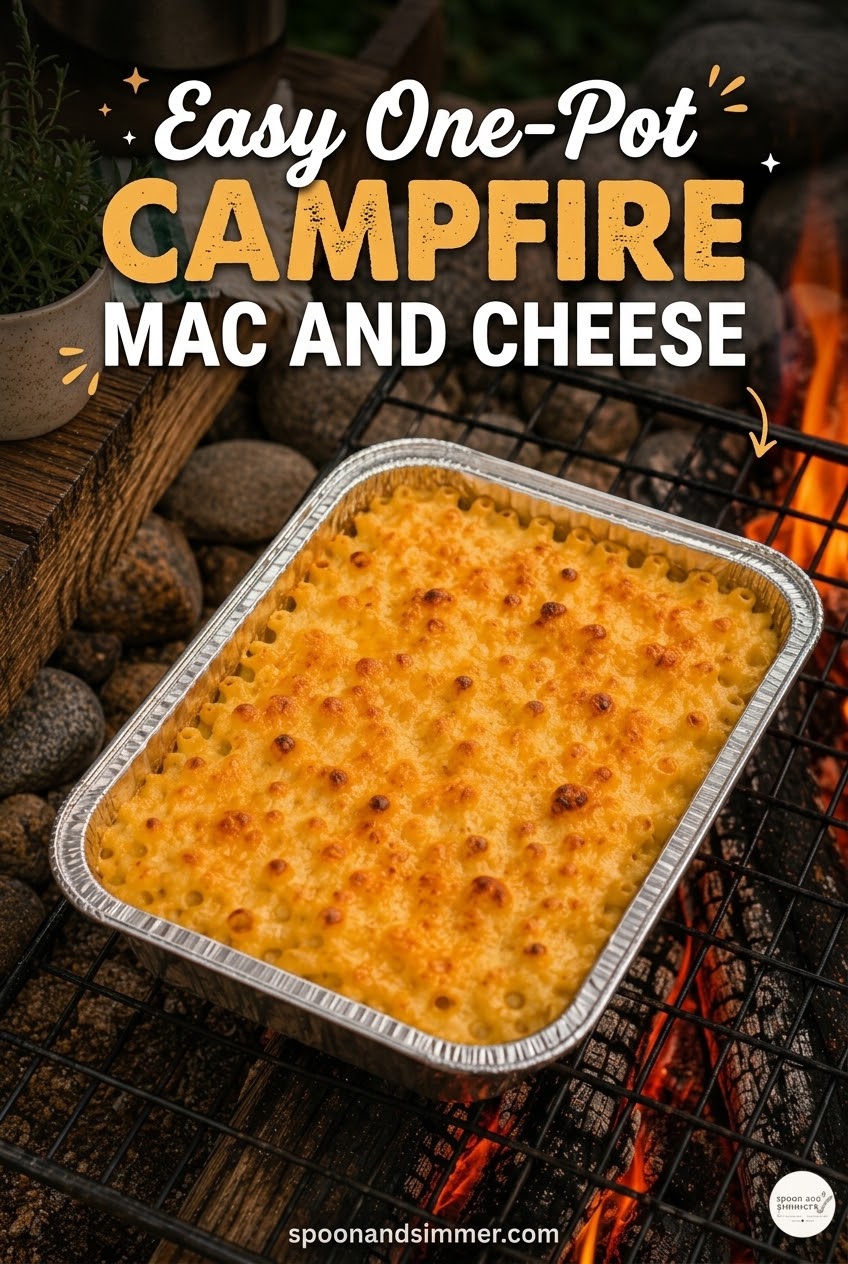
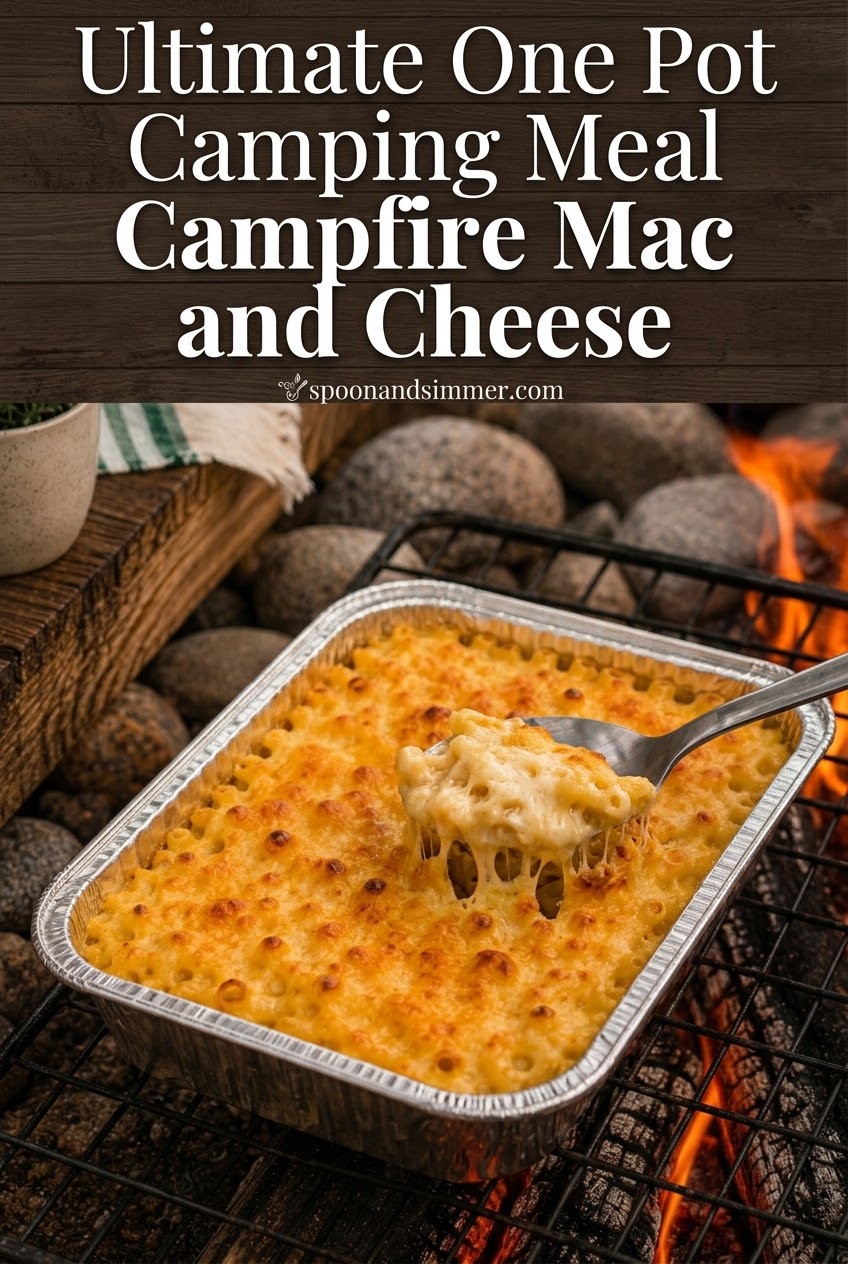
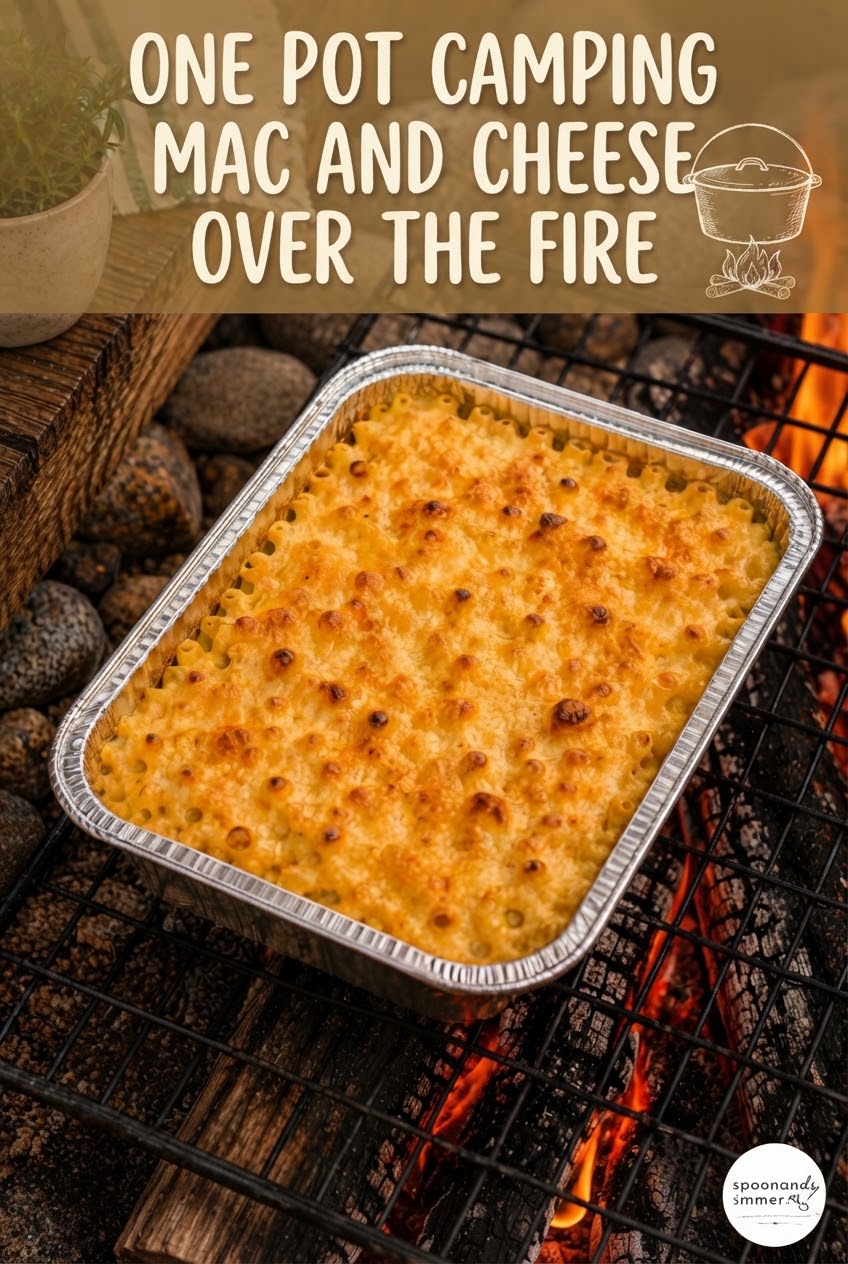
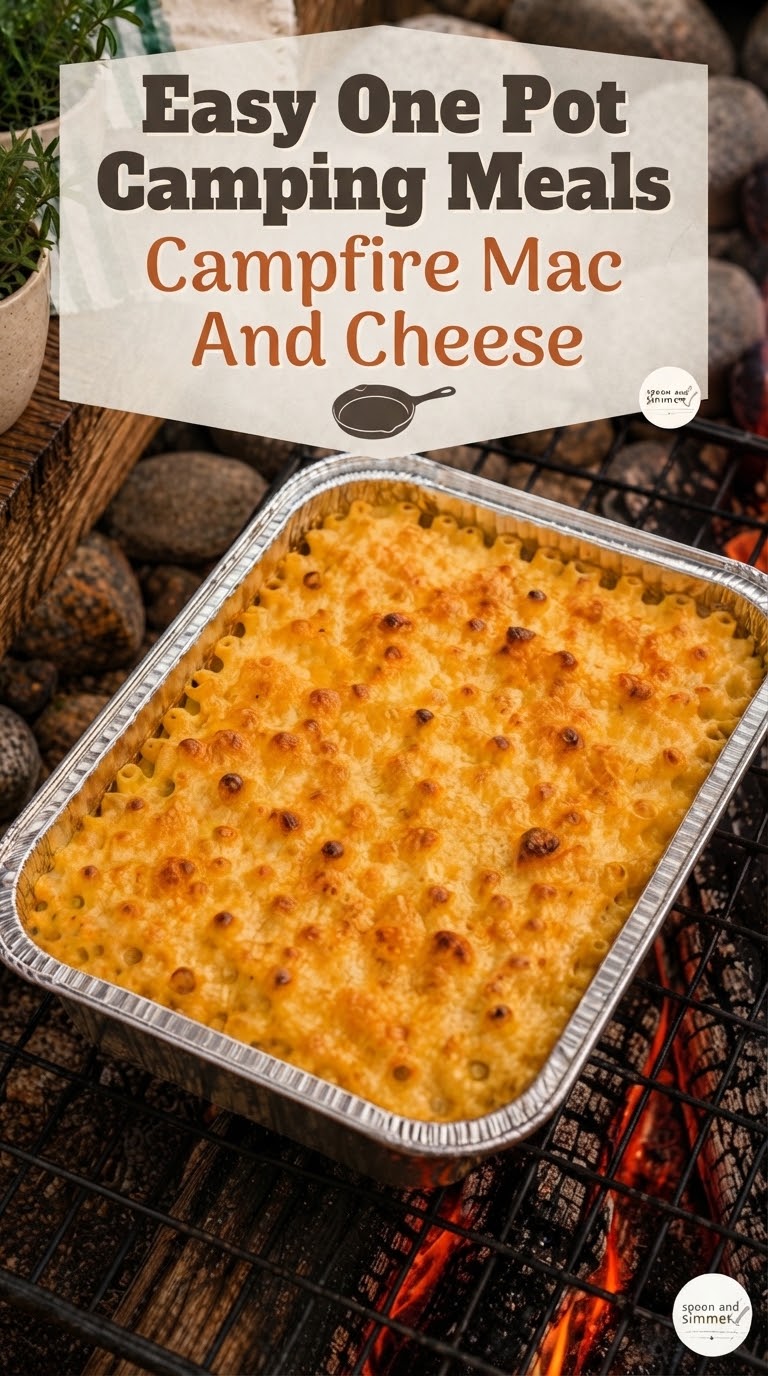
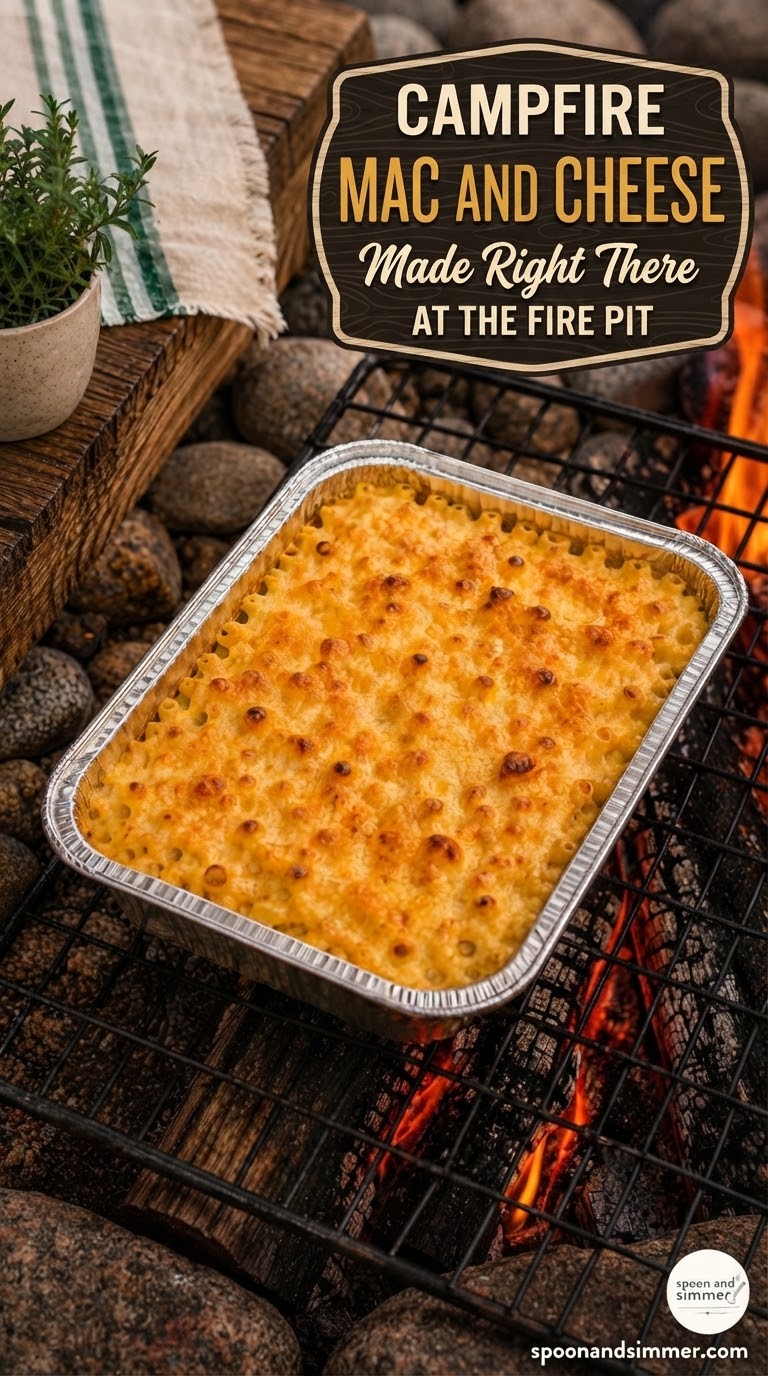
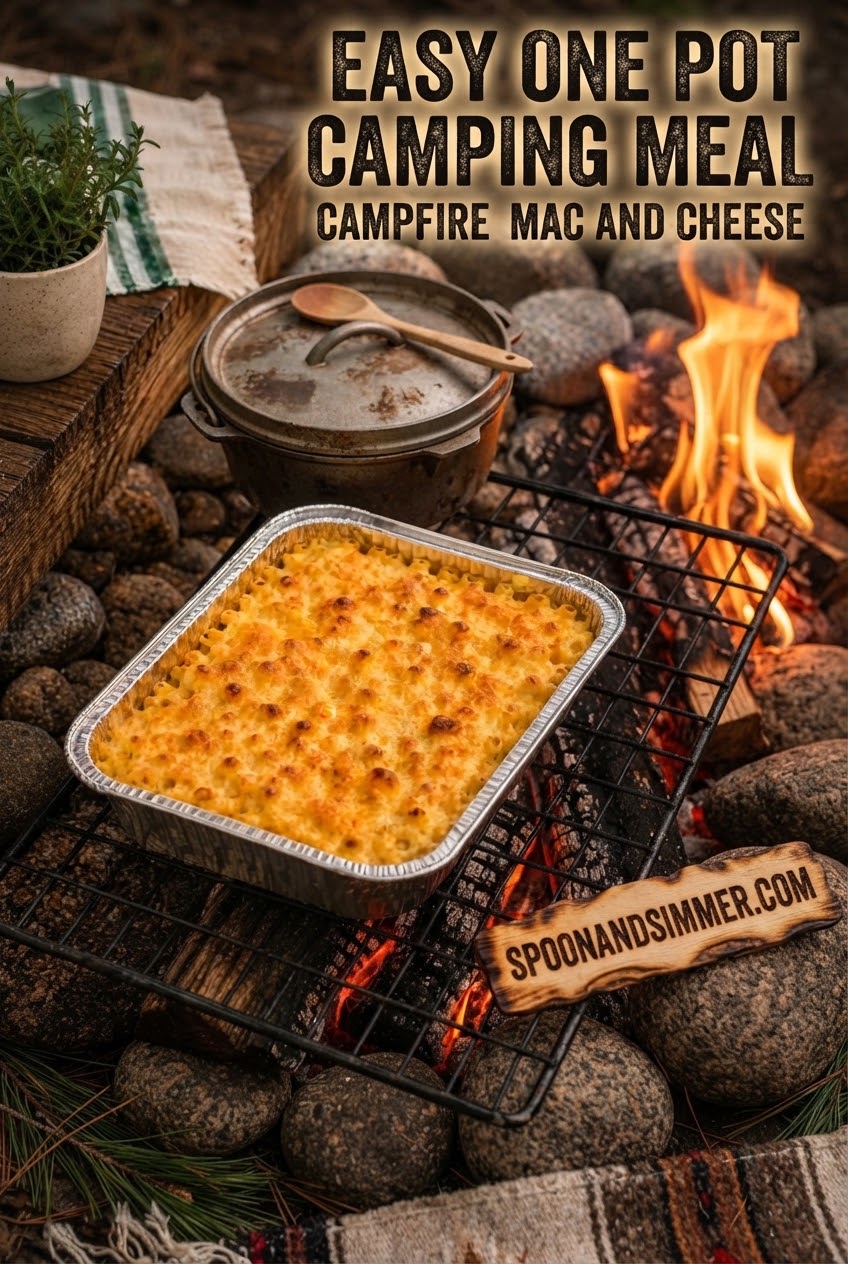
For the final stretch, take the foil off completely and let the pan sit uncovered over the fire for another 5 minutes or so, watching closely. This is where the topping cheese actually browns — those little golden-brown spots and blistered bubbles you see in the finished photo happen fast, so do not walk away.
Pull it the moment the surface looks deeply spotted and slightly crisp at the edges, not solid brown all over — campfire heat is uneven, so parts will color faster than others, and that is completely fine, even charming. Let it sit five minutes off the heat before digging in; the sauce firms up just enough to hold a scoop instead of running everywhere.
Why I Actually Bring This to the Fire Pit With My Own Family
I could describe this recipe from a test kitchen, but that is not how it actually happens for me — it happens on a rocky patch of ground near Mt. Hood with a little herb pot and a bottle of olive oil balanced on a log because there is nowhere flat to put anything. Showing the real setup matters because campsite cooking never looks as tidy as a studio shot, and I want you to see exactly what that looks like in practice.
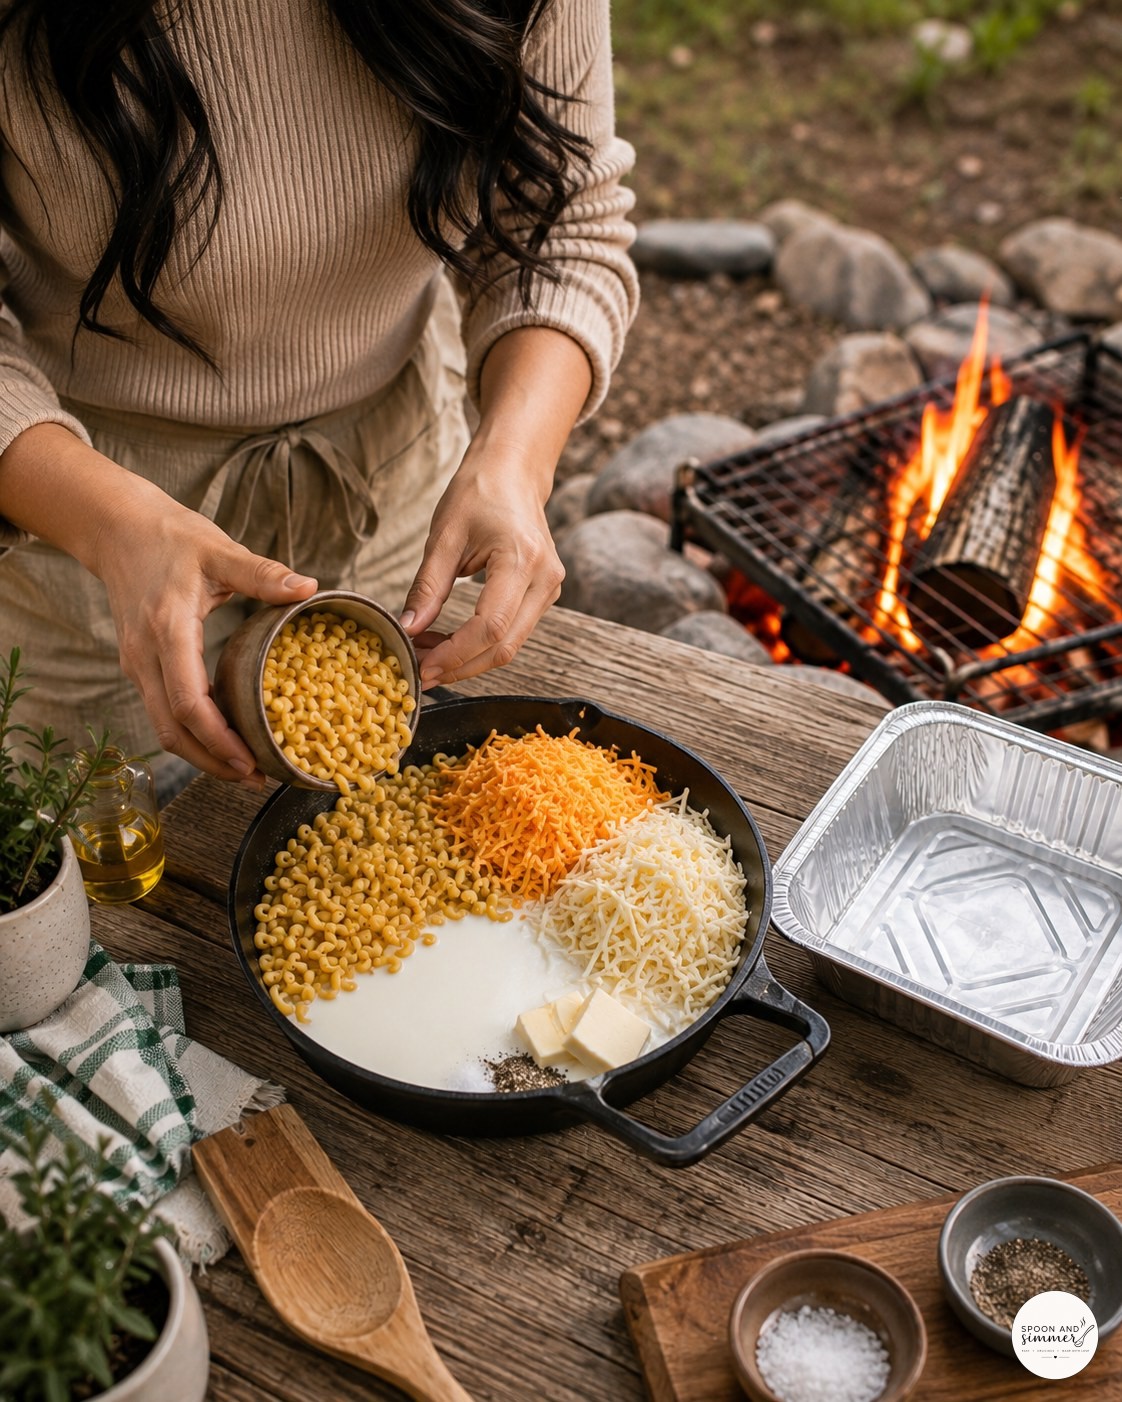
That is me pouring the macaroni into the skillet freehand, no measuring cup in sight, because after making this three times for testing I know roughly what two cups looks like tipped from the little bowl. Notice the tiny bowls of salt and pepper off to the side — I portion those at home into containers I do not mind losing at a campsite.
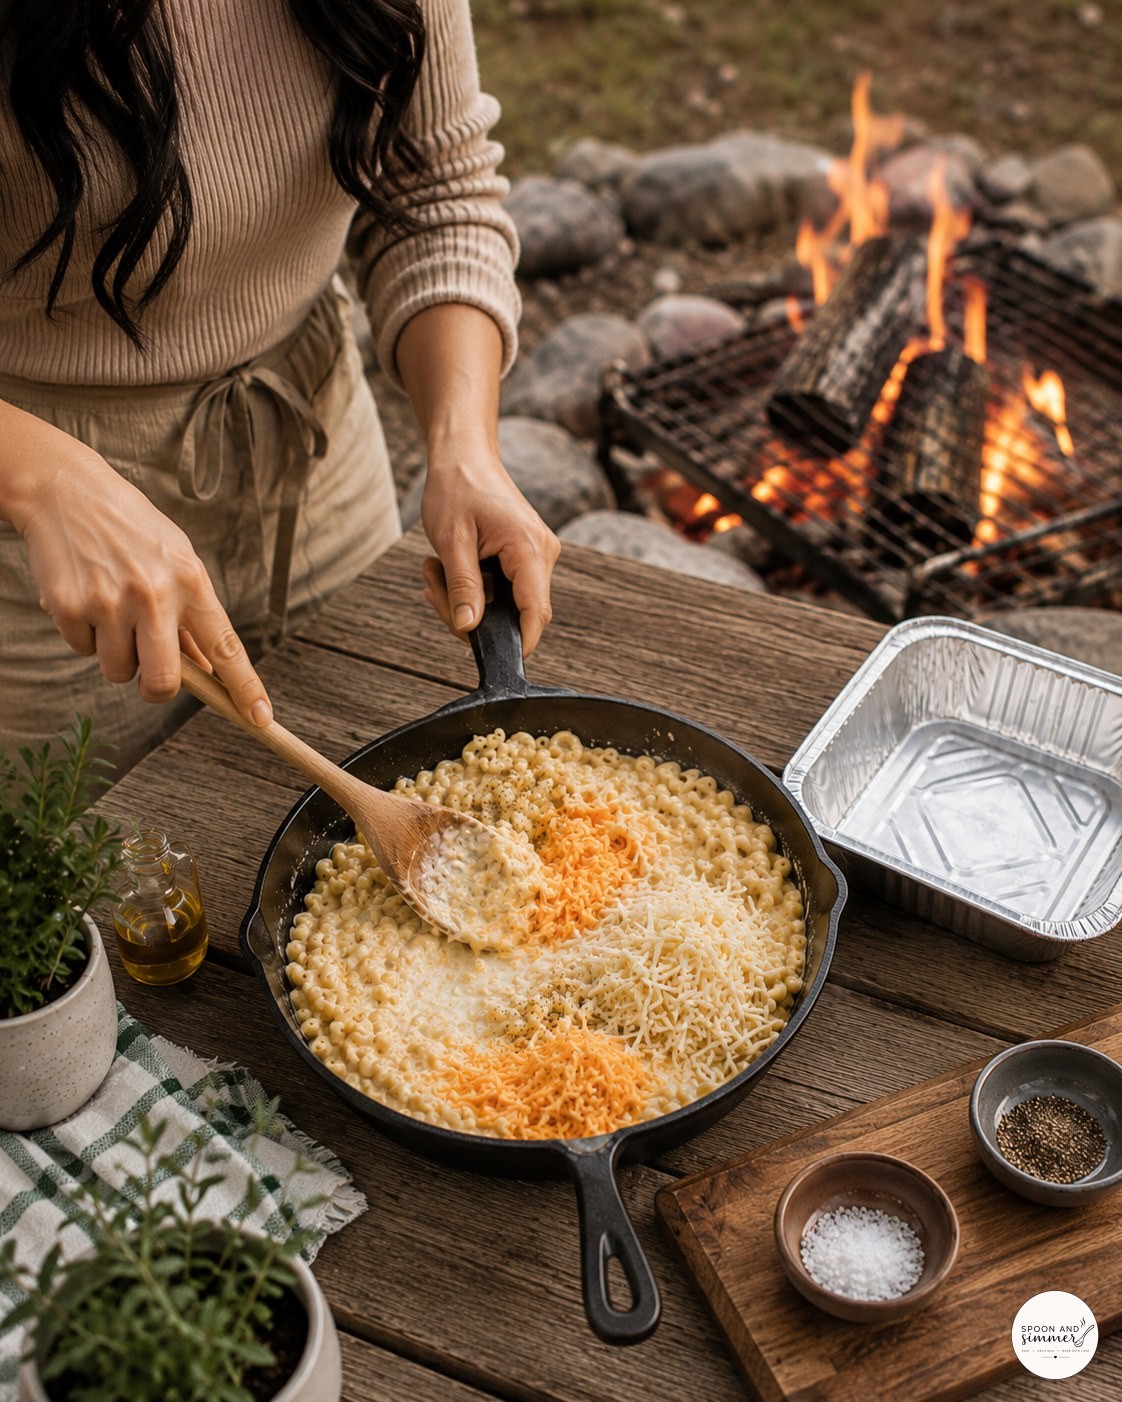
Here I am mid-stir, and you can see my other hand steadying the skillet handle — cast iron gets top-heavy once it is full, and the grate is not always level. I keep a small wooden board nearby just to rest the hot spoon so it does not roll into the dirt.
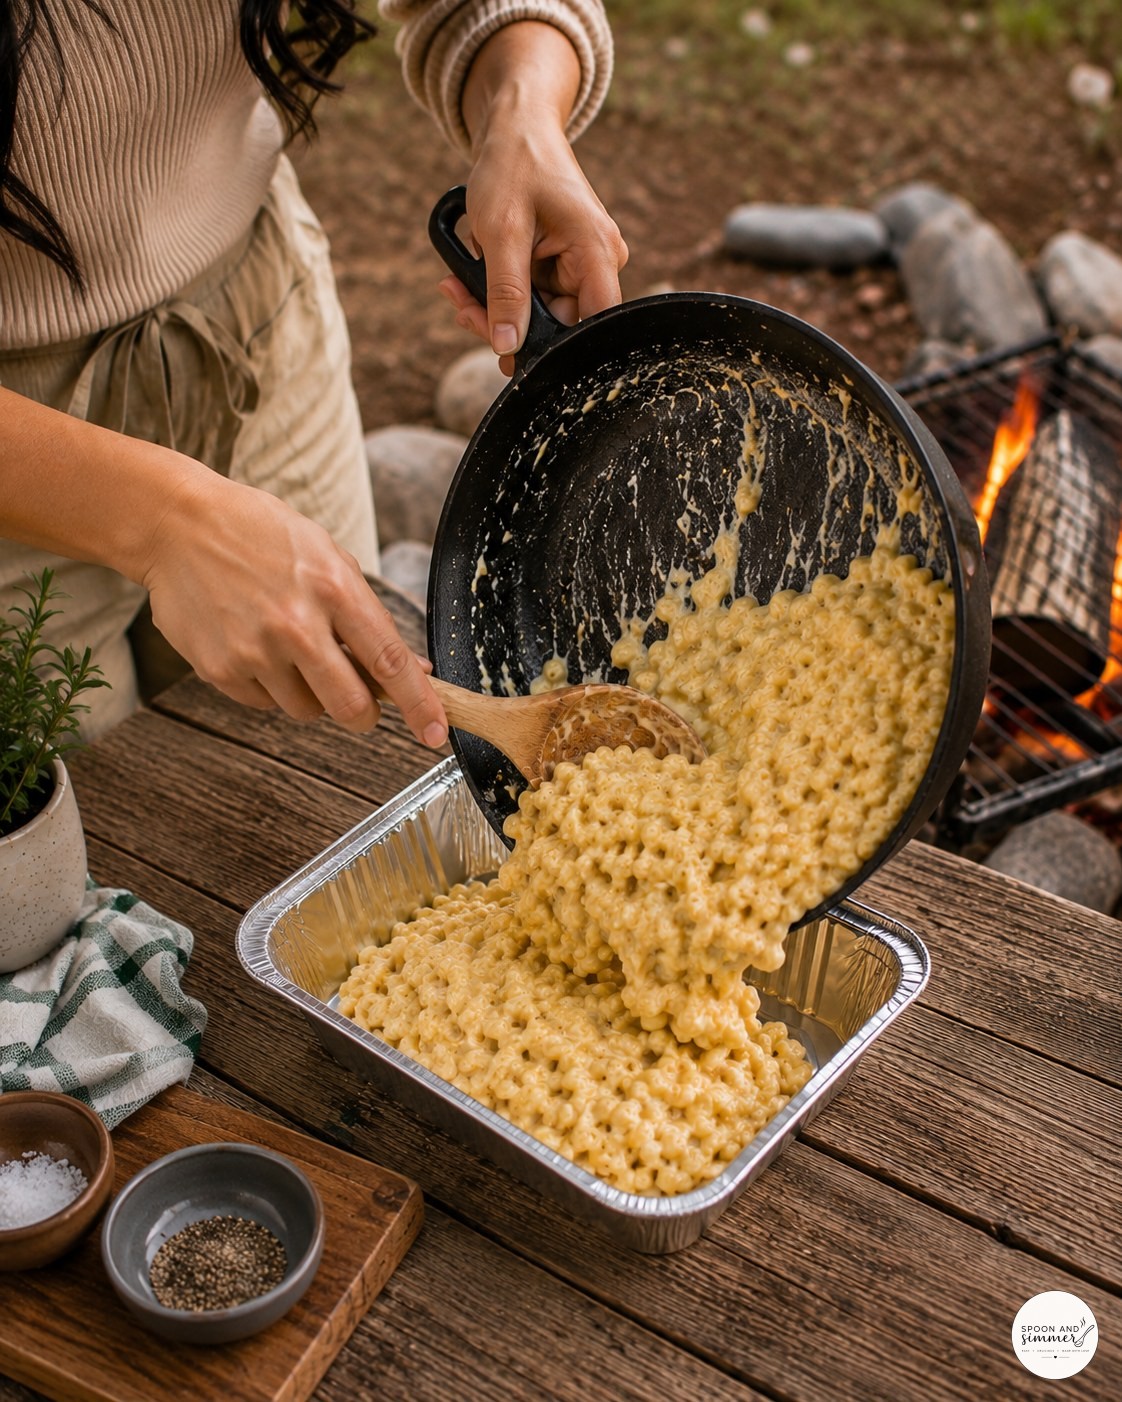
This scoop into the foil pan always makes a mess — you can see sauce clinging to the sides of the skillet that I usually go back for with a spatula rather than waste. I have learned to angle the pan toward me, not away, or half of it ends up on the picnic table.
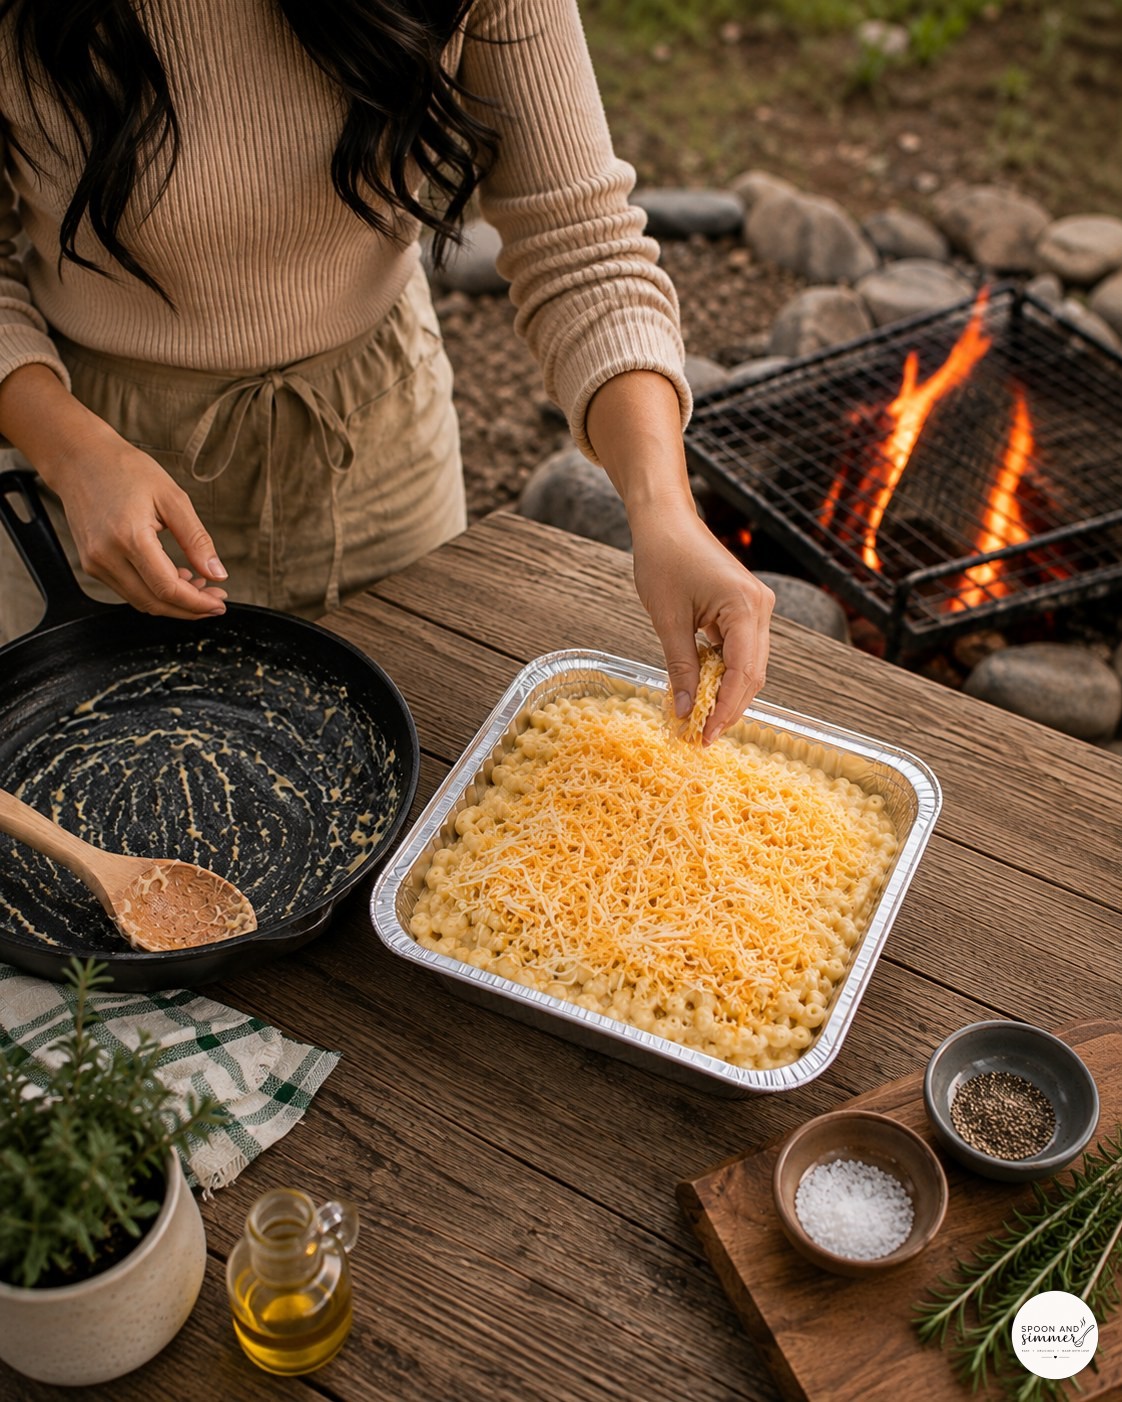
Adding the cheese topping outside always turns into a bit of a snowstorm because the shreds stick to my fingers in the cool evening air. I keep the little wooden serving board with the salt and pepper bowls close by so I am not walking back and forth to the cooler.
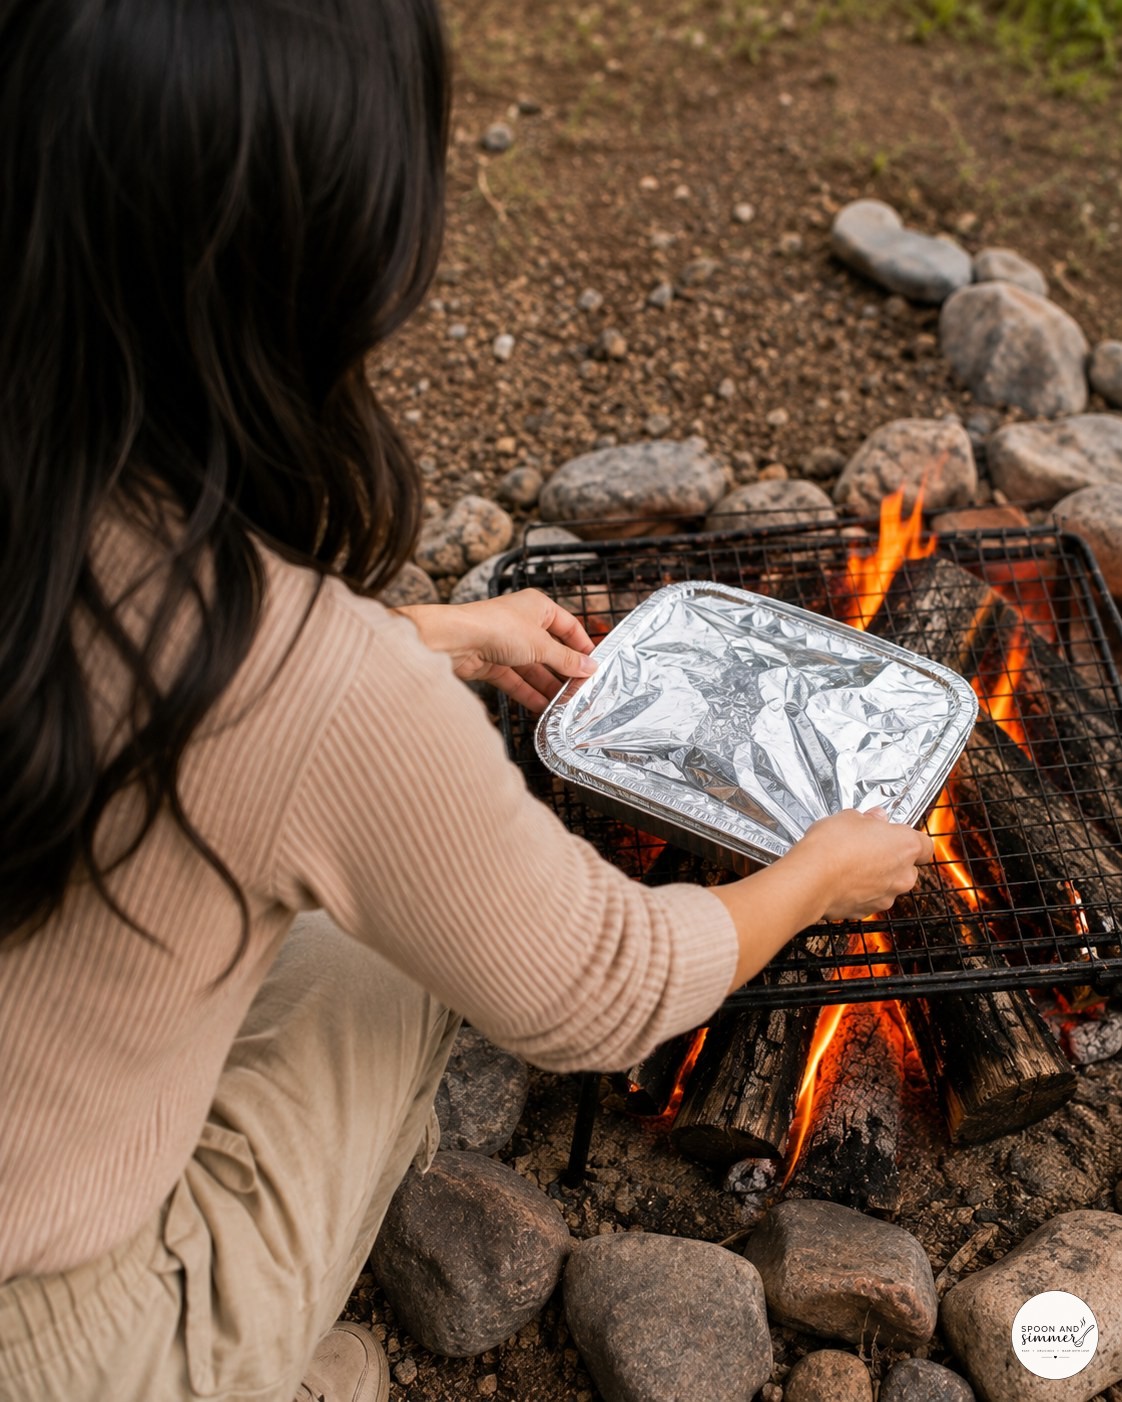
This shot from over my shoulder shows how close you actually get to the fire to set the pan on the grate — closer than most people expect, and I always tuck my sleeves up first. The foil catches the last bit of daylight here, which is usually around the time everyone starts asking how much longer.
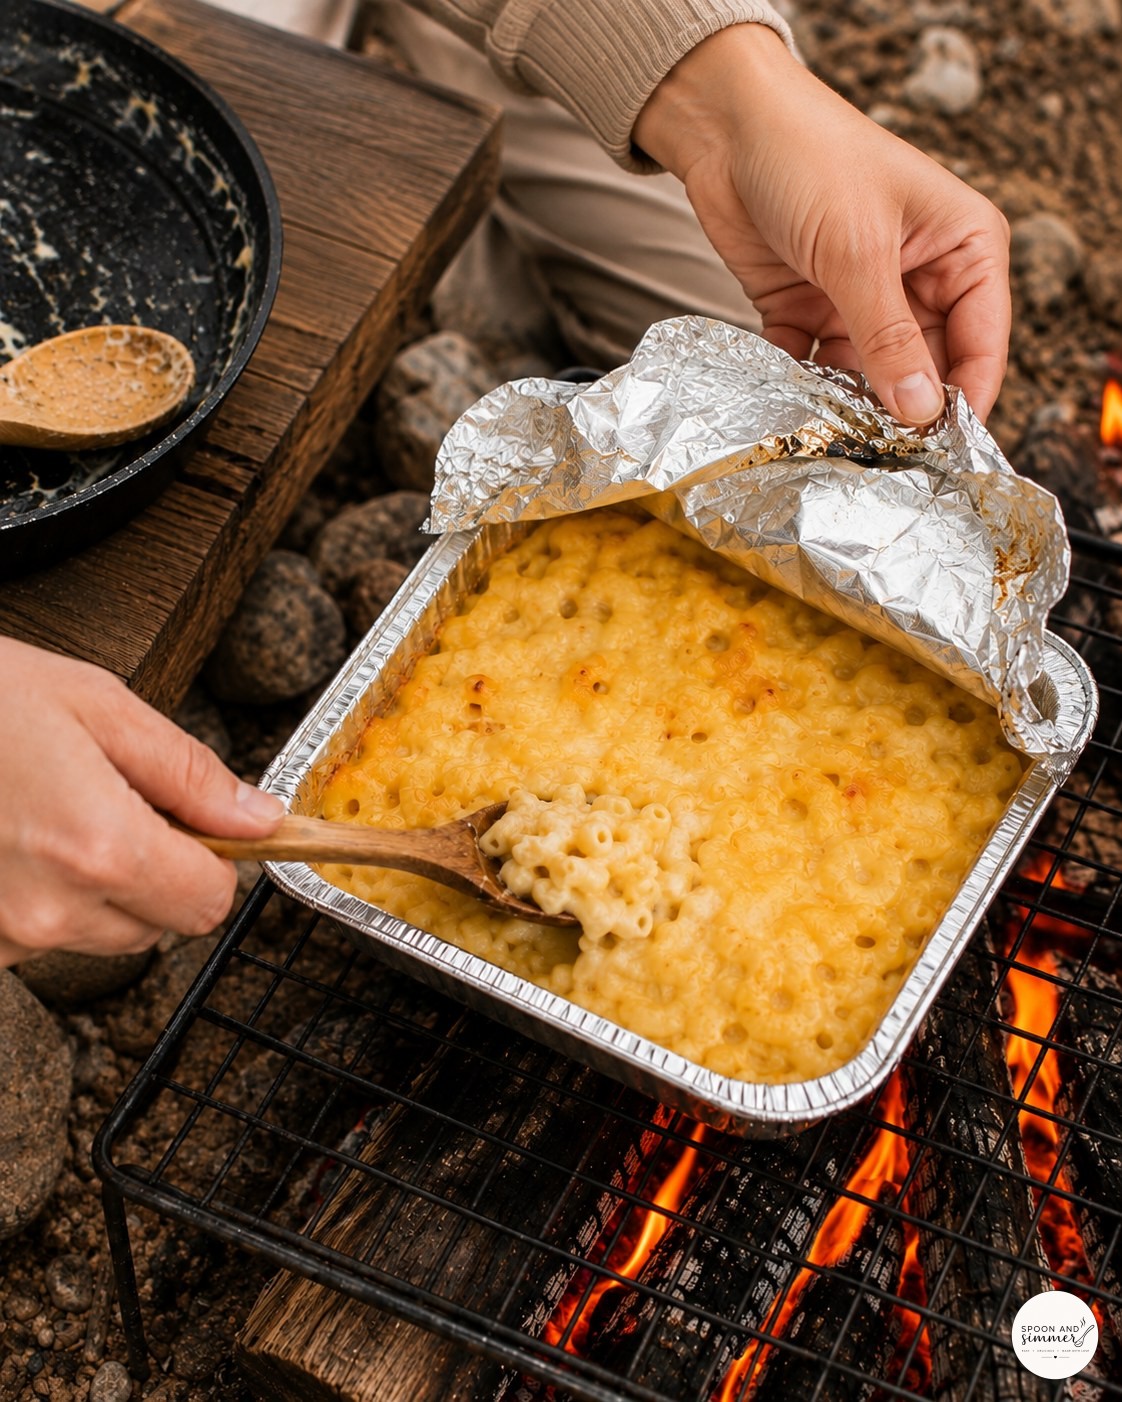
Checking under the foil is the moment I actually trust my nose more than my eyes — you can smell when the cheese has fully melted before you even lift the corner. This particular batch needed about five extra minutes past what I expected, which happens more often than not with an inconsistent fire.
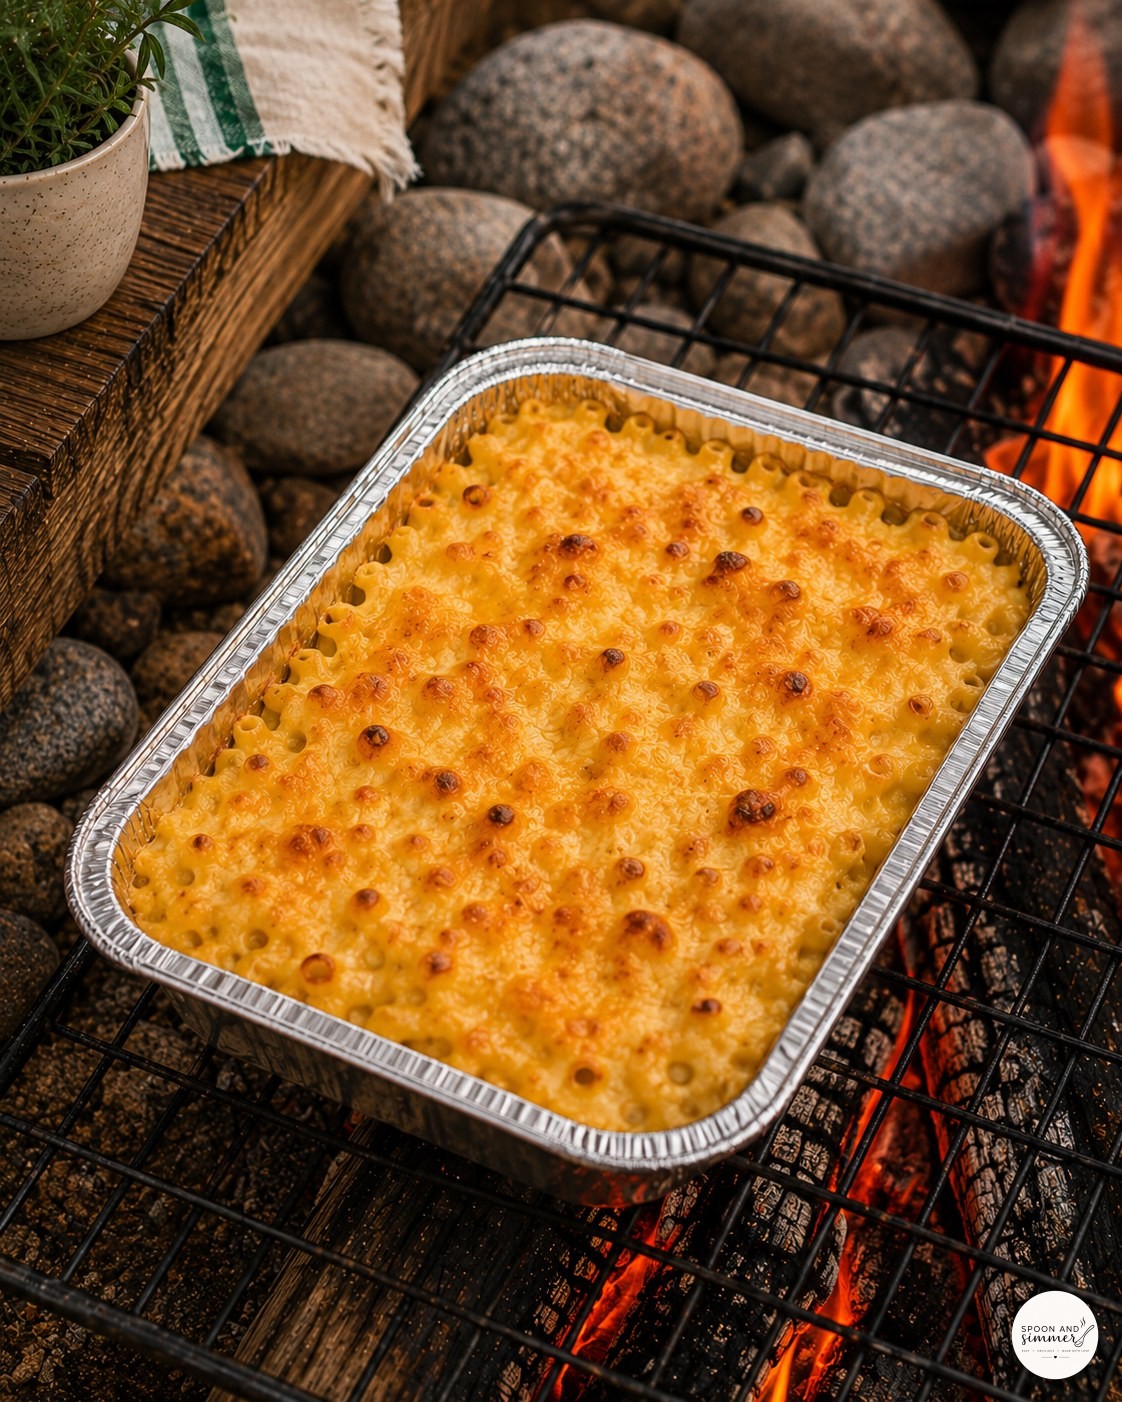
This is the pan pulled straight off the grate, and those brown blistered spots are exactly what I am chasing every time — no two batches brown in quite the same pattern because every fire behaves differently. It is the kind of imperfect, slightly charred edge that photographs better than anything I could plan.
This is not a tidy recipe, and it should not be — the fun of it is the smoke smell in your hair afterward and the fact that everyone is standing around the fire waiting for that foil to come off. Scale it up in a bigger skillet and pan if you have more mouths to feed; the method stays exactly the same.

- For the mac and cheese base
- For the topping

Common Questions
Can I make this without a fire, just on a camp stove?
Yes — the skillet stage works the same over a camp stove burner on medium-low heat, stirring often. For the covered finishing step, use a lid over the skillet directly rather than transferring to a foil pan, since you will not have open flame to brown the top.
What if my sauce looks broken or greasy after the fire?
That usually means the heat was too aggressive for too long. Pull it off, add a splash more milk, and stir vigorously — it will almost always smooth back into a cohesive sauce within a minute or two.
Can I prep the ingredients at home before the camping trip?
Absolutely — shred both cheeses and pre-portion the macaroni, butter, salt, and pepper into a container the night before. Keep the milk cold in the cooler and you can be stirring over the fire within a few minutes of arriving.