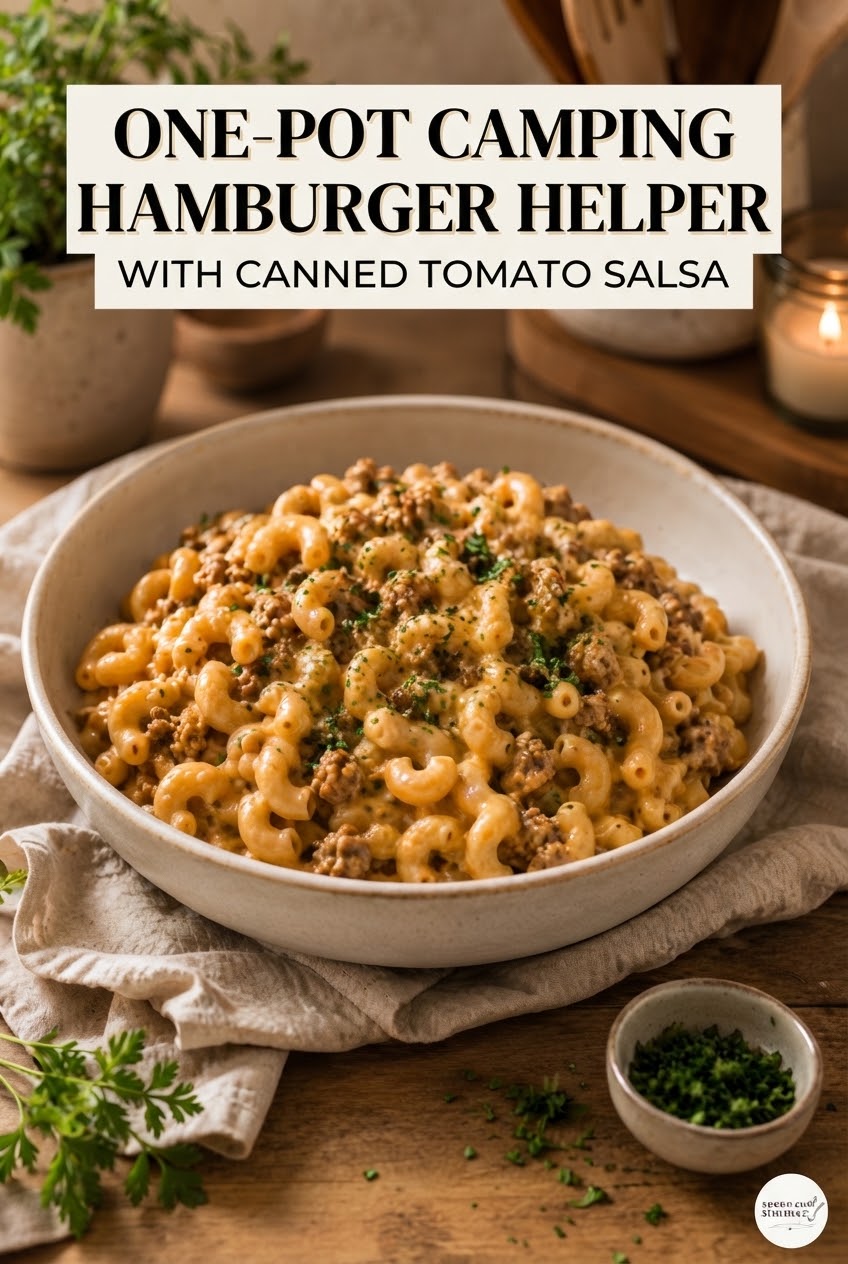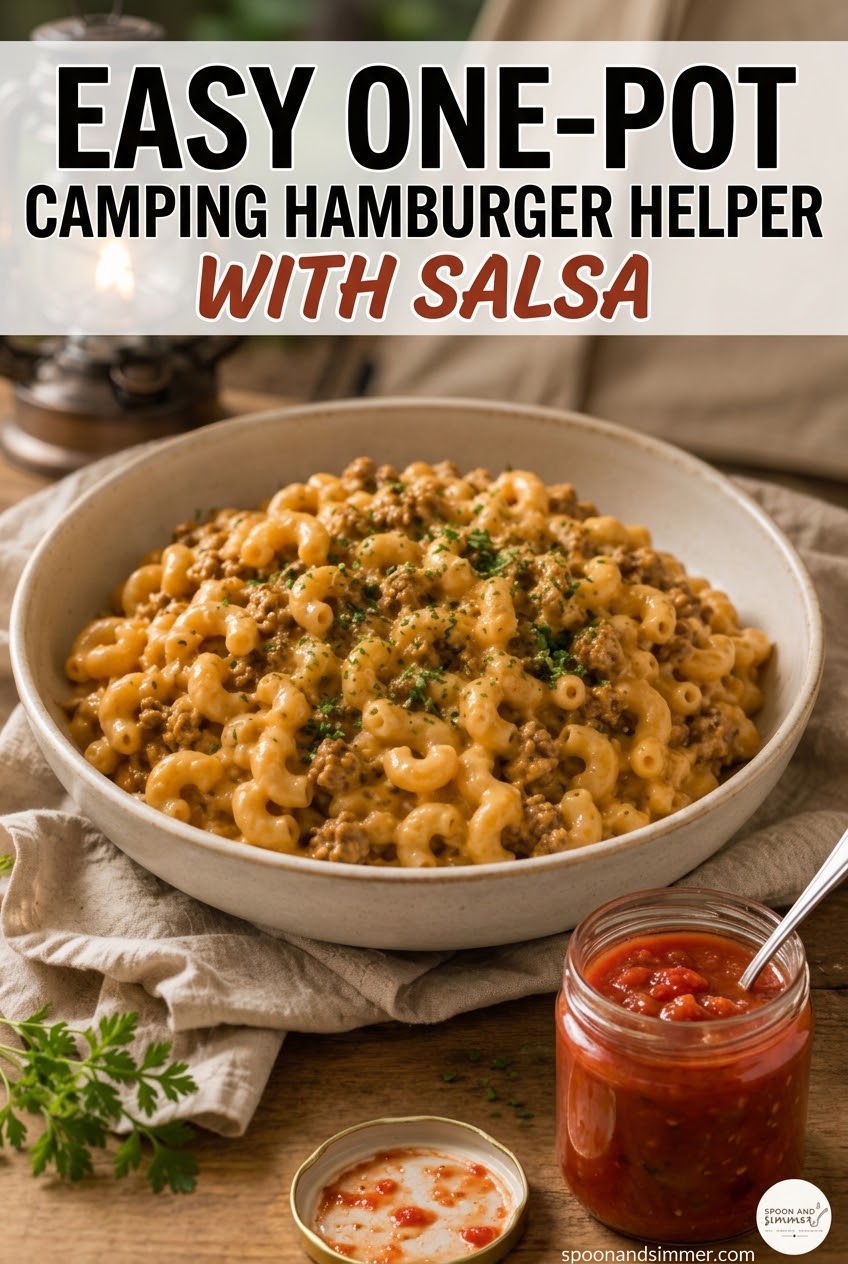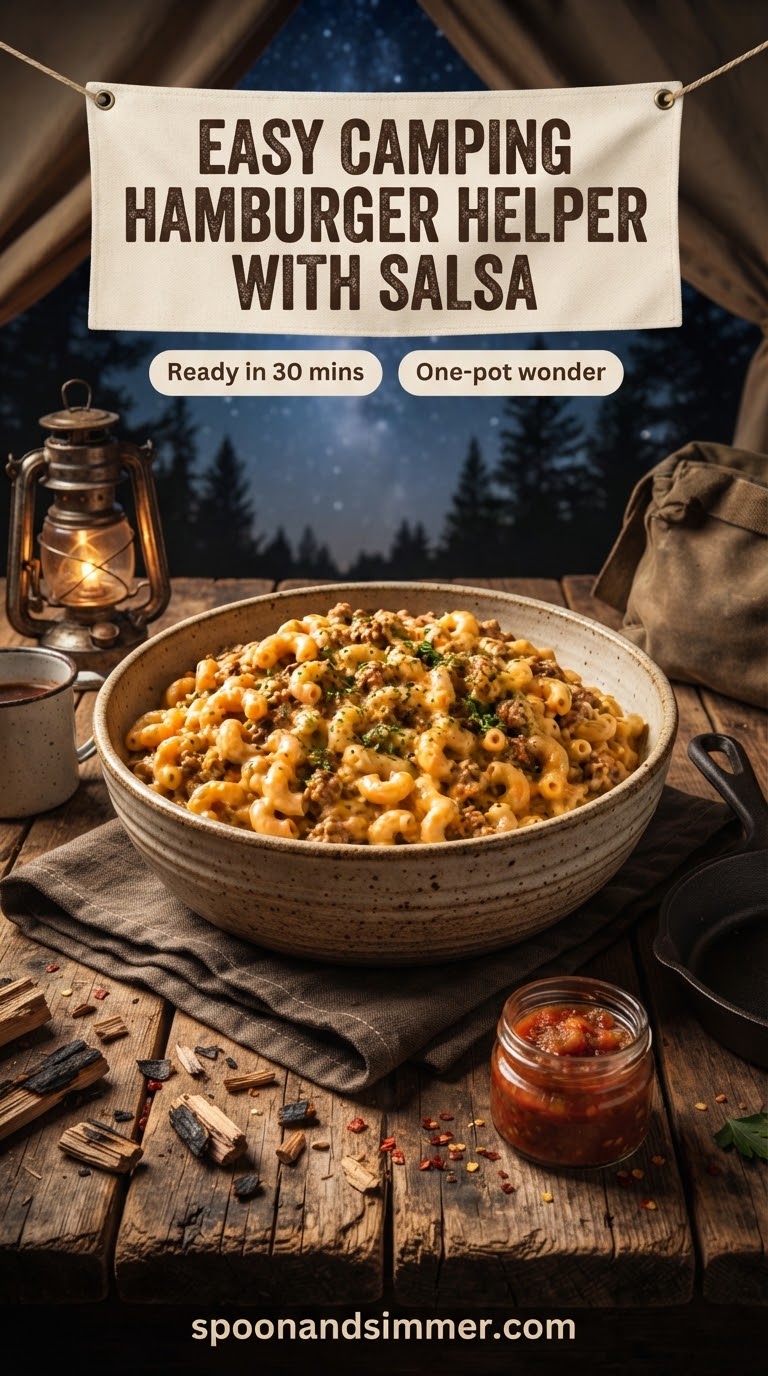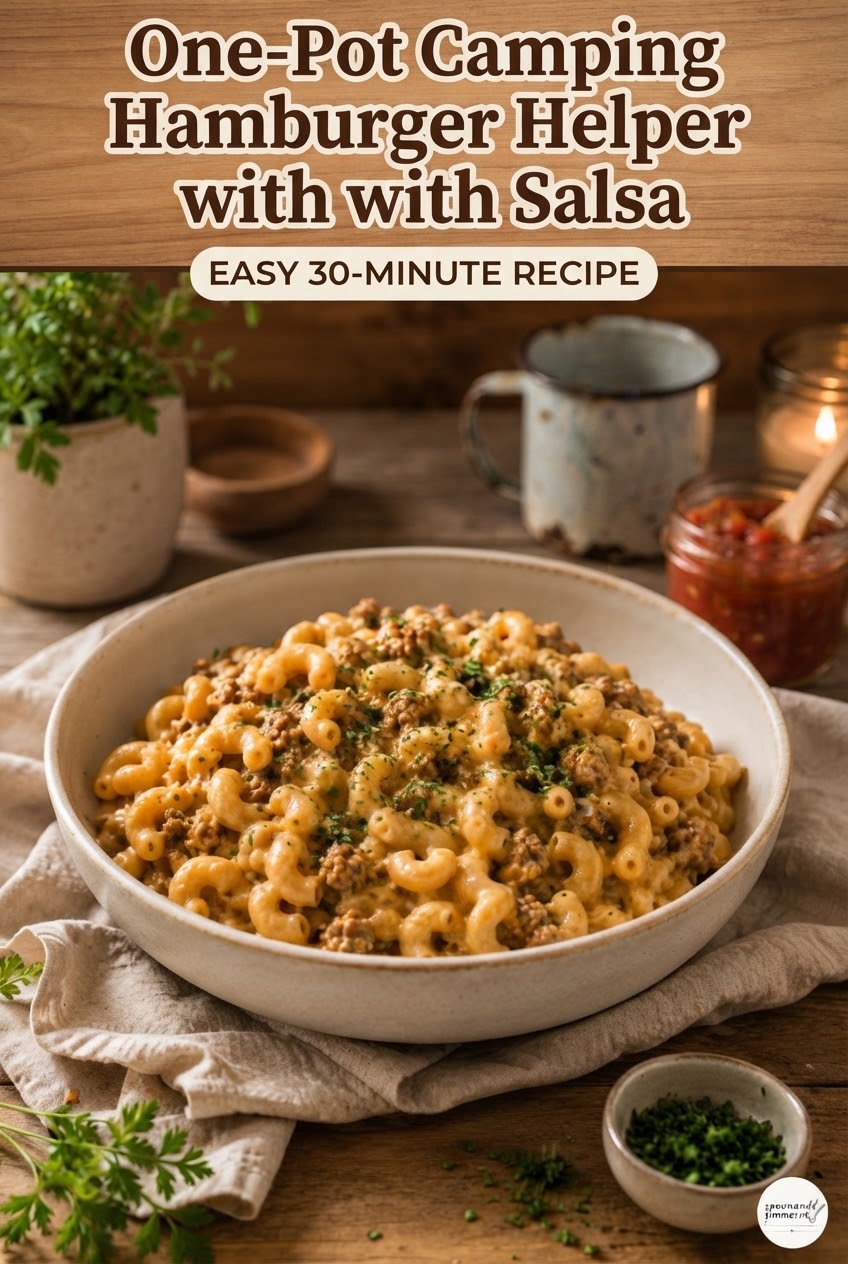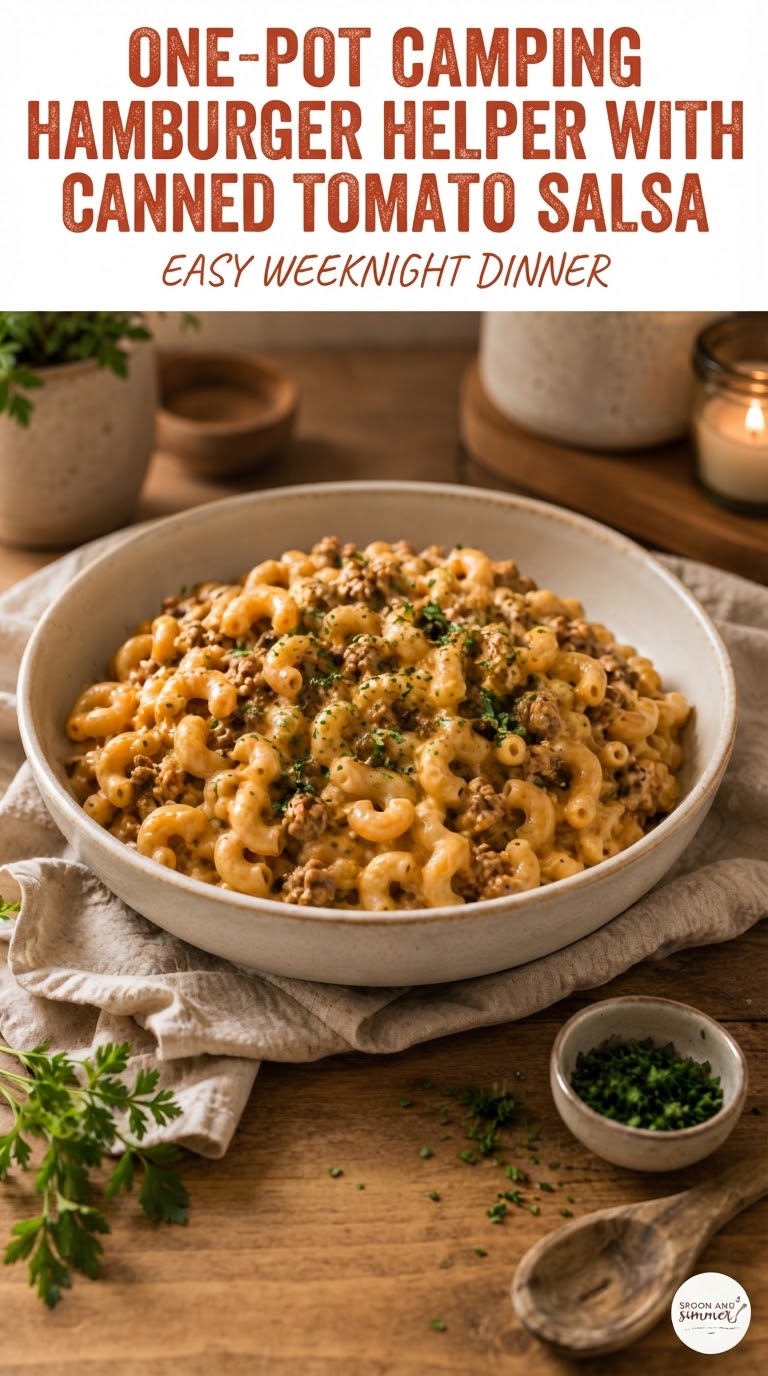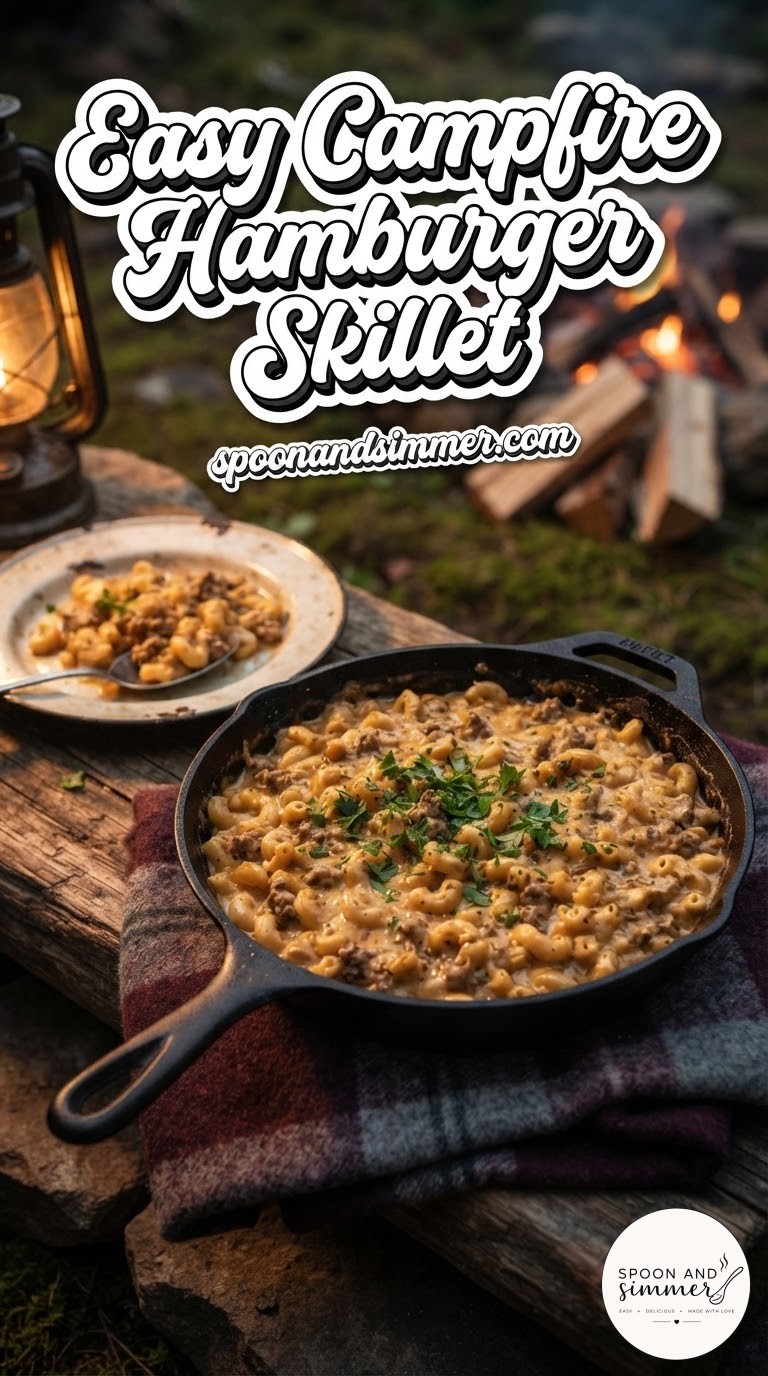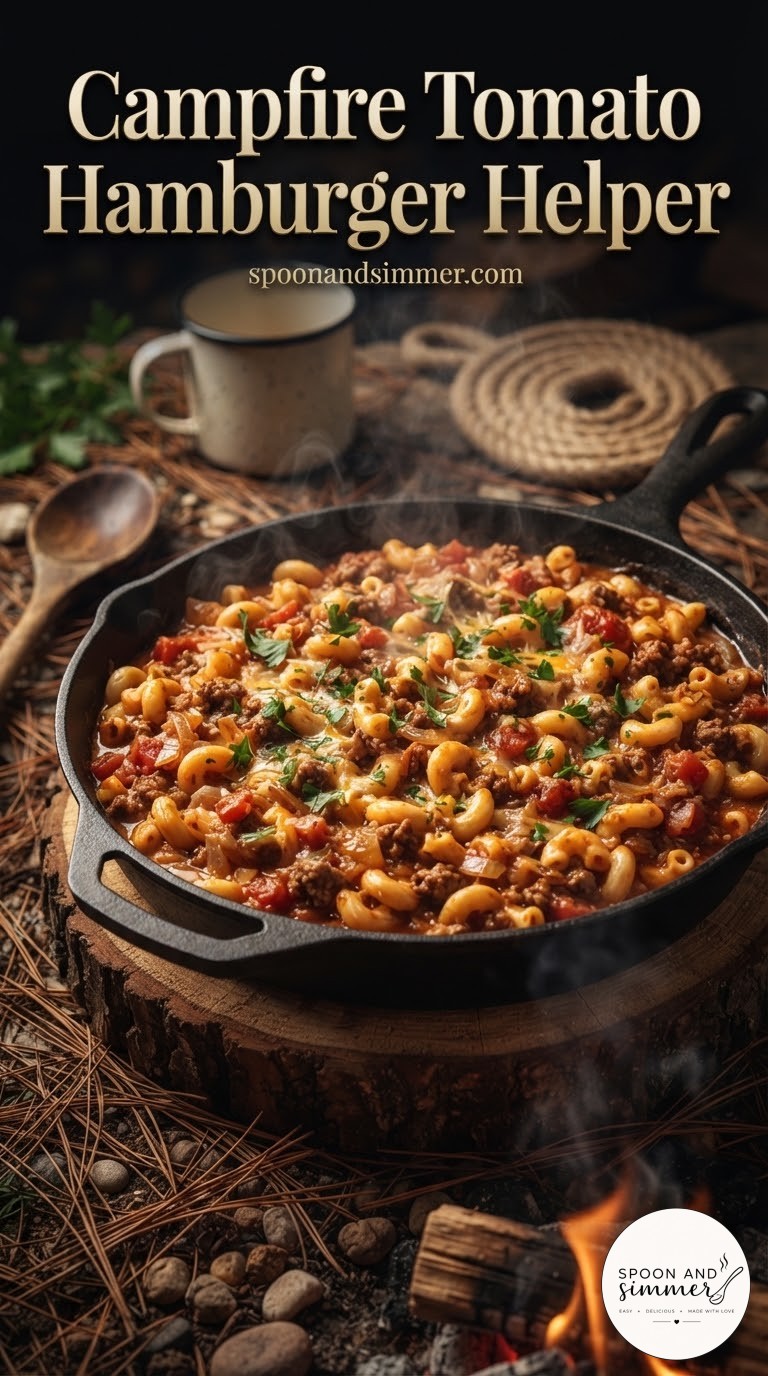
I've made a lot of one-pot dinners over the years, but this is the one I actually pack for car camping with Dave and the kids, because it uses exactly one pot, one burner, and zero draining at a picnic table. It's basically homemade hamburger helper built from scratch shells, real cheddar, and a splash of sour cream instead of a foil packet of powder. If you can brown meat and boil pasta, you can make this at 6,000 feet or in your own kitchen on a night you don't want to think too hard.
Gather Everything Before You Light the Stove
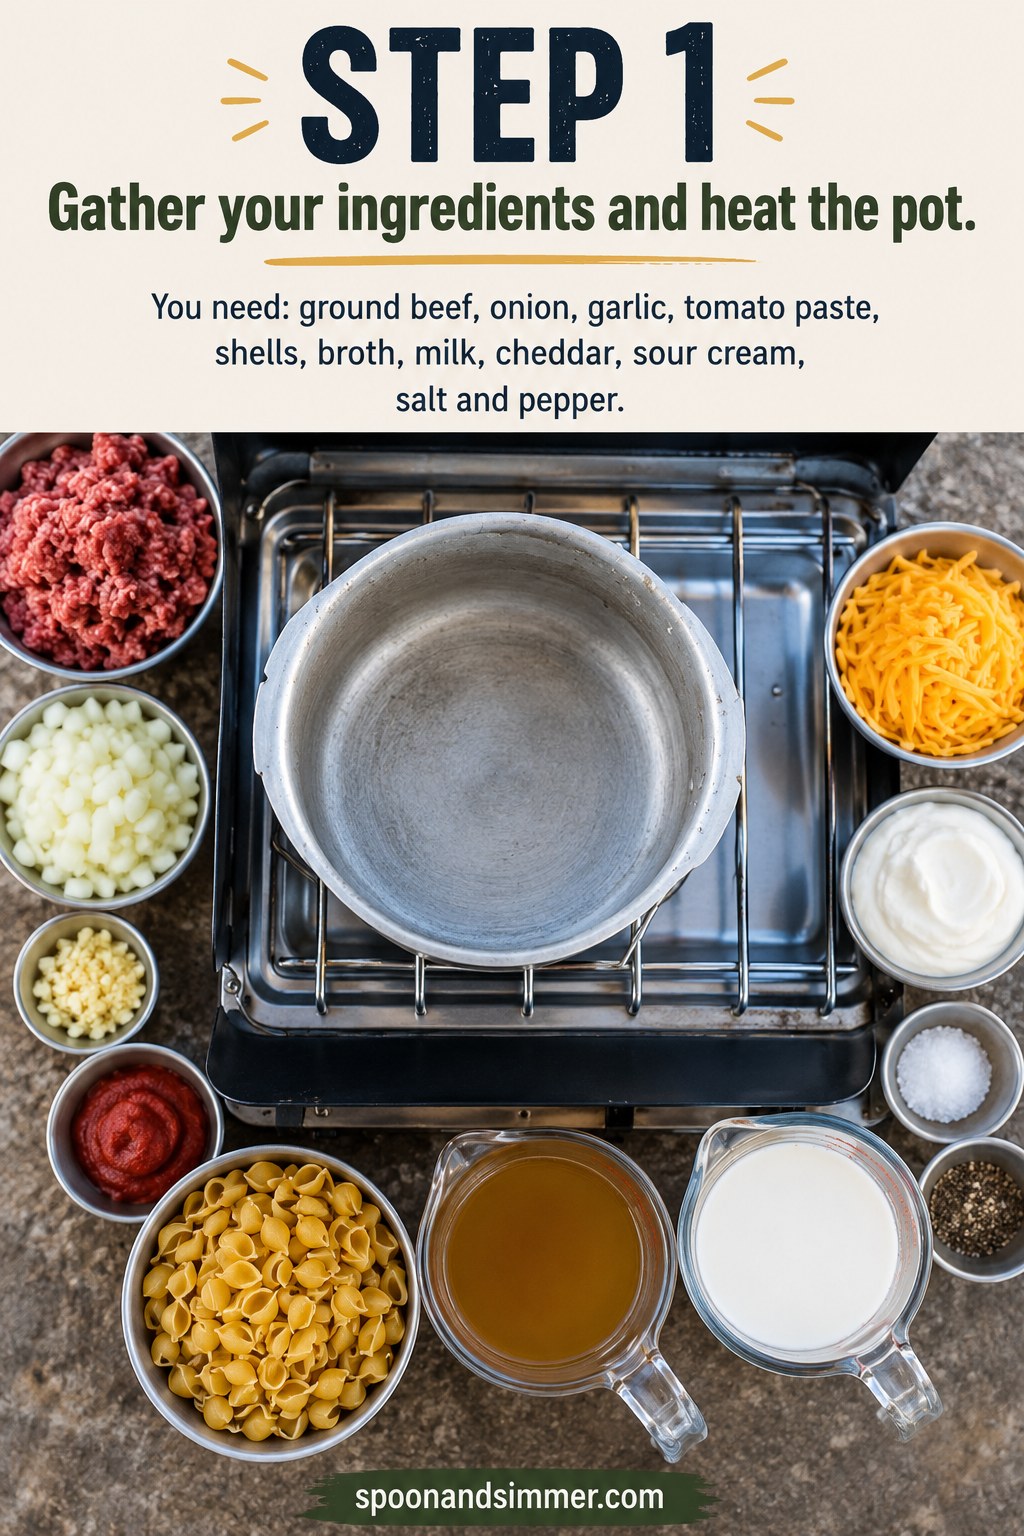
The single biggest camping-cooking lesson I've learned, after plenty of trips where I forgot the can opener: lay everything out before you turn on the burner. That little single-flame camp stove doesn't wait for you to go rummaging through a cooler. In the photo you can see the whole lineup ready to go — ground beef, diced onion, minced garlic, tomato paste, dried shells, broth, milk, cheddar, sour cream, salt and pepper — all measured into containers ahead of time.
- Chop at home if you can: onion and garlic hold fine in a small container for a day or two.
- Pre-measure liquids: broth and milk in labeled jars save you from eyeballing in low light.
- One pot, one pan on the stove: this whole dinner lives in that single aluminum pot from start to finish.
This is the same mise en place habit I drilled into every line cook I worked with — it just matters more when your 'kitchen' fits on a folding table.
Brown the Beef With Onion and Garlic
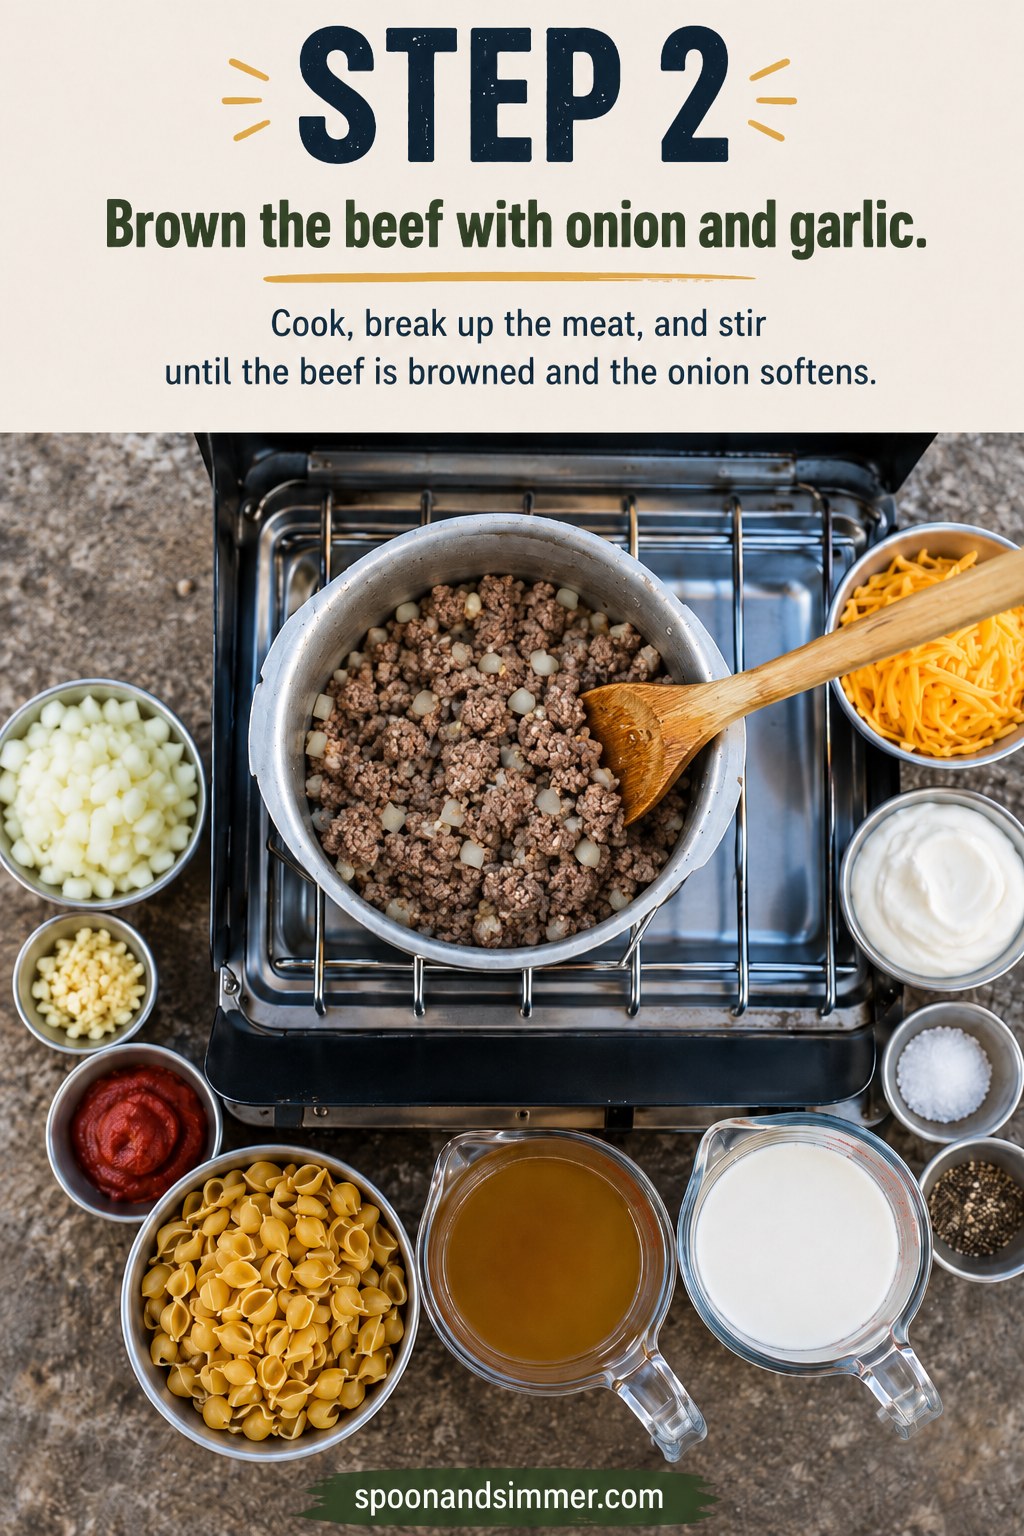
Set the pot directly on the burner over medium-high heat and add the ground beef along with the diced onion and minced garlic all at once — no need to cook the onion separately first when you're working with one pot and one flame. Break the meat up with a wooden spoon as it cooks, about 6 to 8 minutes, until it's browned throughout and the onion has gone soft and translucent, not just warm.
In a restaurant kitchen, we'd never skip this browning step for the sake of speed — the color you build here is where most of the flavor in the whole dish comes from.
You're looking for small, deeply browned crumbles with no pink left and no standing pool of grease. If your beef is on the fattier side, tilt the pot and spoon off the excess before moving on, or the finished sauce will taste greasy instead of rich.
Stir In Tomato Paste and Season
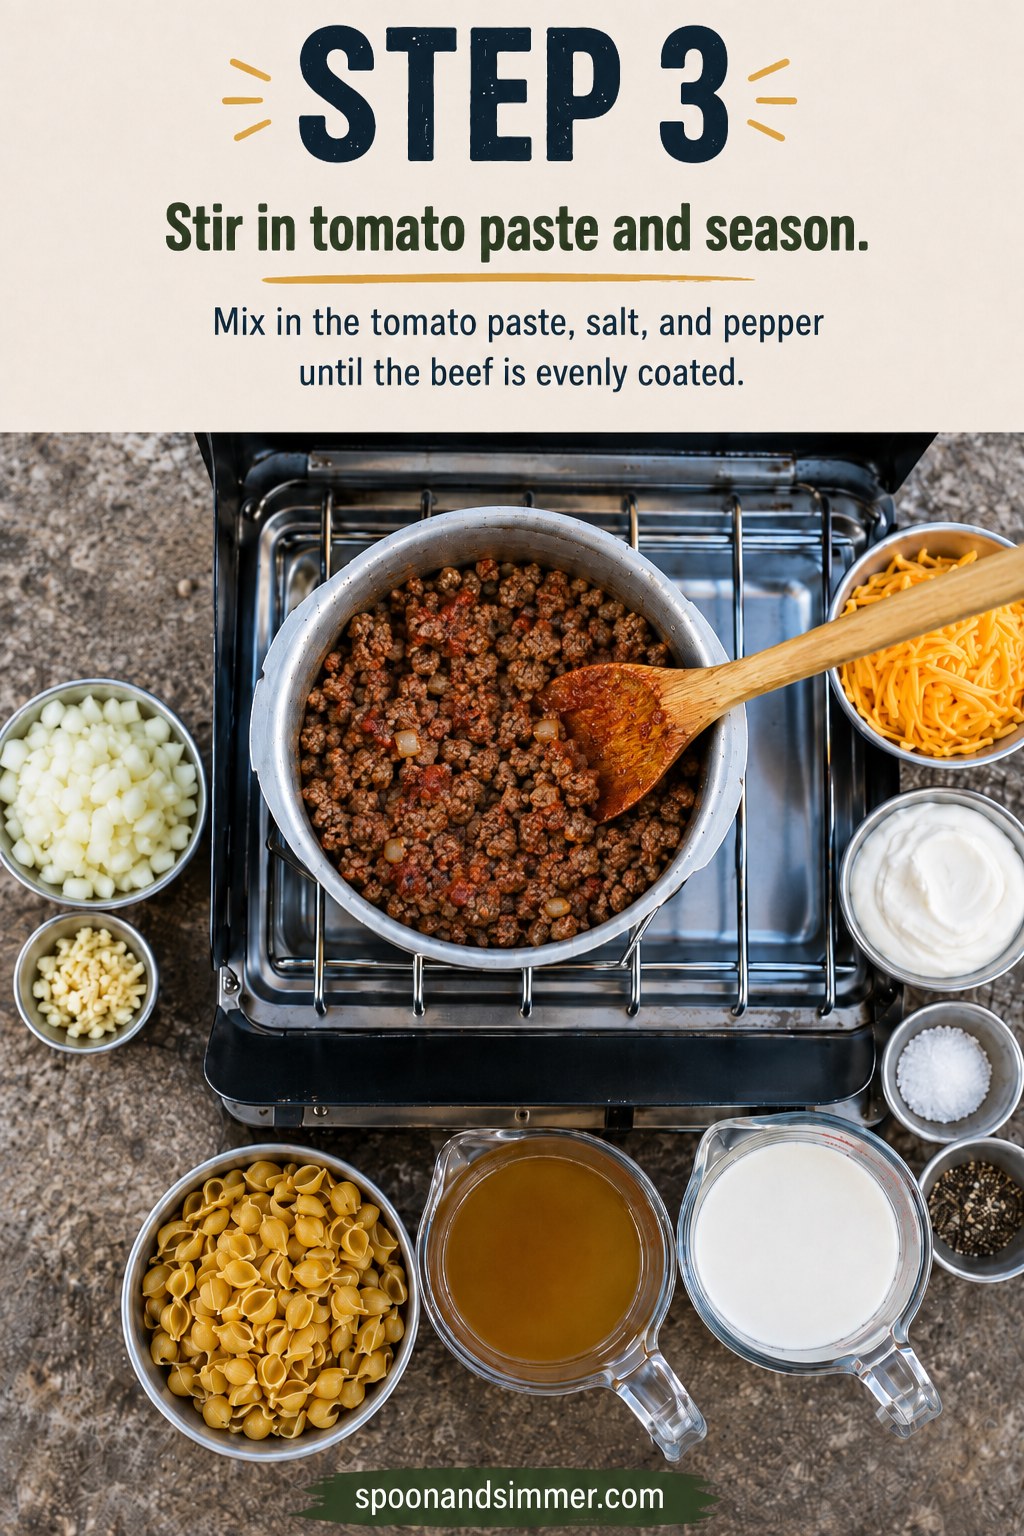
Once the beef is browned, stir in the tomato paste directly into the meat, along with the salt and pepper. You'll see the color shift almost immediately — the pale, greasy-looking crumbles in the last photo turn a deep, rust-red as the paste coats every piece of beef. Keep stirring over the heat for a minute or two; this cooks off the paste's raw, slightly tinny taste and concentrates it into something closer to a quick ragù base.
Don't skip this step even though it feels small — tomato paste added later, once the liquid goes in, never develops the same depth. This is the difference between a hamburger helper that tastes like a packet and one that tastes like dinner.
Add the Broth, Milk, and Pasta Shells
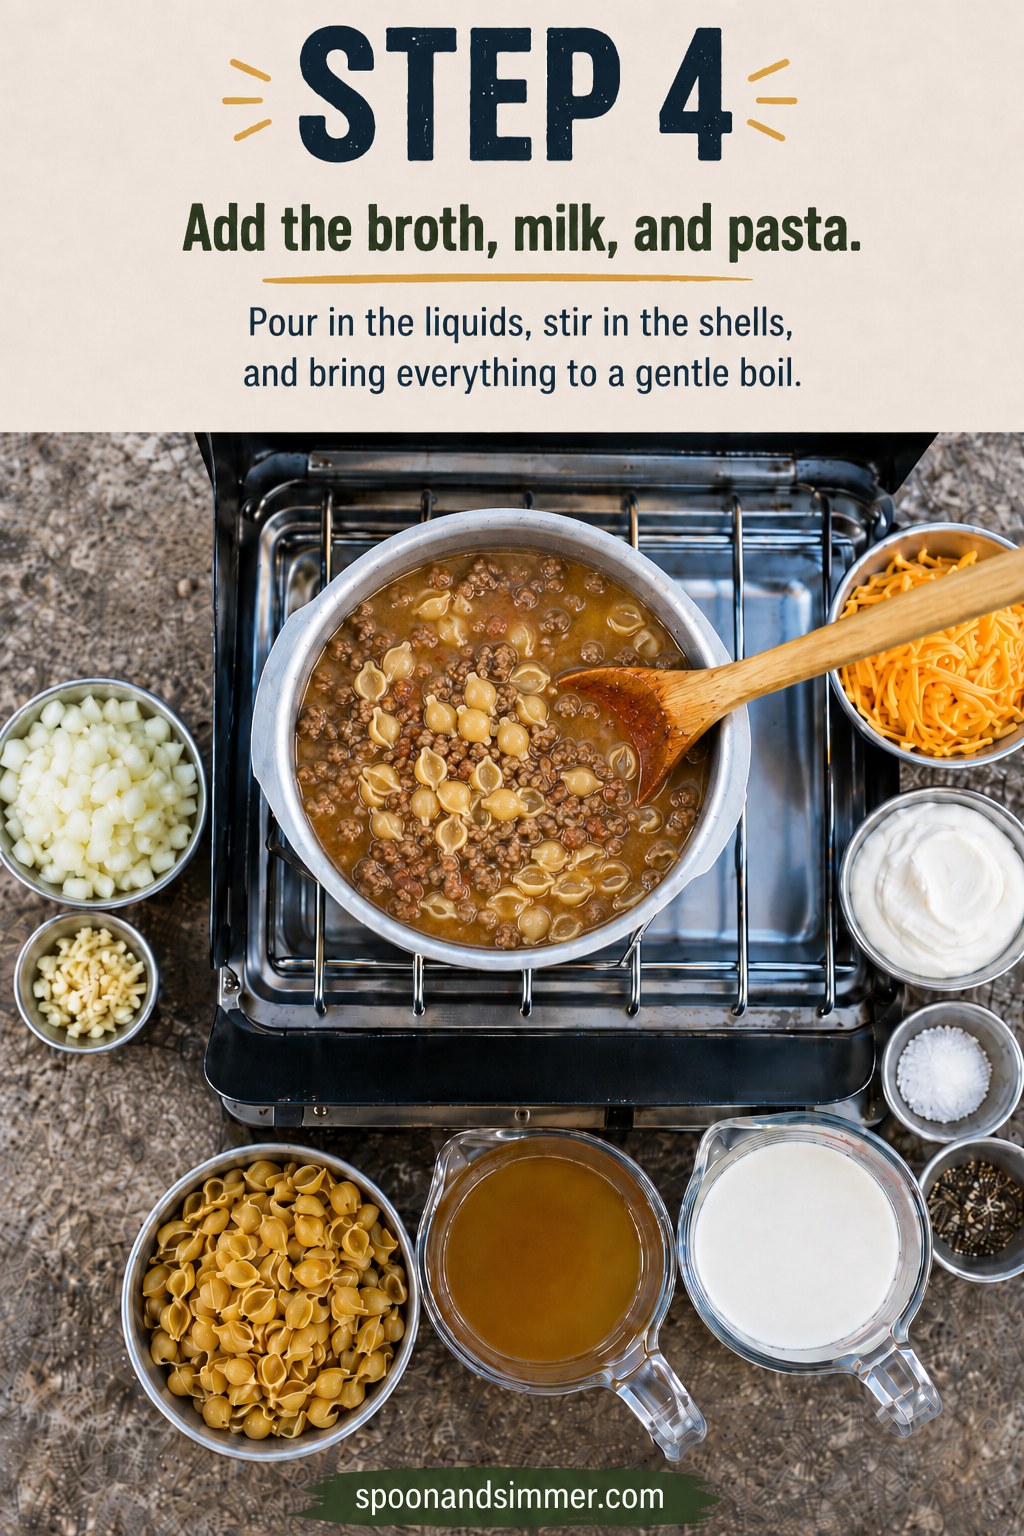
Now the pot fills up: pour in the beef broth and milk, then stir in the dry pasta shells right on top. Scrape the bottom of the pot as you stir to release any browned bits stuck from the beef step — that's flavor, not a mess. Bring everything up to a gentle boil over medium-high heat, which usually takes about 5 minutes from this fully loaded, cold-liquid state.
- Watch for: small, steady bubbles across the whole surface, not just around the edges.
- Stir once it starts bubbling so the shells don't clump together or stick to the bottom of the pot.
- If your pot seems full, that's normal — the pasta will absorb a good amount of that liquid as it cooks.
Simmer Until the Shells Are Tender
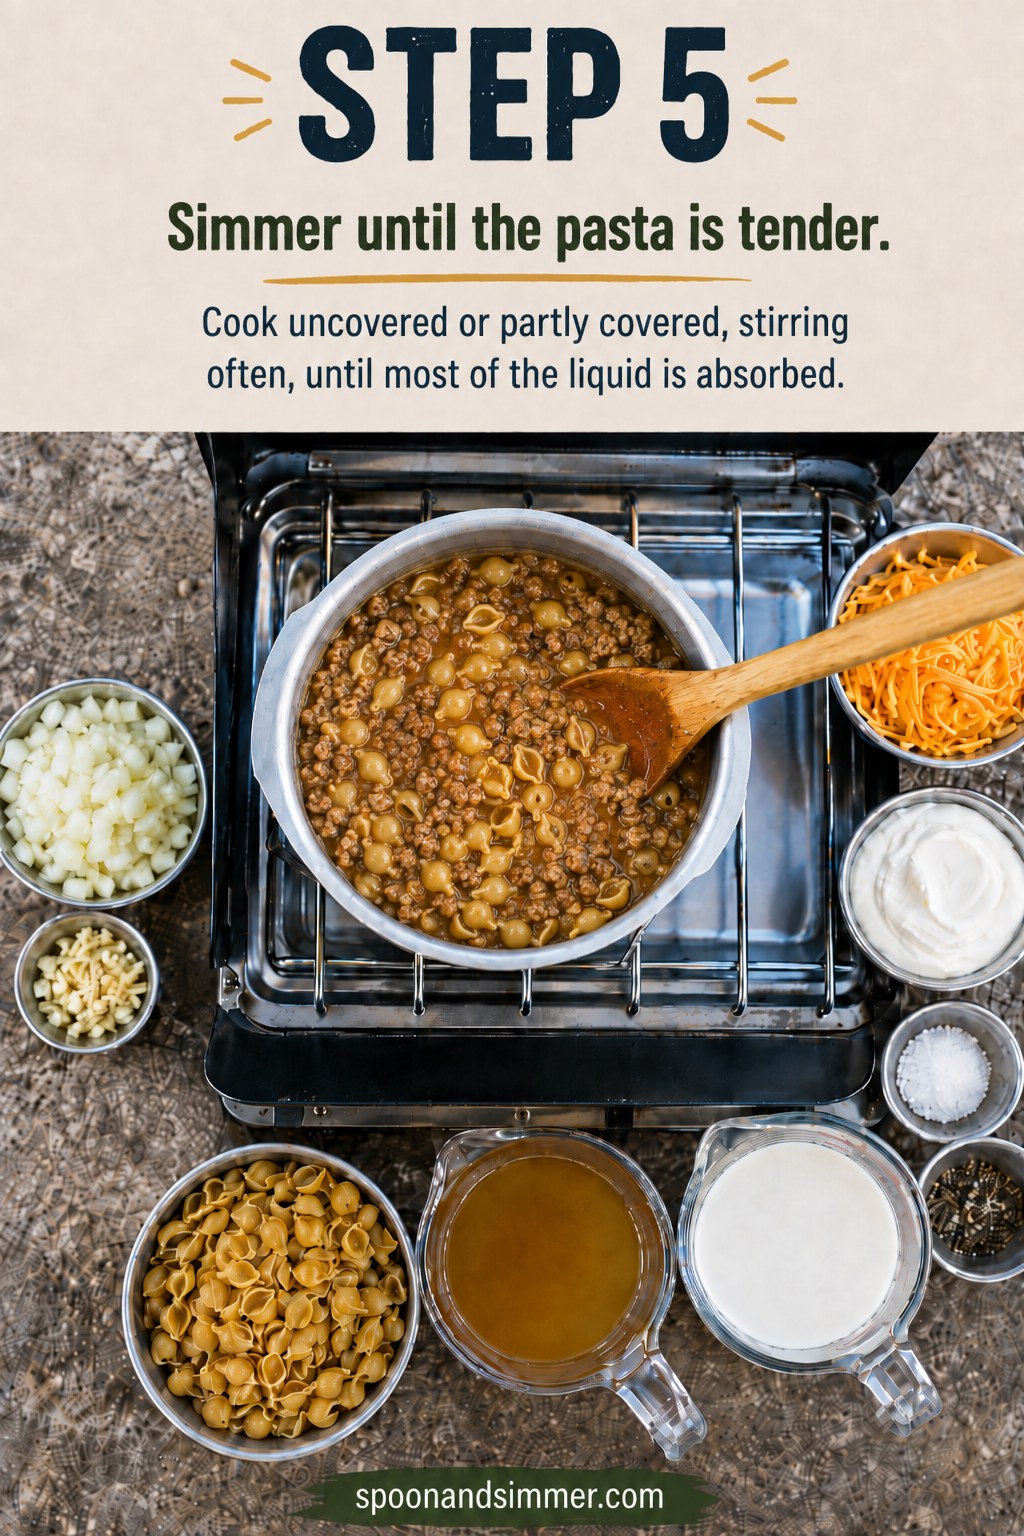
Drop the heat down to a gentle simmer and let the pot cook uncovered, or with the lid cracked, for 10 to 12 minutes, stirring often. This is a stir-often situation, not a set-it-and-walk-away one — with milk in the mix, the bottom can scorch on a camp stove's uneven flame if you leave it too long. You'll know it's ready when the shells are tender to the bite and most of the liquid has been absorbed into a loose, saucy consistency, as you can see forming in the pot here.
If the liquid disappears before the pasta is fully tender, that's an easy fix: splash in a little extra broth or water, a few tablespoons at a time, and keep going. If it's still soupy once the pasta is done, just let it sit off heat for a minute or two — it thickens fast as it cools slightly.
Add the Cheese and Sour Cream
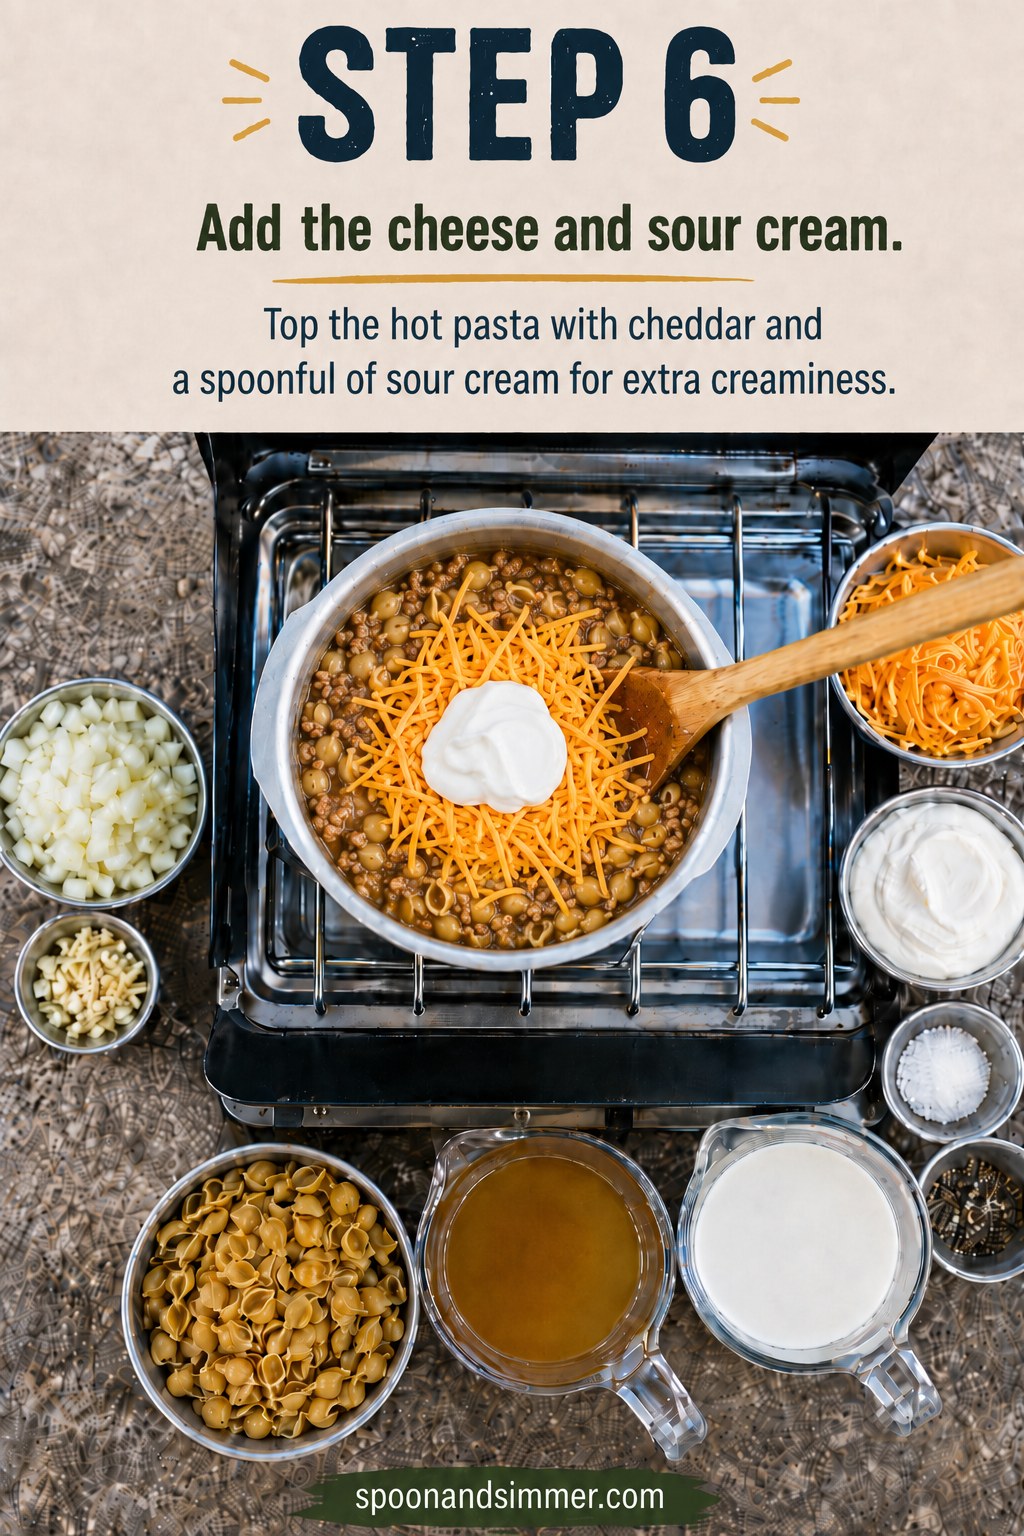
Off the direct flame, if you can manage it
Once the pasta is tender, pull the pot back from the hottest part of the burner or lower the heat right down. Pile the shredded cheddar over the top and add a generous spoonful of sour cream, exactly the way it looks stacked and melting in this shot — a mound of cheese and a soft white dollop sitting right in the center of the pot.
The sour cream does double duty here: it rounds out the acidity from the tomato paste and gives the finished sauce that hamburger-helper creaminess without needing a roux or extra flour, which matters a lot when you're cooking with limited pantry space at a campsite.
Stir Until Creamy and Finish With Parsley
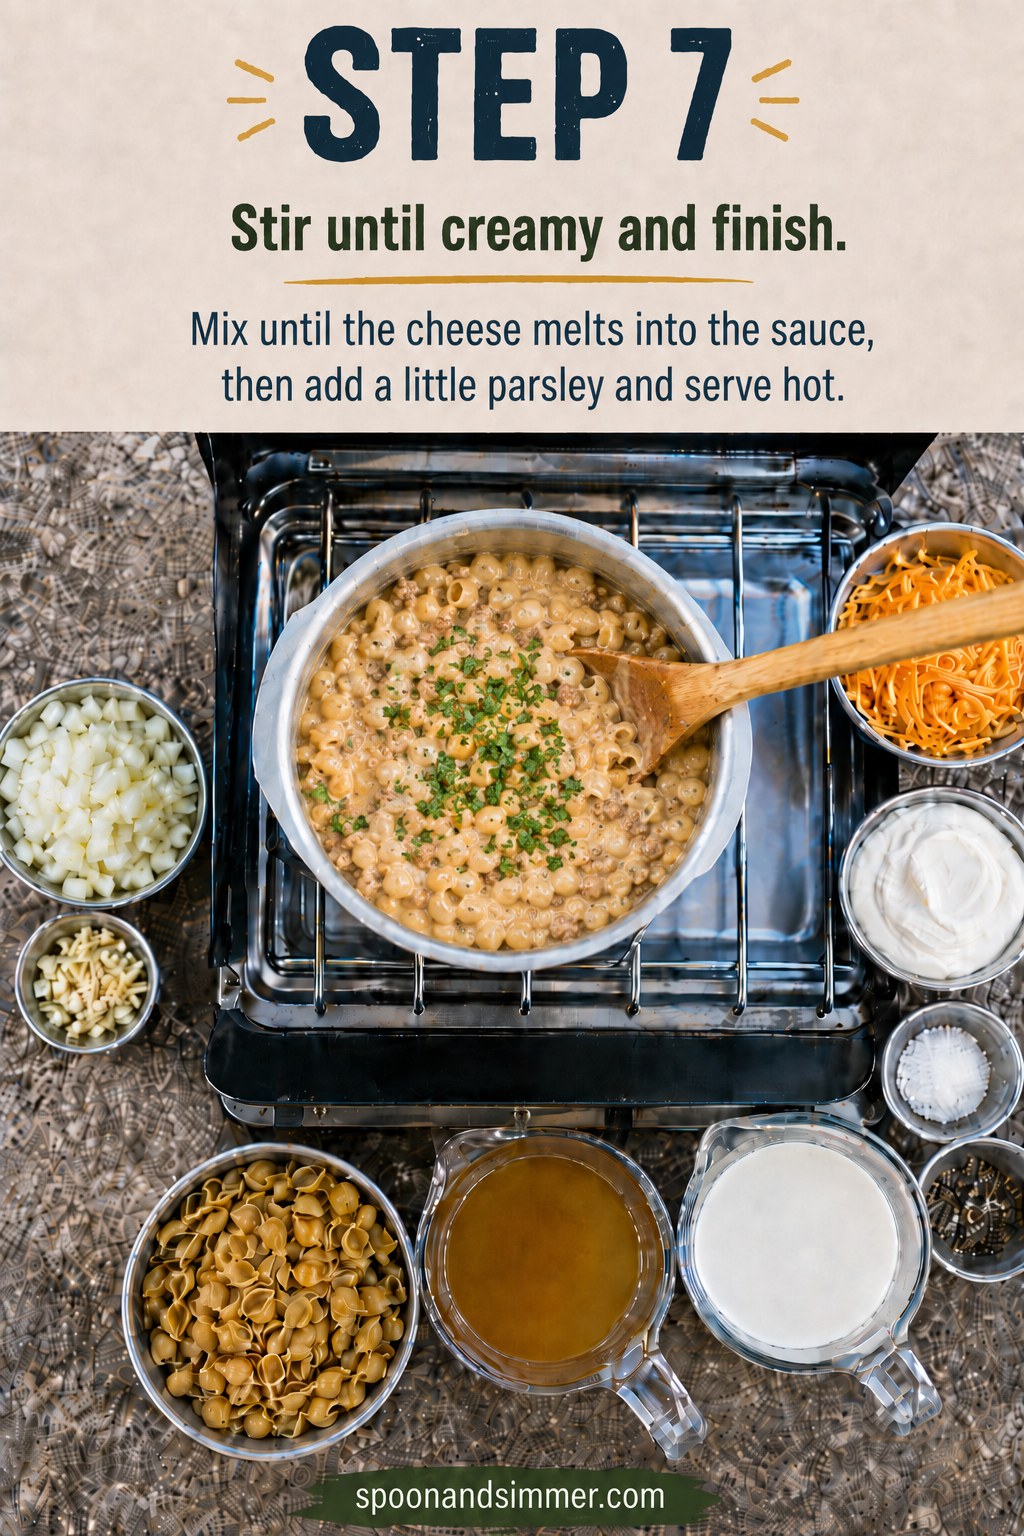
Stir everything together steadily until the cheese fully melts into the sauce and coats every shell — you're looking for the pale, glossy, uniform color you can see in the pot now, a big shift from the mounded cheese and sour cream of the last step. This takes about 1 to 2 minutes of active stirring over low heat; go slow so the sauce comes together smooth instead of breaking or turning grainy.
Finish with a scatter of chopped parsley right over the top. It's a small thing, but it wakes up all that rich, cheesy sauce and makes the pot look like dinner instead of a science experiment, which matters more than I'd like to admit when you're eating off a folding table.
Serve It Right Out of the Pot
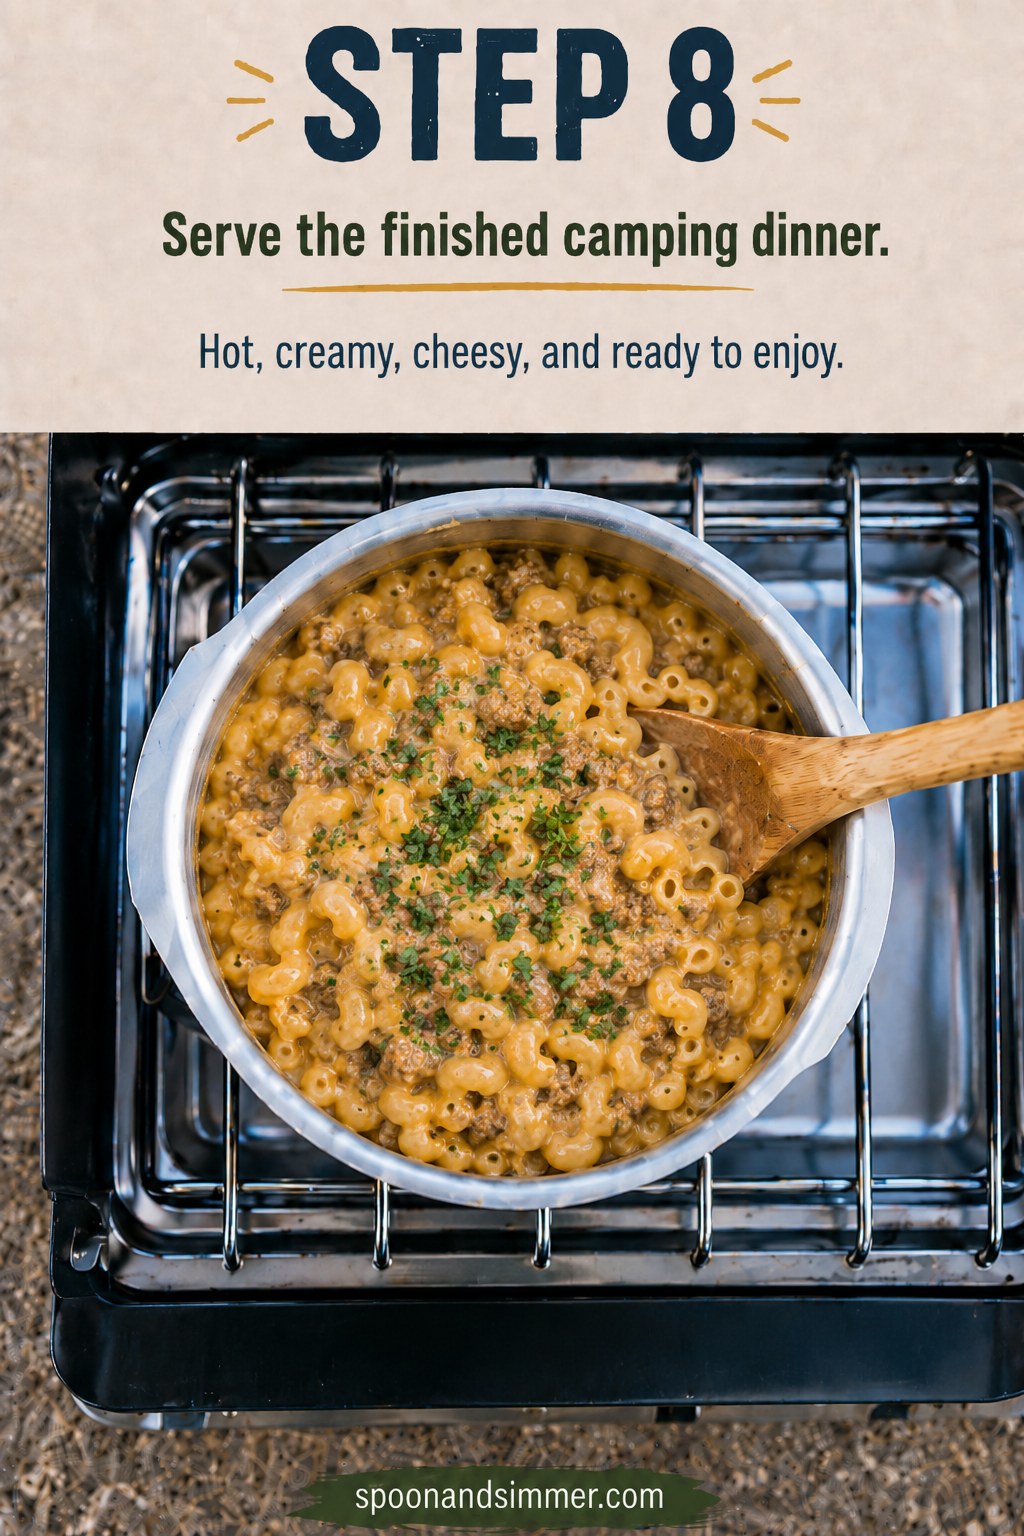
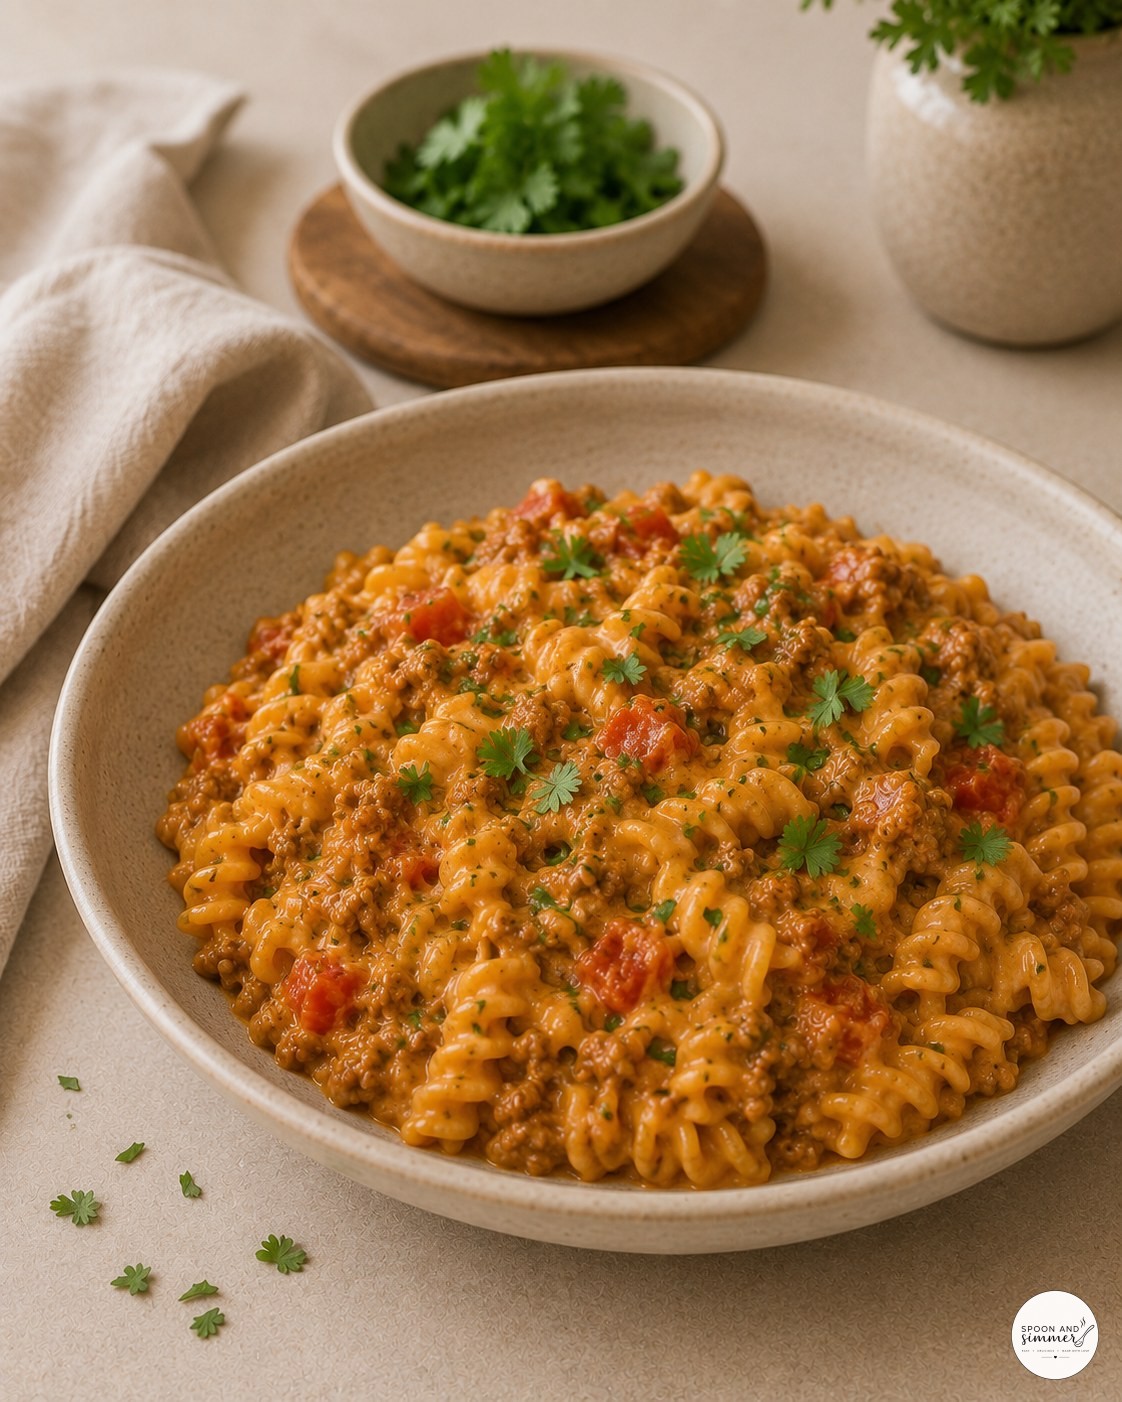
Serve it straight from the pot, spoon into bowls, and eat while it's hot — this dish does not wait around patiently, and the sauce tightens up noticeably as it cools. What you see here is exactly what comes off the burner: hot, creamy, cheesy shells with visible flecks of beef and parsley, no extra dishes involved.
- Leftovers: cool completely and store in an airtight container up to 3 days in a cooler or fridge.
- Reheating: a splash of milk or broth stirred in over low heat brings the sauce back to life — it thickens a lot once cold.
- Stretch it further: stir in a drained can of corn or black beans if you're feeding hungrier campers.
Here Is What This One-Pot Camping Hamburger Helper Actually Looks Like In My Kitchen
I tested this recipe at home before it ever went into a cooler bag for a real trip, and I wanted to show that version too — apron on, kids' snack bowls still on the counter, no styling tricks. Seeing the real hands-on process, mid-stir and a little imperfect, tells you more than any staged shot ever could. This is the same pot, same burner setup, same ingredients you've already seen, just caught in the middle of an actual dinner getting made.
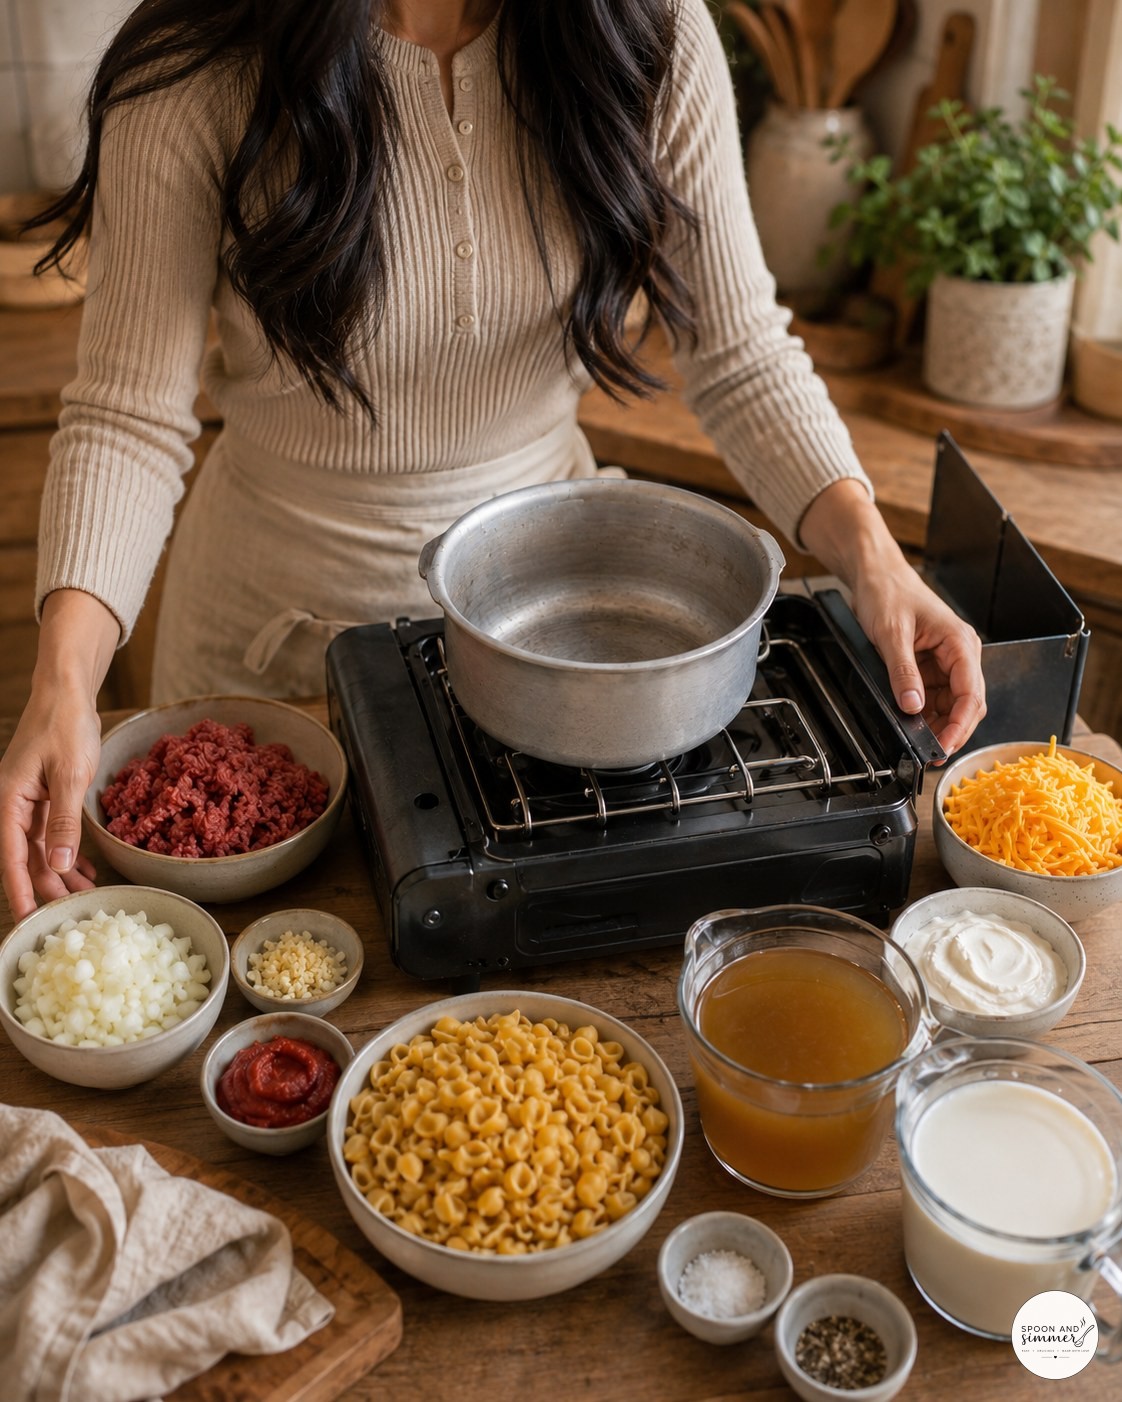
This is my usual setup before I start any camp-stove recipe — everything within arm's reach on the table so I'm not digging through a cooler mid-cook. I keep the pot empty and dry until the burner is actually lit, since a wet pot on a butane stove hisses and slows your heat-up time.
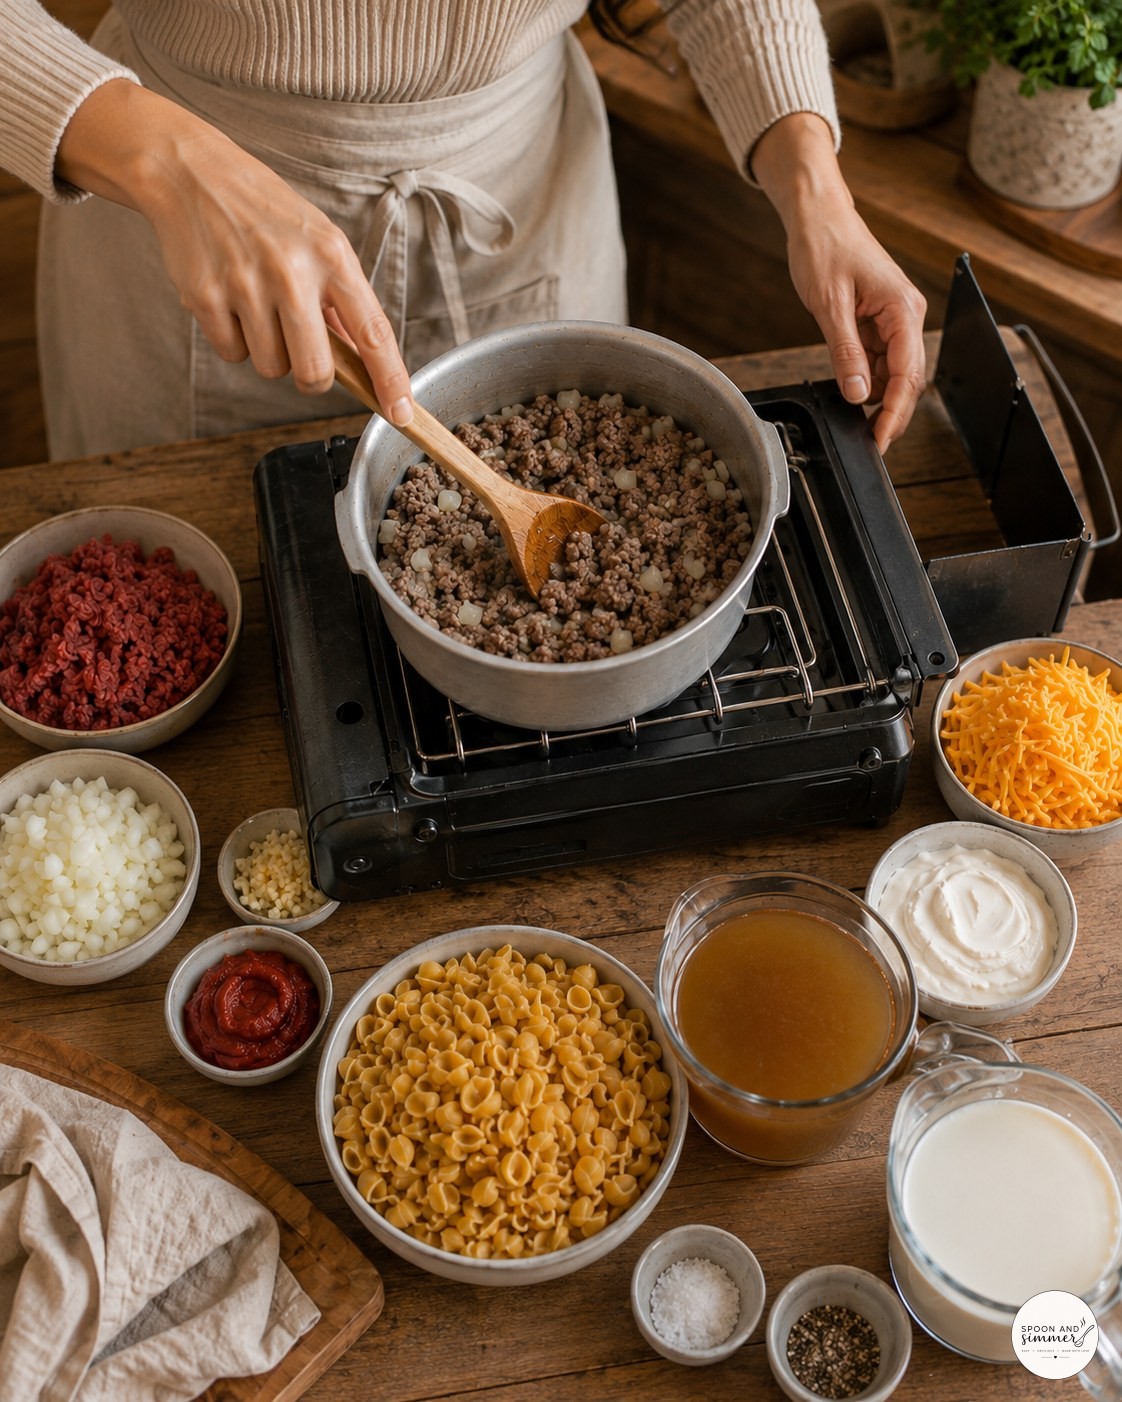
Here I'm breaking up the beef with a wooden spoon partway through browning — you can see it's not fully done yet, still some pink patches, which is normal at this stage. I always keep a spoon rest or folded towel nearby on trips, because there's rarely a clean spot to set a hot spoon down.
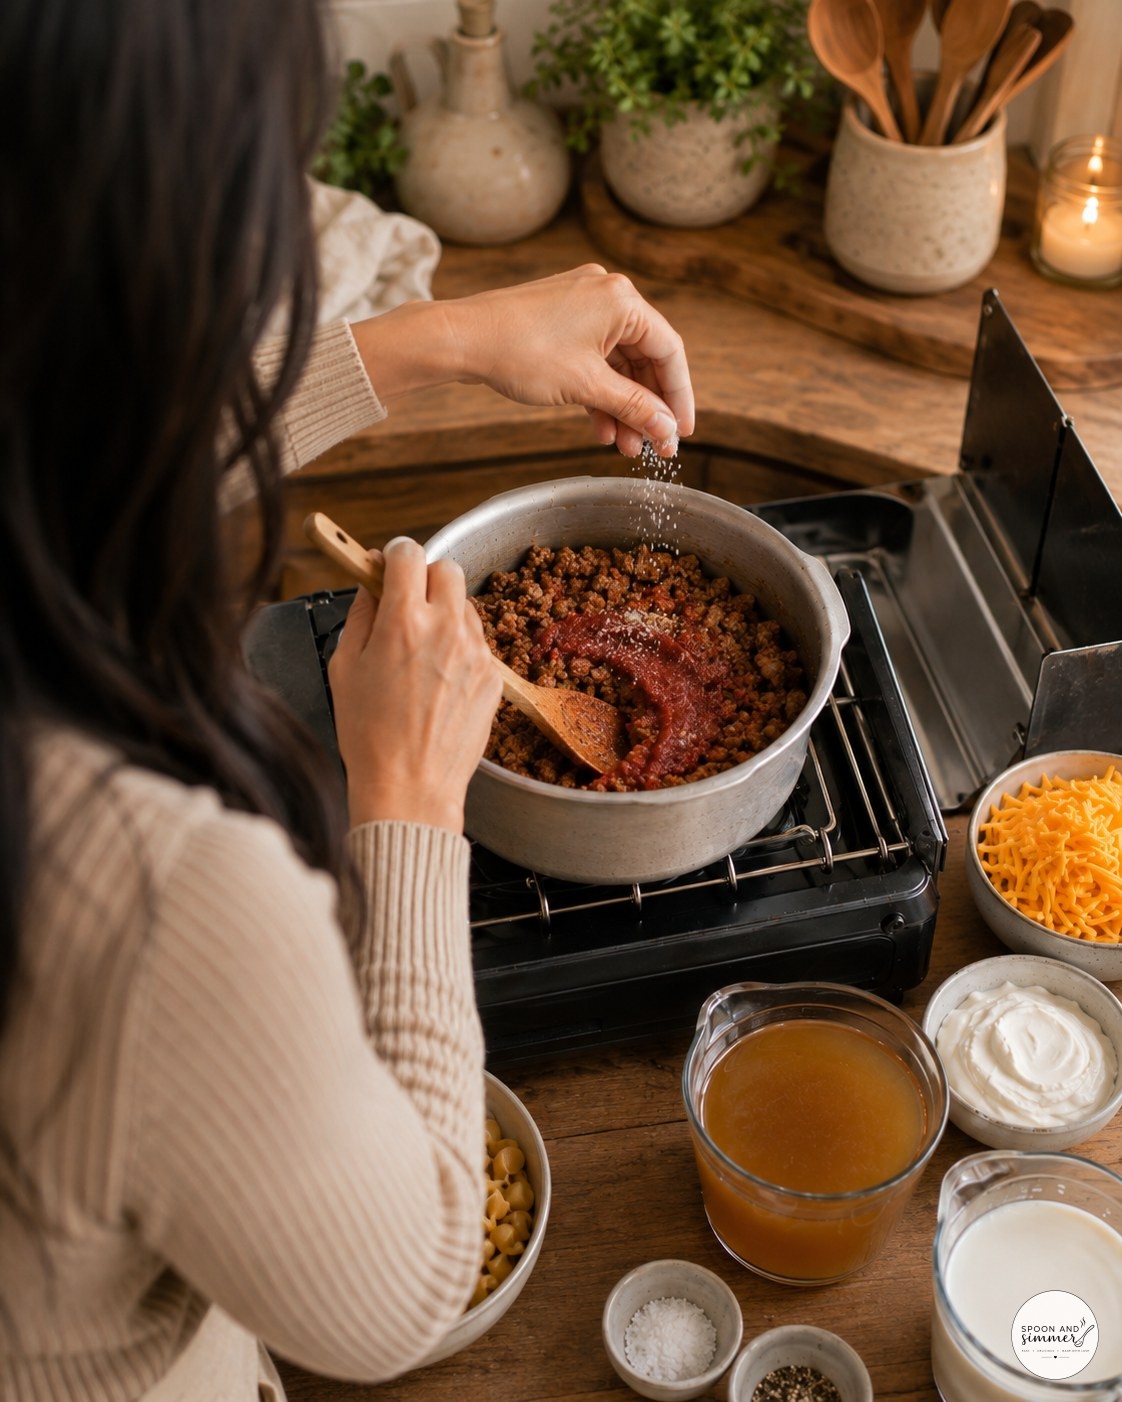
This shot catches the exact moment the tomato paste hits the pan, before it's fully stirred through. I like sprinkling the salt in from a little height like this so it distributes evenly instead of dumping in one spot and oversalting a corner of the meat.
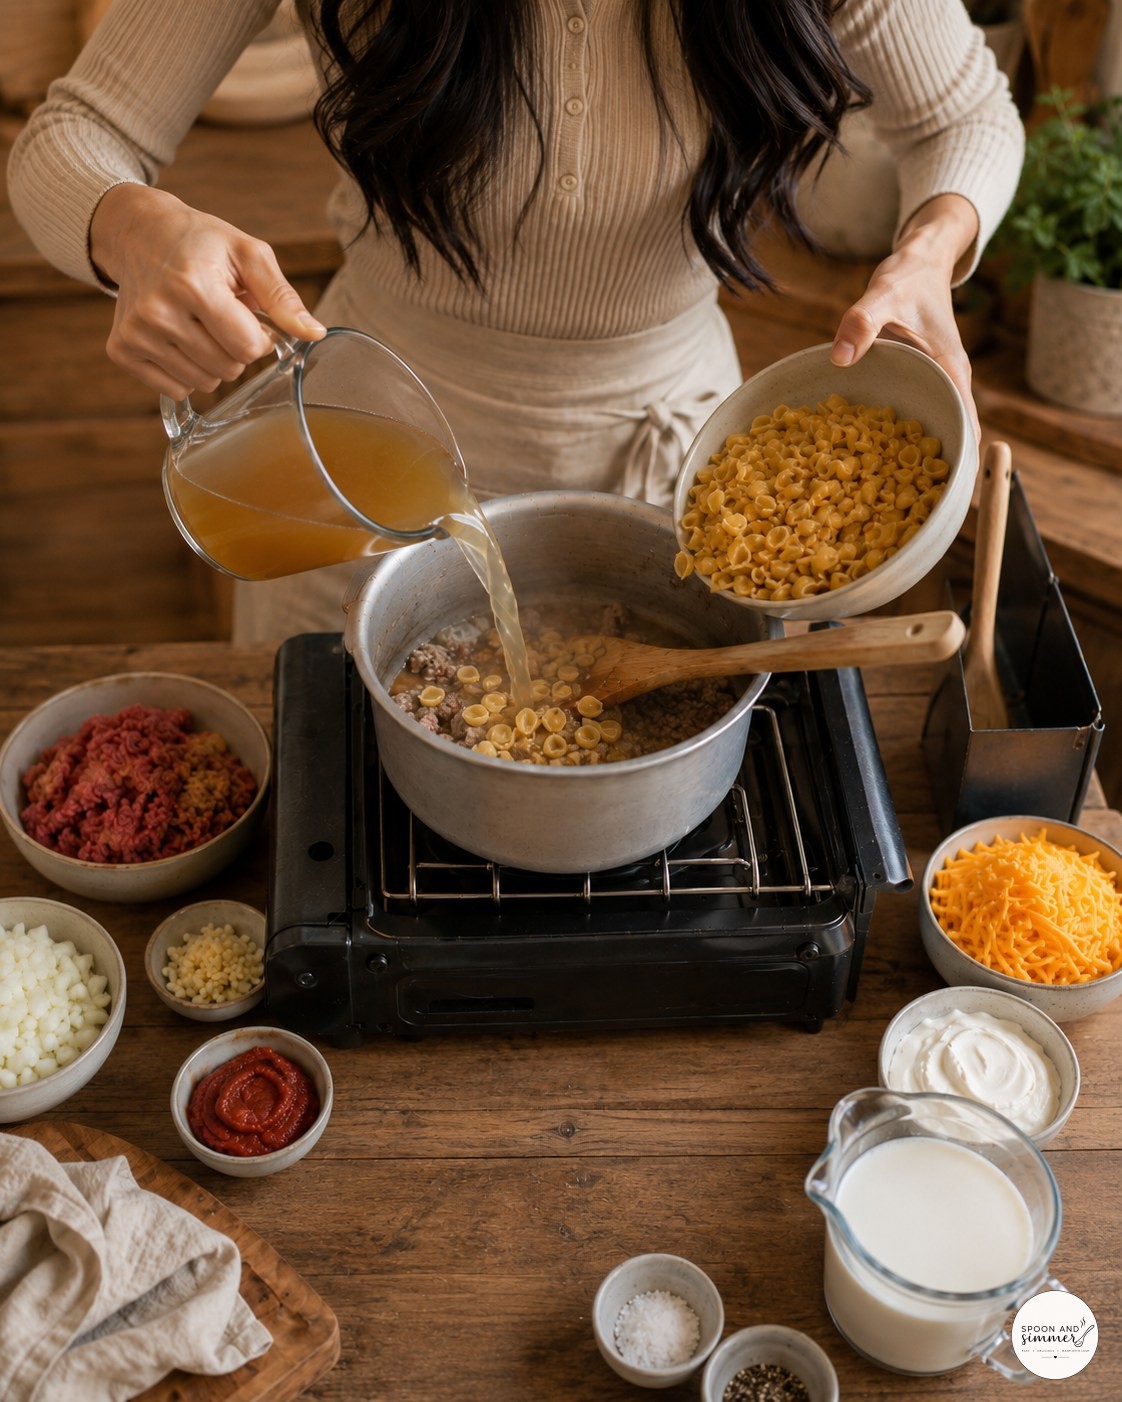
Pouring the broth in one hand and the dry shells in the other is a two-handed move I only do once the pot is steady on the burner grate, since a wobbly camp stove and hot broth is not a combination you want. Notice the shells are still floating on top here, before any stirring evens things out.
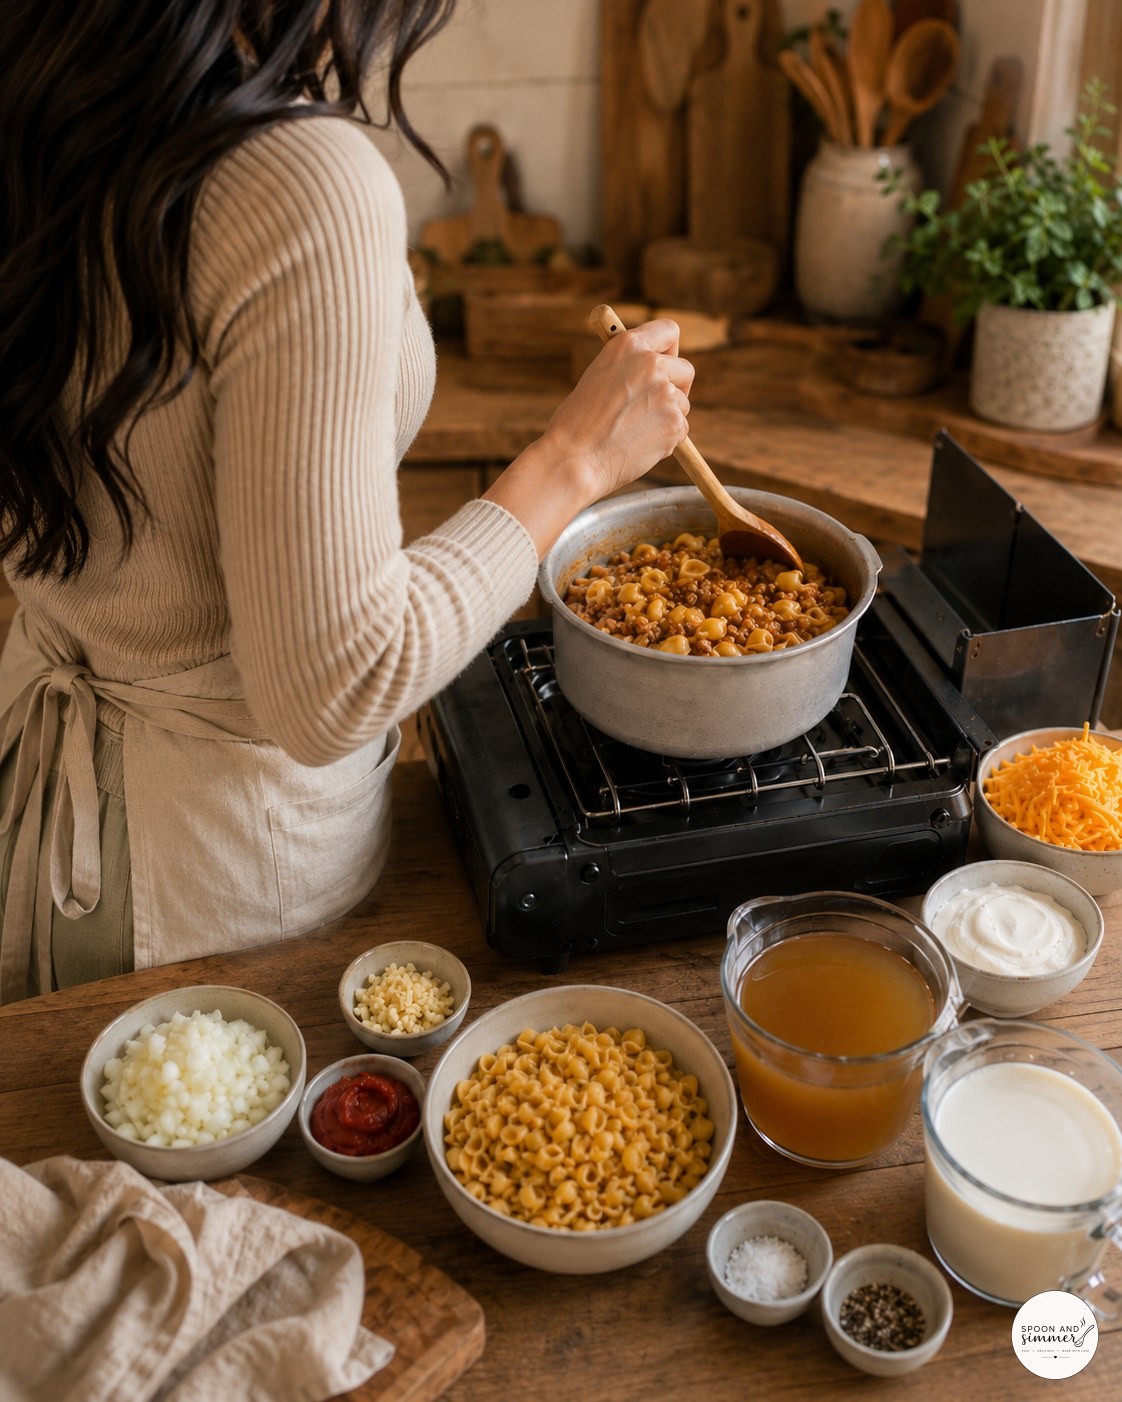
This is the stirring rhythm I fall into during the simmer — steady, slow circles, checking the bottom of the pot every pass or two. On a real trip with wind around, I've learned to angle my body to block the flame a bit so it doesn't gutter and slow the simmer down.
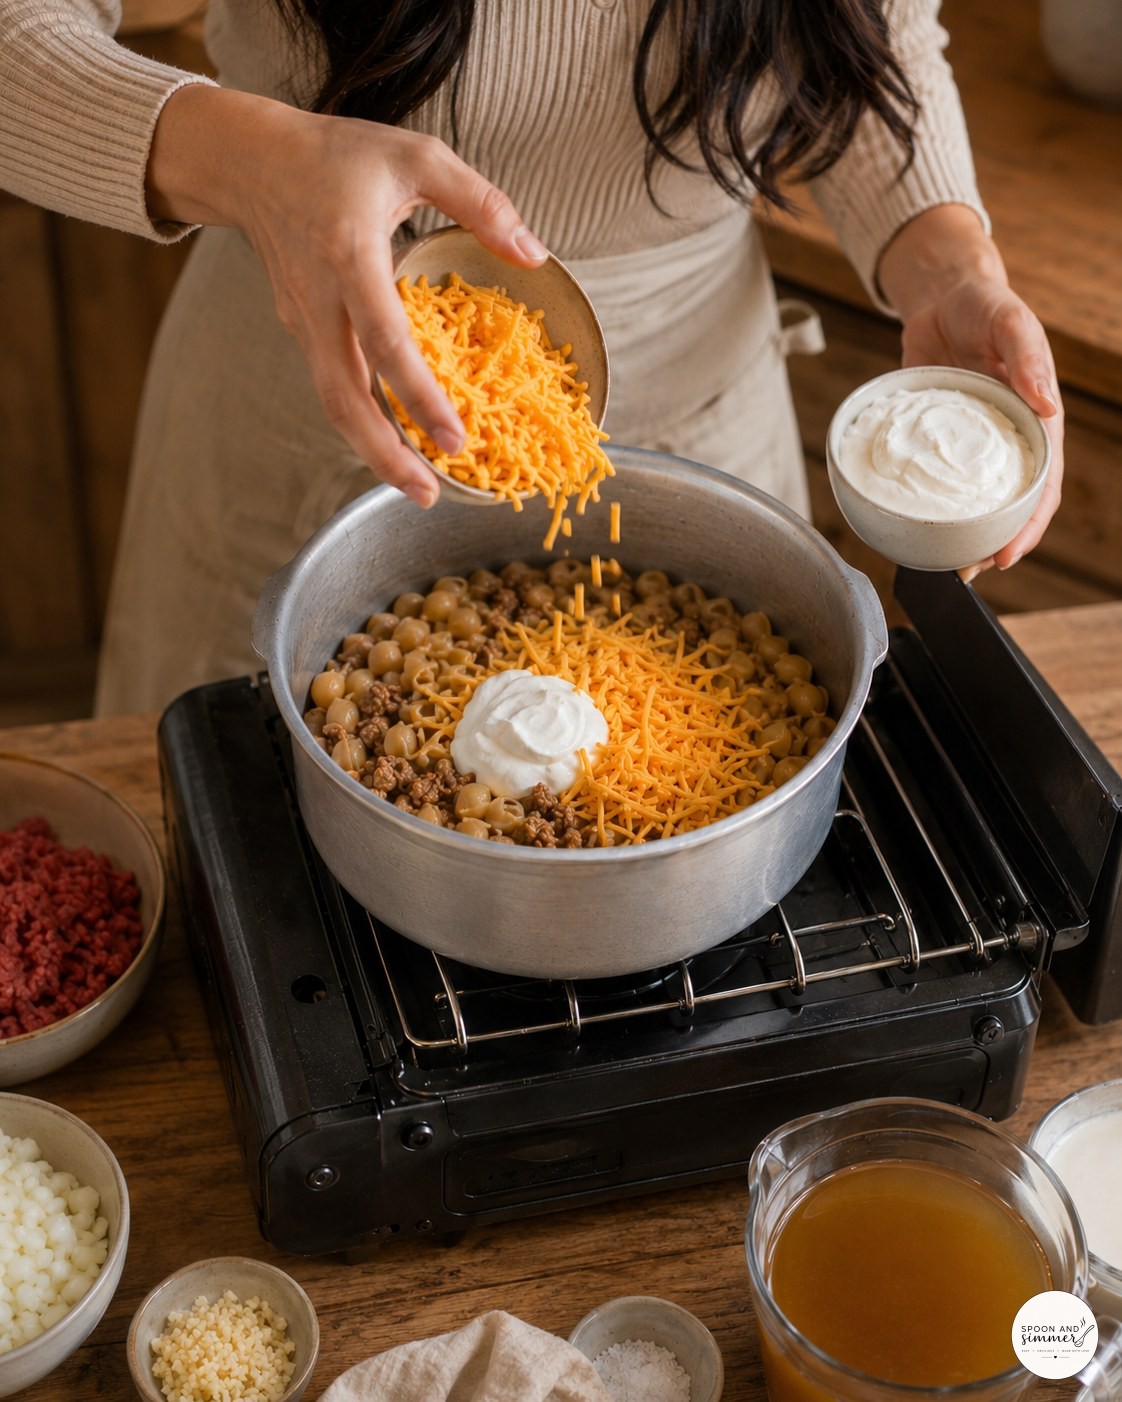
You can see both hands full here, cheese in one and sour cream in the other, adding them almost simultaneously so neither sits on the hot pasta too long before I start stirring. This is also usually the point where whoever's around the table starts hovering, waiting for a taste.
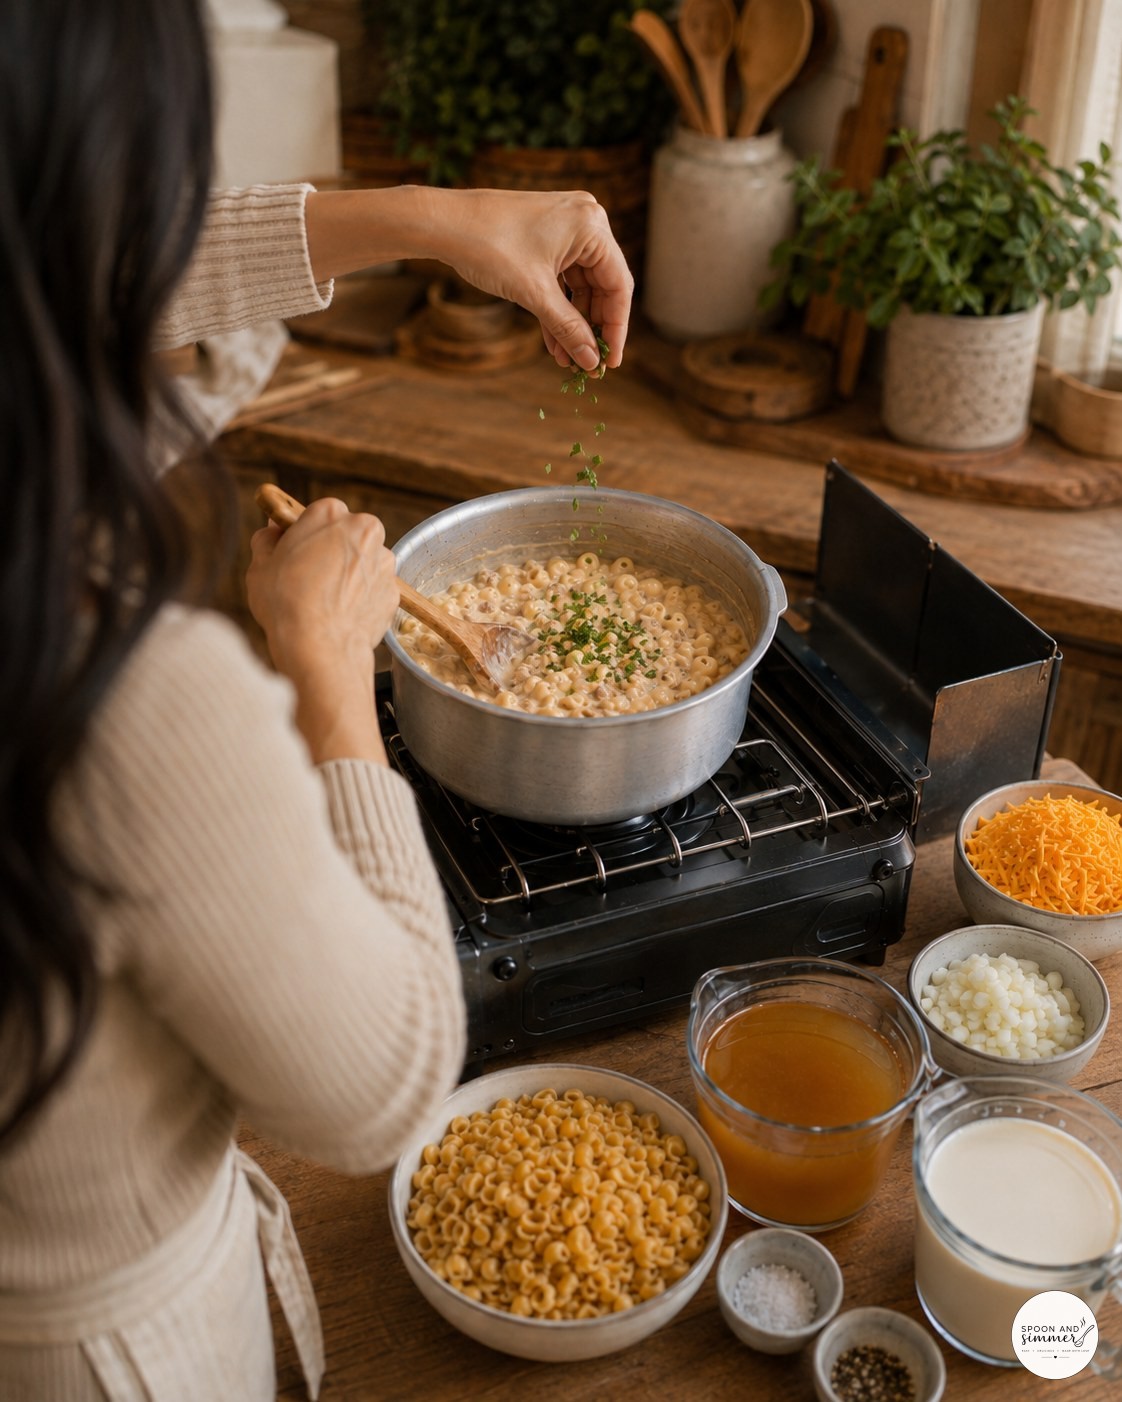
Sprinkling the parsley over the finished, creamy pasta is genuinely my favorite part of any pot dinner — it's such a small gesture but it changes how the whole dish reads once it's plated. I always pull a few extra sprigs for garnish since kids tend to pick around anything green mixed in.
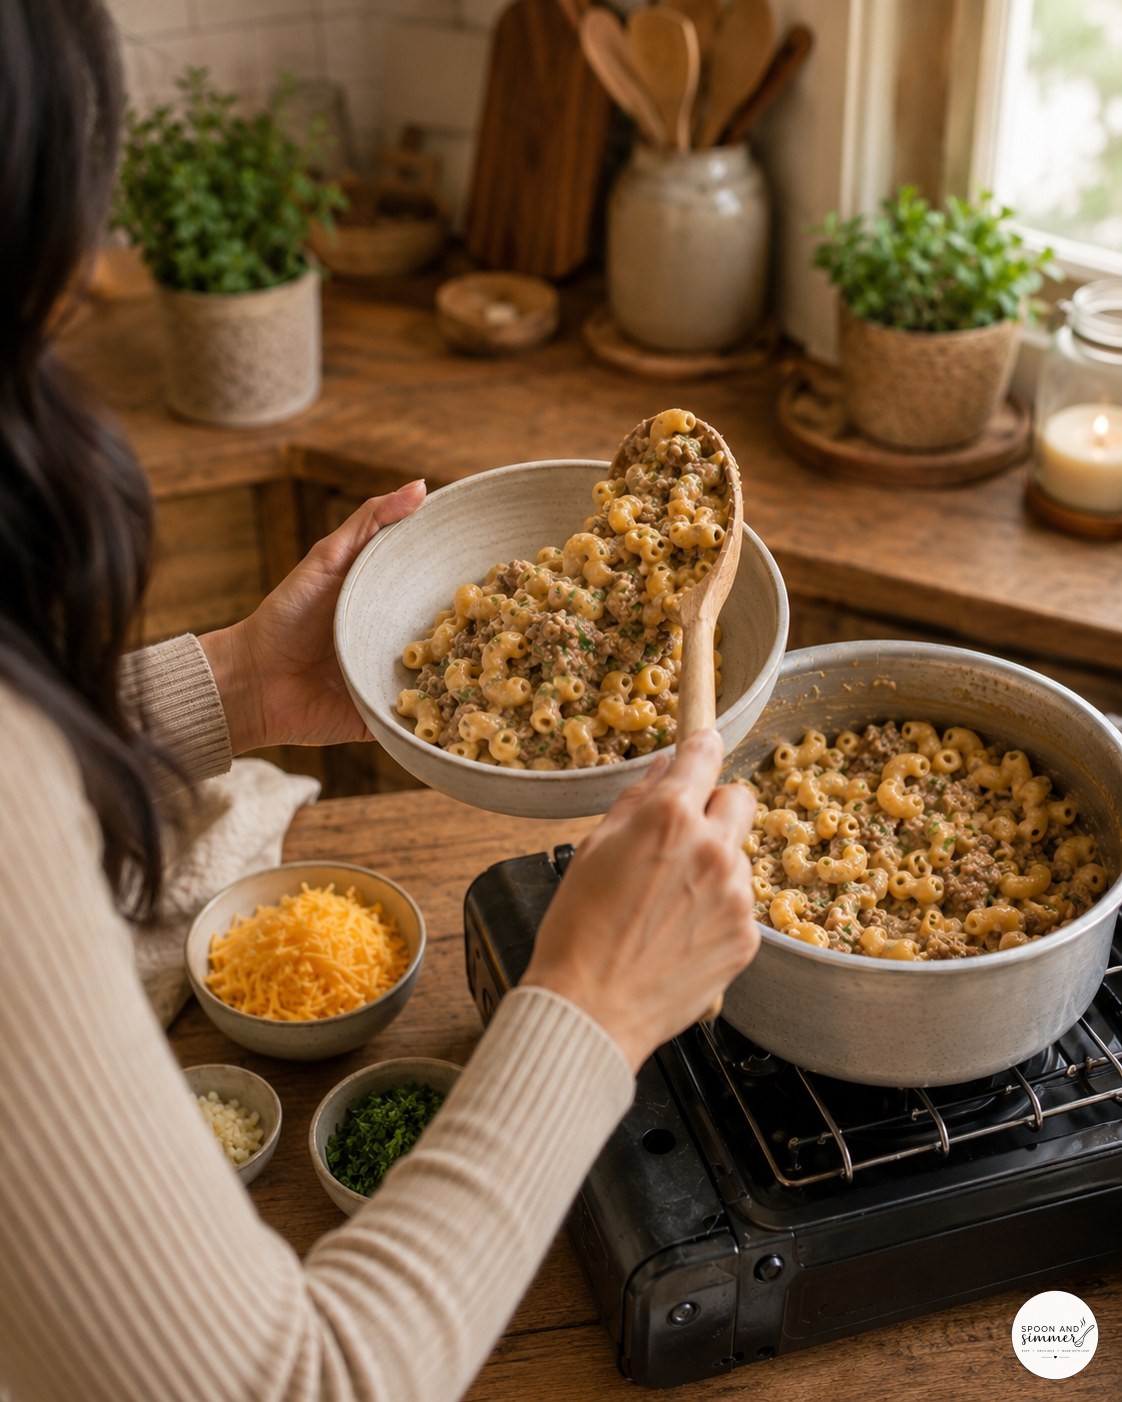
Scooping the first bowlful always shows you the real texture of the batch — you can see the sauce clinging to the shells here rather than pooling, which tells me the simmer time was right. This is the bowl that usually gets handed off first, before I even serve myself.
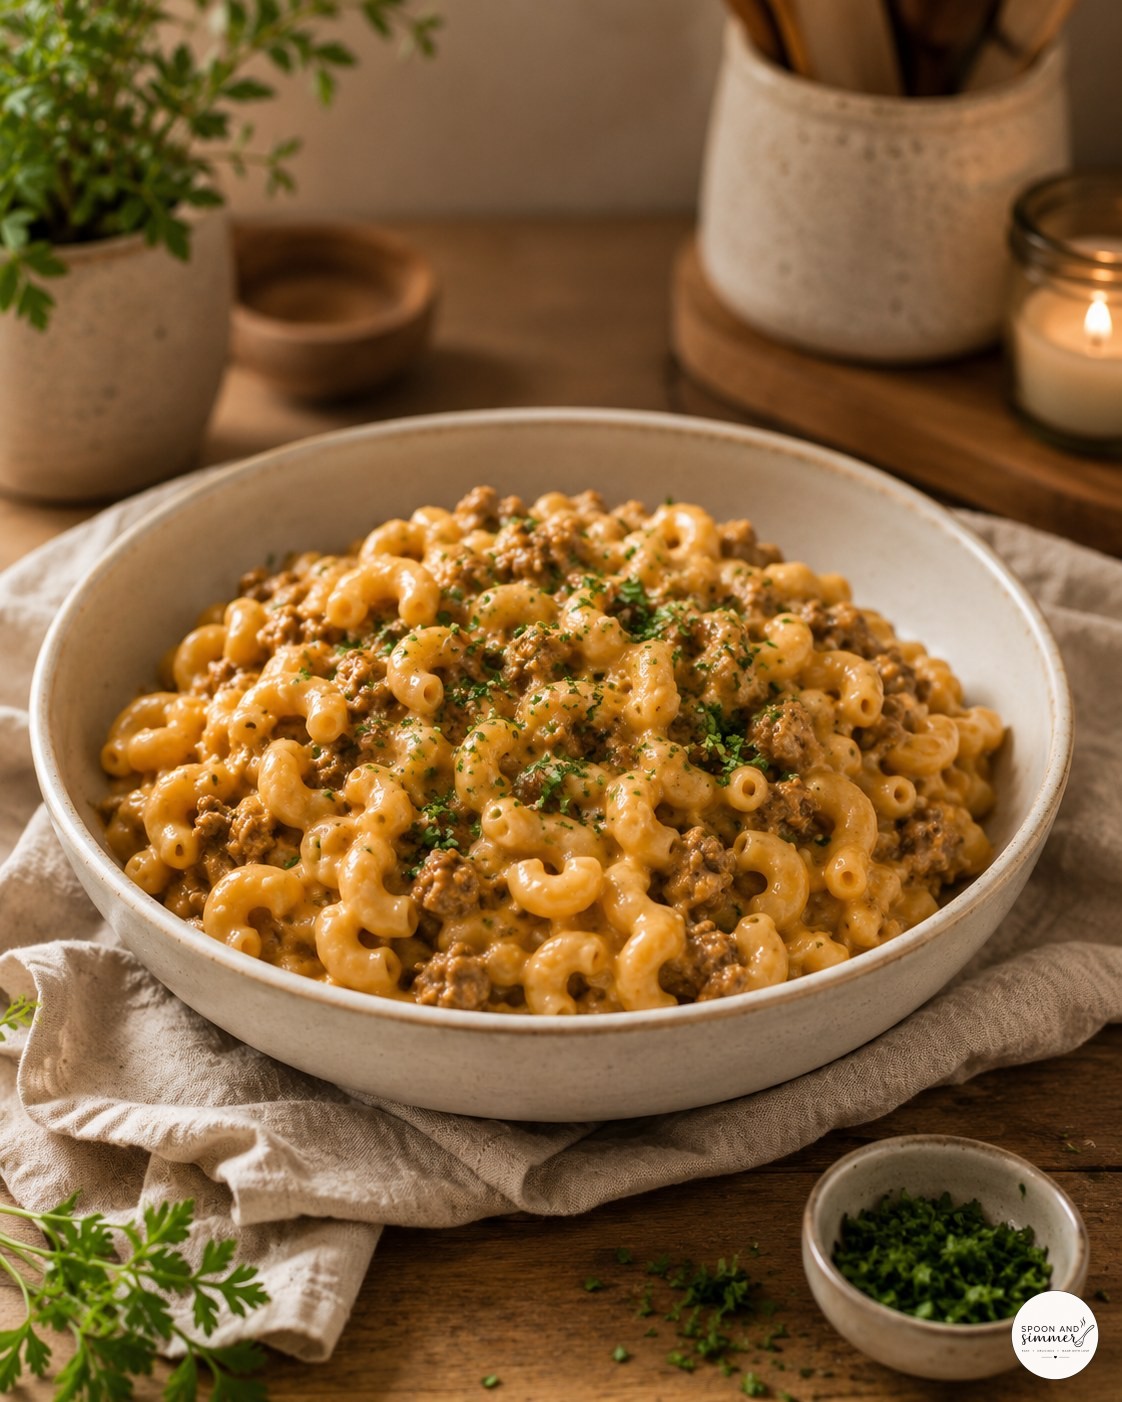
This is the finished bowl, plated properly for once, next to the pot instead of eaten straight out of it. It's the same recipe from the campsite, just dressed up a little for the table, proof that the one-pot method holds up whether you're outdoors or at home.
This is the kind of dinner that makes a campsite feel like a real kitchen for twenty minutes, and it disappears just as fast whether you're eating it under a tarp or at your own counter on a Tuesday.

- For the beef base
- For the pasta
- To finish

Frequently Asked Questions
Can I make this on a regular kitchen stovetop instead of a camp stove?
Yes, the method is identical — one pot, medium-high heat for browning, then a gentle simmer for the pasta. It just happens to be built to work equally well on a single camp burner, which is why it travels.
Can I use gluten-free pasta shells?
You can, but watch the simmer time closely since gluten-free shells often need a couple of minutes less and can go mushy if you walk away, especially with milk already in the pot.
Can I prep this ahead and finish it at the campsite?
Brown the beef, onion, and garlic at home, cool it, and pack it in a container. At camp, reheat it in the pot and pick up right at the tomato paste step to save time and one dish at home.
What can I swap for sour cream if I don't have it on hand?
Plain Greek yogurt works well and adds the same tang. In a pinch, a little extra cheese and a splash more milk gets you close, though the sauce will be slightly less rich.