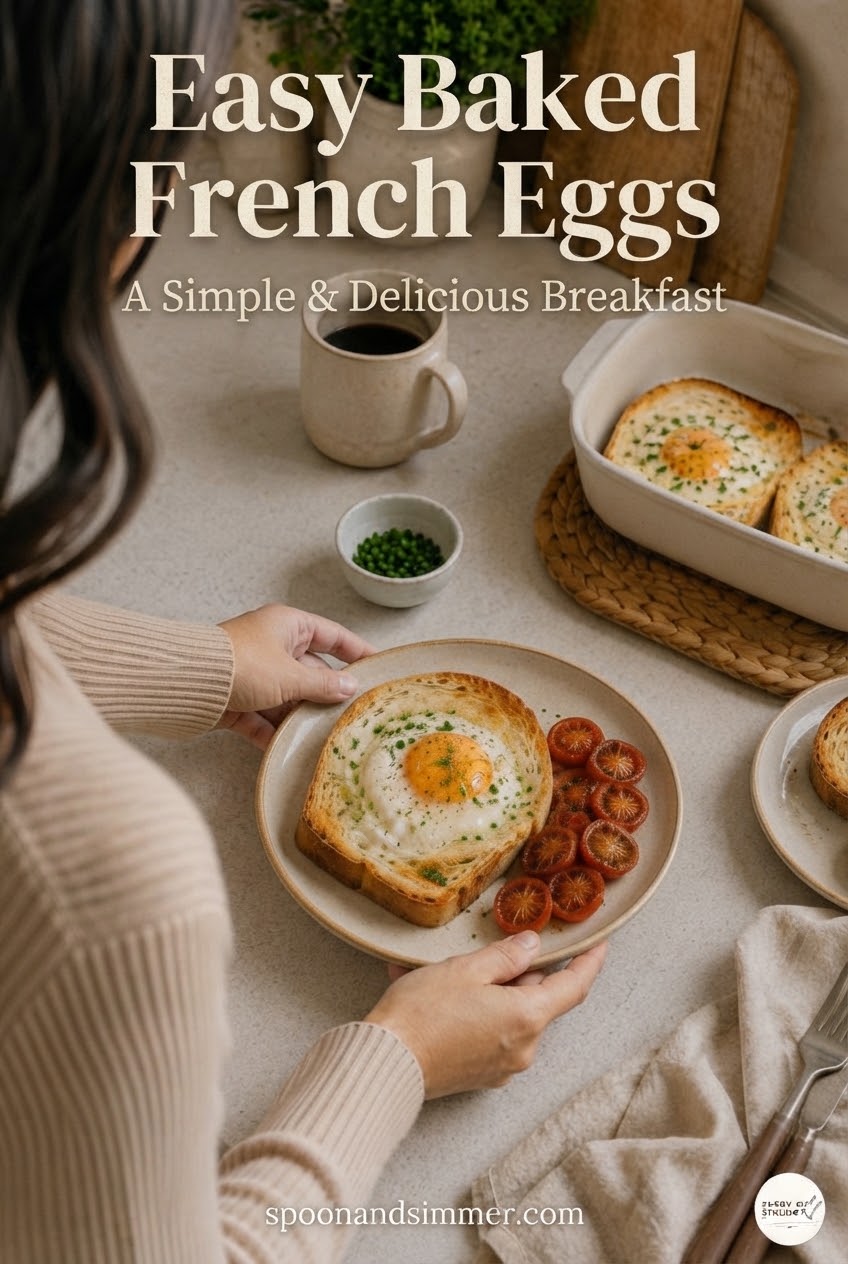
The first time I made these, Dave wandered into the kitchen in his socks and ate one straight off the plate before I could photograph it. Baked French eggs are basically a favor you do yourself on a slow morning: six eggs, one muffin tin, a splash of cream, and an oven that does all the real work while you make toast. No stovetop babysitting, no flipping anything, and the texture rivals anything I ever plated in six years of restaurant mornings.
Why Baked French Eggs Are My New Favorite Lazy-Weekend Trick
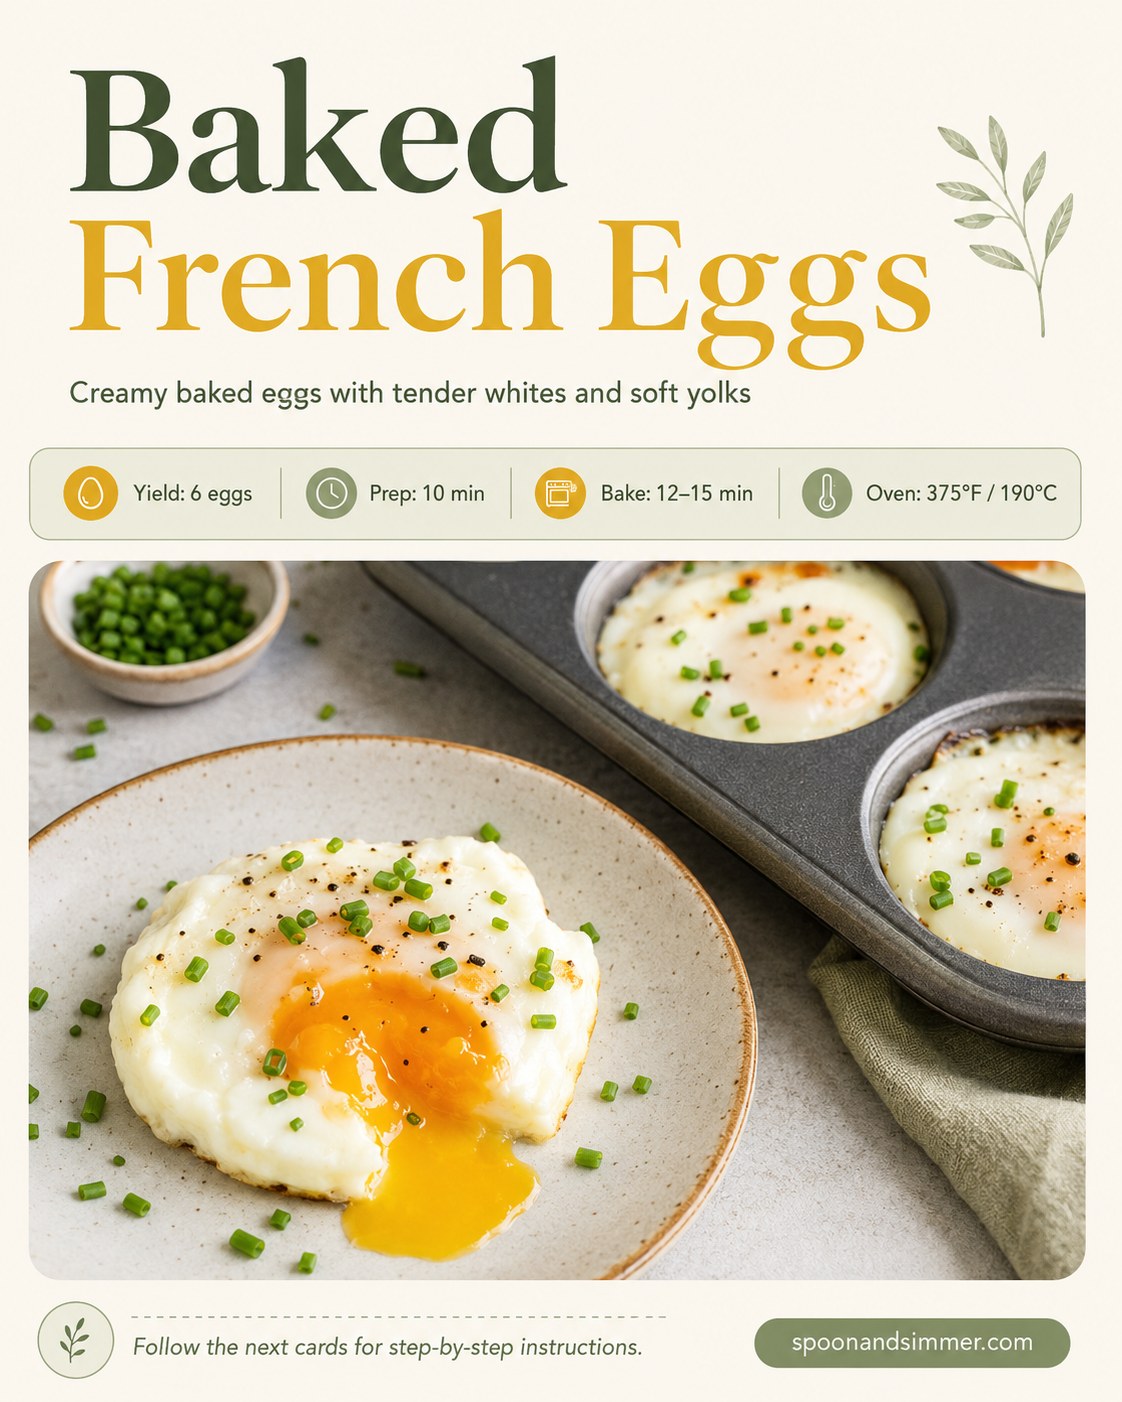
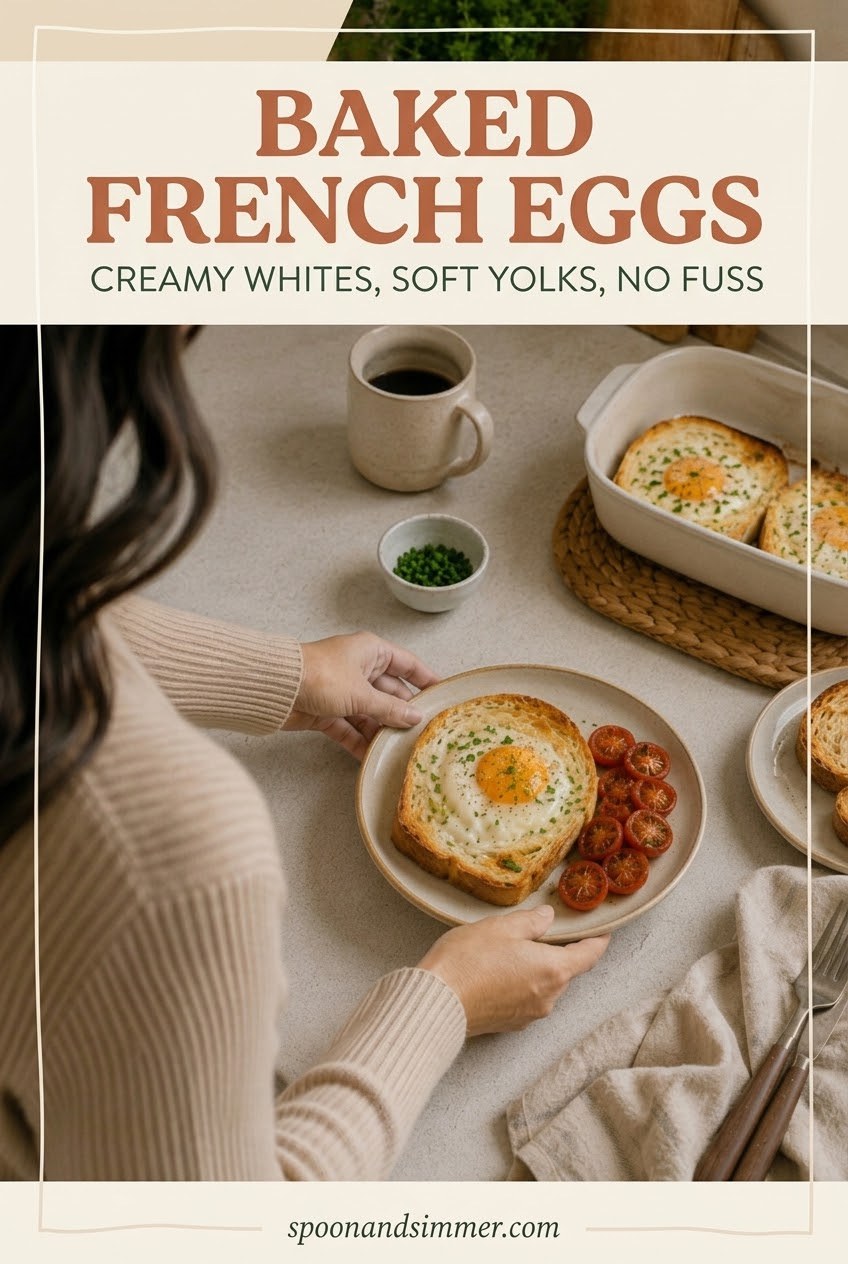
Look at that plated egg with the yolk broken open on toast - the white is set but still tender, never rubbery, and the yolk runs slow and orange across the bread. That is the whole goal of baked French eggs.
This is genuinely hands-off: 10 minutes of prep, 12 to 15 minutes at 375°F/190°C, and a texture you usually only get from careful stovetop attention. It also feeds a table of different appetites at once, which around here is basically a daily requirement.
It has become the recipe I reach for when I want breakfast to feel a little special without actually working very hard for it.
The Short Ingredient List That Does All the Work
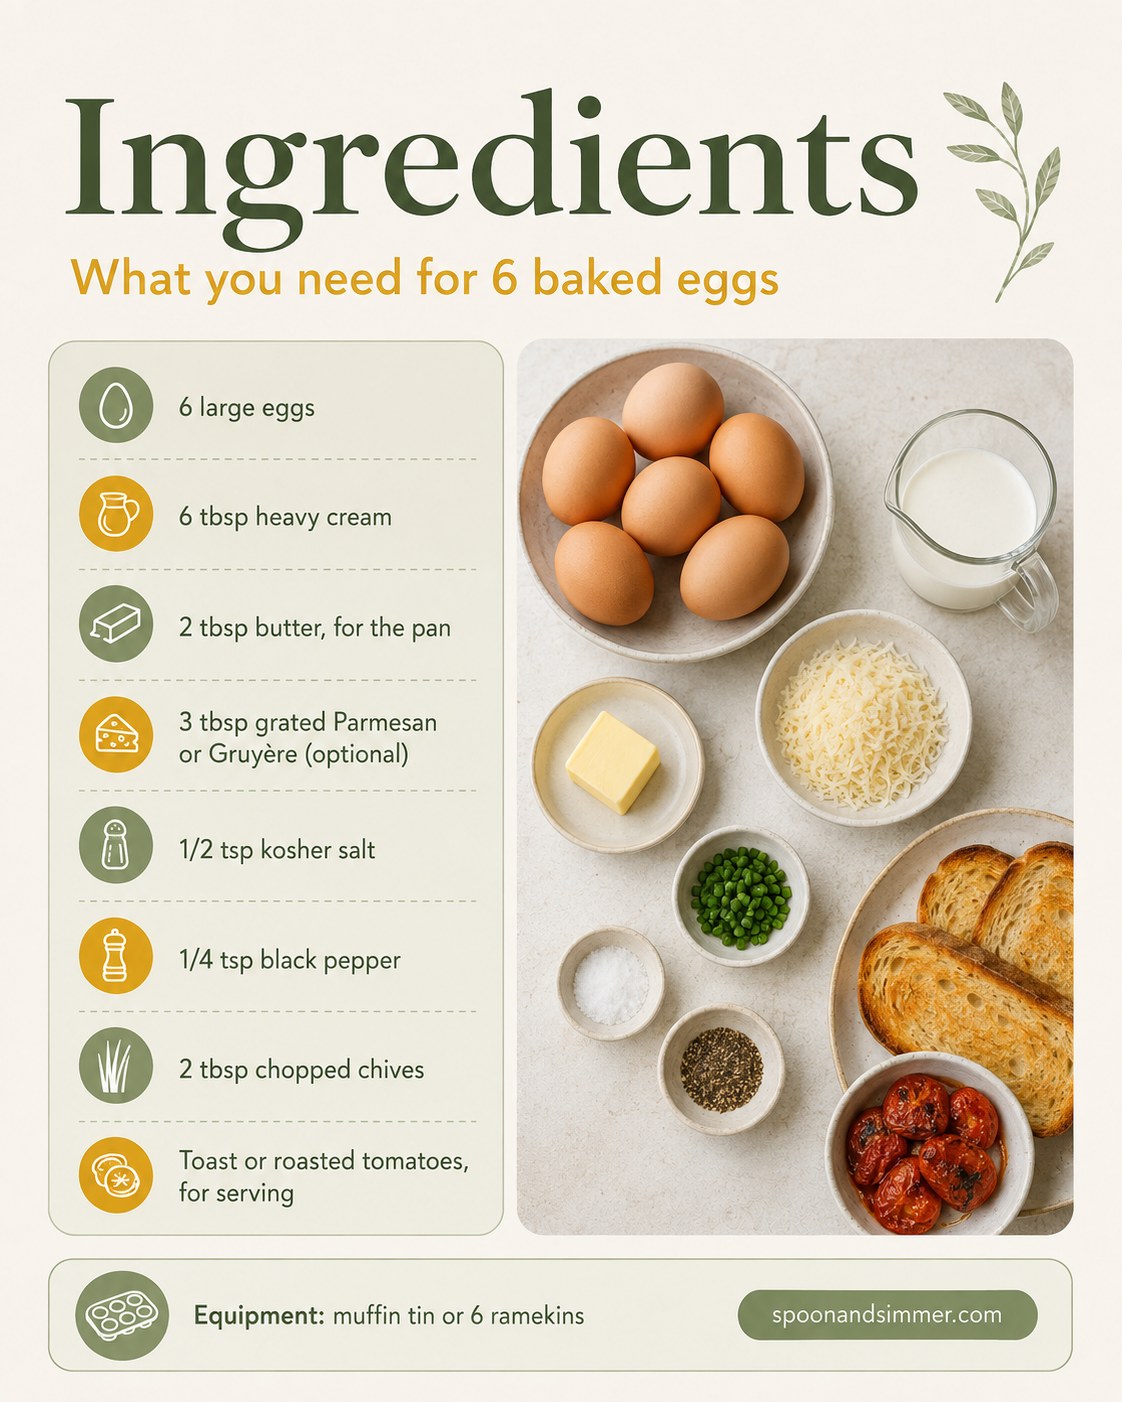
This recipe earns its keep because every item on the counter is doing something real - nothing here is filler.
- 6 large eggs - the whole point, so use the freshest ones you have.
- 6 tbsp heavy cream - one spoonful per cup keeps the whites from drying out.
- 2 tbsp butter - for greasing, and the secret to a clean release later.
- 3 tbsp grated Parmesan or Gruyère - optional, but it browns beautifully at the edges.
- 1/2 tsp kosher salt and 1/4 tsp black pepper - seasoned into the cream, not just sprinkled on top.
- 2 tbsp chopped chives - for color and a little bite once they are baked.
Toast or roasted tomatoes round it out for serving, though I have happily eaten these straight from the tin with a fork.
Preheat and Prep the Muffin Tin
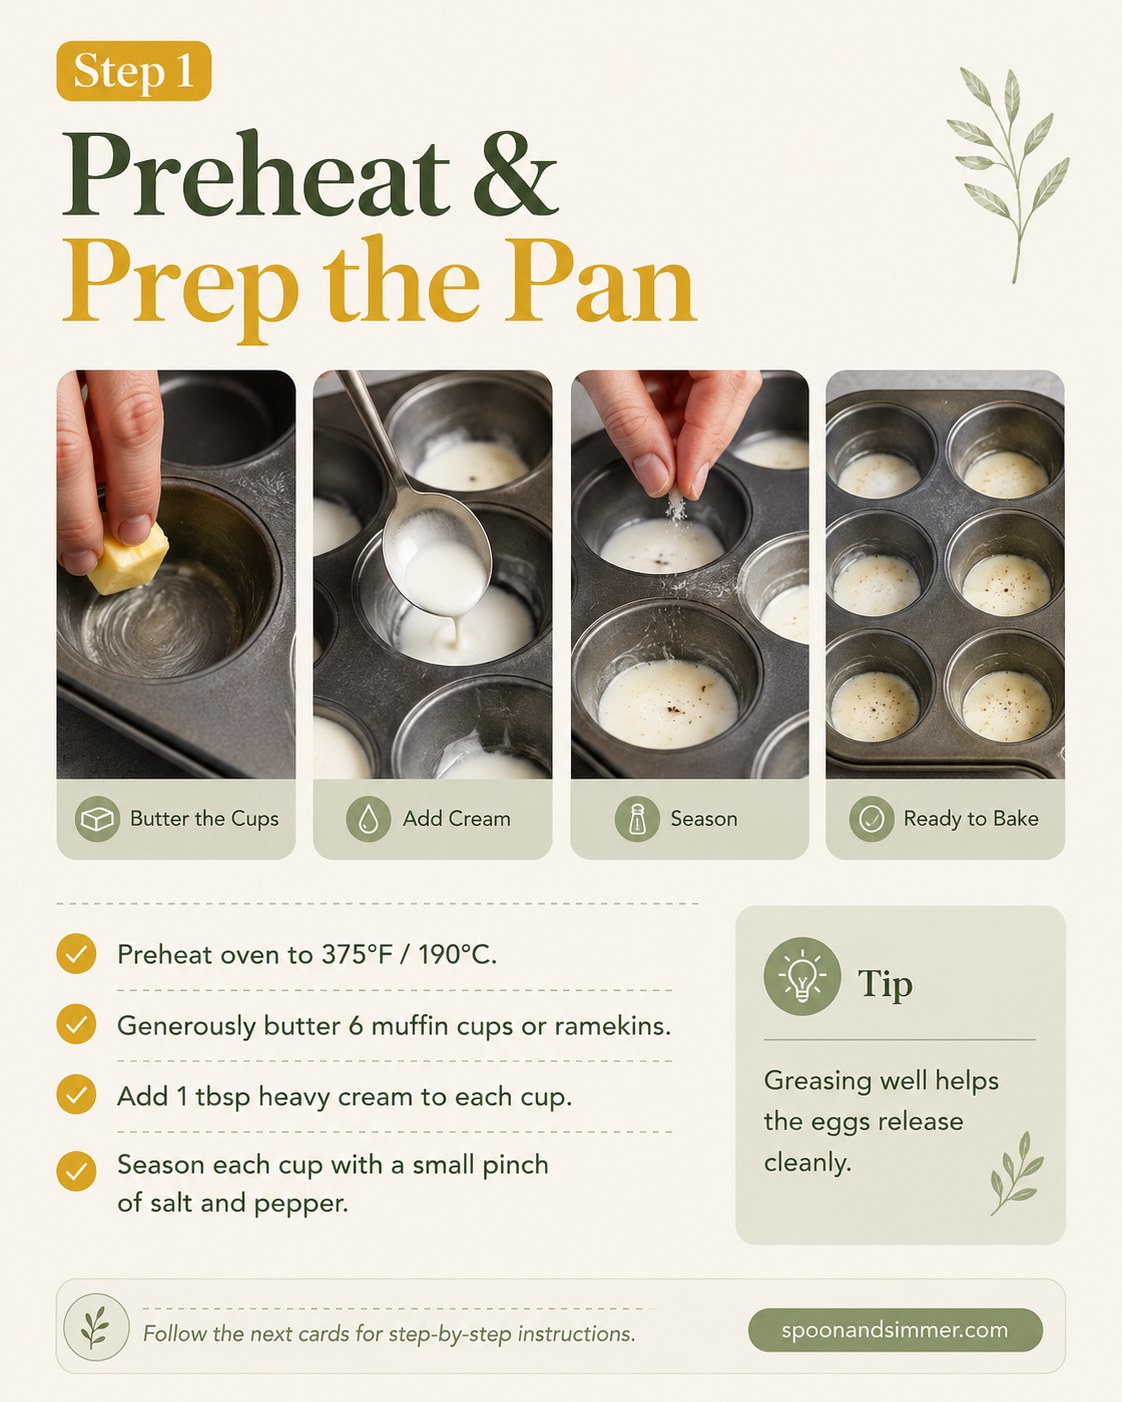
Preheat your oven to 375°F/190°C before you touch the eggs - this recipe moves fast once you start filling cups, and you want the oven fully up to temperature.
Generously butter six muffin cups or ramekins; do not skimp here, because a thin swipe of butter is exactly how eggs weld themselves to the pan. Spoon about a tablespoon of heavy cream into each buttered cup, then season each one with a small pinch of salt and pepper right into the cream. It is easy to rush past this step, but it is what gives the whites that silky, custardy edge instead of a dry one.
Grease like you mean it. A well-buttered cup is the difference between a clean release and a fight with a butter knife.
Crack the Eggs In, One at a Time
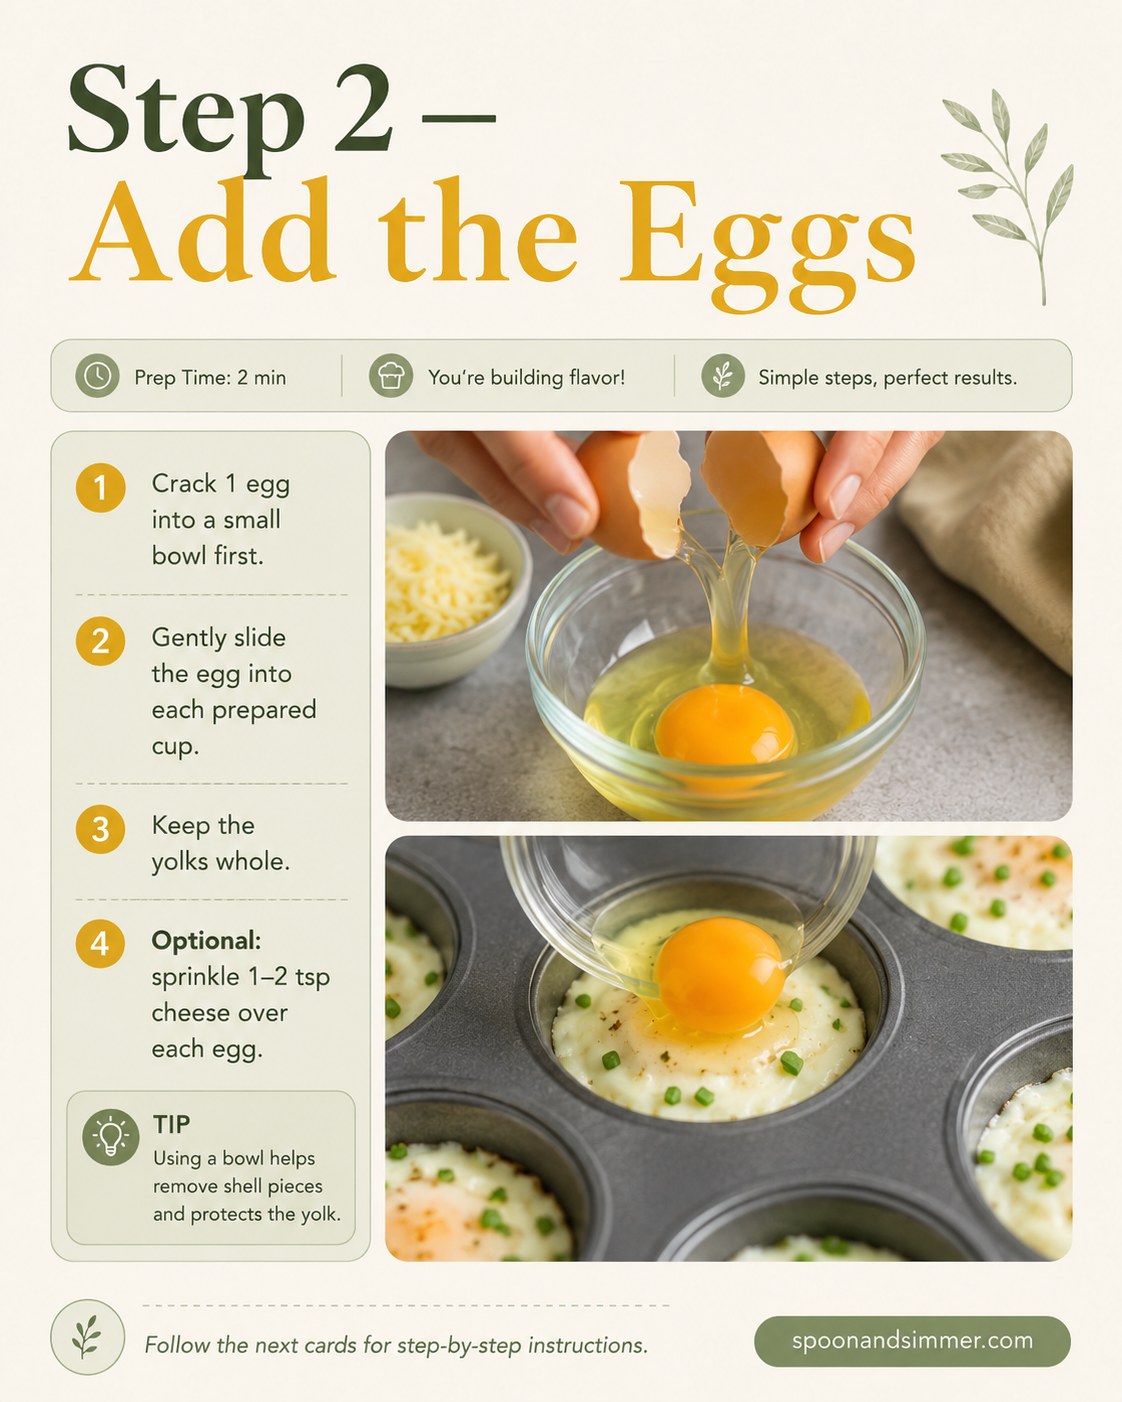
Crack one egg into a small bowl first, not straight into the muffin cup. I learned this the hard way years ago fishing a piece of shell out of a pan of hollandaise - a bowl buffer takes two extra seconds and saves you every time.
- Crack into a bowl.
- Slide gently into the buttered, creamed cup.
- Keep the yolk intact and centered.
- Optional: sprinkle 1 to 2 teaspoons of cheese over each egg before it goes in the oven.
The cheese is not essential, but a scatter of Gruyère melts into a lacy, golden edge I would not skip if I were you.
Into the Oven for 12 to 15 Minutes
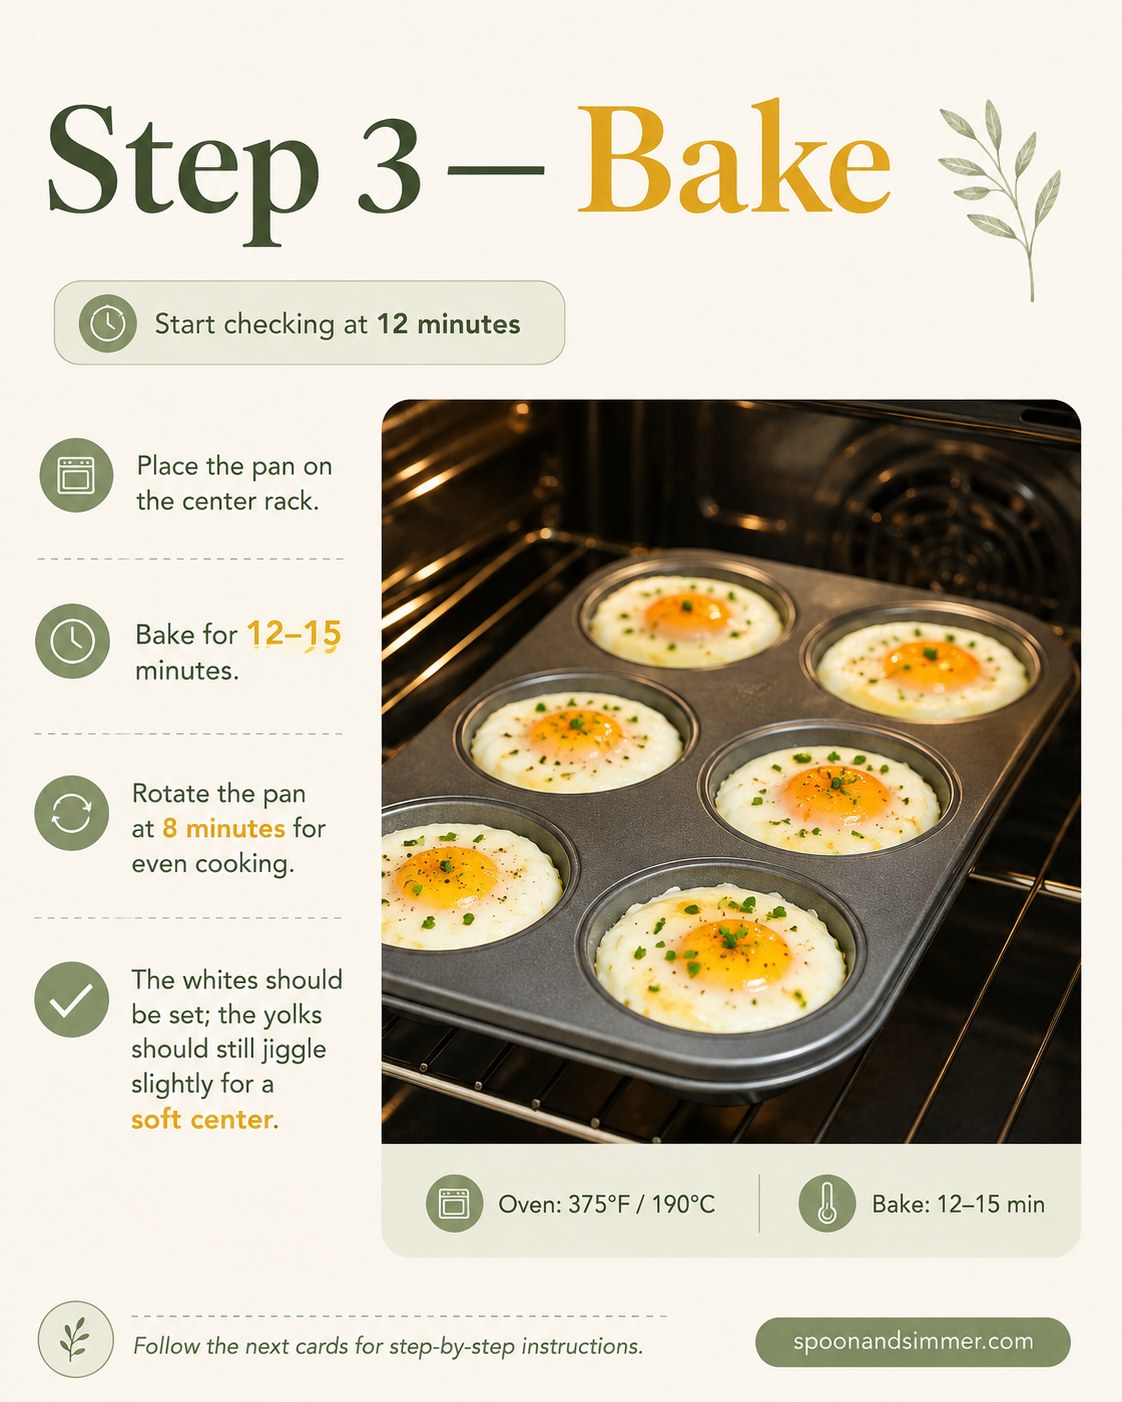
Slide the tin onto the center rack and bake for 12 to 15 minutes, rotating the pan once at the 8-minute mark so every cup cooks evenly - ovens run hot in the back, mine included.
You are watching for the whites to go fully opaque and set while the yolks still jiggle slightly when you nudge the pan. That jiggle is exactly what keeps the center soft instead of chalky. Start peeking at 12 minutes; every oven and every egg size shifts things by a minute or two.
The tray tells the story: matte white edges, a faint golden ring forming, and yolks still glossy and rounded, not sunk in or dry-looking.
Finding Your Perfect Yolk: Runny, Jammy, or Firm
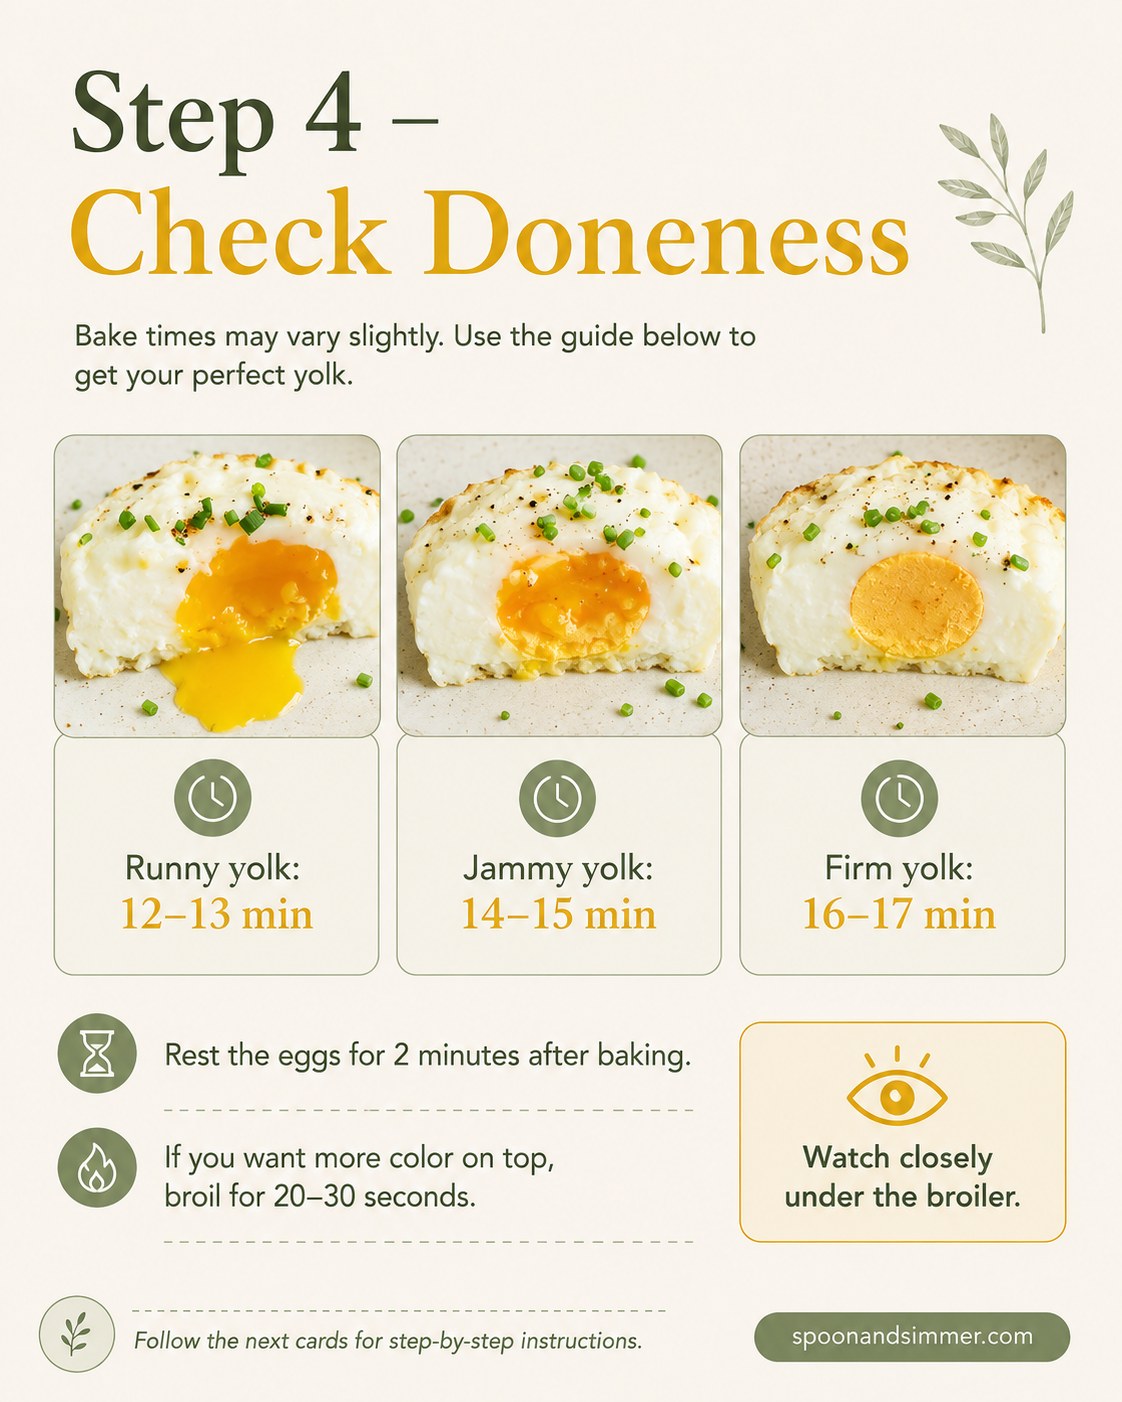
Bake Times Shift the Whole Personality of This Dish
- Runny yolk: 12 to 13 minutes - the center spills the moment you cut in.
- Jammy yolk: 14 to 15 minutes - thick, slow-moving, my personal favorite for toast.
- Firm yolk: 16 to 17 minutes - fully set, good for kids who eye anything runny with suspicion.
Let the eggs rest in the tin for 2 minutes after baking; they finish setting slightly off the heat, the same way a steak keeps cooking after it leaves the pan. If you want more color on top, run them under the broiler for 20 to 30 seconds, but watch closely - that jump from golden to scorched happens fast.
Releasing the Eggs Without Wrecking Them
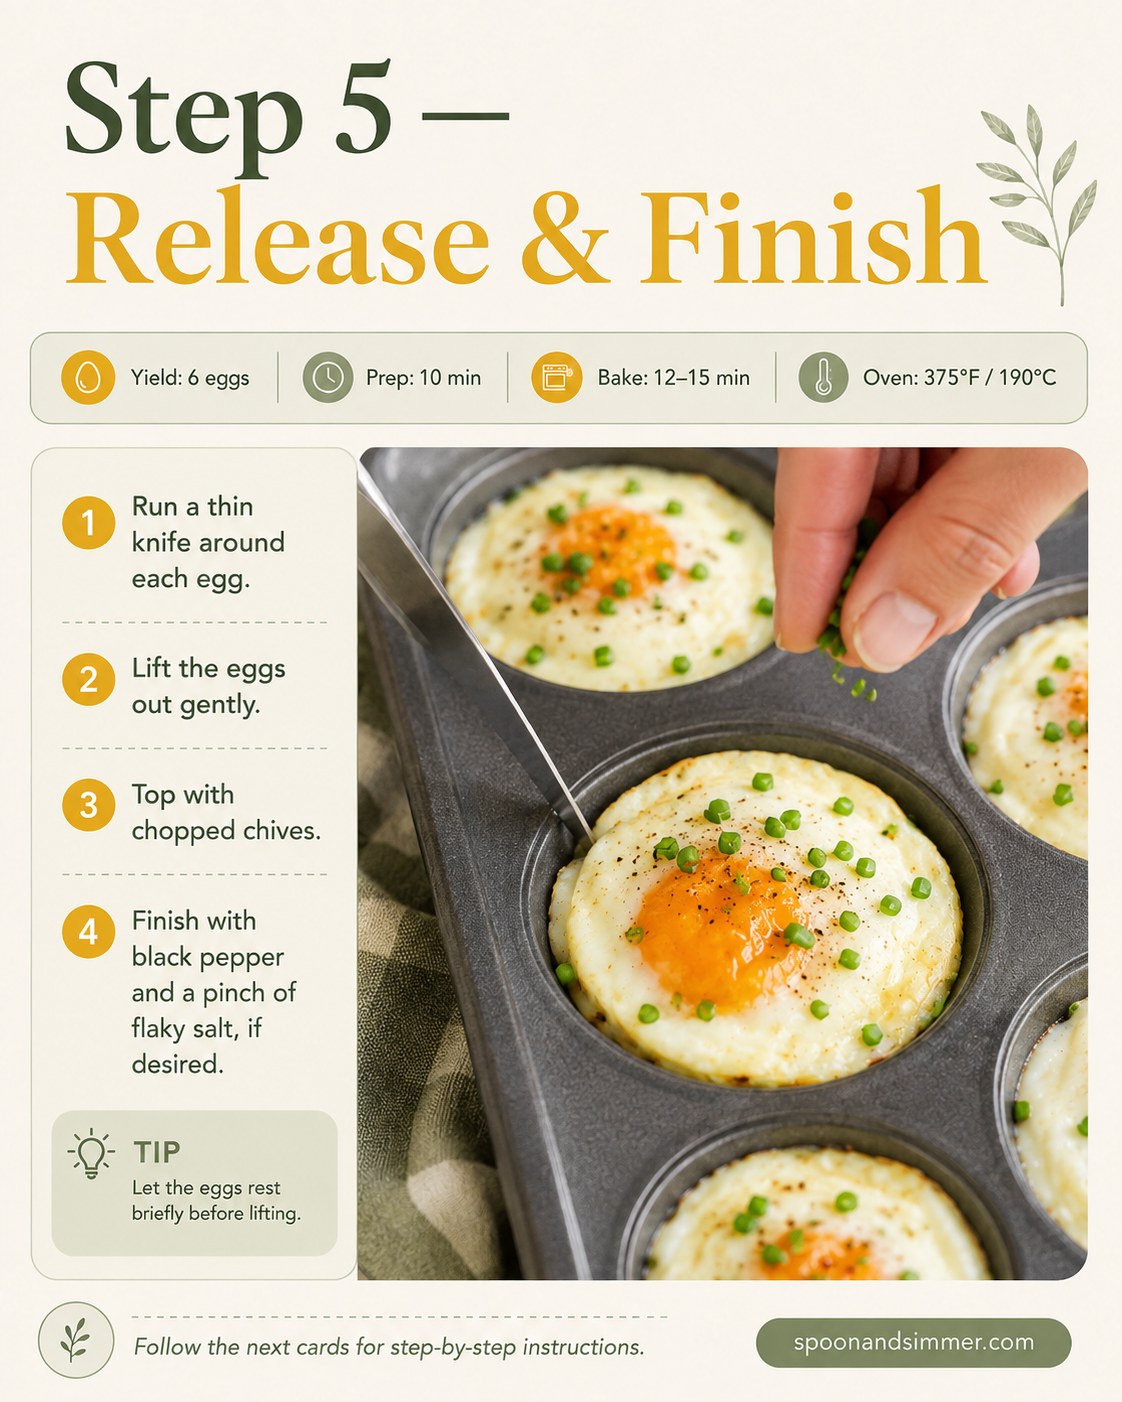
Run a thin knife around the edge of each egg while it is still warm - this is the whole trick to lifting them out in one clean piece instead of leaving half the white behind in the tin.
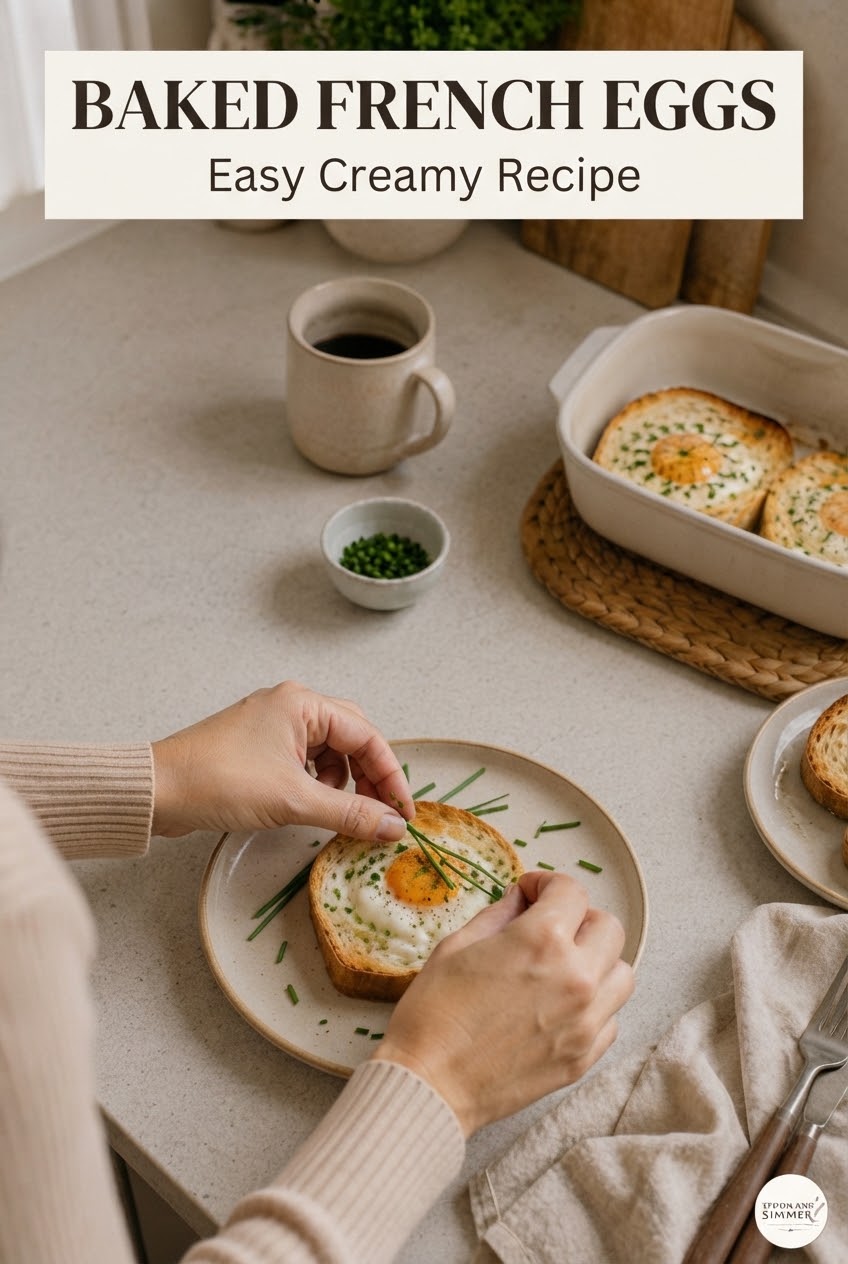
Lift gently with a small offset spatula or the knife itself, easing under the base rather than stabbing at the top. Once they are out, top each one with chopped chives, a crack of black pepper, and a pinch of flaky salt if you have it.
Let them rest a beat before lifting - that short pause firms the base just enough that the whole egg holds its shape on the way to the plate.
How I Actually Serve These at My Table
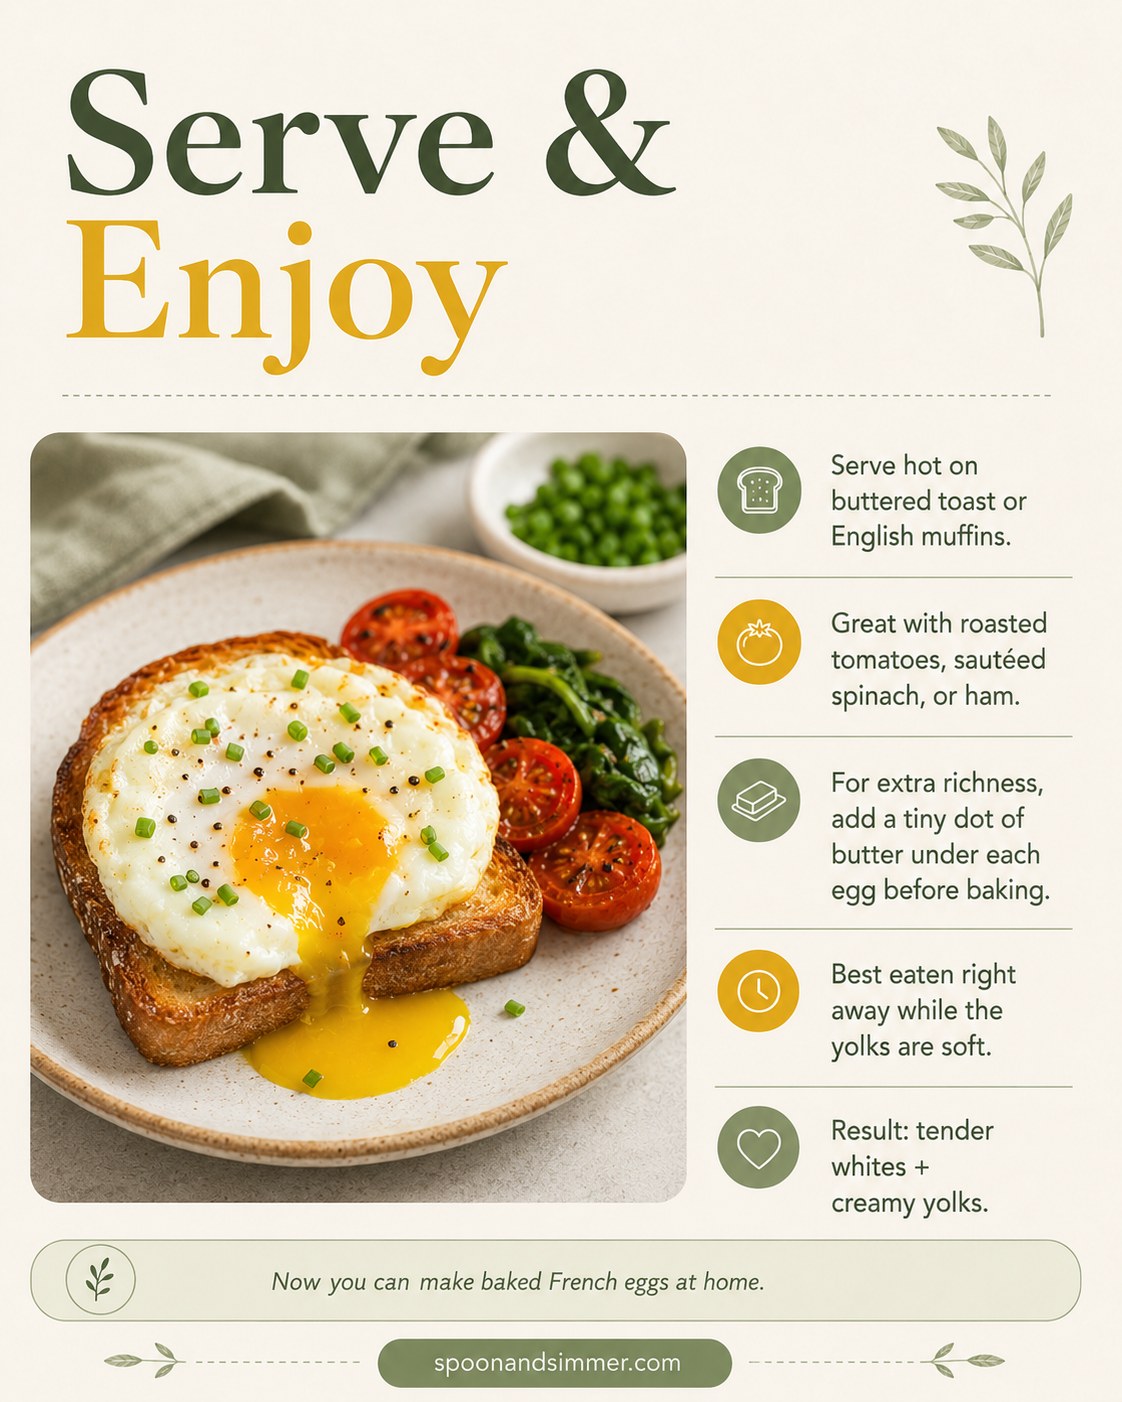
My usual move is buttered toast or a split English muffin, the egg nestled right on top so the yolk has somewhere to run. Roasted cherry tomatoes on the side are non-negotiable at my house - my daughter will eat tomatoes roasted but declares raw ones an outrage, which tells you everything about living with a seven-year-old.
A few ways I stretch this for real mornings:
- Sautéed spinach or a slice of ham tucked under the egg before baking.
- A tiny dot of butter dropped onto each egg before it goes in the oven, for extra richness.
- Serve immediately - the soft yolk is the entire point, and it firms up fast once it sits.
Tender whites, creamy yolks, and a plate that looks like you tried a lot harder than you actually did.
Making These for My Own Sunday Breakfast
Step photos are useful, but they never quite show what a Sunday morning actually looks like with eggs, coffee, and a muffin tin all going at once. I shot these while making a real batch for my own kitchen, coffee already going, so you can see how the whole thing actually flows from counter to plate. Nothing here is staged for a camera in the way the earlier step cards are - it is just how this recipe happens at my house.
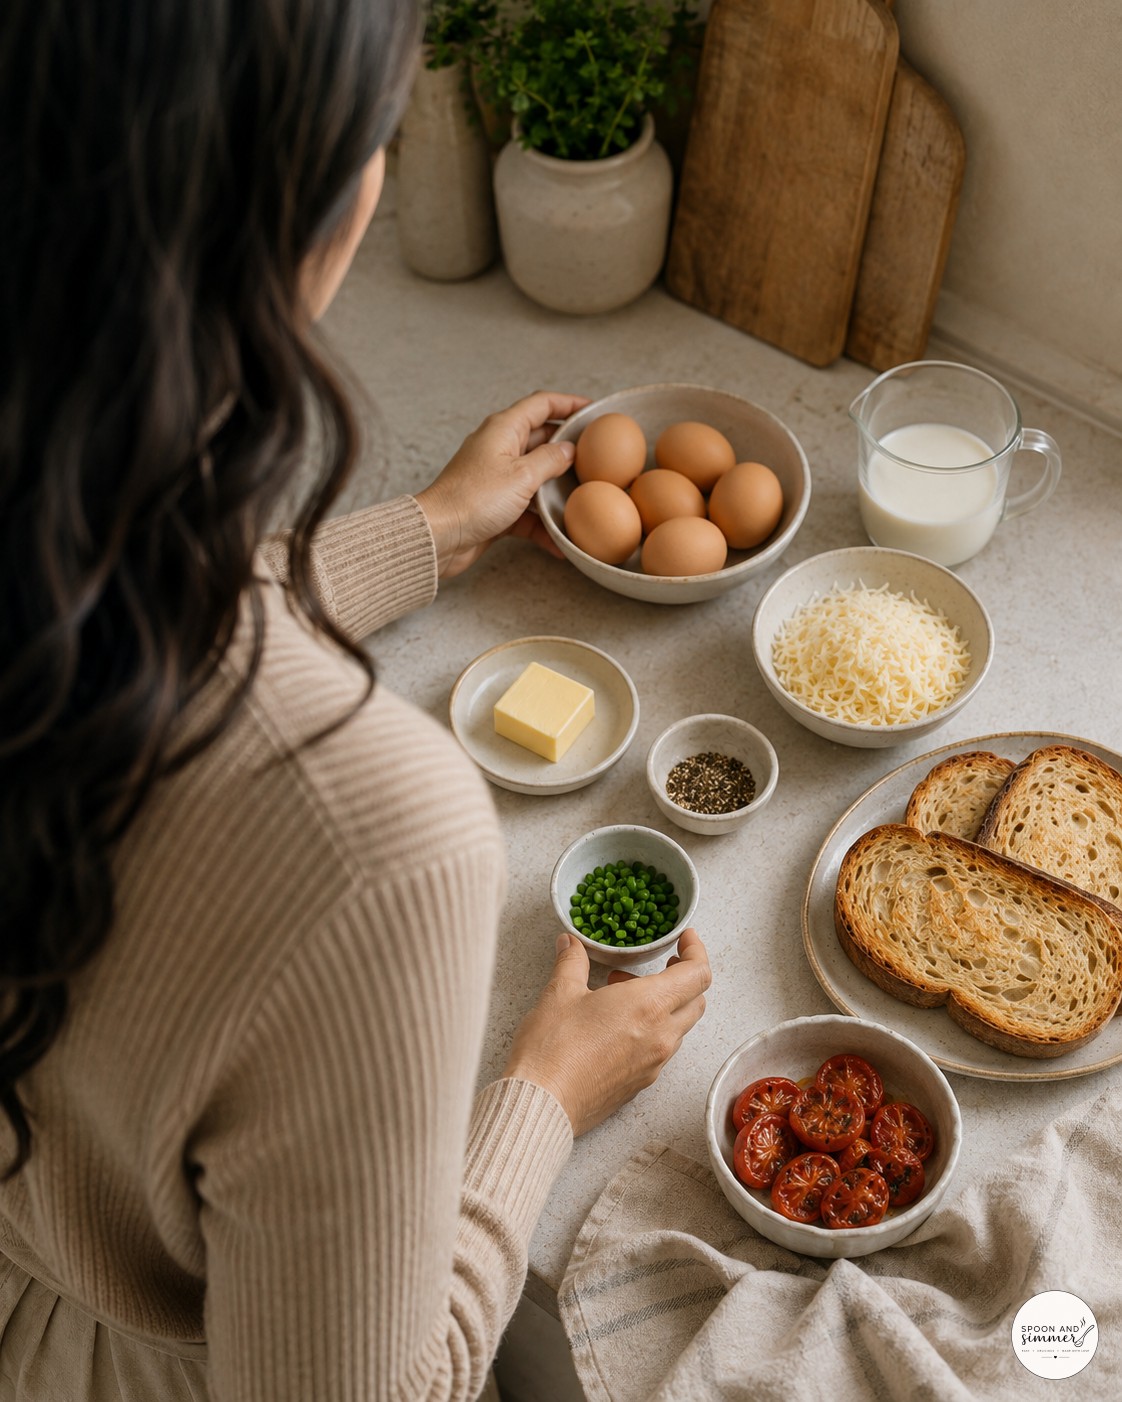
This is my actual counter setup, tomatoes already roasted from the night before and toast sliced thick on purpose. I always lay everything out before I start, because once the eggs are cracked there is no pausing to hunt for chives in the fridge.
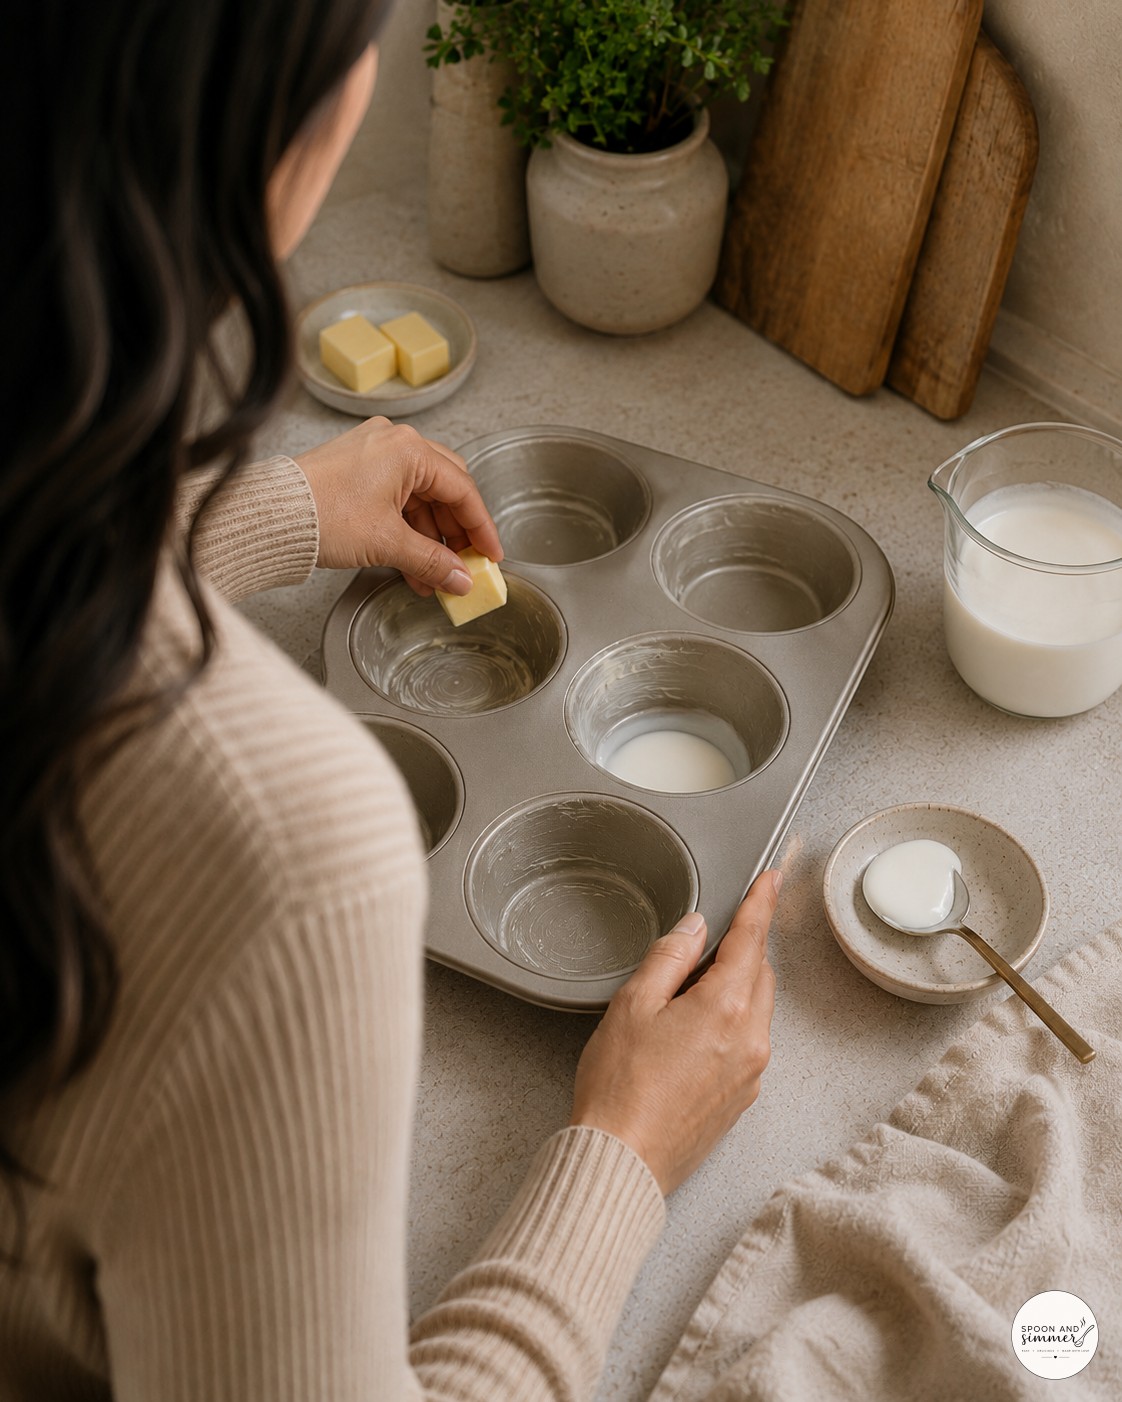
Buttering the cups is the one step I never rush, even when I am running behind - a stingy swipe here is the number one reason people email me about eggs stuck to the pan. I use a cold stick of butter and just press it straight into each cup.
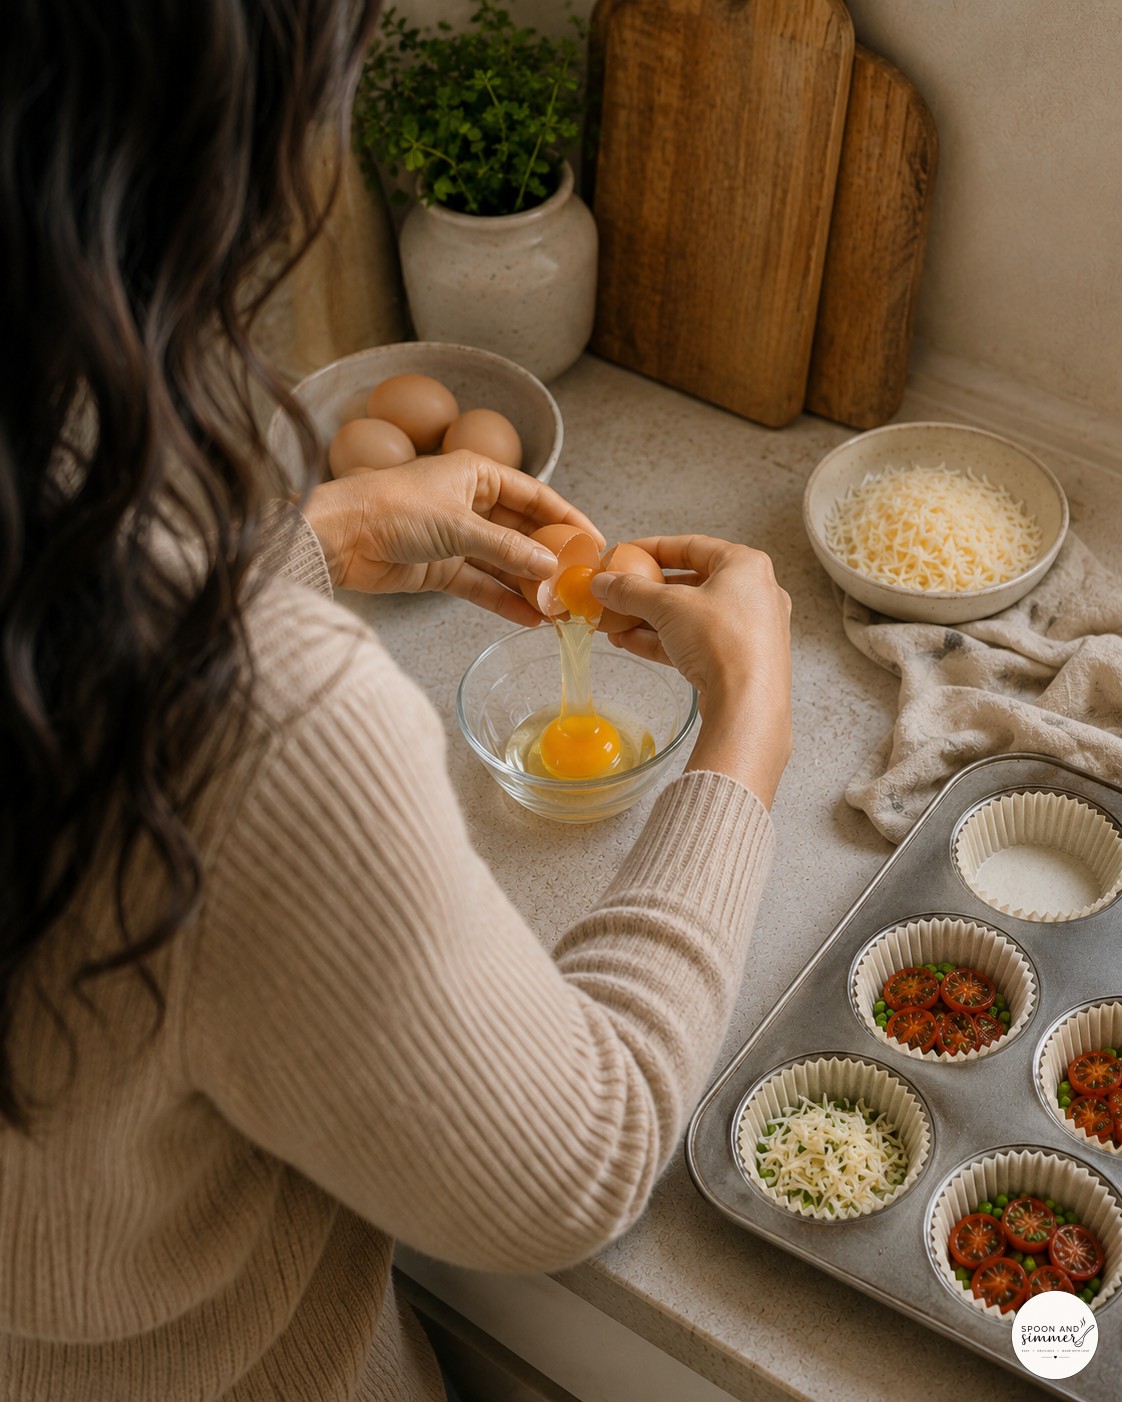
You can see the roasted tomatoes already tucked into the cups before the egg even goes in - a little swap I do on weekends when I want more of a meal than a breakfast. The egg still slides in the same way over the top.
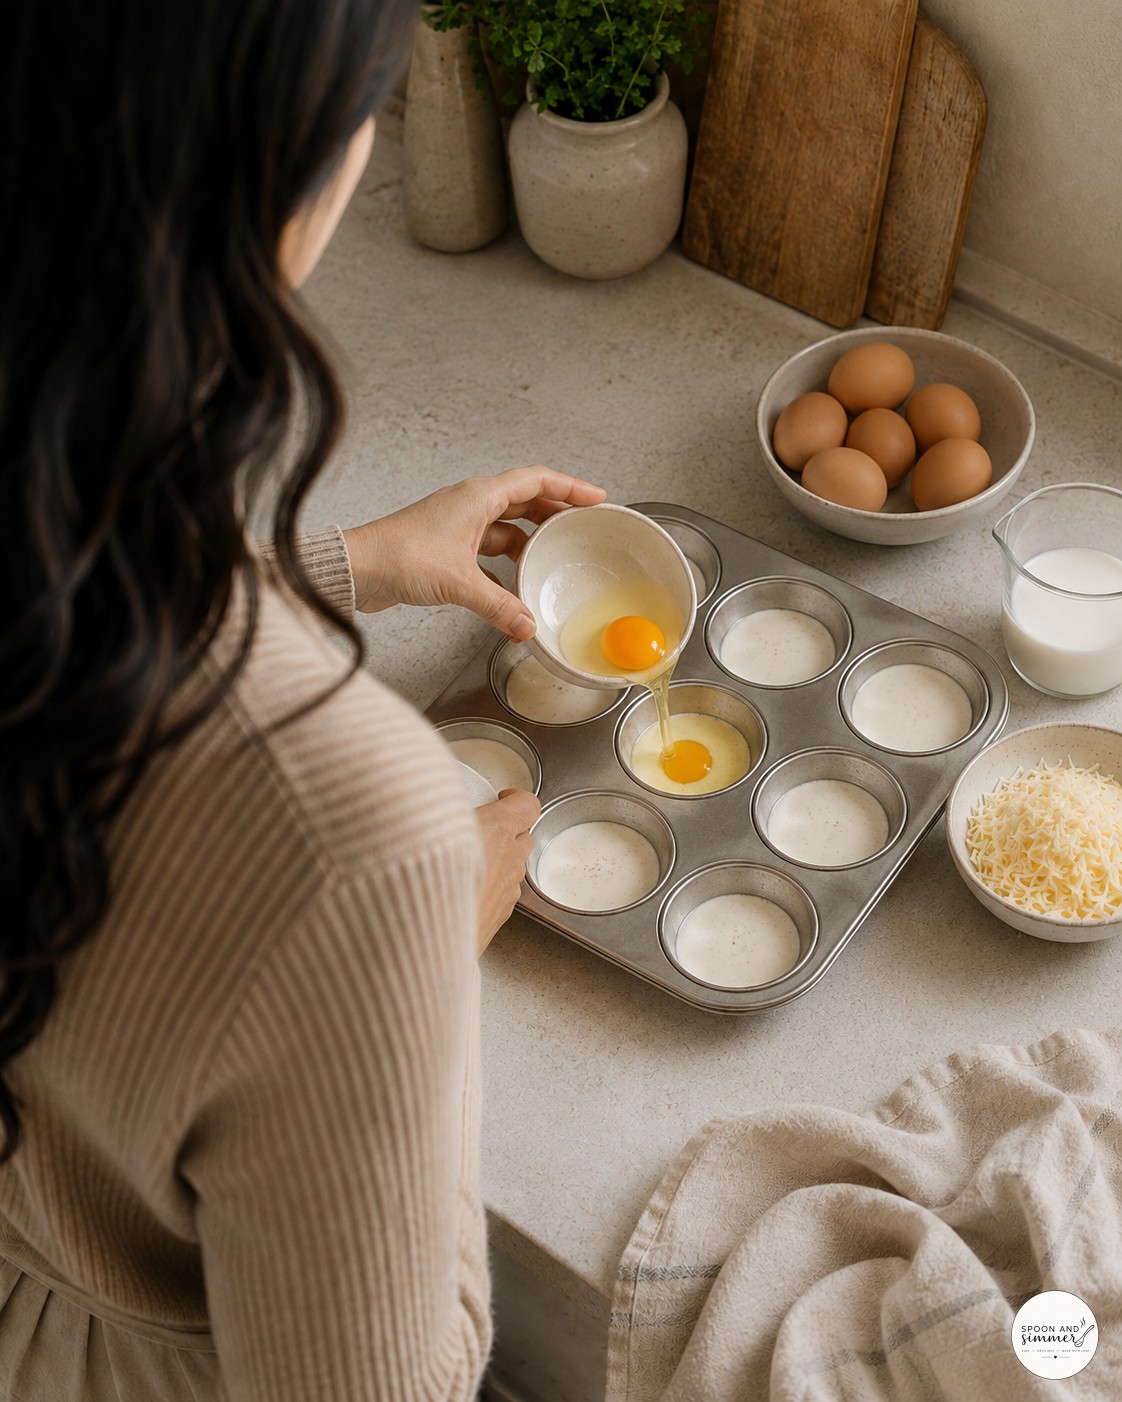
This is the moment things can go sideways if you pour too fast - I always tilt the bowl and let the yolk lead, so it settles dead center instead of sliding to one side of the cup. A crooked yolk still tastes fine, it just looks a little sad on the plate.
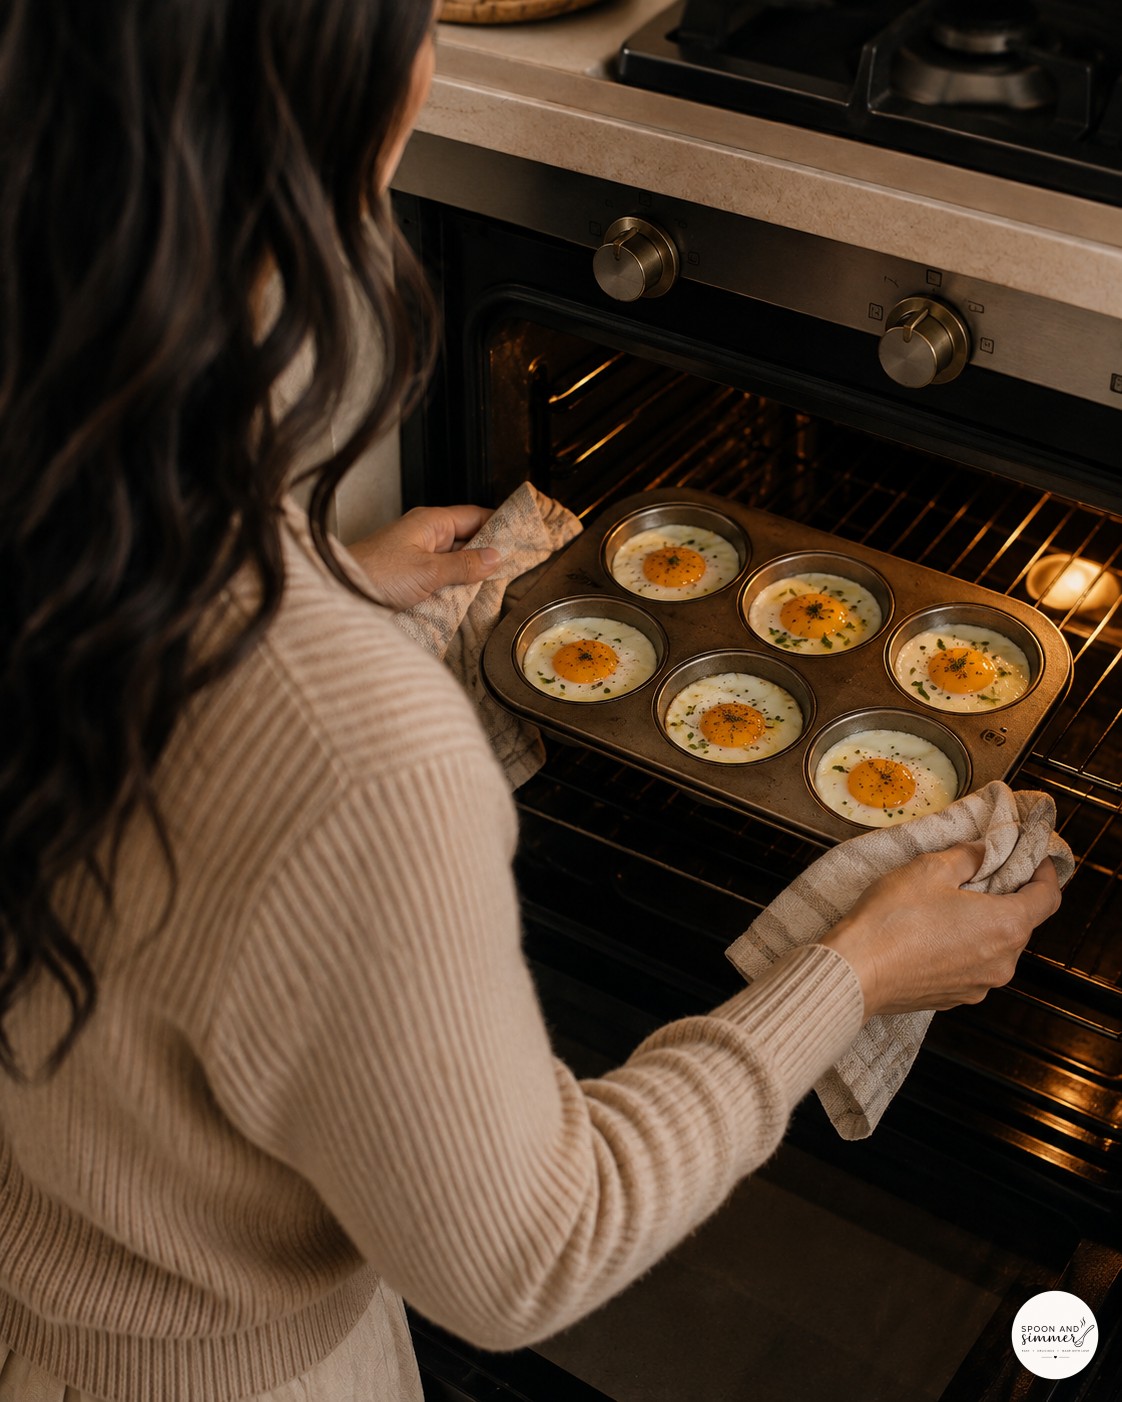
That's my actual oven, older than I'd like to admit, and you can see the eggs already starting to puff slightly at the edges in the first few minutes. I always use a folded towel instead of oven mitts because it is what is within reach.
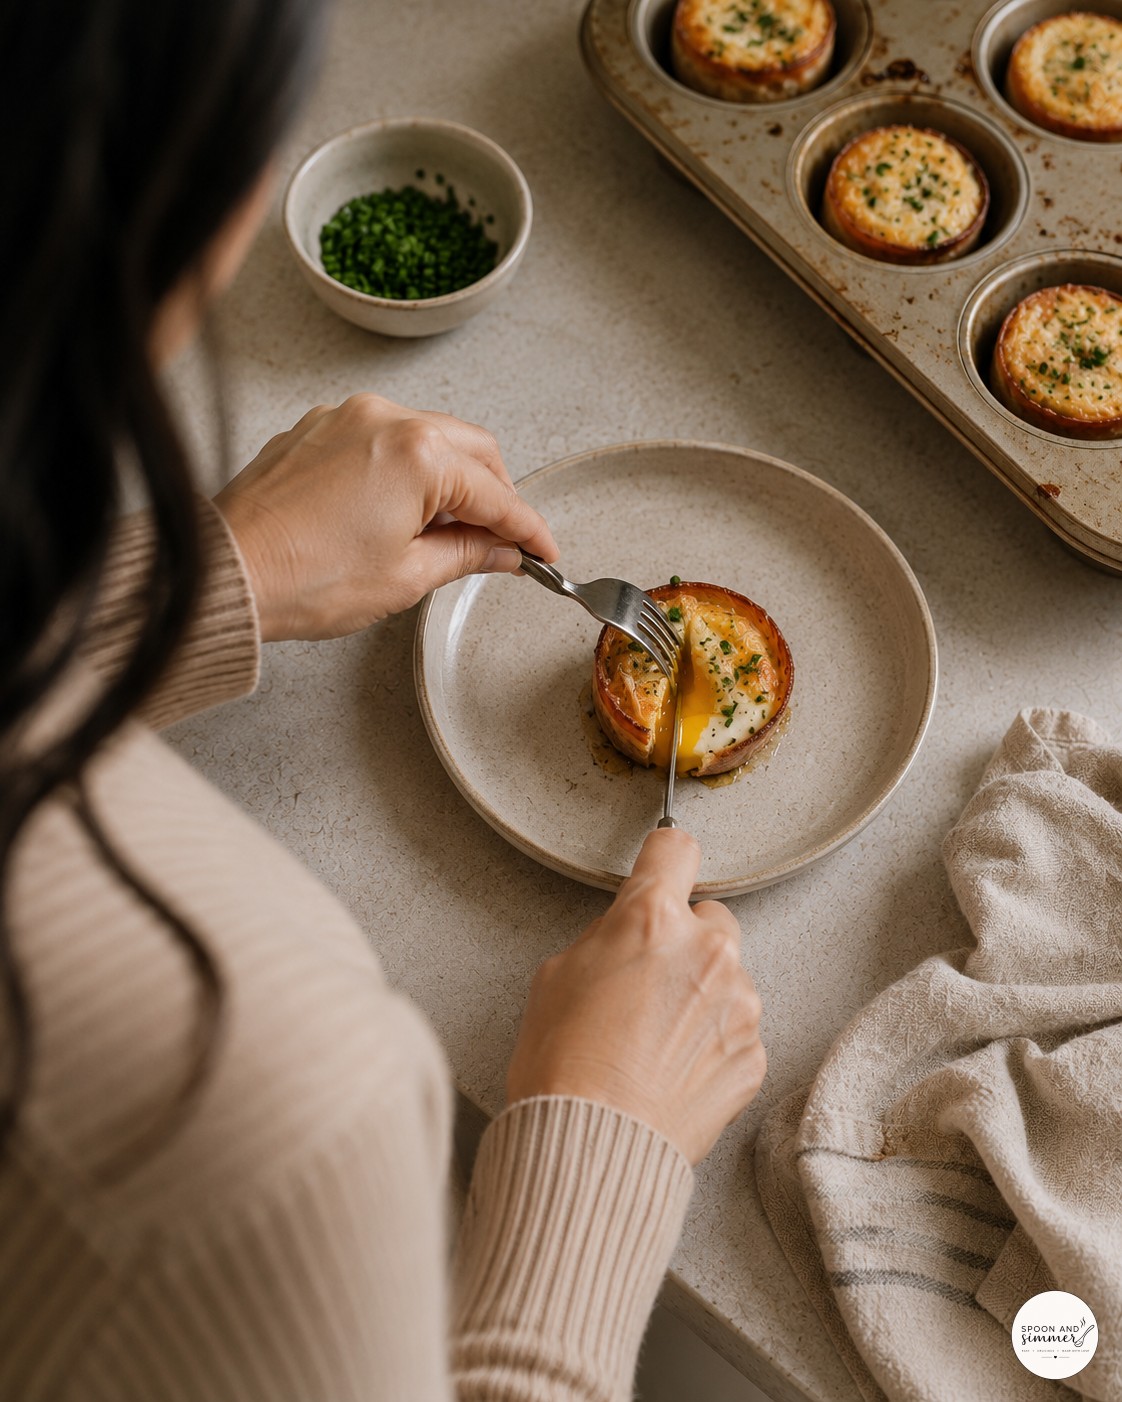
Cutting into this one on a real weekday, not for a photo, and the yolk still ran exactly the way I want it to - proof the timing holds up outside of a styled shoot. Plating right on the counter is basically my standard move.
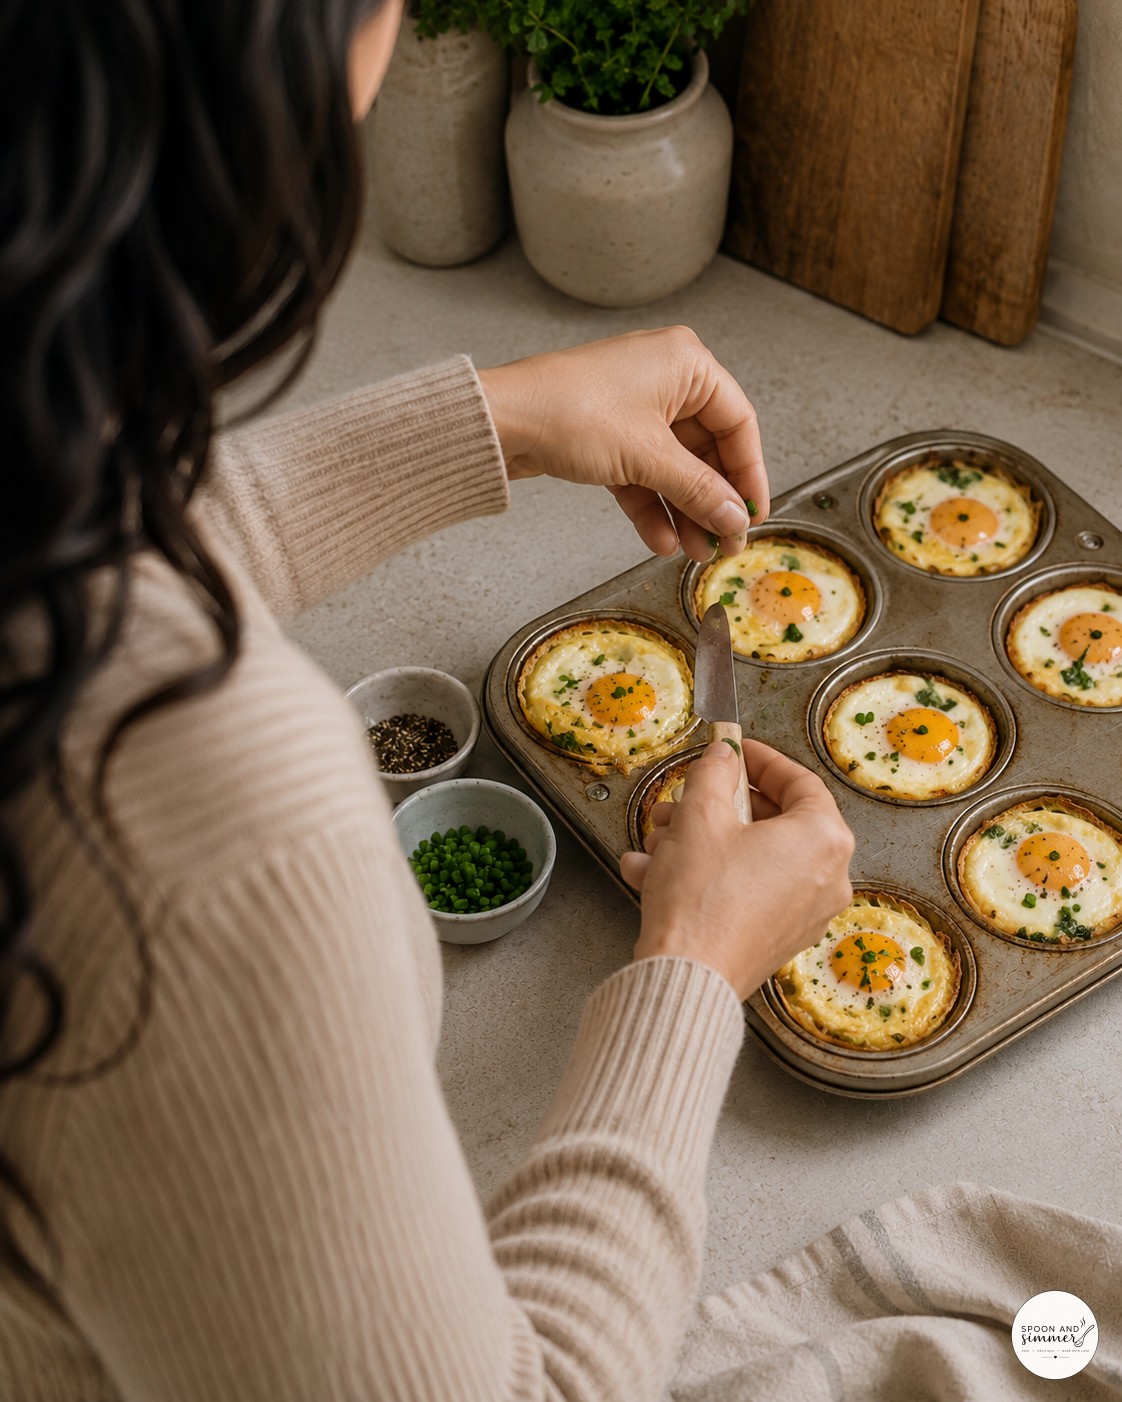
Here I am plating a full second batch after the kids came down for breakfast - doubling this recipe just means a second tin, no real change to timing. The pepper and chive garnish happens right at the counter, seconds before serving.
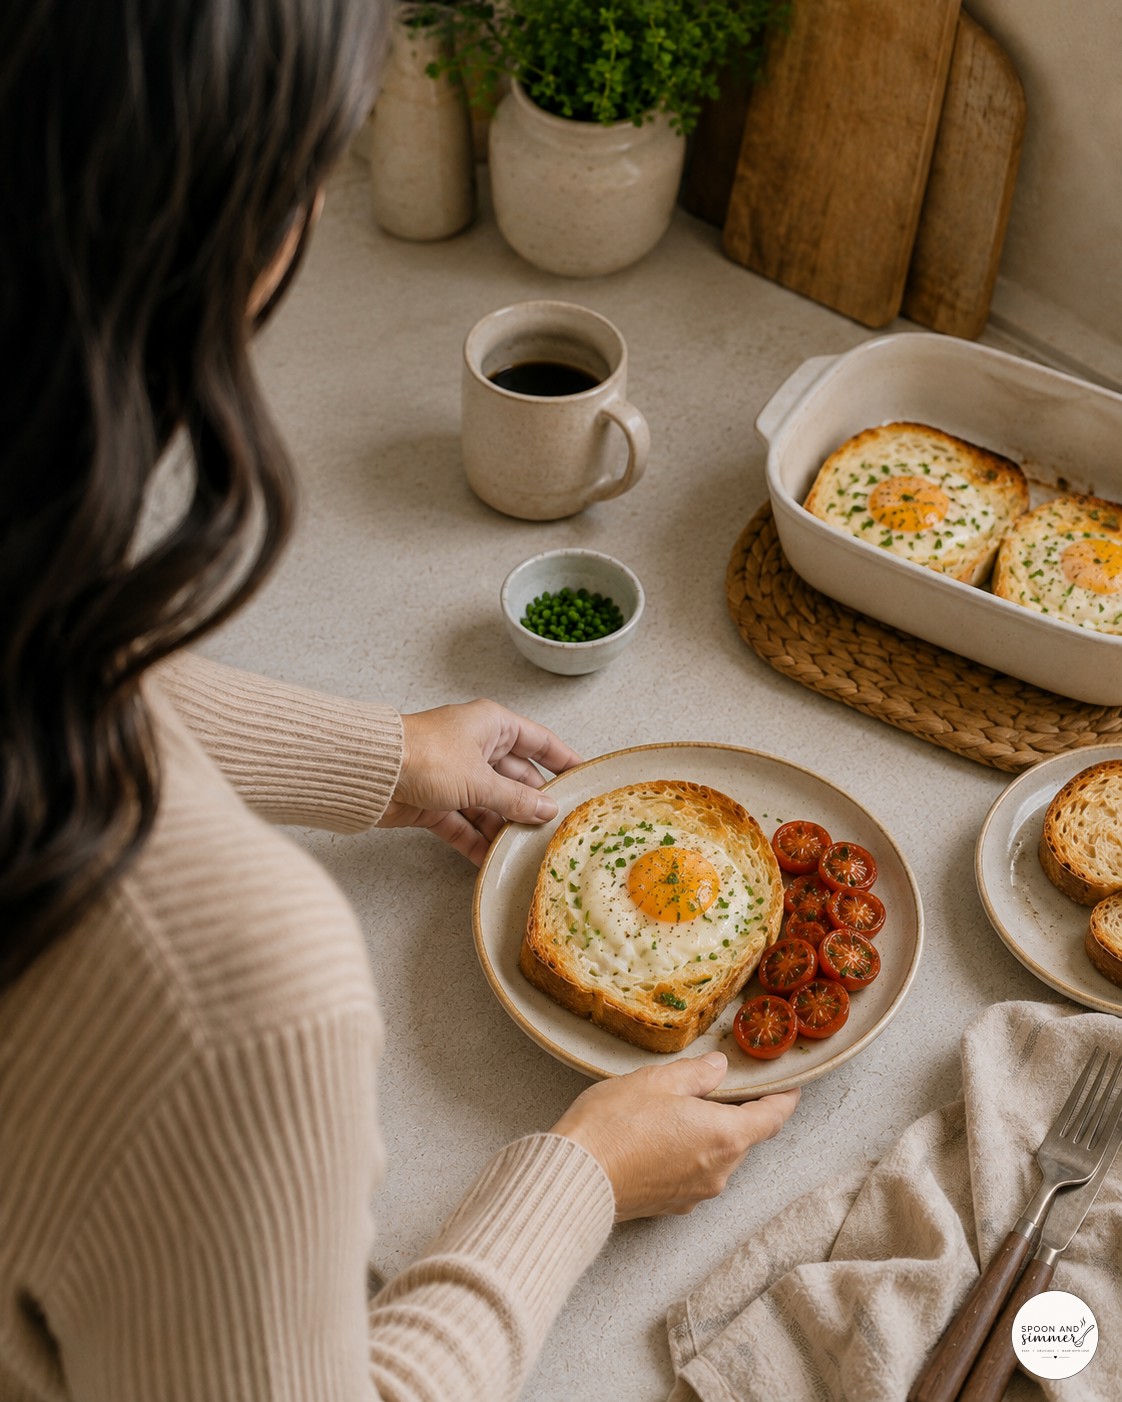
This is the version that actually reaches our table on a good Sunday - toast, tomatoes, coffee, and a second plate already waiting behind it because there is rarely just one taker. It disappears fast once it is out of the oven.
Wrapping Up
These have become my go-to for mornings when I want something that feels a little special without actually doing much work - just eggs, cream, and an oven that does the fussing for me.

- For the baked eggs
- For serving

Your Questions, Answered
Can I make baked French eggs without a muffin tin?
Yes, ramekins work just as well - butter and cream them the same way and bake on a sheet pan for easier handling in and out of the oven.
Why did my egg whites stick to the pan?
Almost always not enough butter. Grease every inch of the cup, corners included, and run a thin knife around the edge before lifting.
Can I make these ahead of time?
They are best fresh from the oven while the yolks are soft, but you can bake to the firm stage, refrigerate up to 2 days, and reheat gently.
What can I use instead of heavy cream?
Half-and-half works in a pinch, though the whites will be slightly less silky - skip plain milk alone, it thins the eggs too much.