Some nights I don't have the bandwidth for a recipe with more than one pan, and this is the dish that saves me on those nights. It's taco filling and creamy stovetop mac and cheese collapsed into a single skillet, and Leo has requested it by name more times than any casserole I've ever developed. No boiling a separate pot of pasta, no draining anything — the noodles cook right in the beefy broth and soak up every bit of that taco flavor.
Set Up Your Mise en Place First
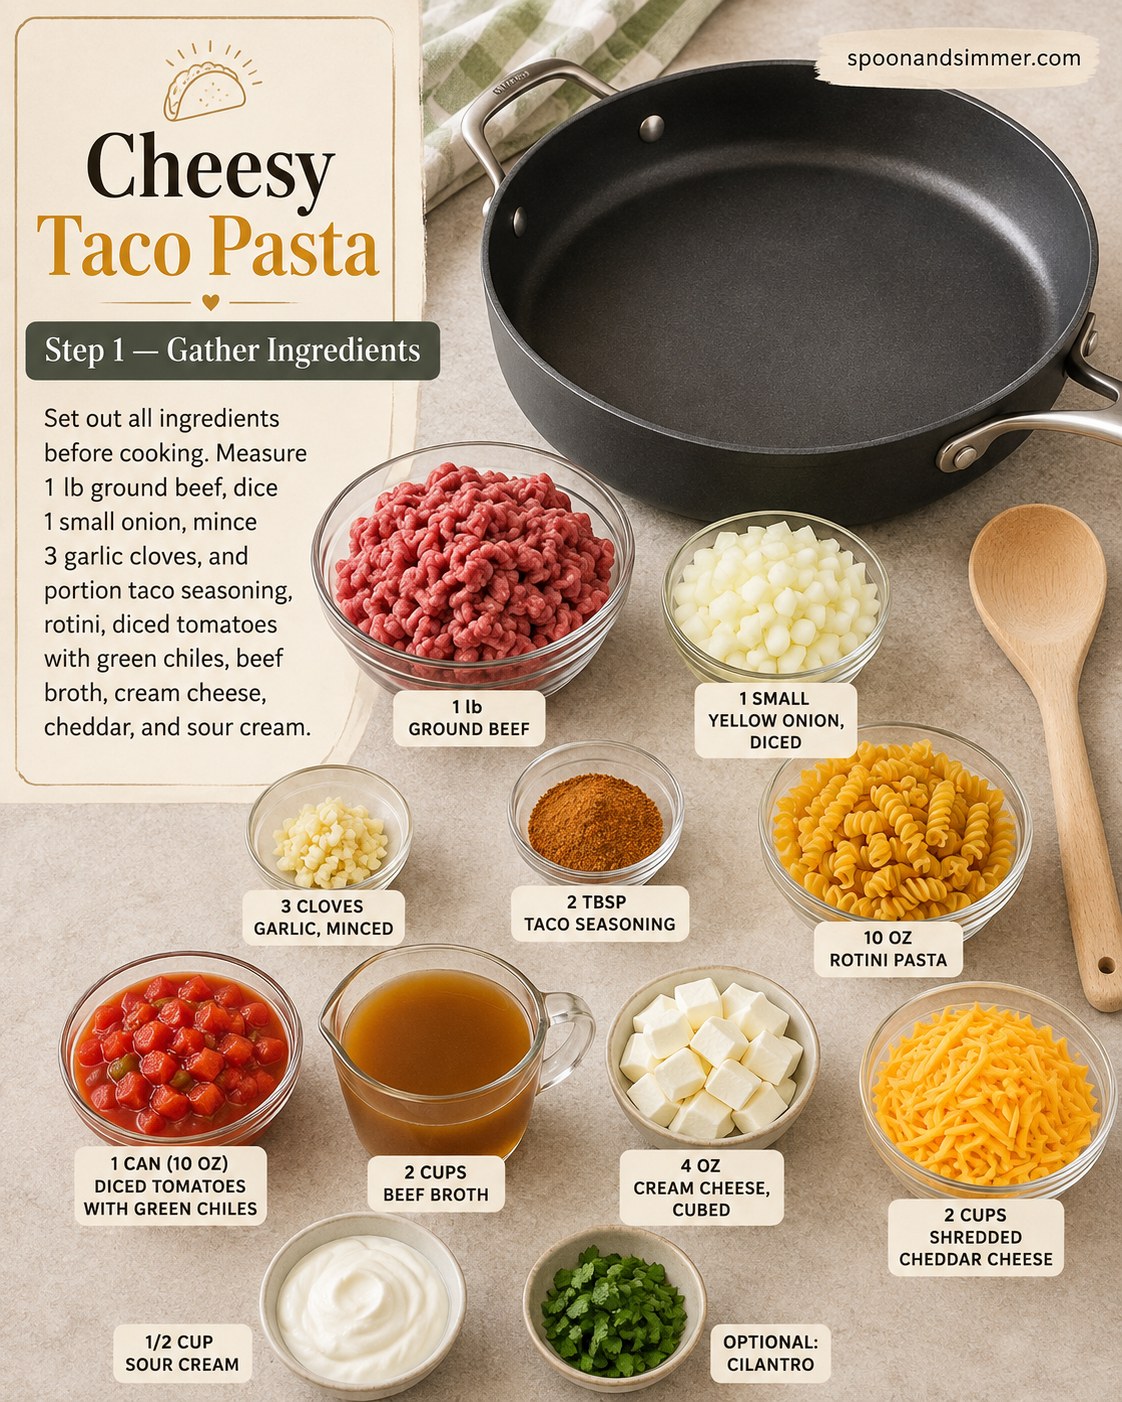
I say this in nearly every recipe but it matters double here: this dish moves fast once the skillet is hot, so get everything measured and staged before you turn on the burner. Dice your onion, mince the garlic, cube the cream cheese, and portion the taco seasoning into a small bowl so you're not fumbling with a spice jar while the beef browns.
Lay it out like the photo — 1 lb ground beef, diced onion, minced garlic, 2 tbsp taco seasoning, the rotini, a can of diced tomatoes with green chiles, beef broth, cubed cream cheese, shredded cheddar, sour cream, and cilantro if you're using it. I use a 10-oz box of rotini here because the spirals grab the sauce, but small shells or elbows work in a pinch.
- Skillet: a wide 12-inch straight-sided pan with a lid nearby
- Prep time: genuinely 10 minutes if you dice as you go
- Why it matters: once the beef hits the heat, you won't have time to run back to the cutting board
Brown the Beef Until It's Actually Browned
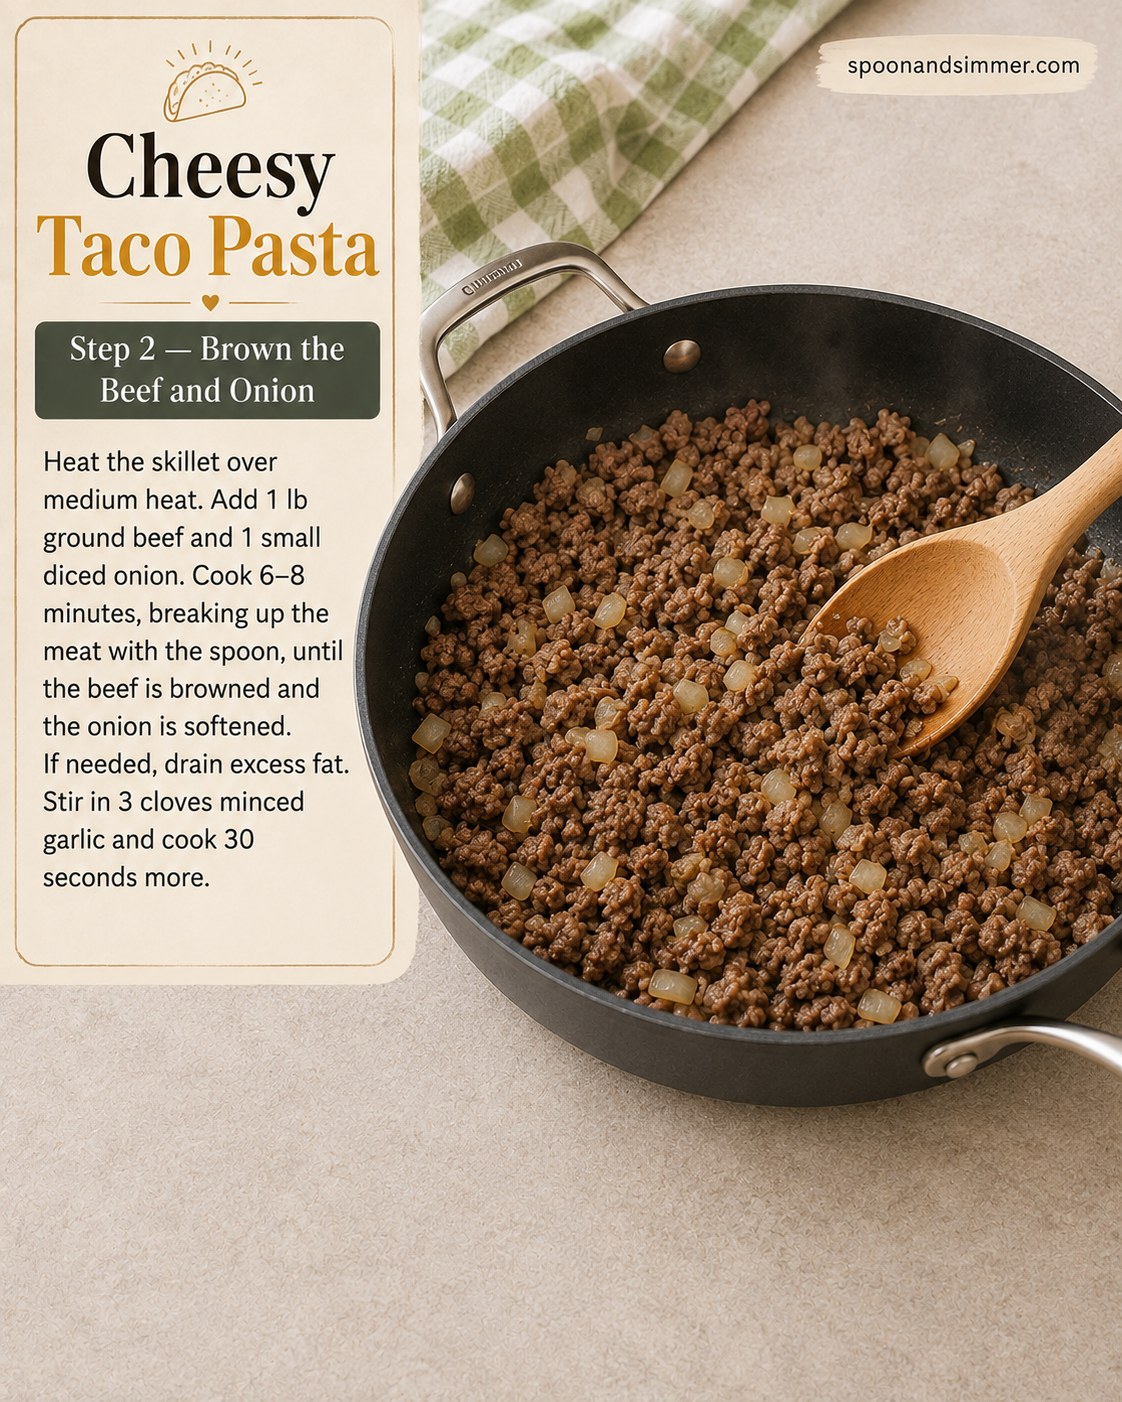
Heat the skillet over medium and add the ground beef and diced onion together — no oil needed if your beef has decent fat content. Cook 6 to 8 minutes, breaking up the meat with the edge of your spoon, until the beef is deeply browned (not just gray) and the onion has gone soft and translucent at the edges.
This is the step people rush, and it's the one that makes or breaks the final flavor. Browning is where the meaty depth comes from — a pale, steamed beef crumble will give you a flatter-tasting pasta no matter how much cheese you dump in later. If your pan looks greasy once the beef is done, tilt it and spoon off the excess fat before moving on.
Stir in the 3 cloves of minced garlic in the last 30 seconds — garlic burns fast, and burnt garlic turns bitter and there's no saving it, so keep it moving.
Bloom the Spices, Then Add the Tomatoes
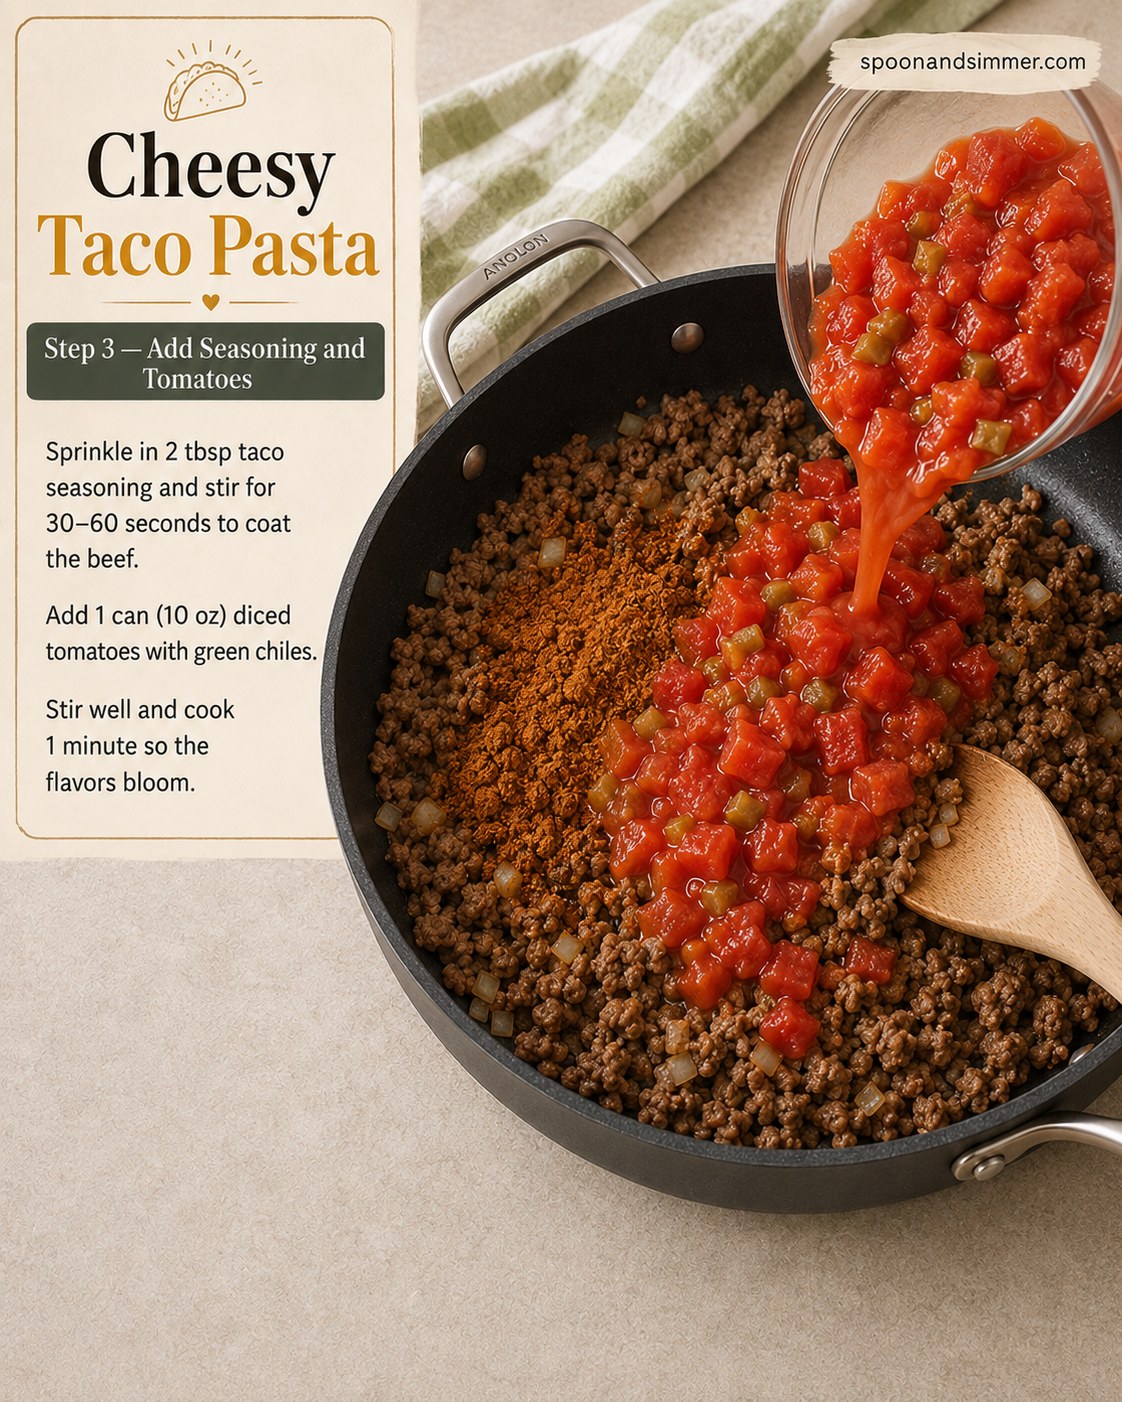
Sprinkle the 2 tablespoons of taco seasoning directly over the browned beef and stir for 30 to 60 seconds. You'll actually smell the change — the cumin and chili powder go from raw and dusty to warm and toasty, which is what food nerds mean by blooming spices in fat.
Blooming spices in the fat left in the pan, rather than just stirring them into liquid later, is the difference between a taco pasta that tastes seasoned and one that tastes like it has taco seasoning sprinkled on top.
Pour in the full 10-oz can of diced tomatoes with green chiles, juice and all — that's what you see going into the pan in the photo, bright red against the browned beef. Stir well and let it cook for 1 minute so the tomatoes lose their raw edge and start to meld with the meat and spices.
Broth and Pasta Go In Together
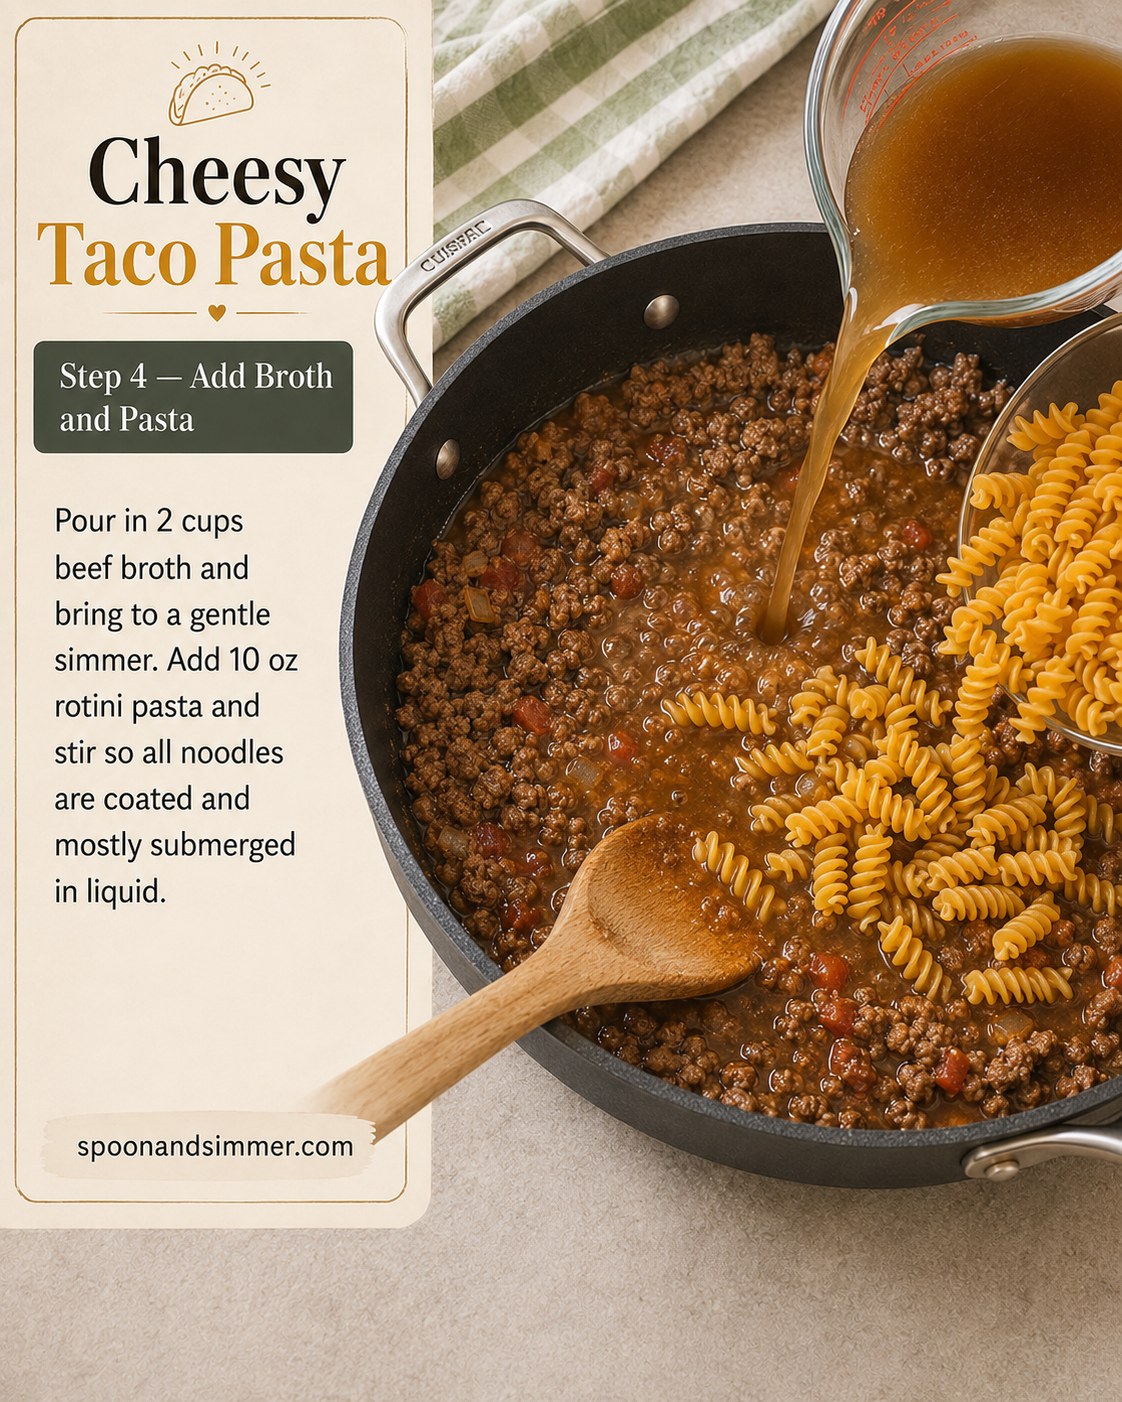
Pour in the 2 cups of beef broth and bring it up to a gentle simmer — you're looking for small, steady bubbles around the edge of the pan, not a rolling boil. Then add the full 10 oz of rotini straight into the liquid.
Stir well so every noodle gets coated and mostly submerged — this is a one-pan pasta method, meaning the rotini cooks directly in the seasoned broth instead of a separate pot of salted water. That's part of why this dish tastes so layered: the pasta is absorbing taco-seasoned, beefy liquid instead of plain water the whole time it cooks.
- If the noodles aren't fully covered, that's fine — they'll settle as they soften
- Give it one more stir right after adding to prevent clumping
- Keep the lid nearby but don't cover yet
Simmer Low and Slow Until the Pasta Is Just Tender
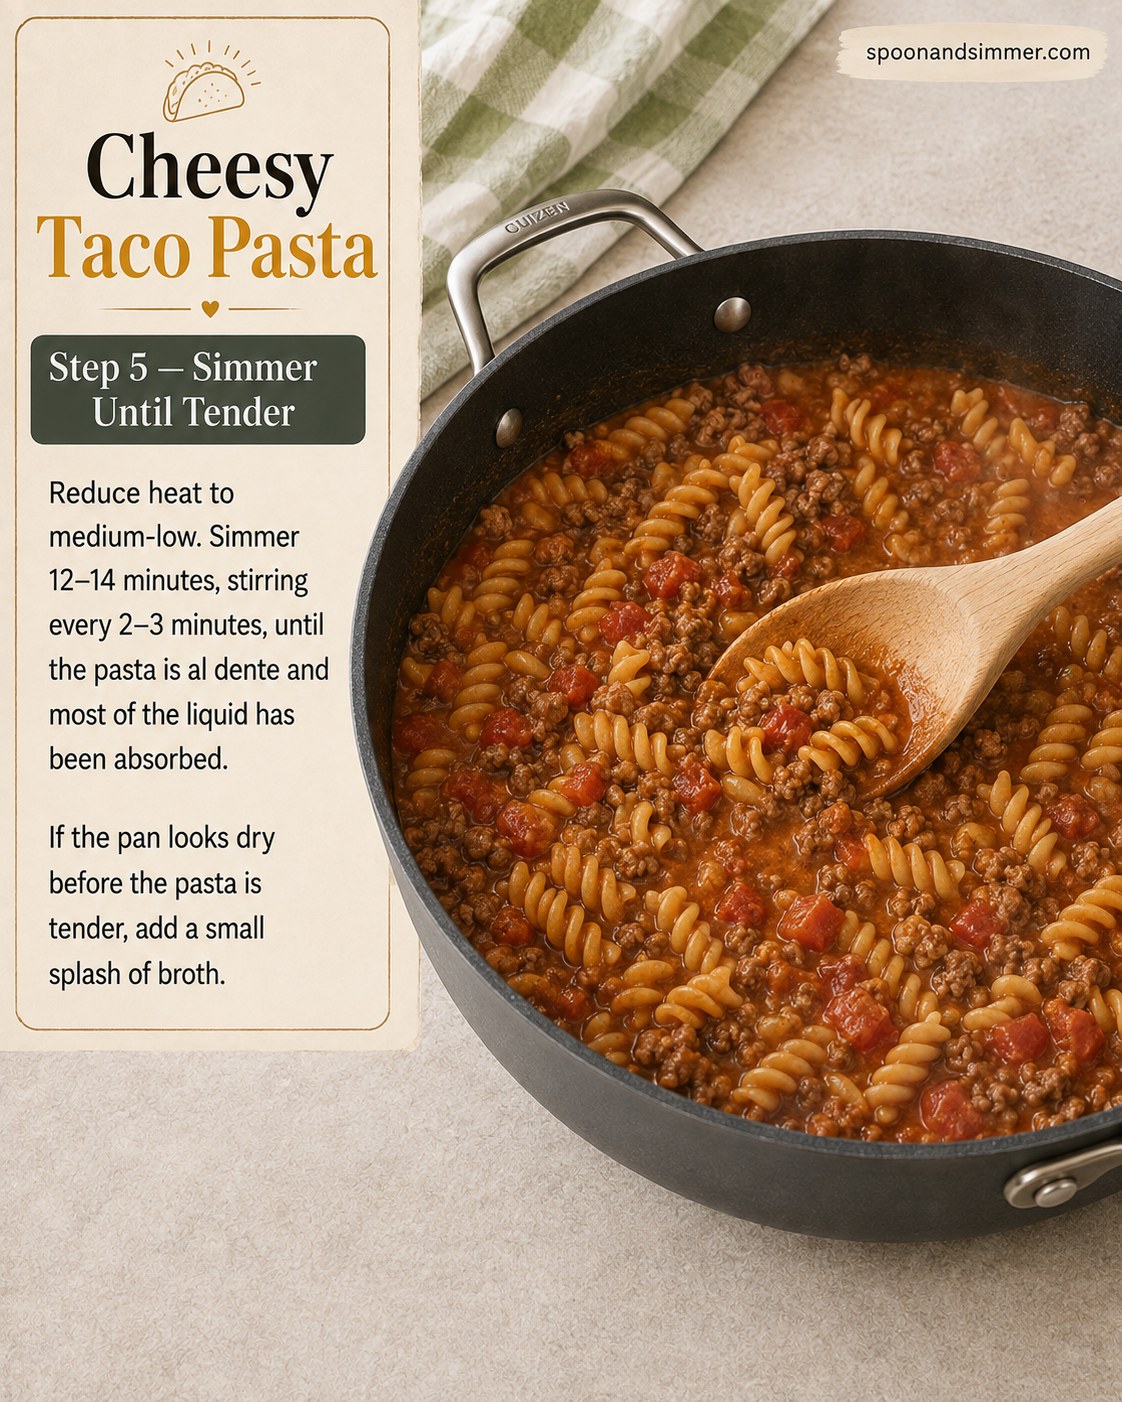
Drop the heat to medium-low and let everything simmer for 12 to 14 minutes, stirring every 2 to 3 minutes so the pasta doesn't stick to the bottom of the skillet. You're aiming for al dente rotini and most of the liquid absorbed into a thick, clingy sauce — the pan in the photo shows exactly that stage, the noodles glossy and the tomato-beef sauce reduced down around them.
If the pan looks dry before the pasta is tender, don't panic — just add a small splash of broth or water and keep going. This happens more with wider or older pasta shapes that soak up liquid unevenly, and it's a two-second fix, not a failure.
What to look for
- Texture: pasta bends but has a slight bite in the center
- Sauce: thick enough to coat the spoon, not soupy
- Color: deep rust-red from the tomatoes and seasoning
Melt in the Cream Cheese
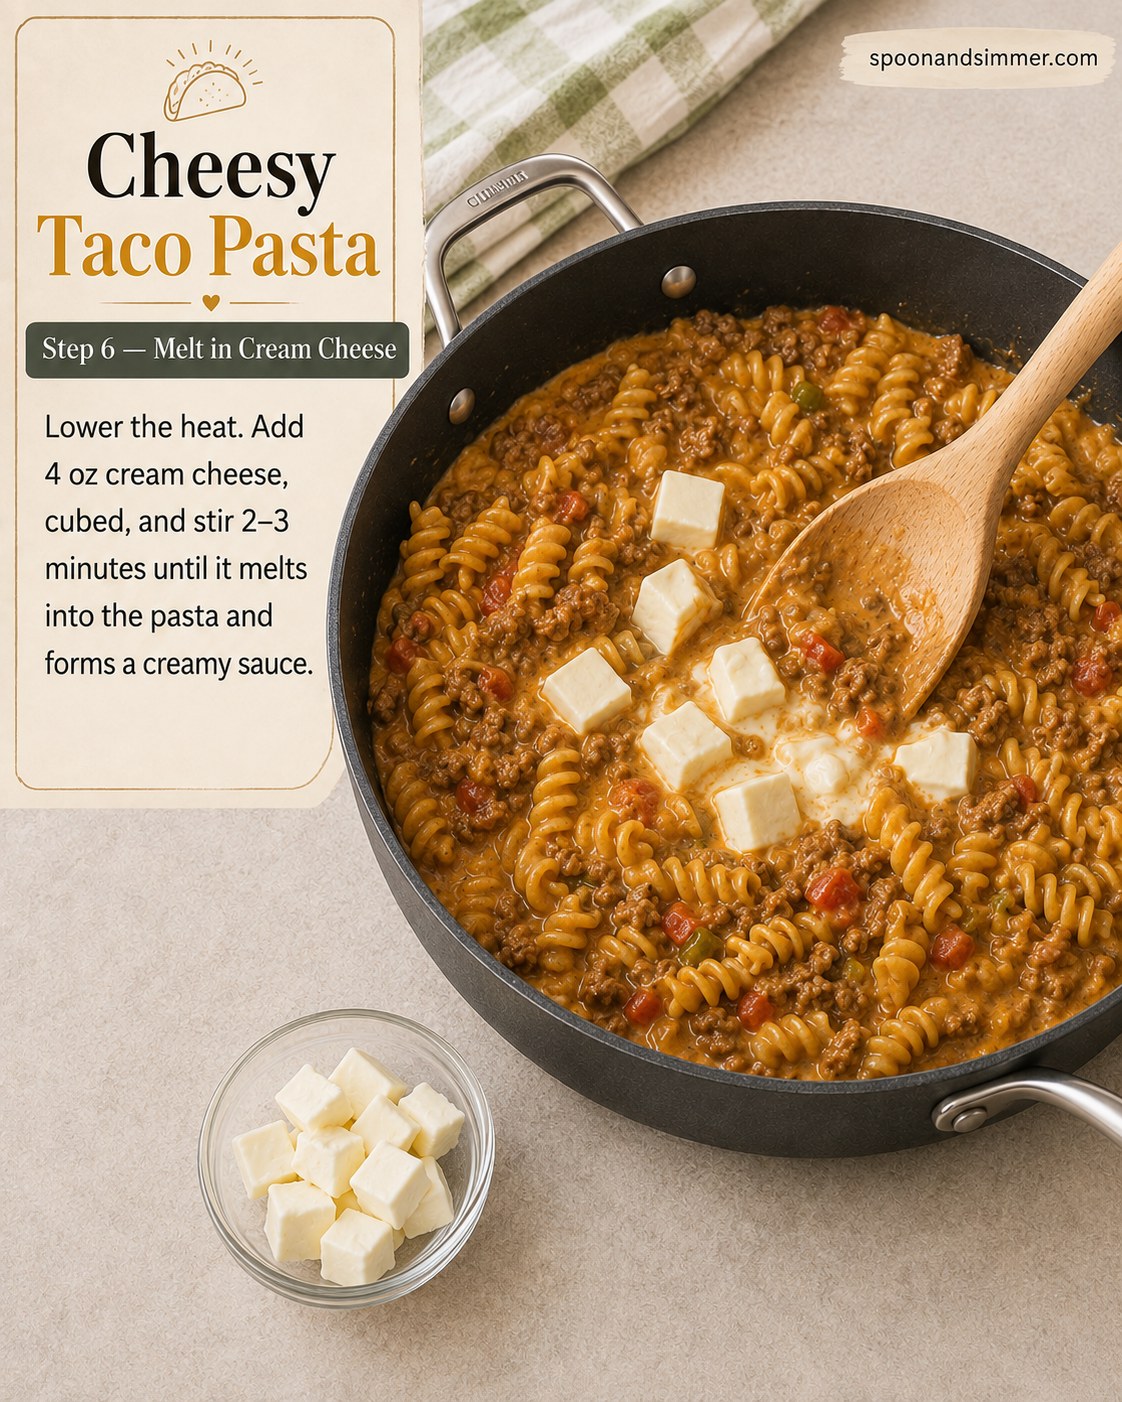
Lower the heat again before adding the cream cheese — this is the step where patience actually pays off. Add the 4 oz of cream cheese, cubed, scattered over the top the way you see it in the photo, and stir for 2 to 3 minutes as it slowly softens and melts into the sauce.
Go slow here on purpose. Cream cheese added to a pan that's too hot can break or turn grainy instead of silky, and while it's not the end of the world (a splash of extra broth whisked in vigorously usually smooths it back out), it's easy to avoid altogether by keeping the heat gentle.
What you're watching for is the cubes softening at the edges first, then disappearing into the sauce as you stir, leaving behind a sauce that's noticeably creamier and paler than it was a minute ago — that's your cue it's ready for the next step.
Fold In Cheddar and Sour Cream
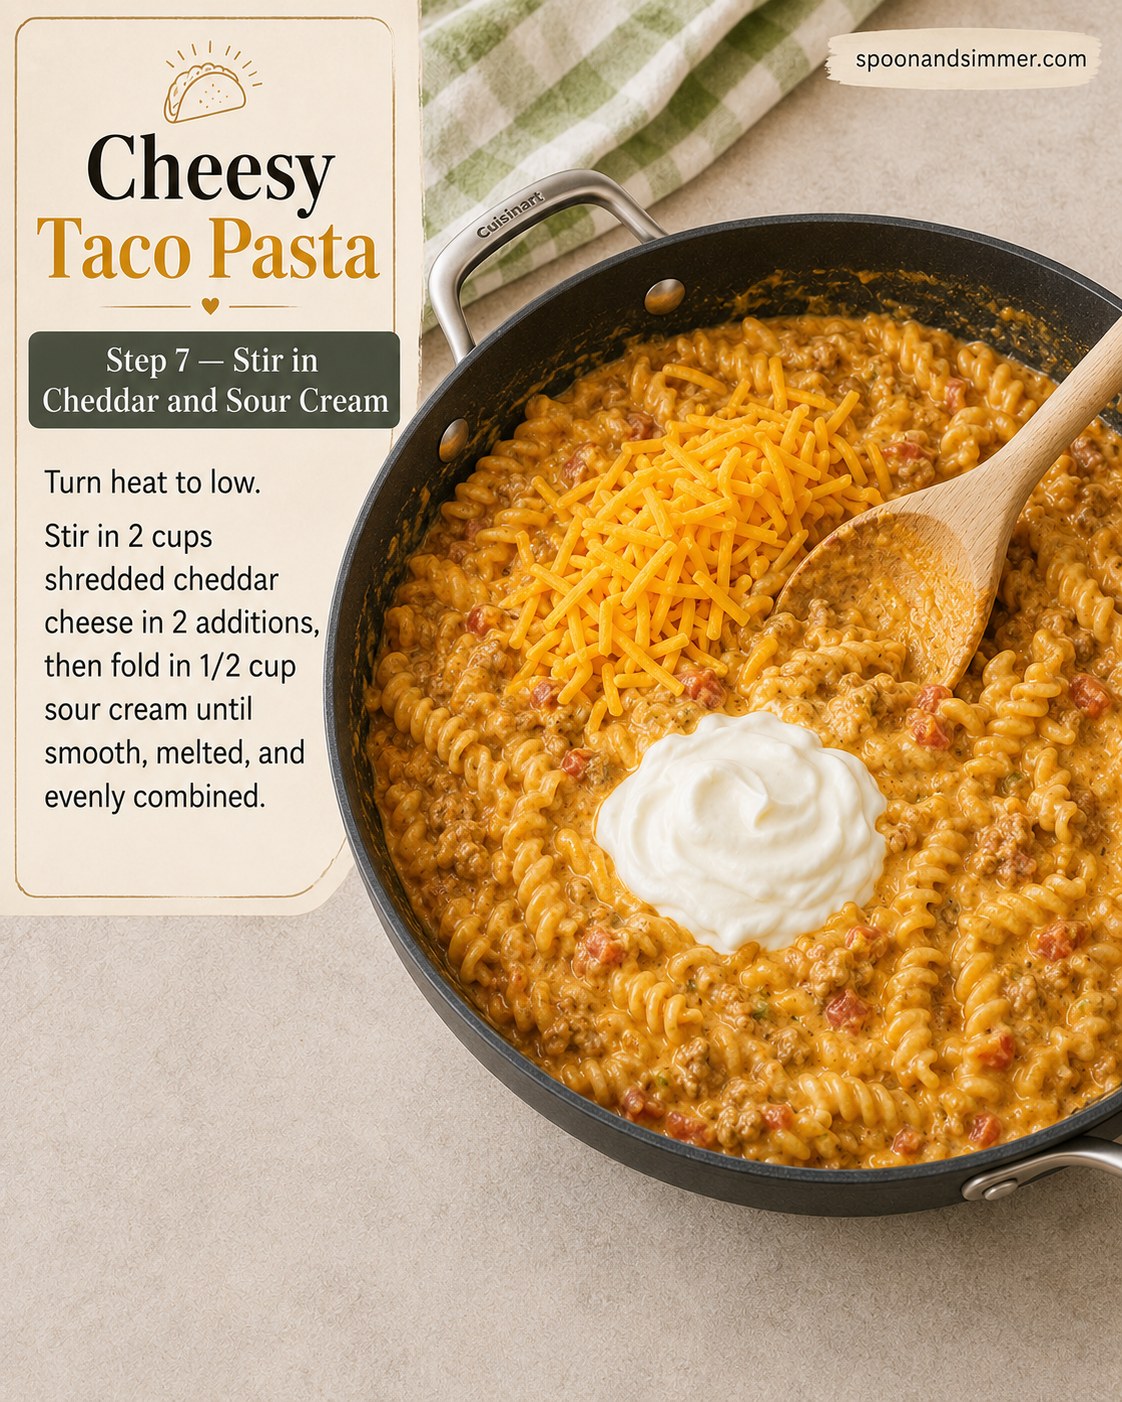
Turn the heat all the way down to low — cheese sauces are not a rush job. Add the 2 cups of shredded cheddar in two additions, stirring the first handful in fully before adding the second. This keeps the sauce smooth instead of clumpy, since dumping all the cheese in at once can cause it to seize into stringy pockets rather than melting evenly.
Once the cheddar is fully melted and glossy, fold in the 1/2 cup of sour cream. Stir until everything is smooth, evenly combined, and the color has gone from rusty red to that warm orange-gold you see pooling under the swirl of sour cream in the photo.
- Sub option: Monterey Jack or a Colby-Jack blend works fine if that's what's in your fridge
- Lower-fat swap: light sour cream works, but skip fat-free — it splits under heat
Rest, Taste, and Serve It Hot
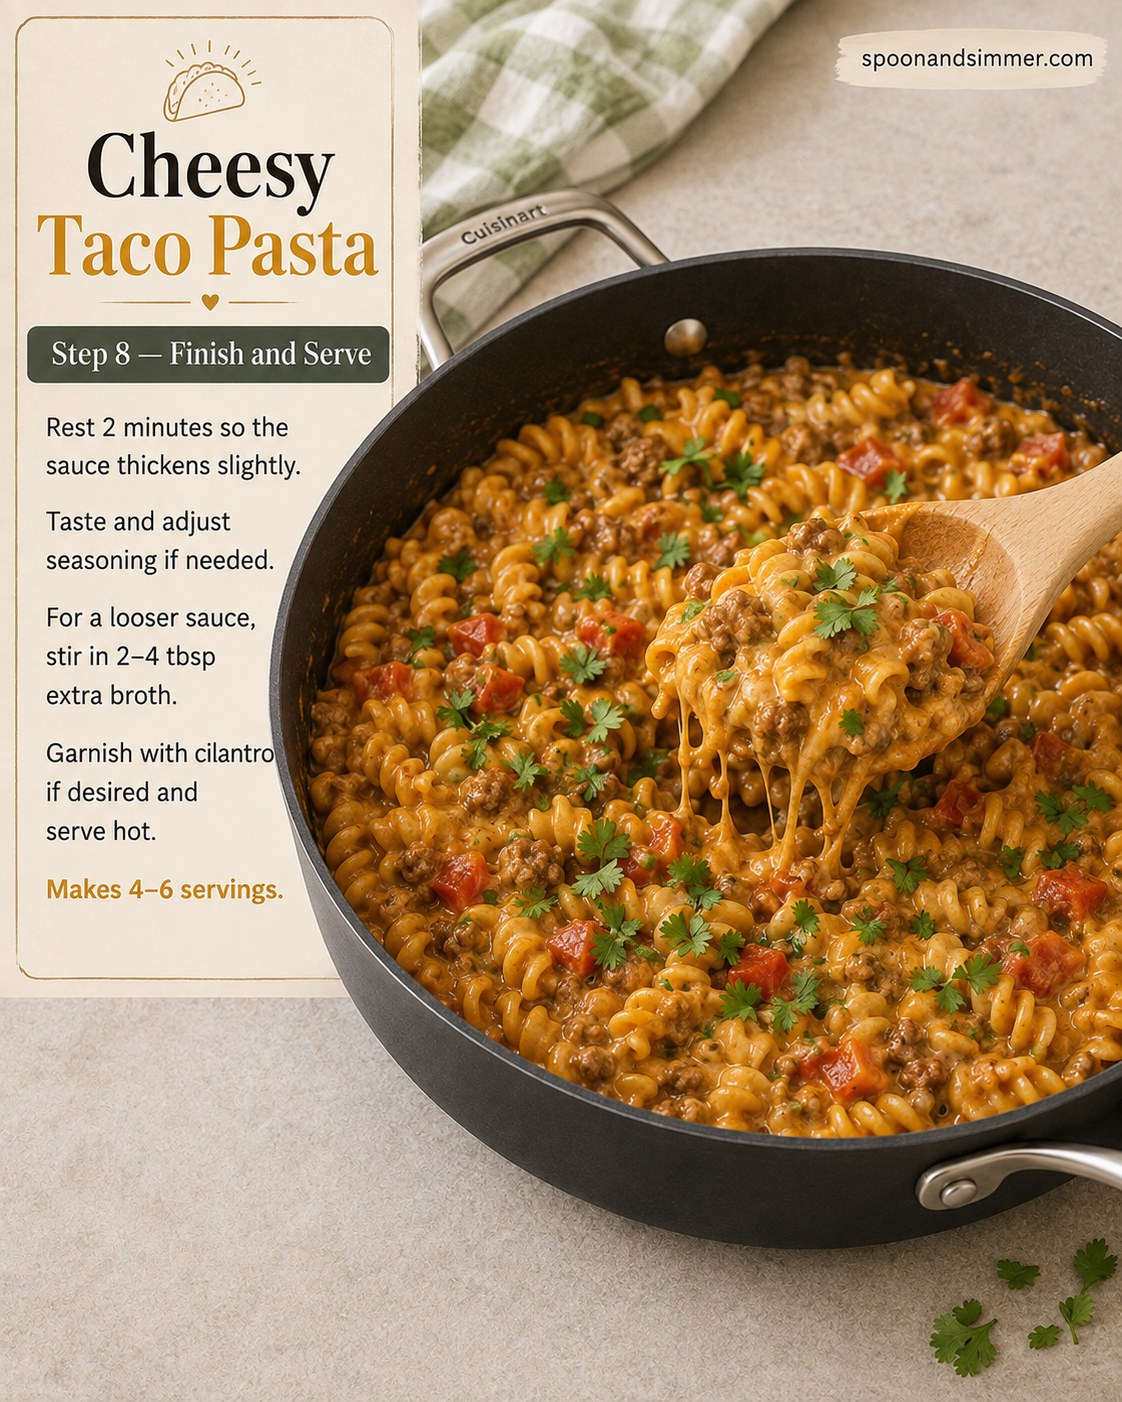
Pull the skillet off the heat and let it rest for 2 minutes — the sauce thickens noticeably in this short window as the pasta finishes absorbing the last bit of liquid, so don't skip it even though you'll want to dig in immediately.
Taste and adjust the seasoning now, not before — cheese and sour cream mute salt and spice more than people expect. If the sauce looks thicker than you'd like once it's rested, stir in 2 to 4 tablespoons of extra broth to loosen it back up.
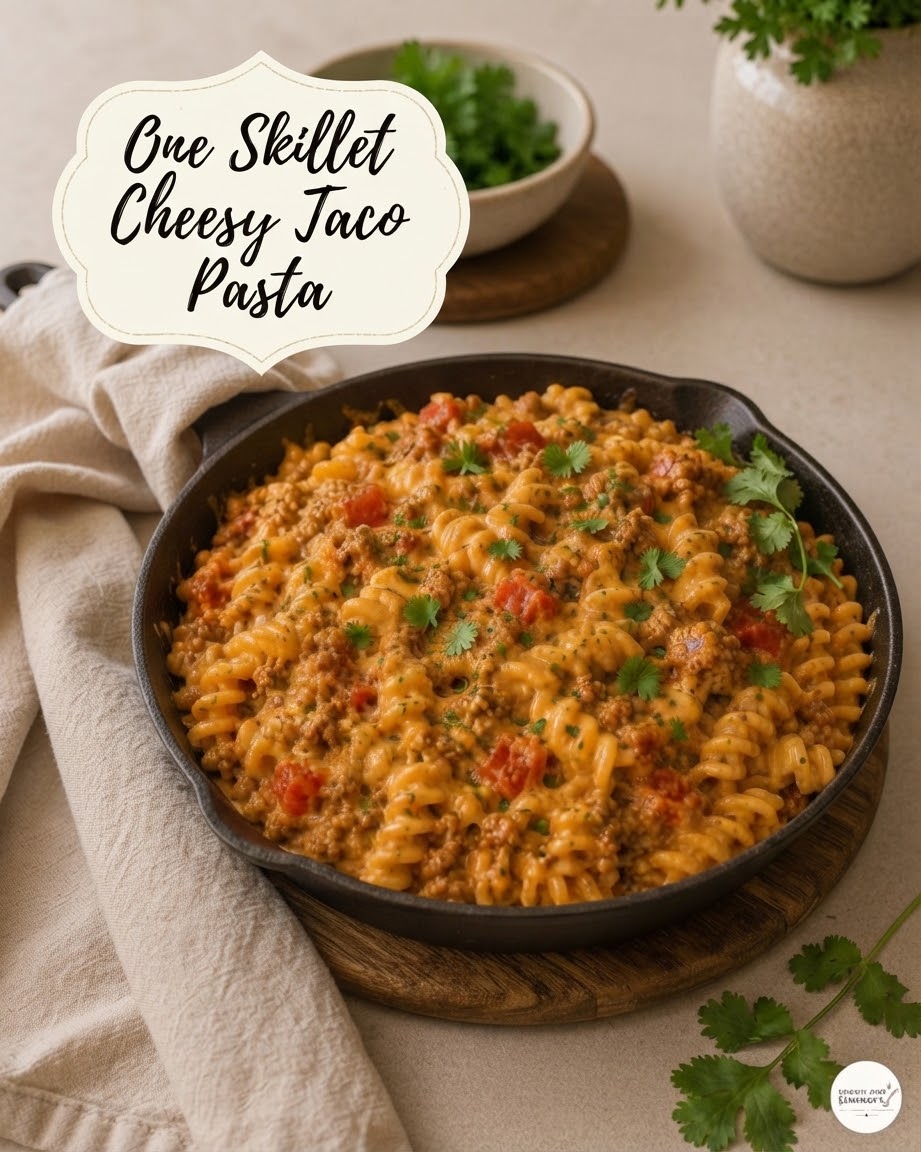
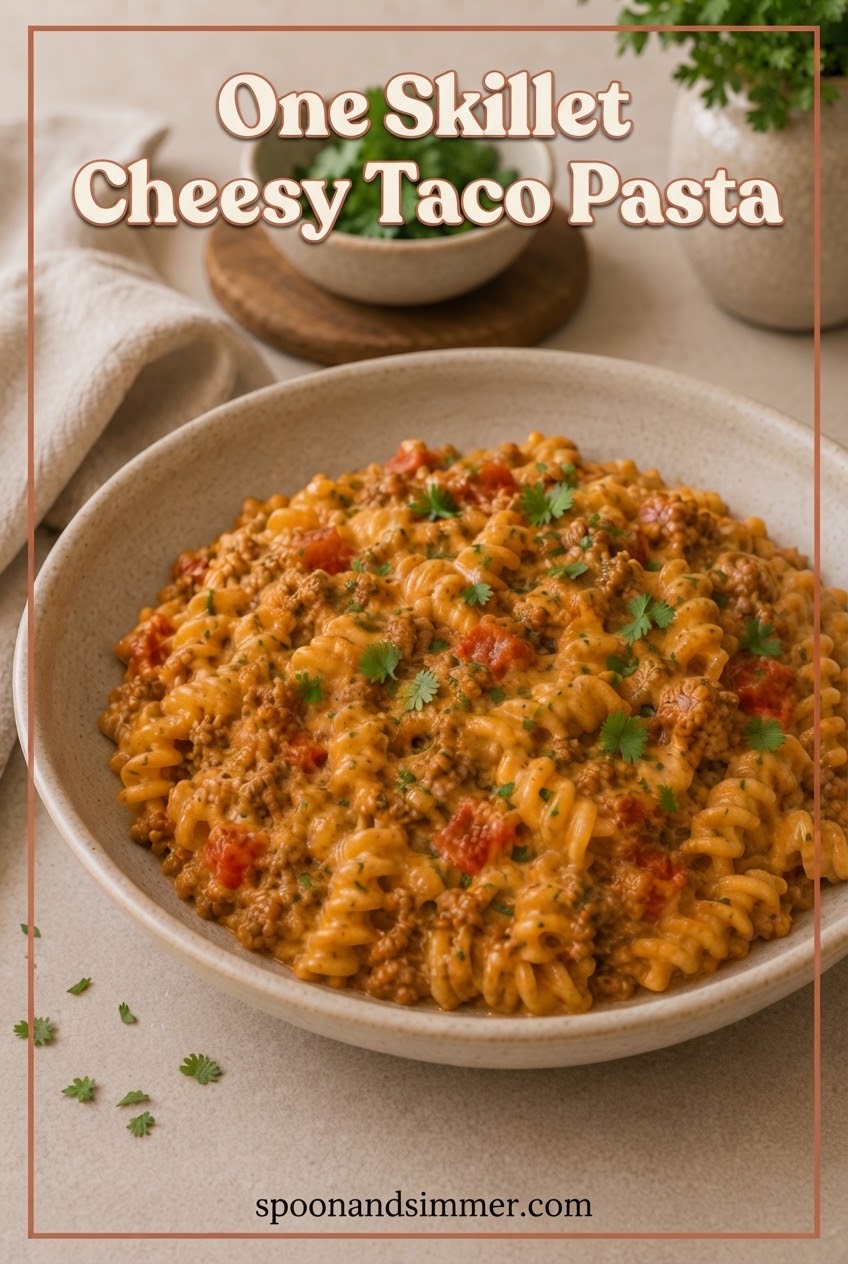
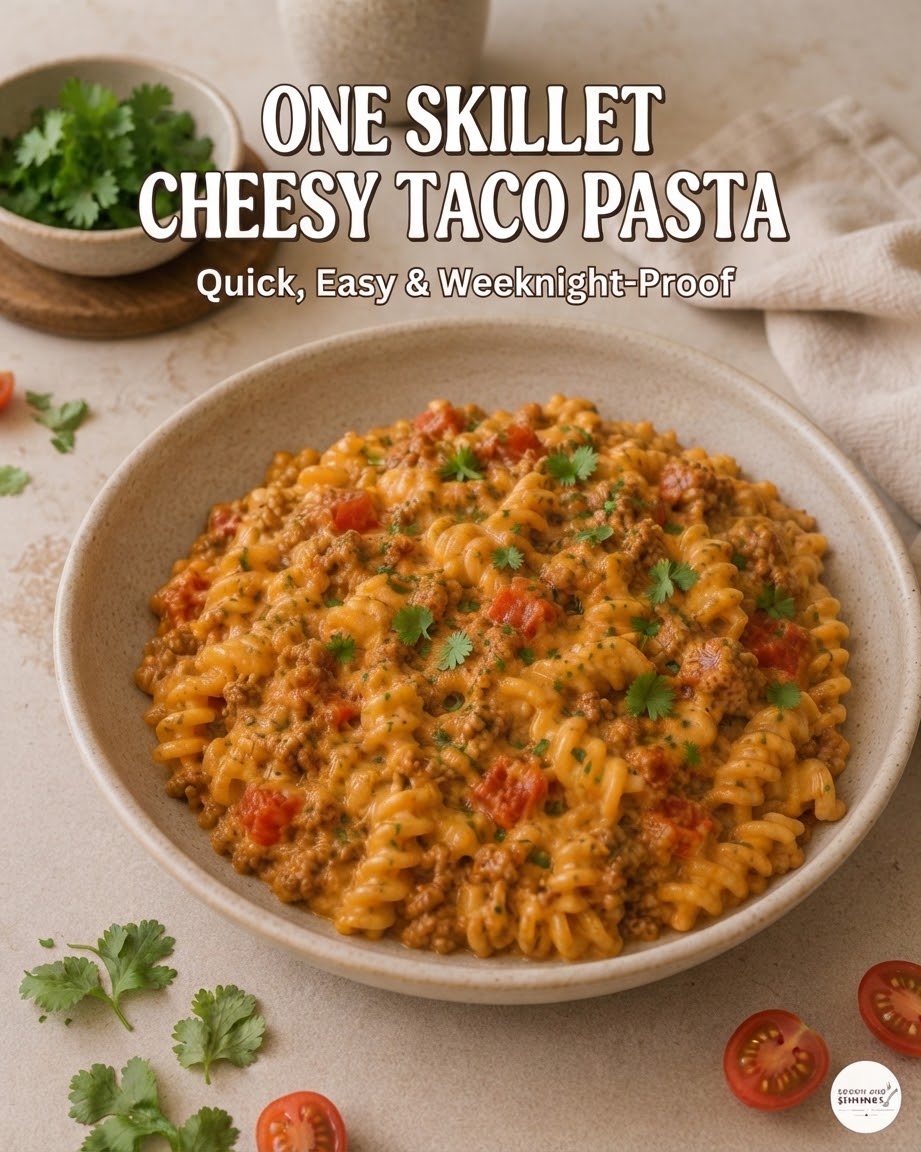
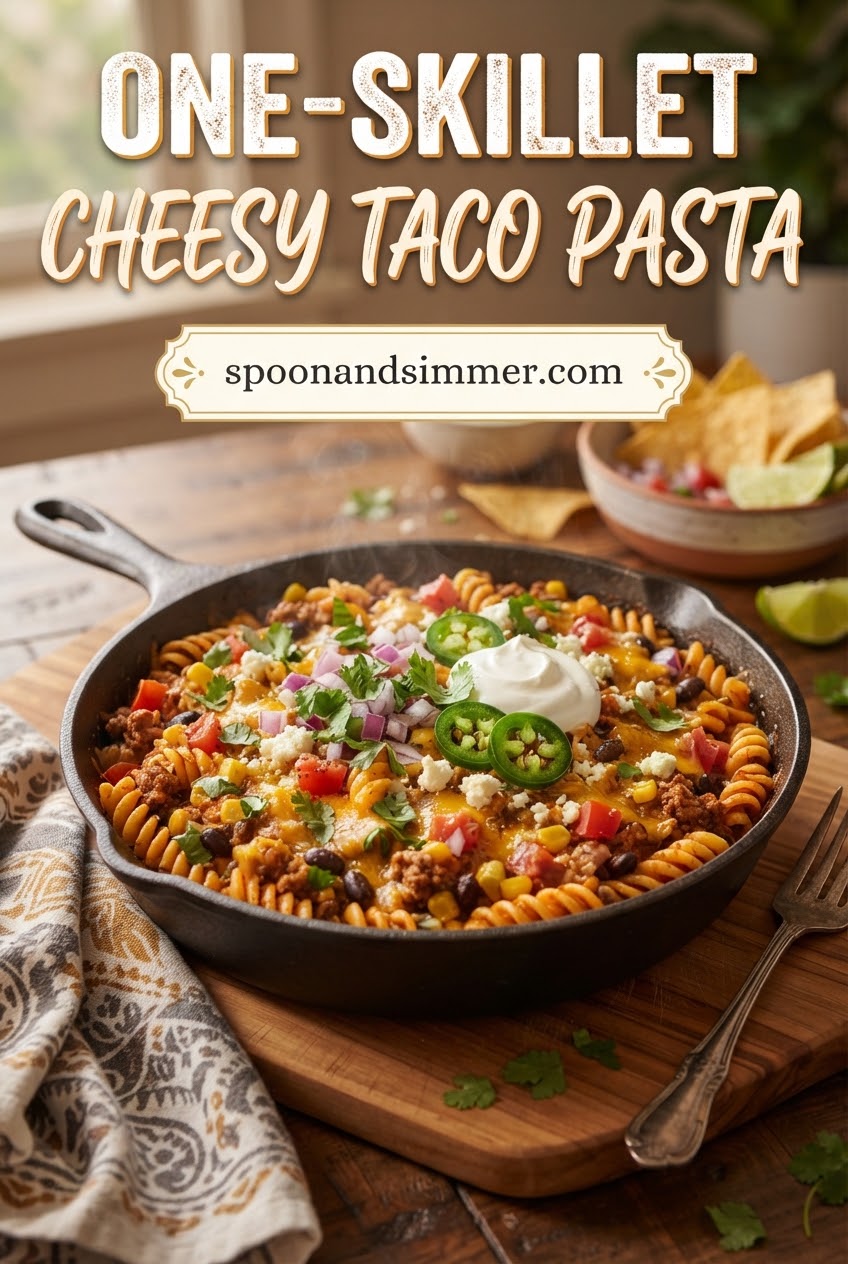
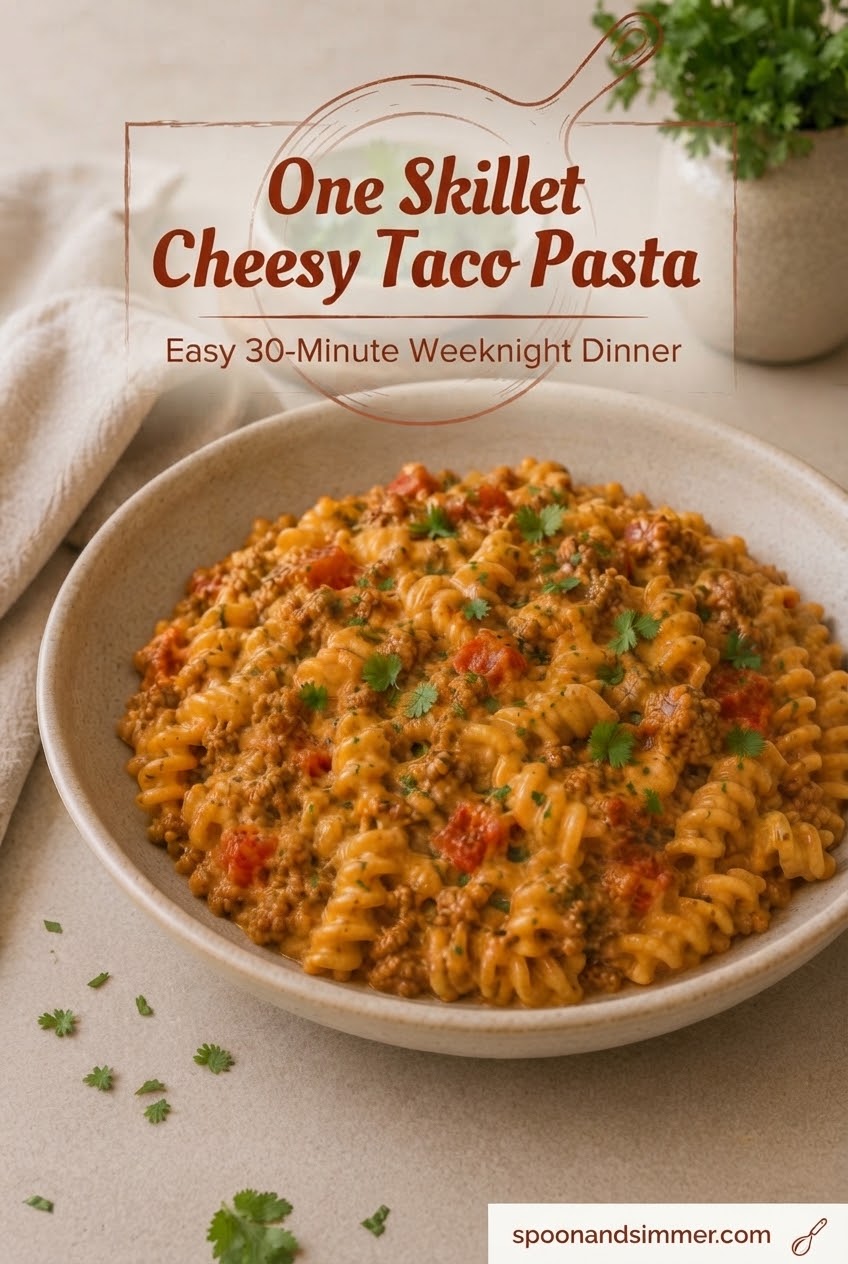
Scatter cilantro over the top if you're using it, the way it's finished in the photo, and serve straight from the skillet. This recipe makes 4 to 6 servings and reheats well the next day with a splash of milk or broth stirred in to bring the sauce back to life.
How This Actually Looks in My Kitchen on a Real Tuesday
The step photos are useful for getting the technique right, but I wanted to show you what this looks like when I'm actually making it for my family, mid-week, with the herbs on my counter half-wilted and Biscuit somewhere underfoot. These are shots from an evening I made a double batch because Dave requested leftovers for lunch. Nothing here is styled beyond what was already sitting on my counter.
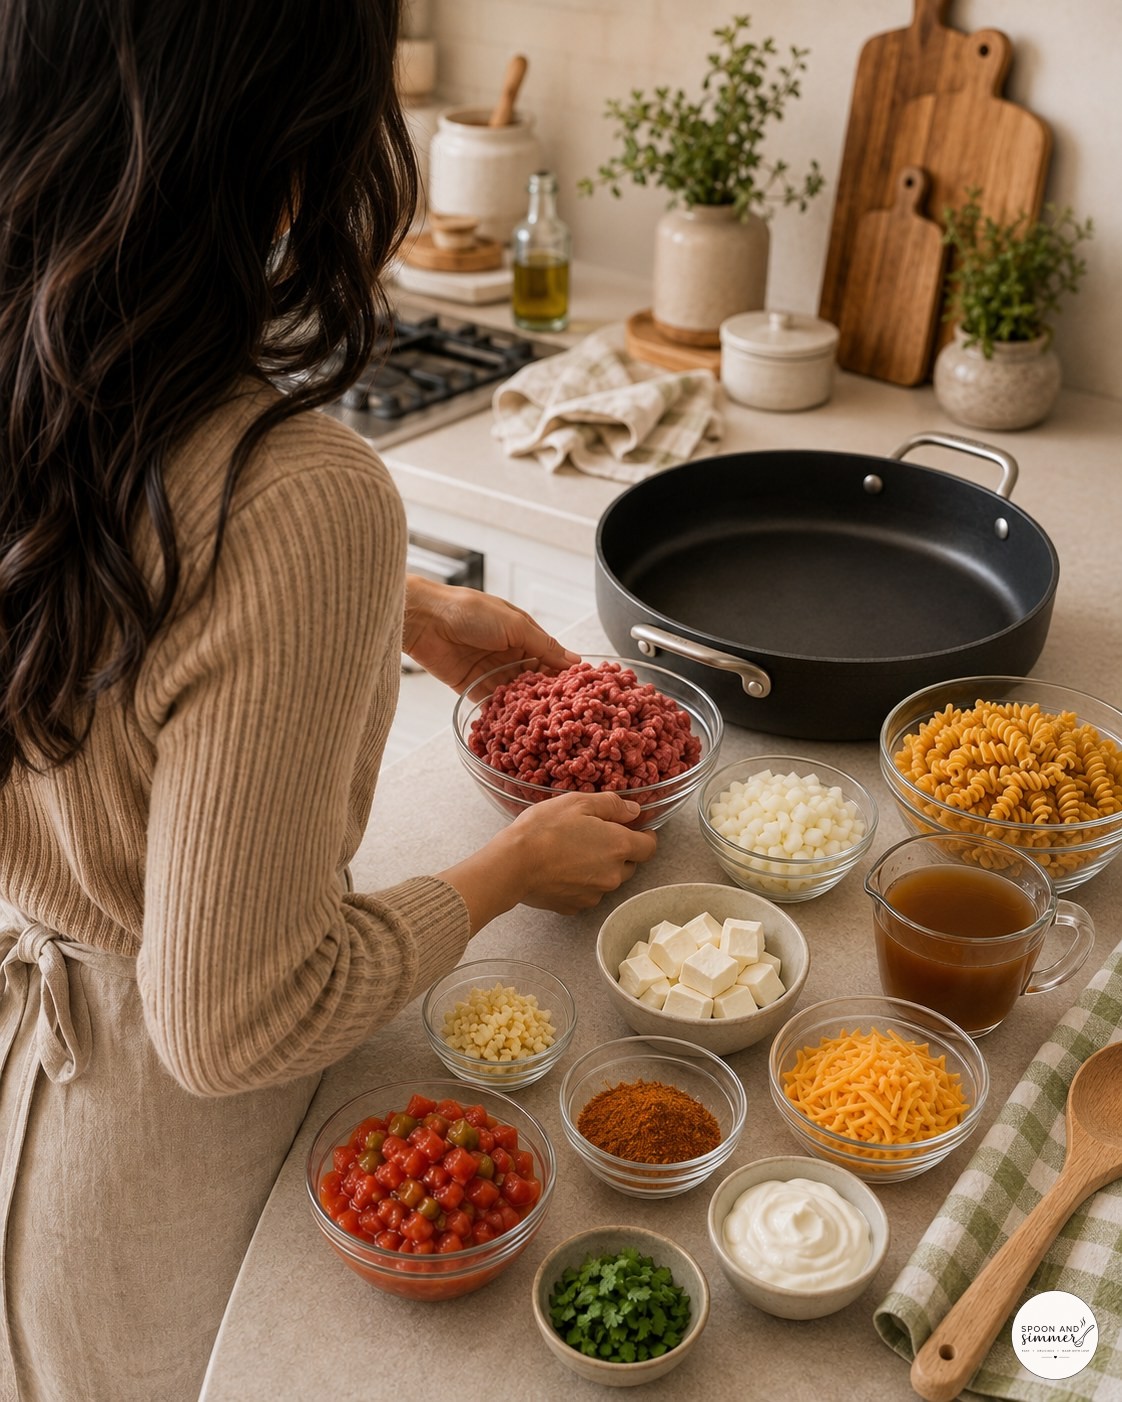
This is my actual prep counter, not a styled version of it — I keep everything in these little glass bowls because otherwise I lose track of what's already gone into the pan. Notice the pasta and broth are already measured before the beef even hits the heat.
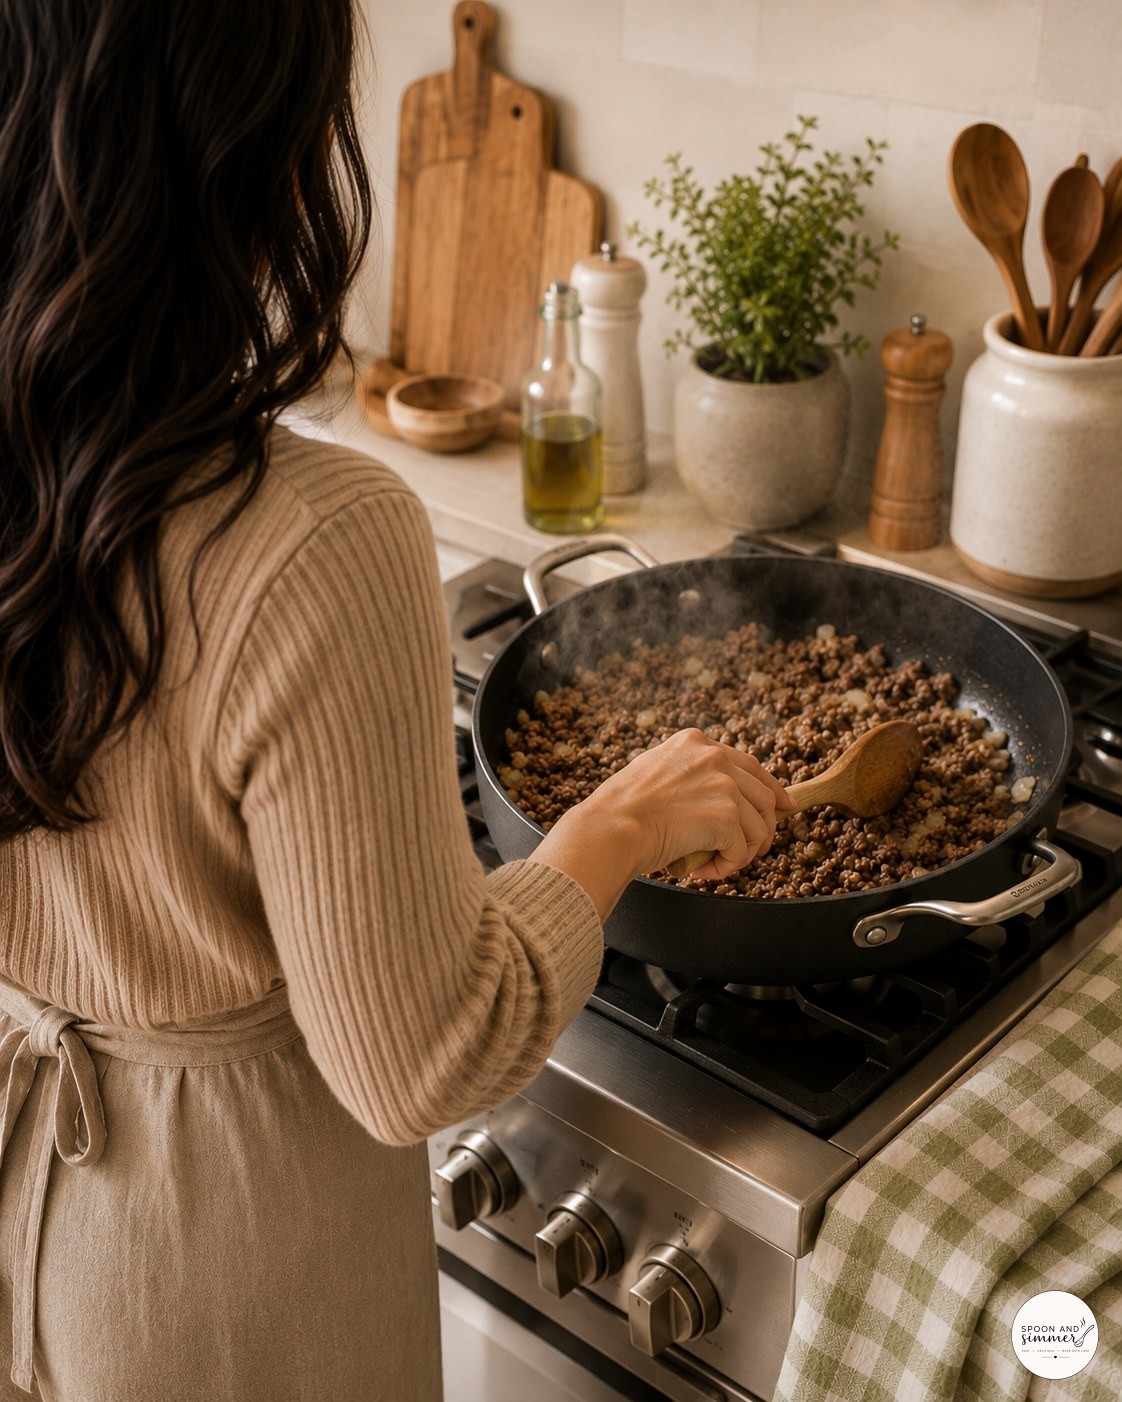
That's my everyday 12-inch skillet, the one I reach for more than any other pan I own. I let the beef sit undisturbed for a minute before breaking it up, which gets you better browning than stirring constantly right from the start.
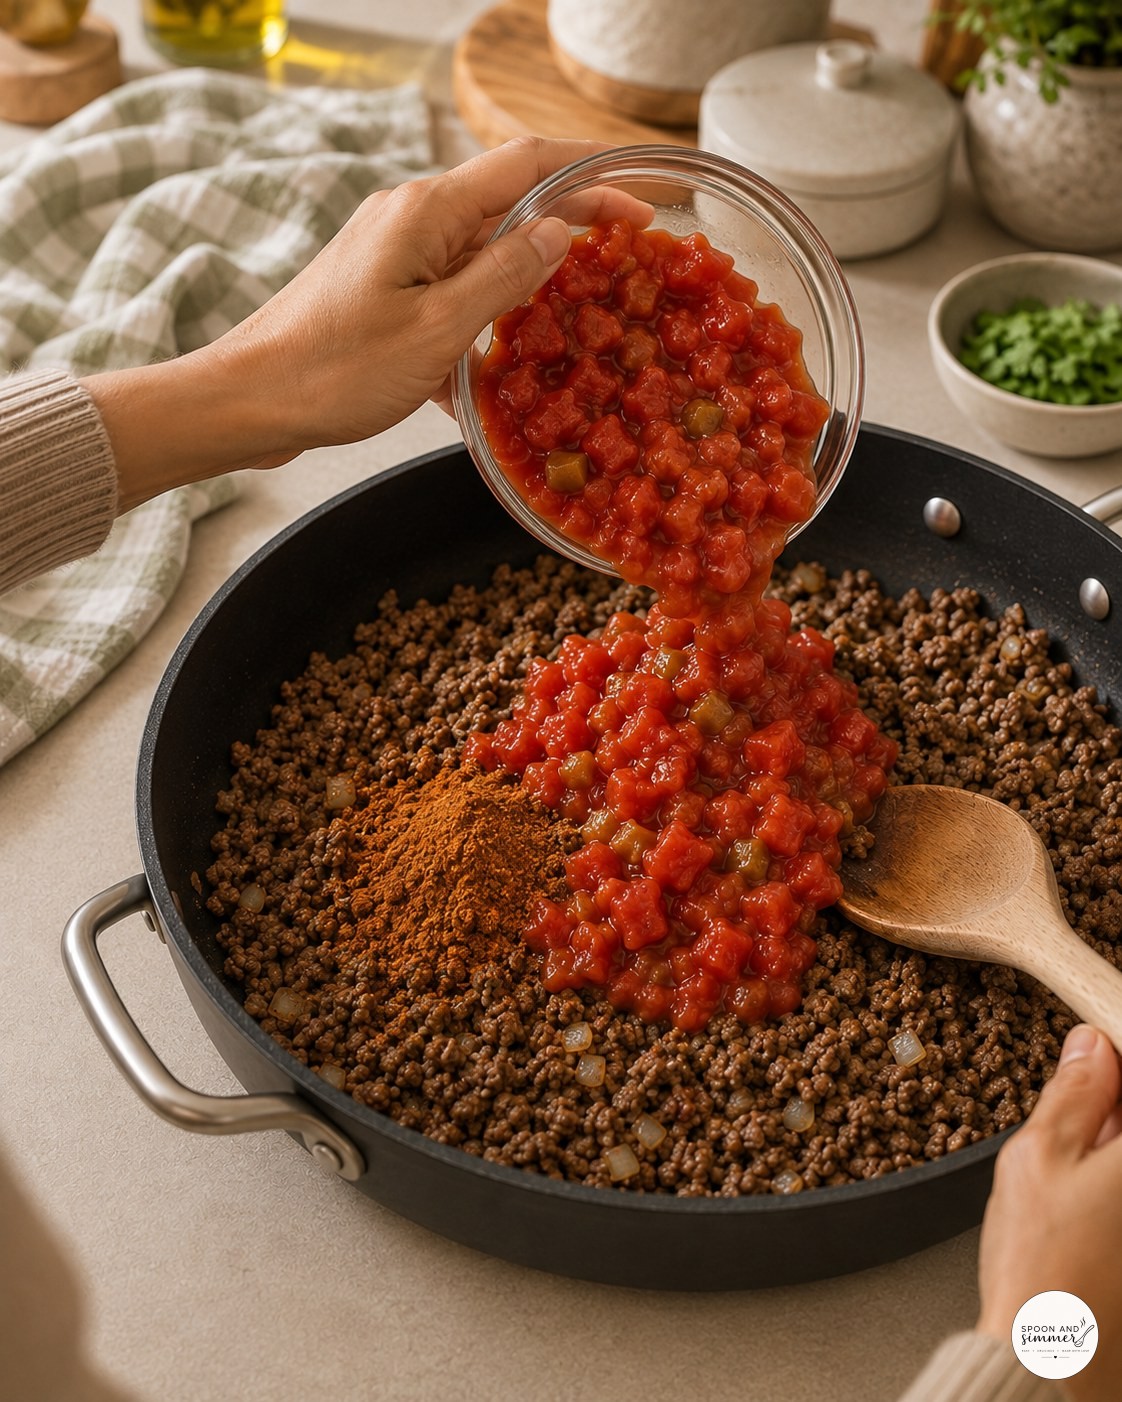
You can see the steam coming off the pan as the cold tomatoes hit the hot beef — that sizzle is a good sign, it means your pan was hot enough. I always pour with one hand steadying the bowl since a full can of tomatoes is heavier than it looks.
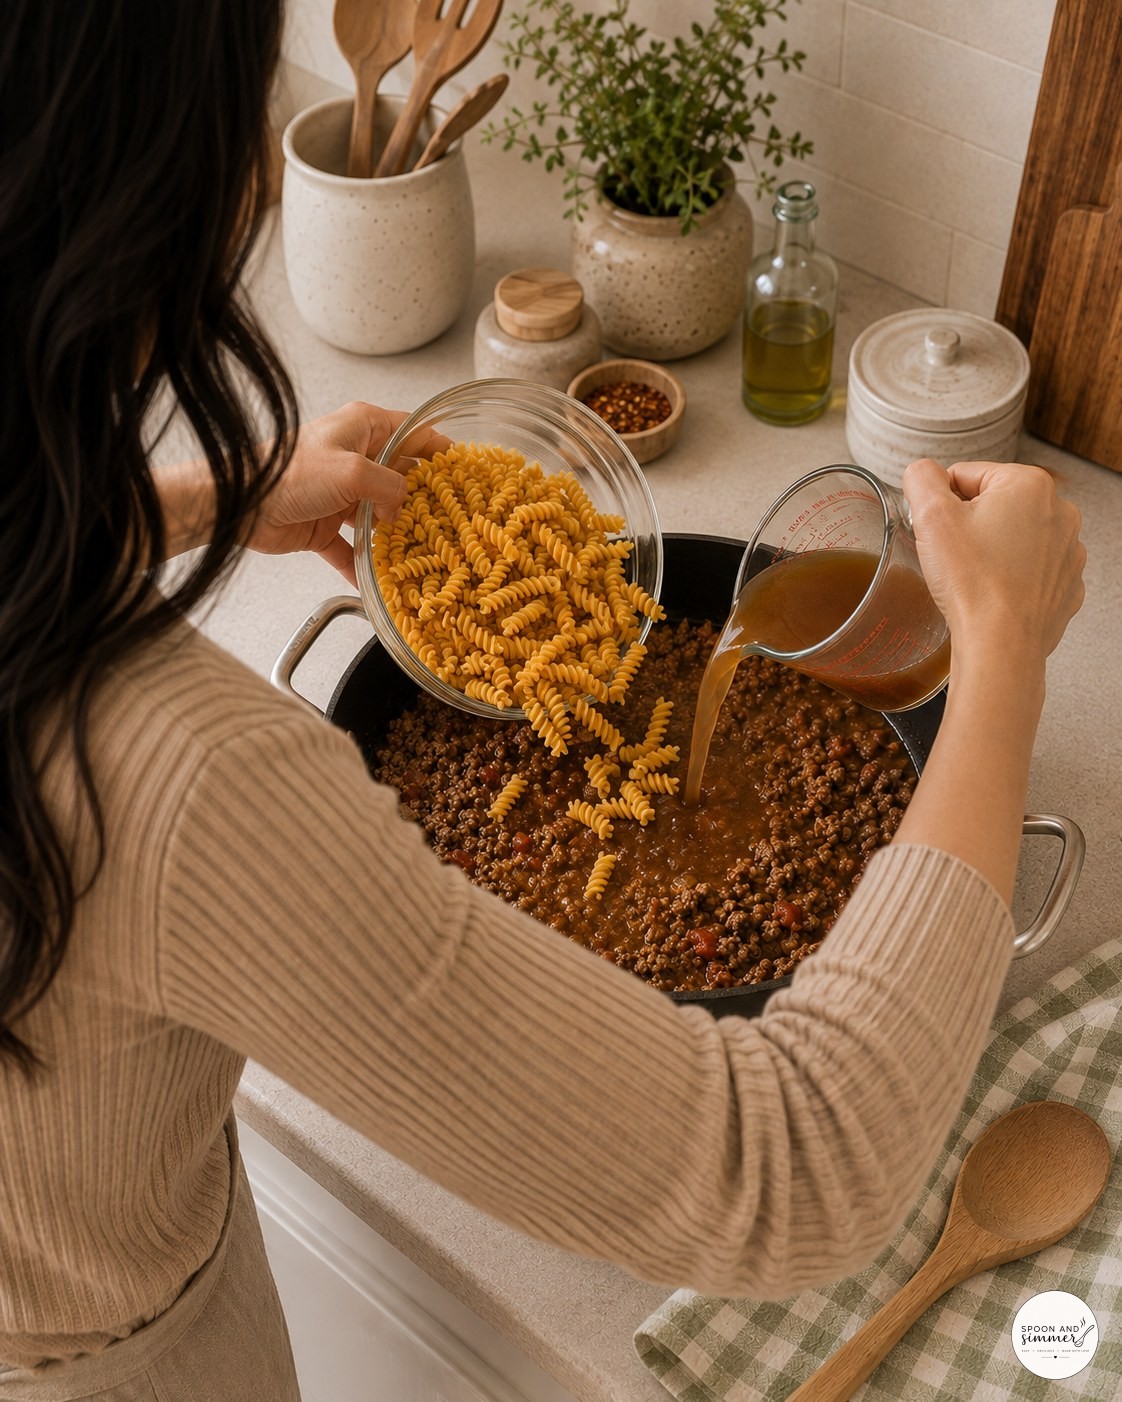
Pouring the broth and pasta in almost at the same time saves a step, though I'll admit my counter usually looks a little chaotic right at this point. The pasta will float on top for a minute before you stir it under the liquid.
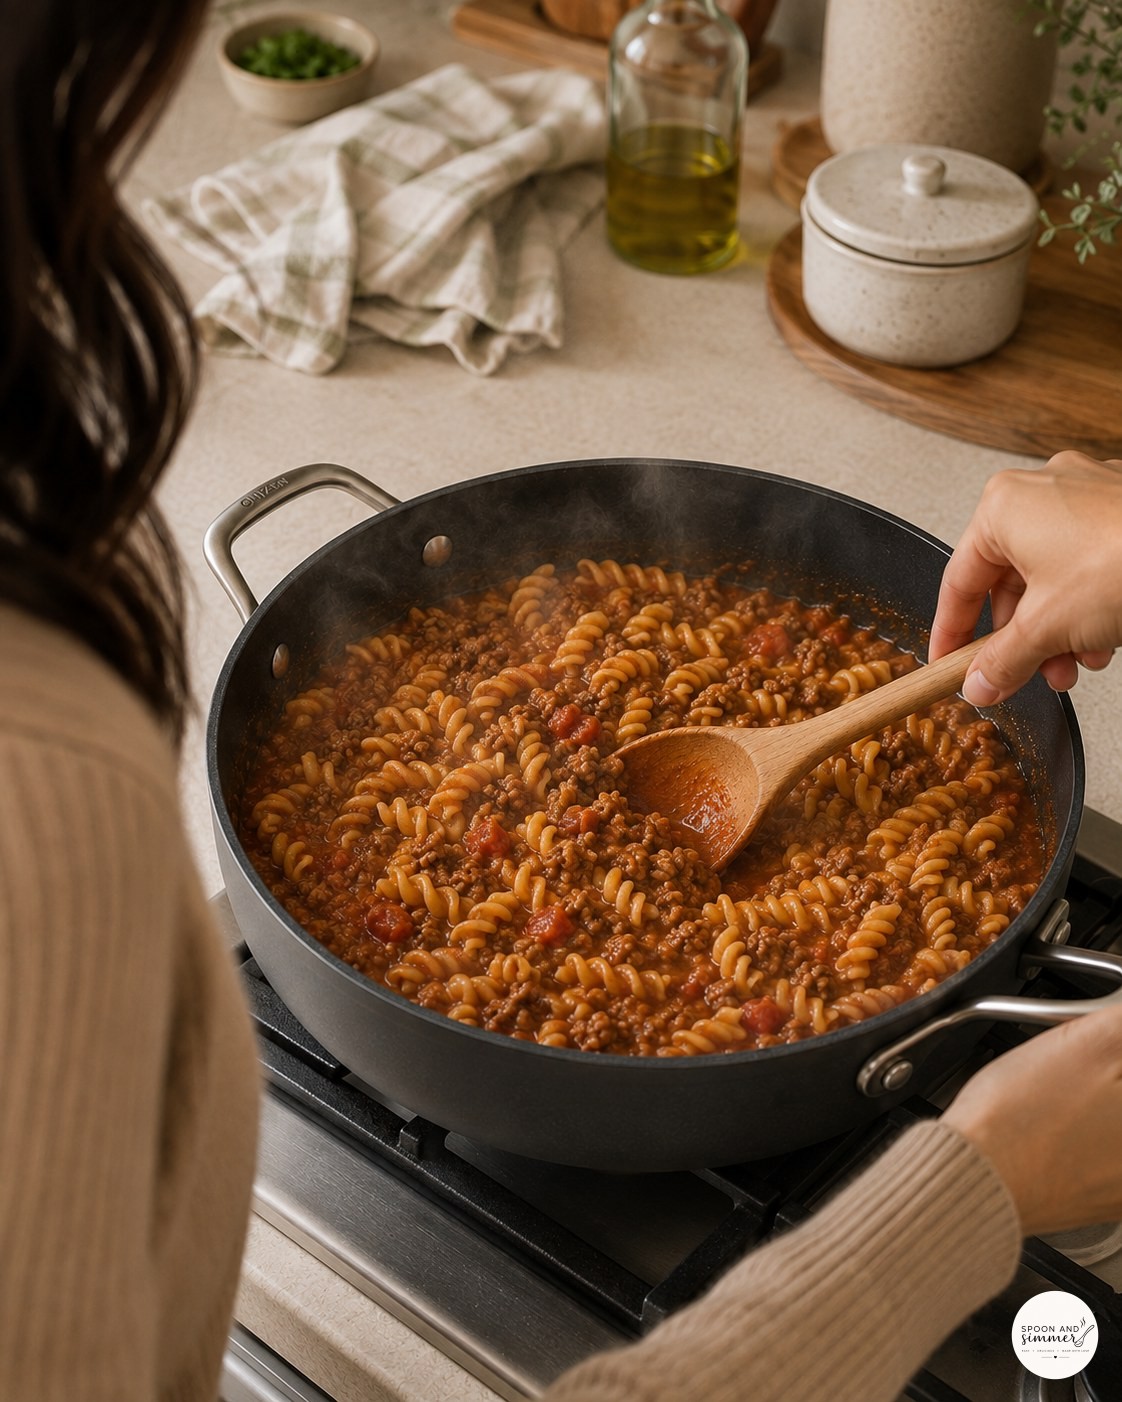
This is the stirring-every-few-minutes stretch, and honestly it's when I catch up on whatever true crime episode I've got going in the background. You can see the sauce is still fairly loose here, well before the final thickened stage.
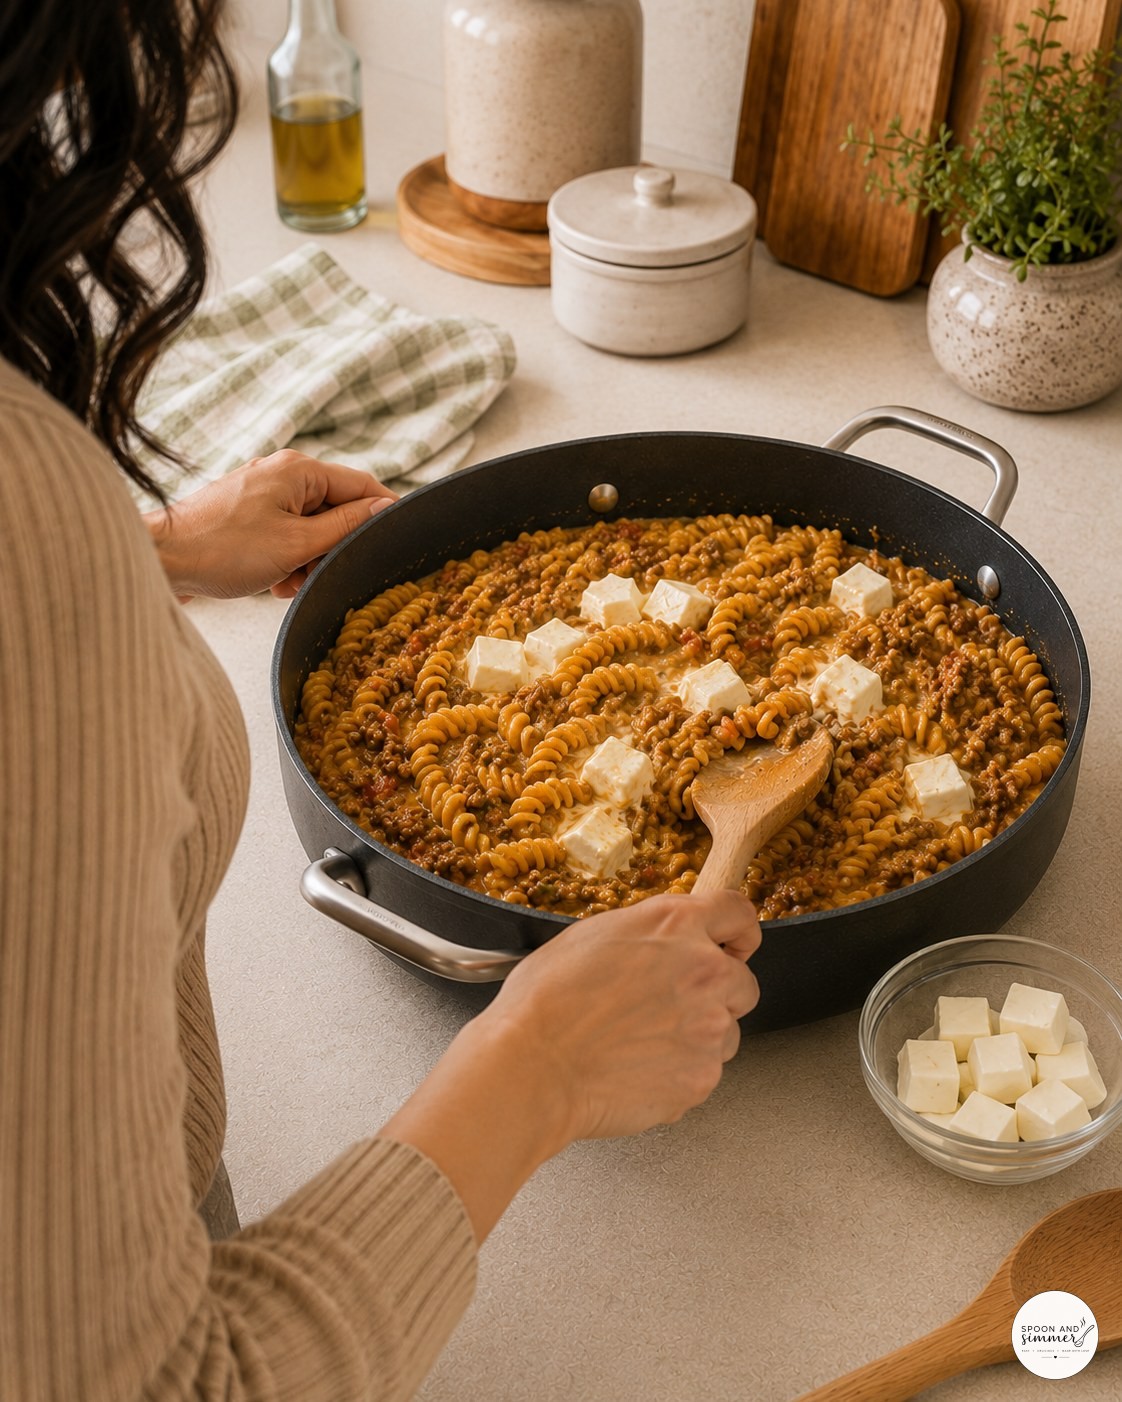
I like laying the cream cheese cubes out in a ring like this rather than dumping them in one pile, since it melts more evenly across the pan. This shot is right before I start folding it in, so it still looks chunky and separate.
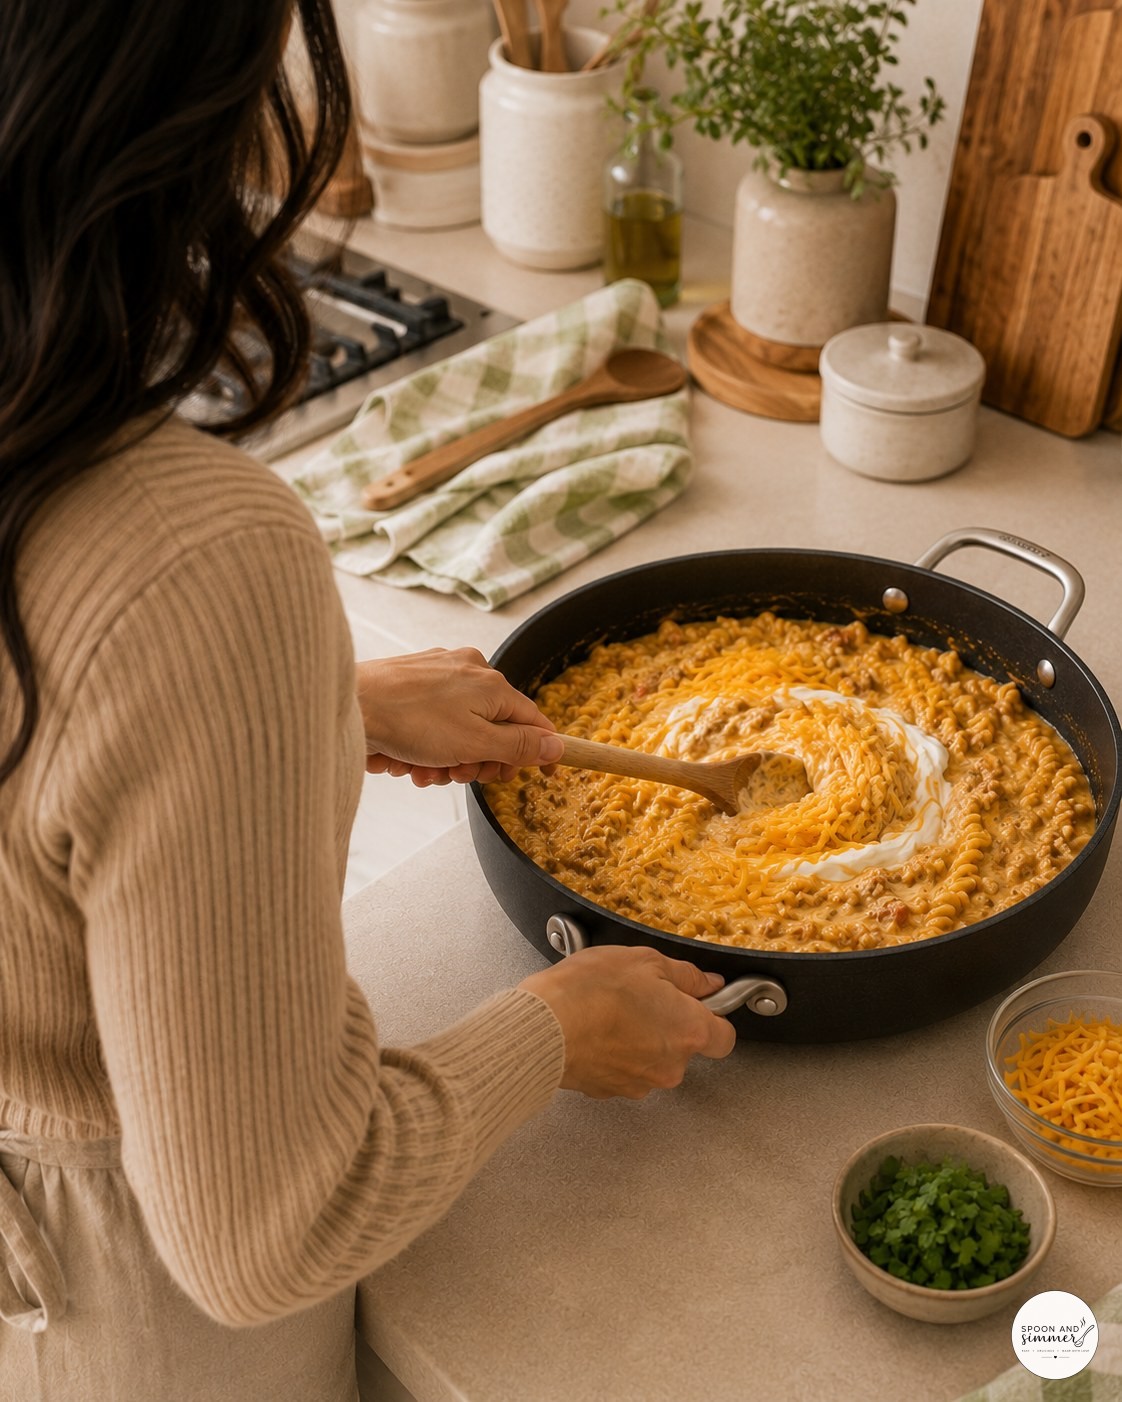
That swirl of sour cream sitting on top right before I mix it in is one of my favorite moments in this whole process — it never fails to make the kids come running to look. Once you stir it through, that pretty swirl disappears into one uniform sauce.
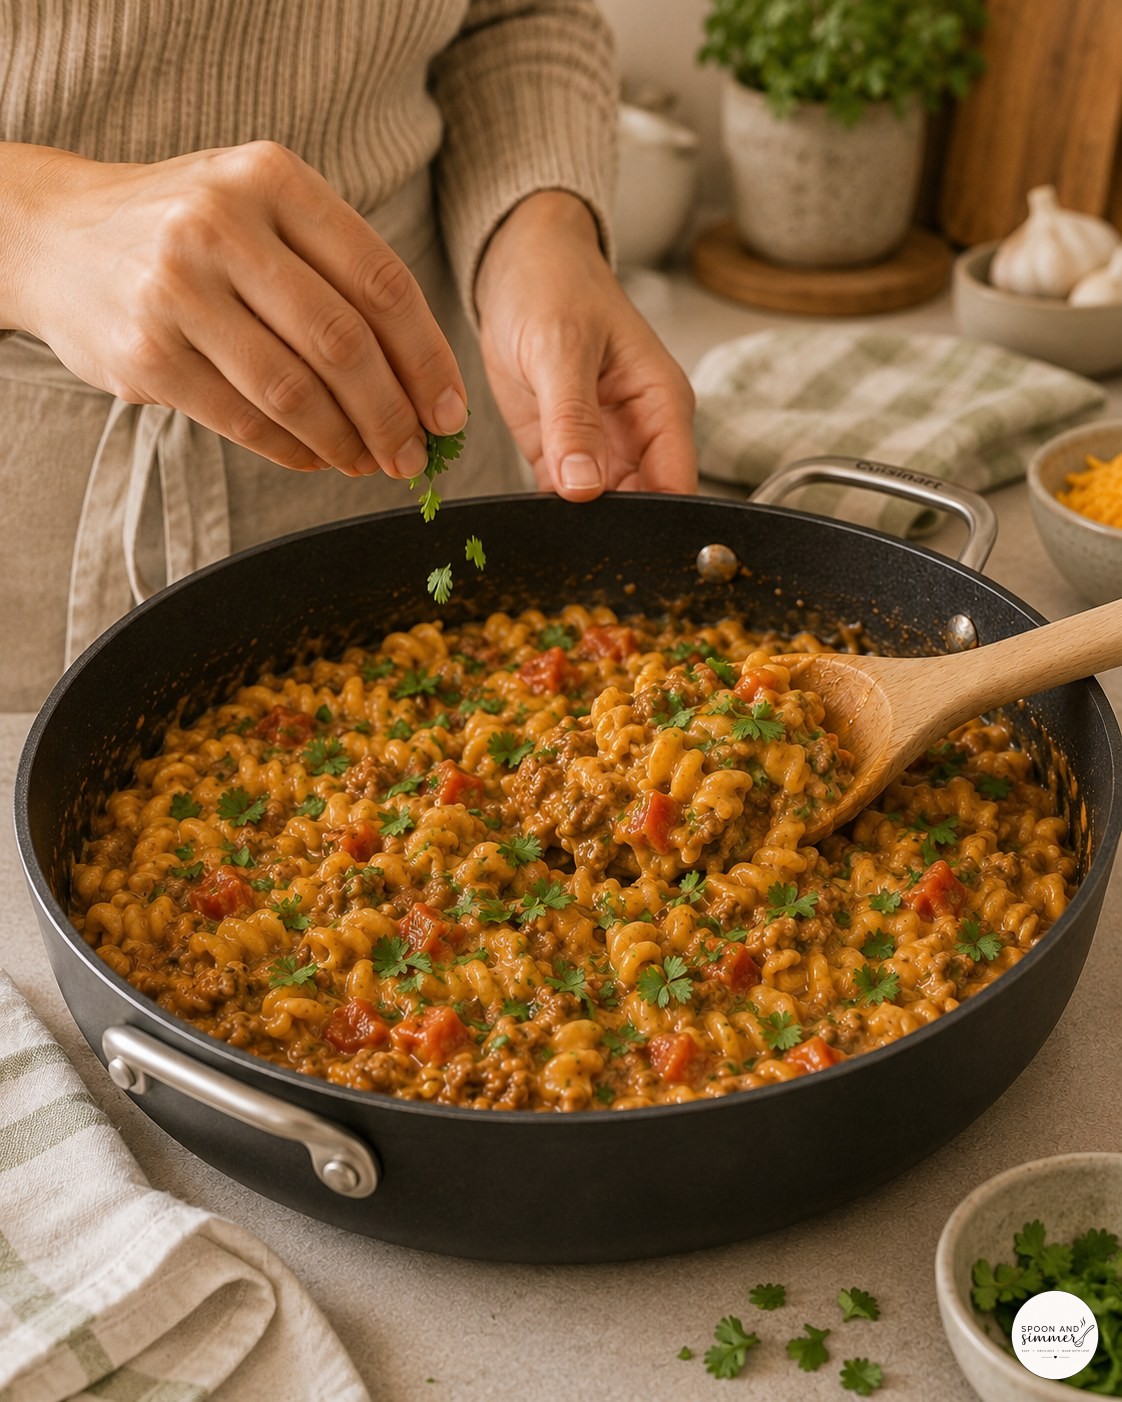
Ivy usually claims cilantro-scattering duty in our house, though this particular night it was me, standing at the stove in my regular sweater, not a chef's coat in sight. A little torn cilantro goes further than a lot of chopped.
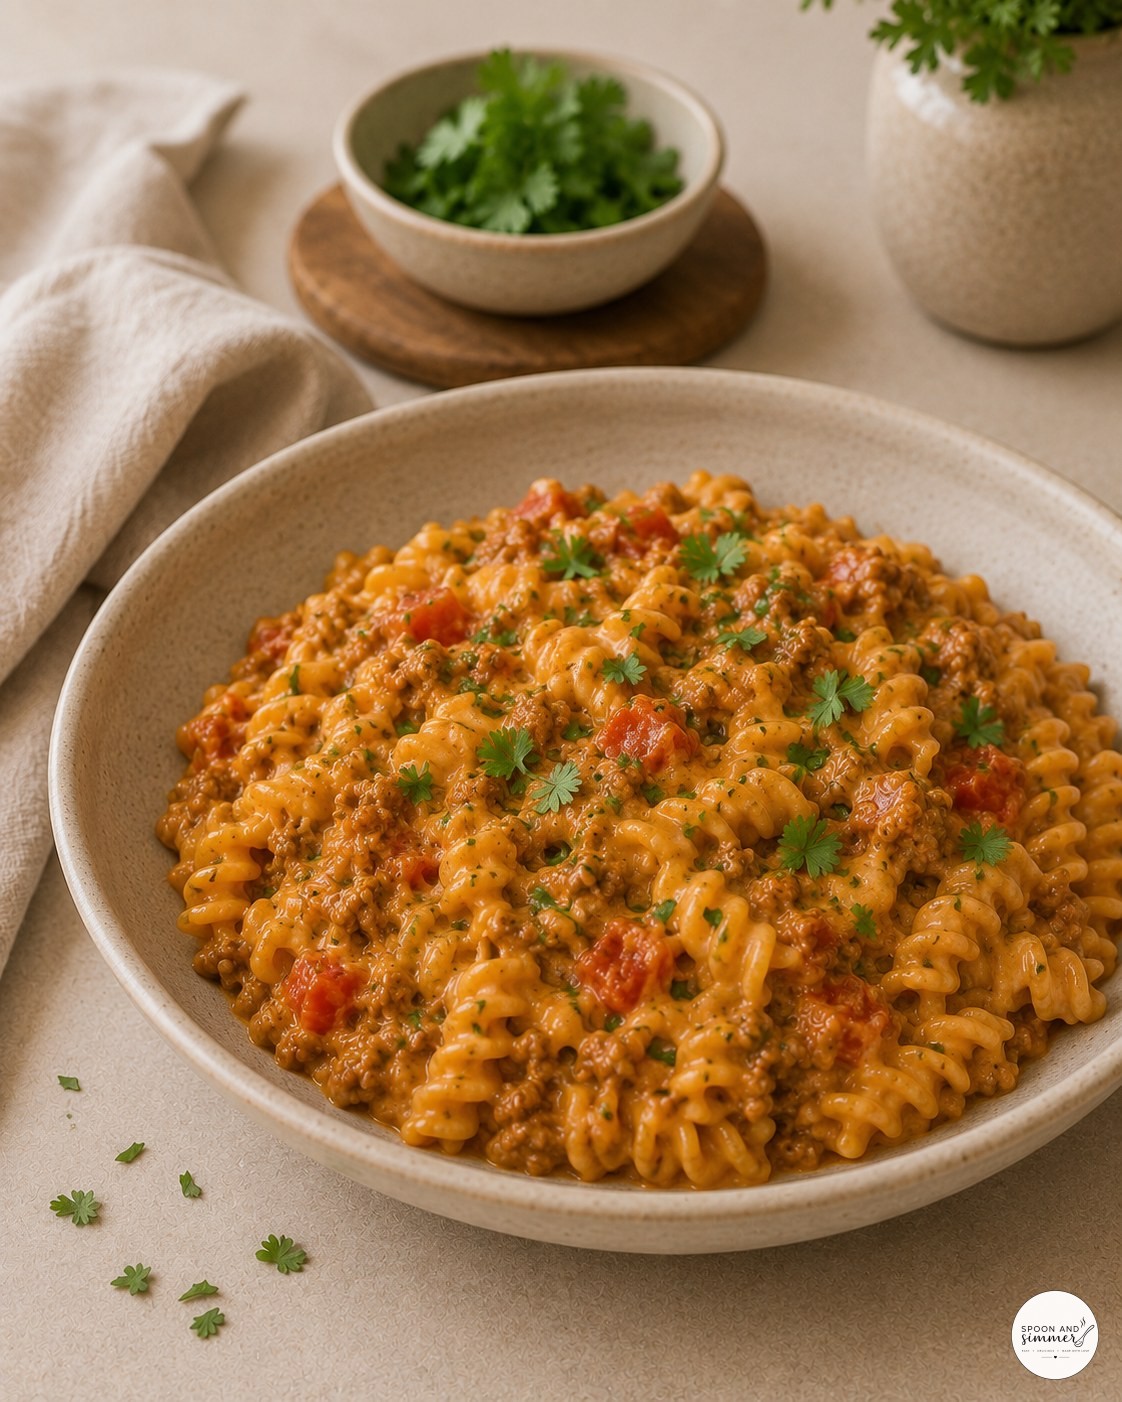
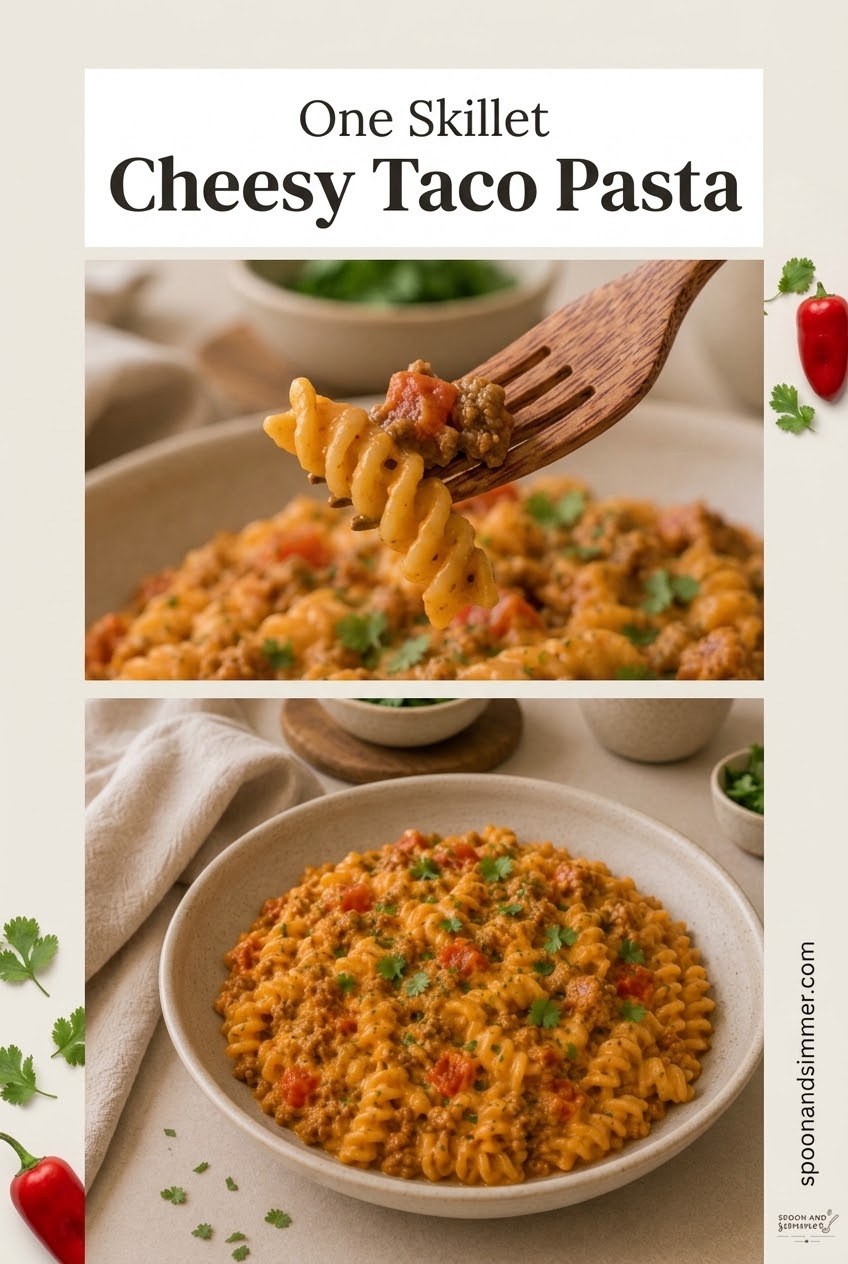
And here's where it always ends up — a plain bowl, a scatter of cilantro, and Dave asking if there's enough for seconds before he's even finished his first serving. This is the real payoff after all those steps in the skillet.
Conclusion
This is the kind of dinner I make when the day has gone sideways and I still need something on the table that tastes like I tried. One skillet, one cutting board, and Leo asking for seconds is about as good as a Tuesday gets.

- For the base
- For the pasta
- For the creamy finish

Common Questions
Can I make this ahead of time?
You can make it up to a day ahead — the sauce actually thickens more overnight in the fridge. Reheat gently over low heat with a splash of broth or milk stirred in, since the pasta will keep absorbing liquid as it sits.
Can I use a different pasta shape?
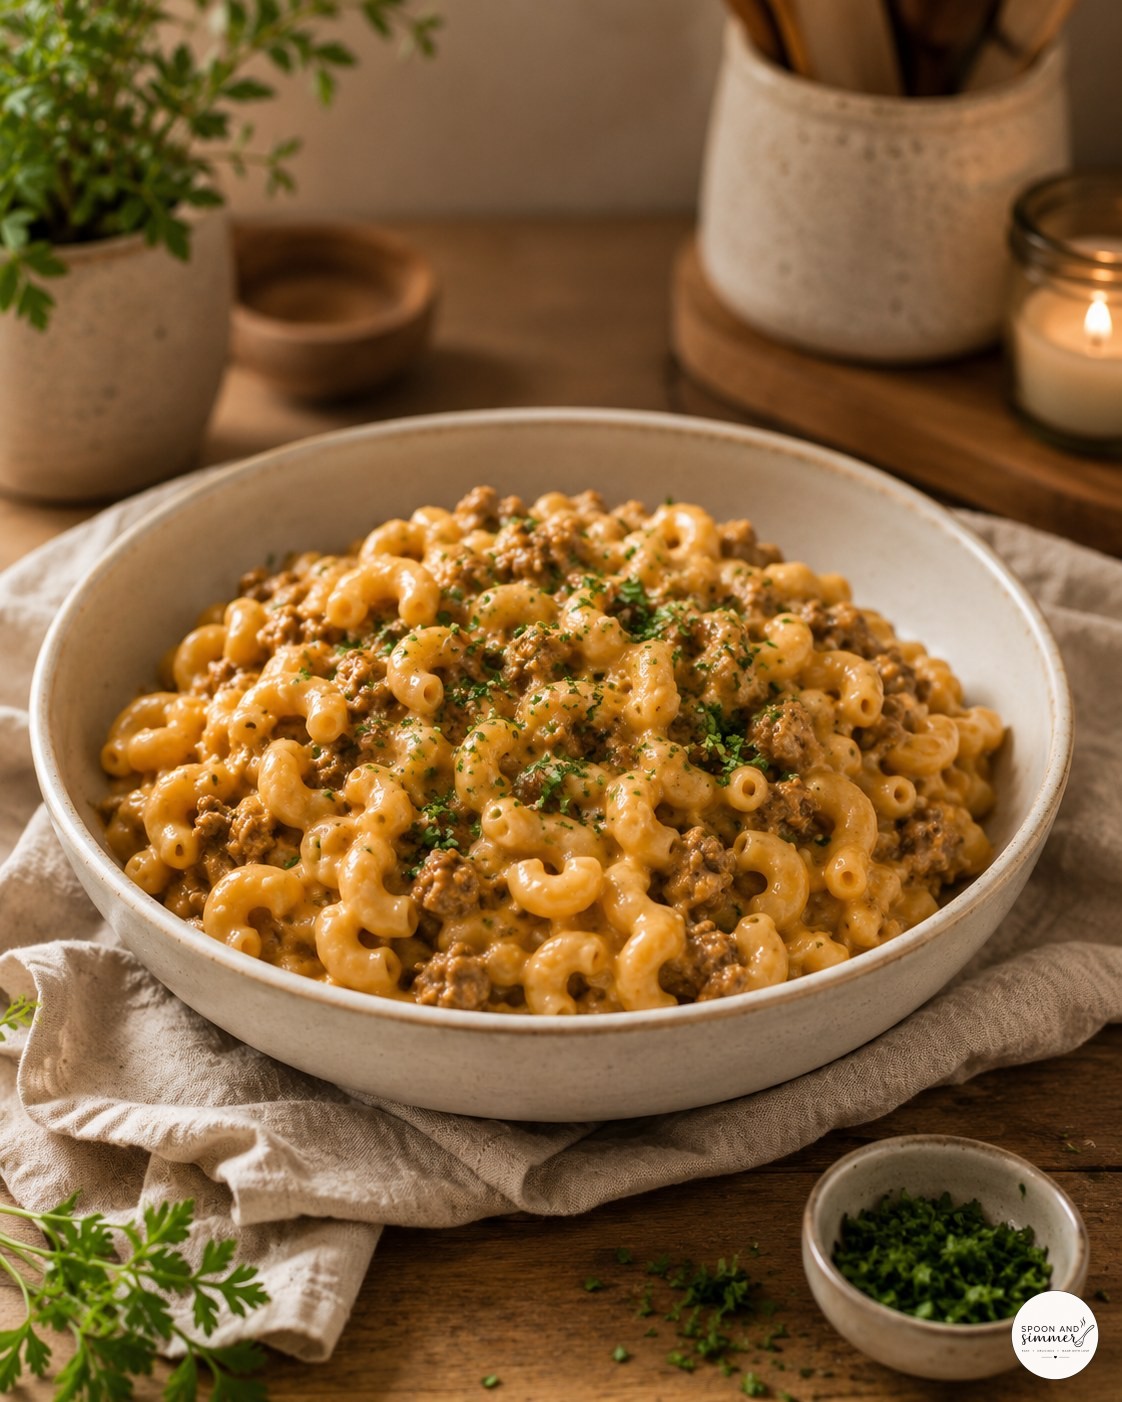
Yes, small shells, elbows, or cavatappi all work well since they cook in about the same 12 to 14 minute window. Avoid long pasta like spaghetti here — it won't cook evenly in the shallow liquid.
Is there a way to make it lighter?
Swap in ground turkey for the beef and light sour cream for regular, and use reduced-fat cream cheese if you like. Just avoid fat-free dairy products, since they tend to split when melted into a hot sauce.
How do I store and reheat leftovers?
Store in an airtight container in the fridge for up to 4 days. Reheat on the stovetop over low heat with a splash of broth or milk, stirring often, since the pasta will have thickened considerably in the fridge.