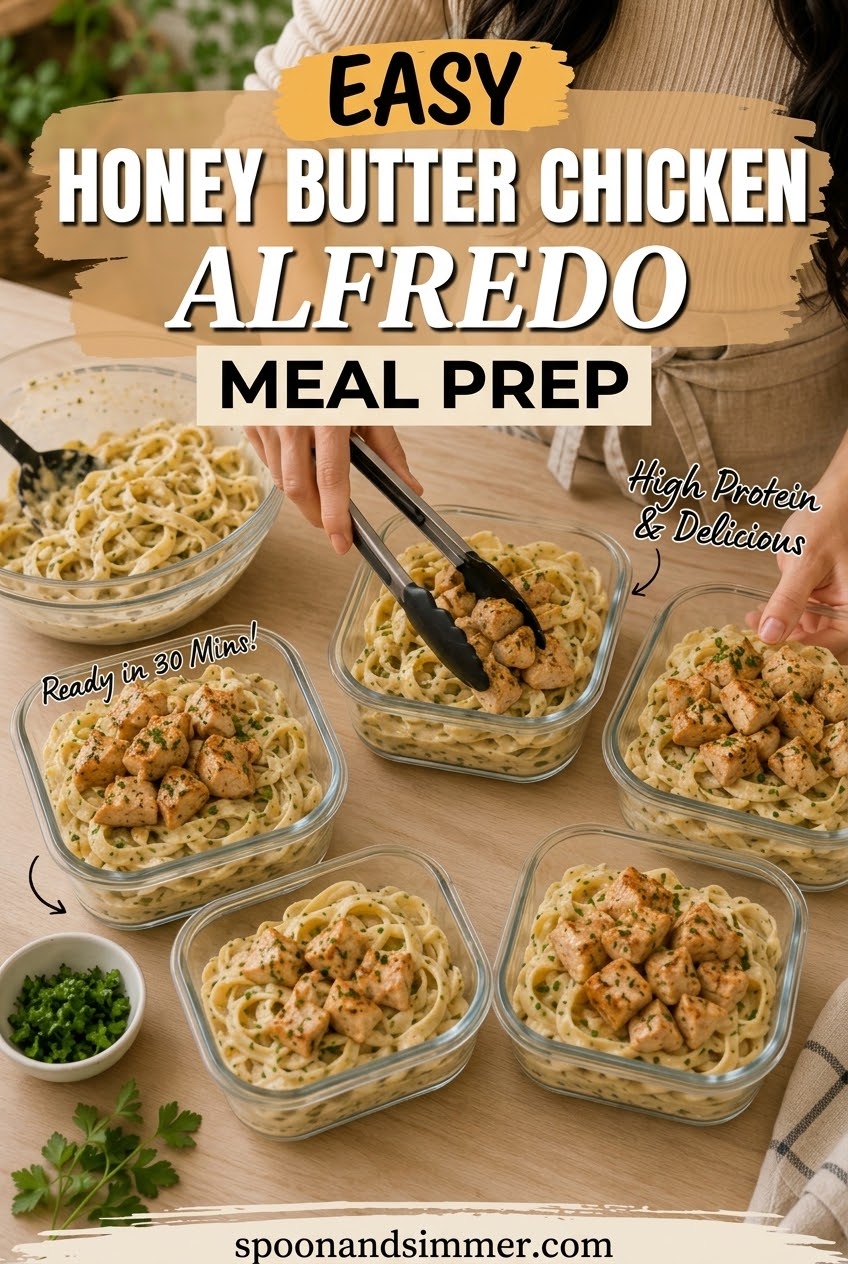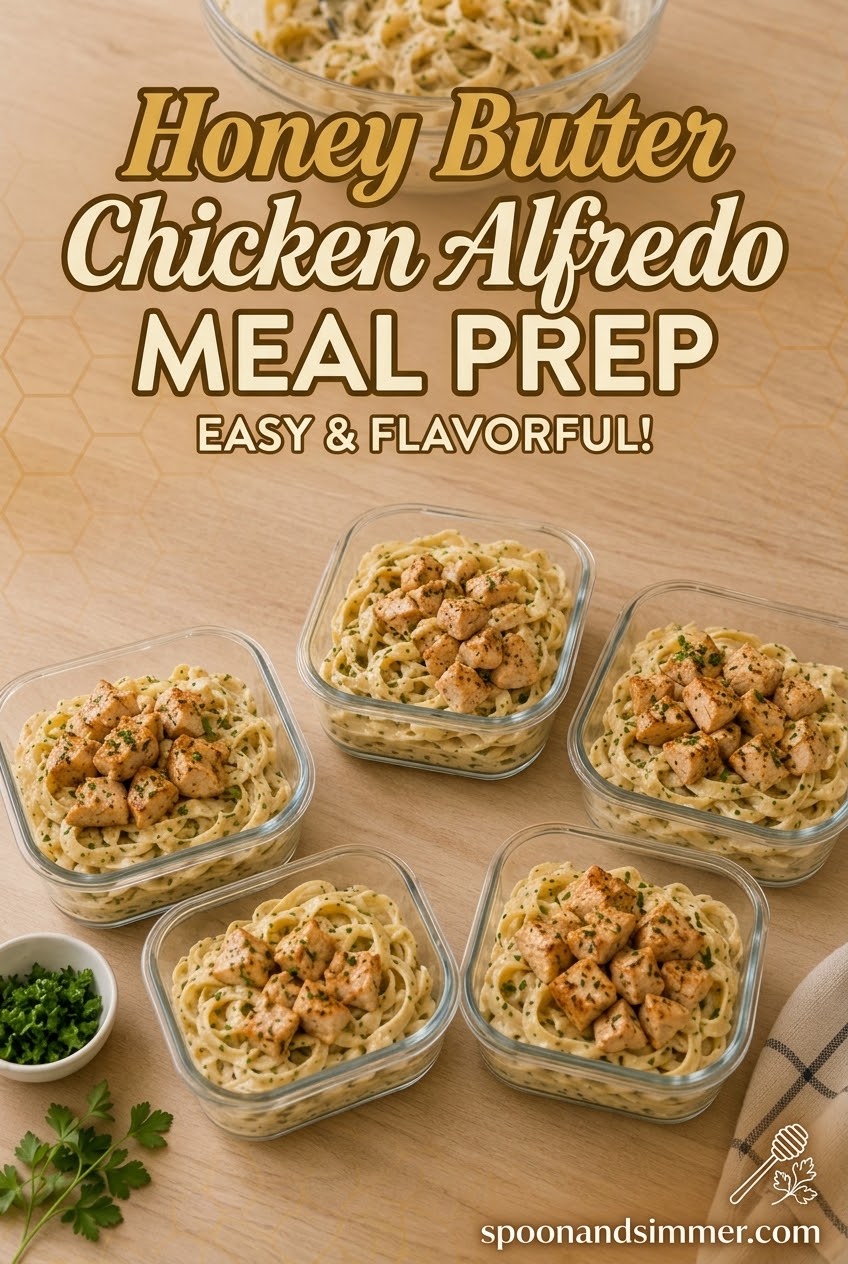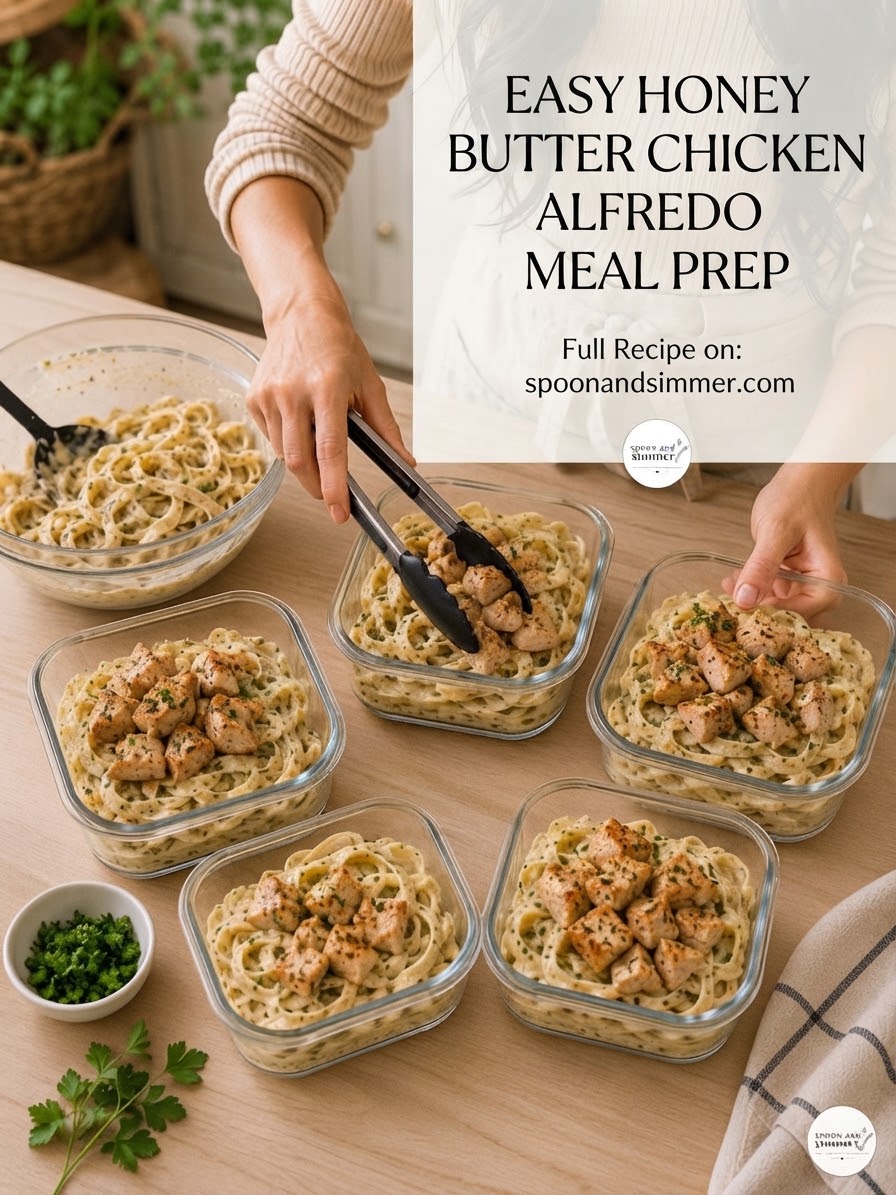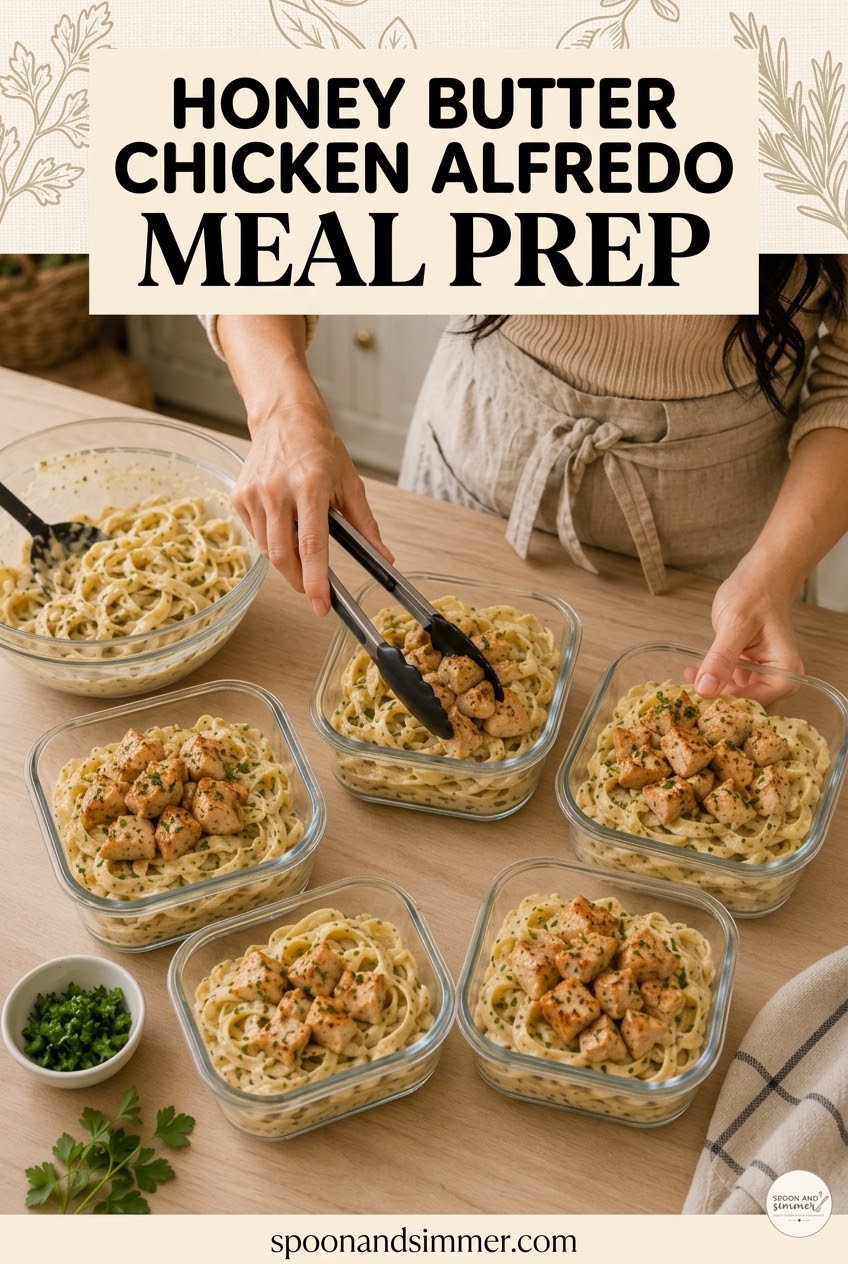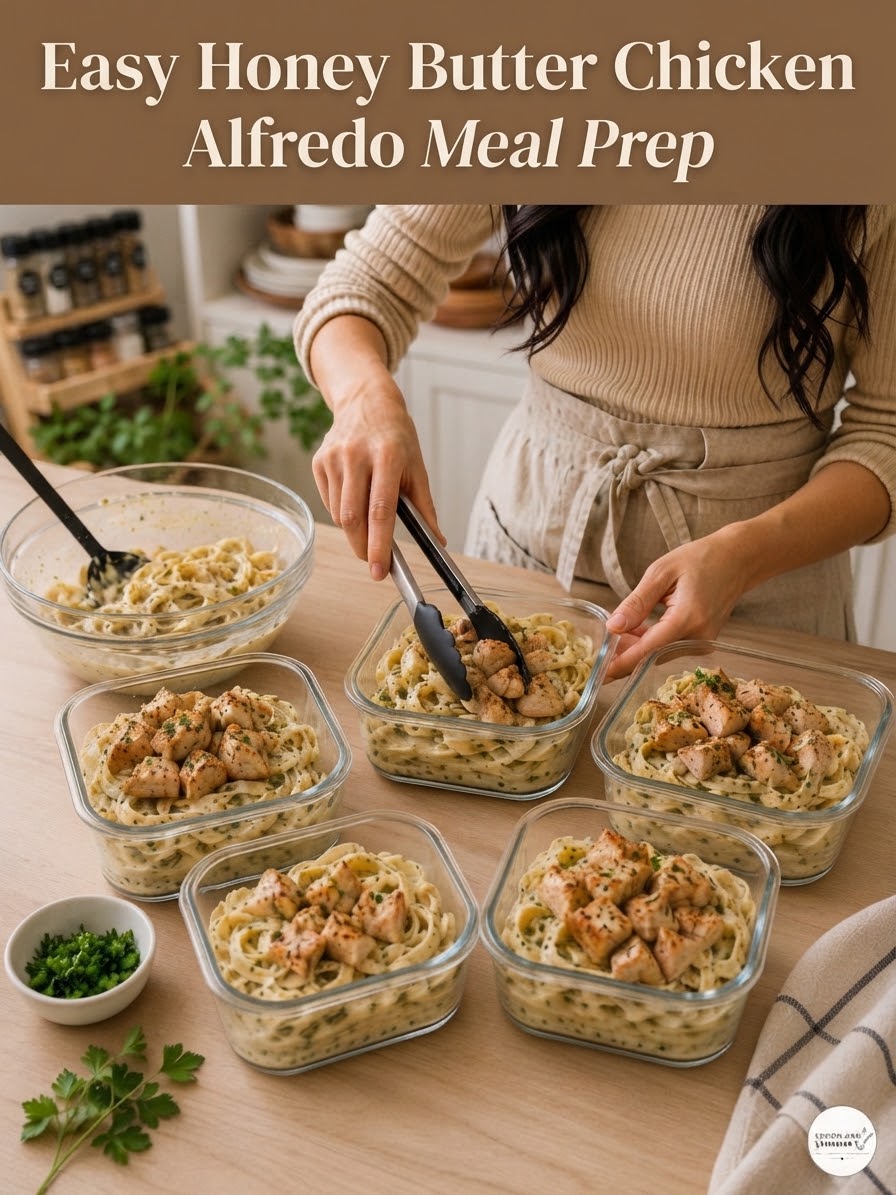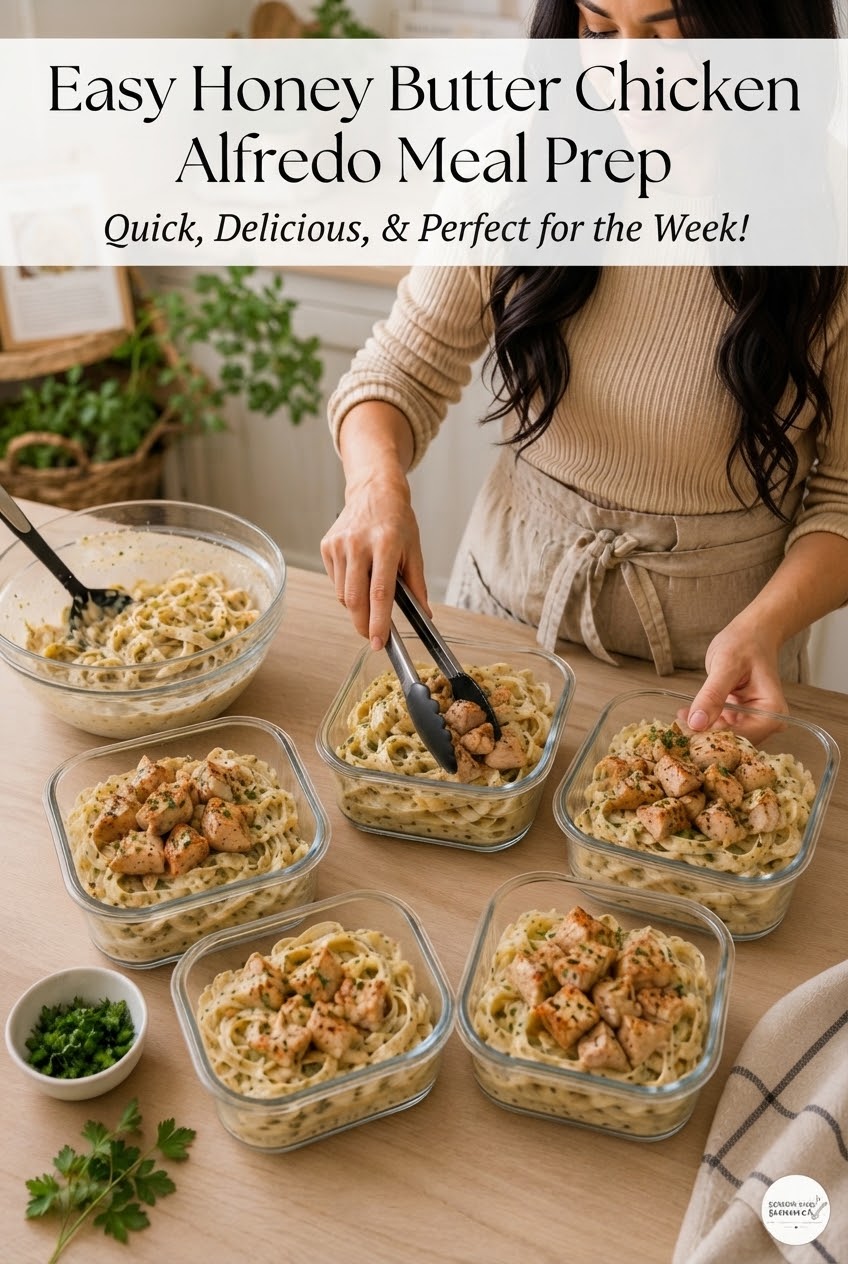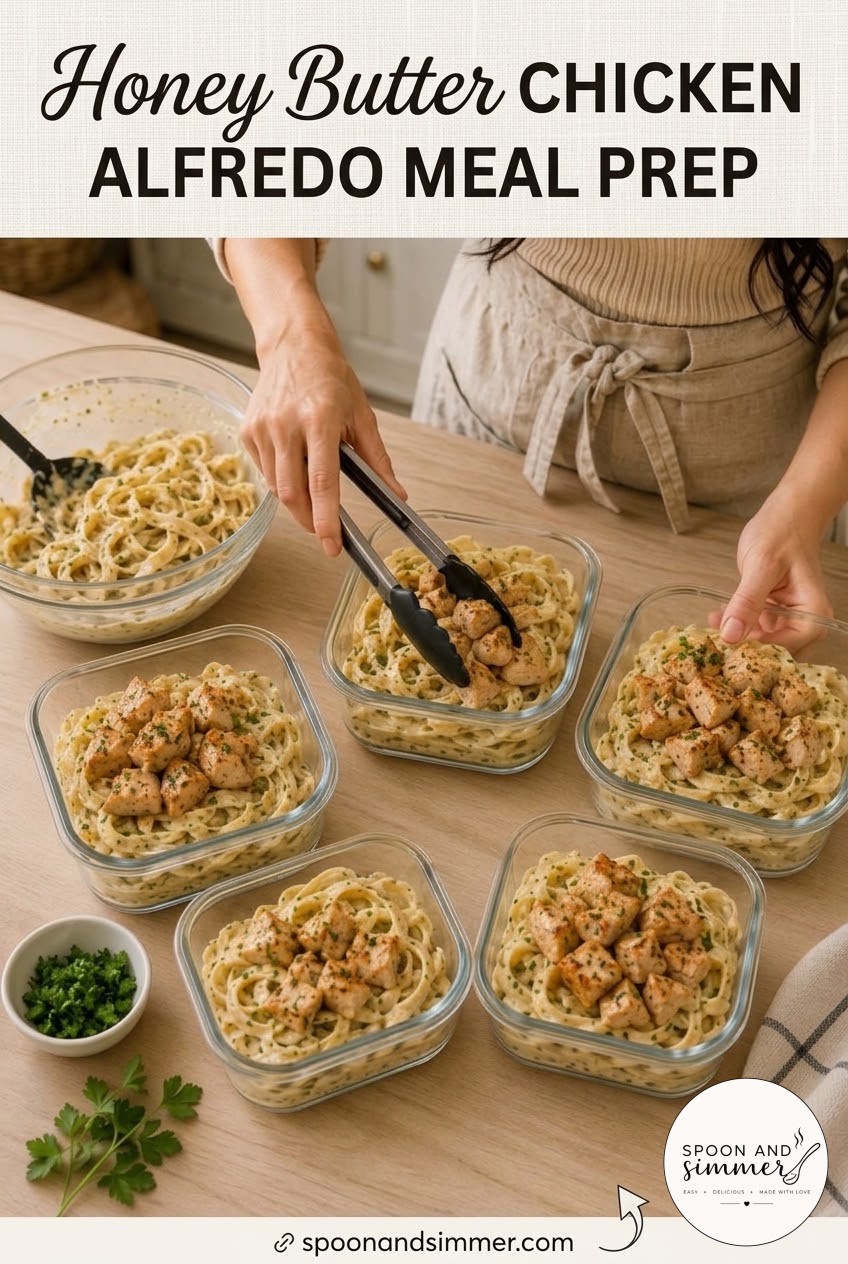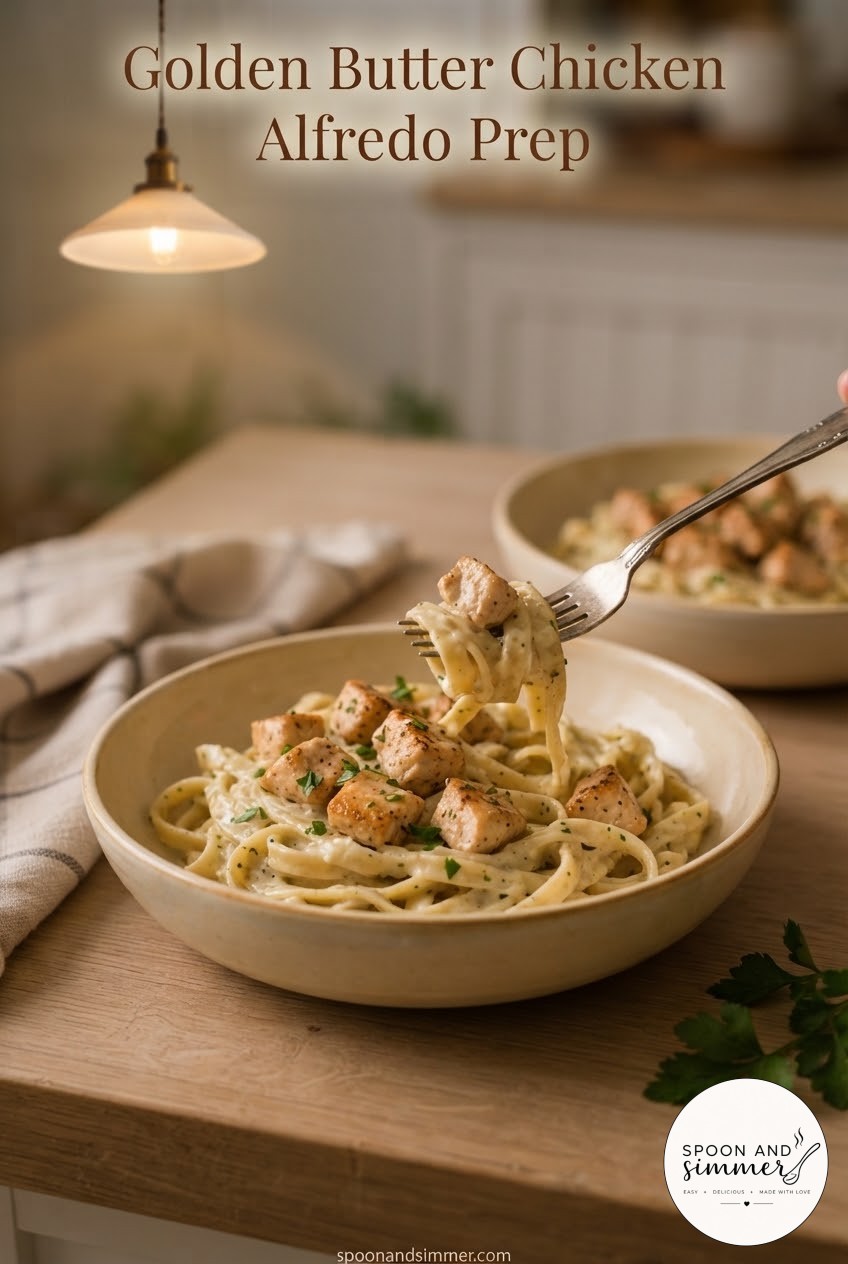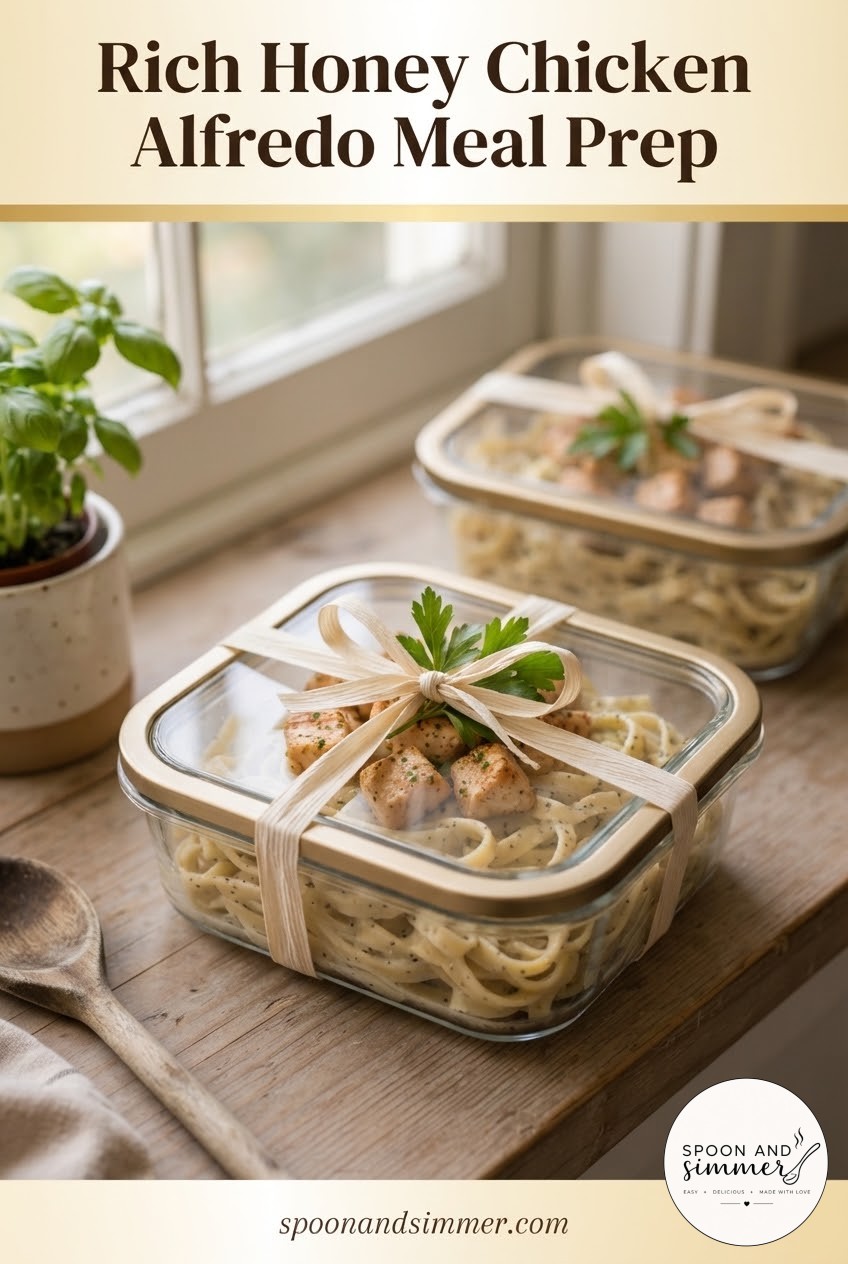
Every Sunday I've got a true crime podcast going and five glass containers lined up on the counter, and this creamy chicken alfredo has become one of my go-to builds for exactly that reason — it reheats like it was made fresh and doesn't split into a greasy mess by Wednesday. The name 'honey butter' in my house is really shorthand for that rich, buttery, garlic-parmesan flavor everyone in this family fights over, and this version gets there without any fuss. It's five lunches from one pan, one pot, and about 40 minutes of actual effort.
Gathering Everything Before the Chaos Starts
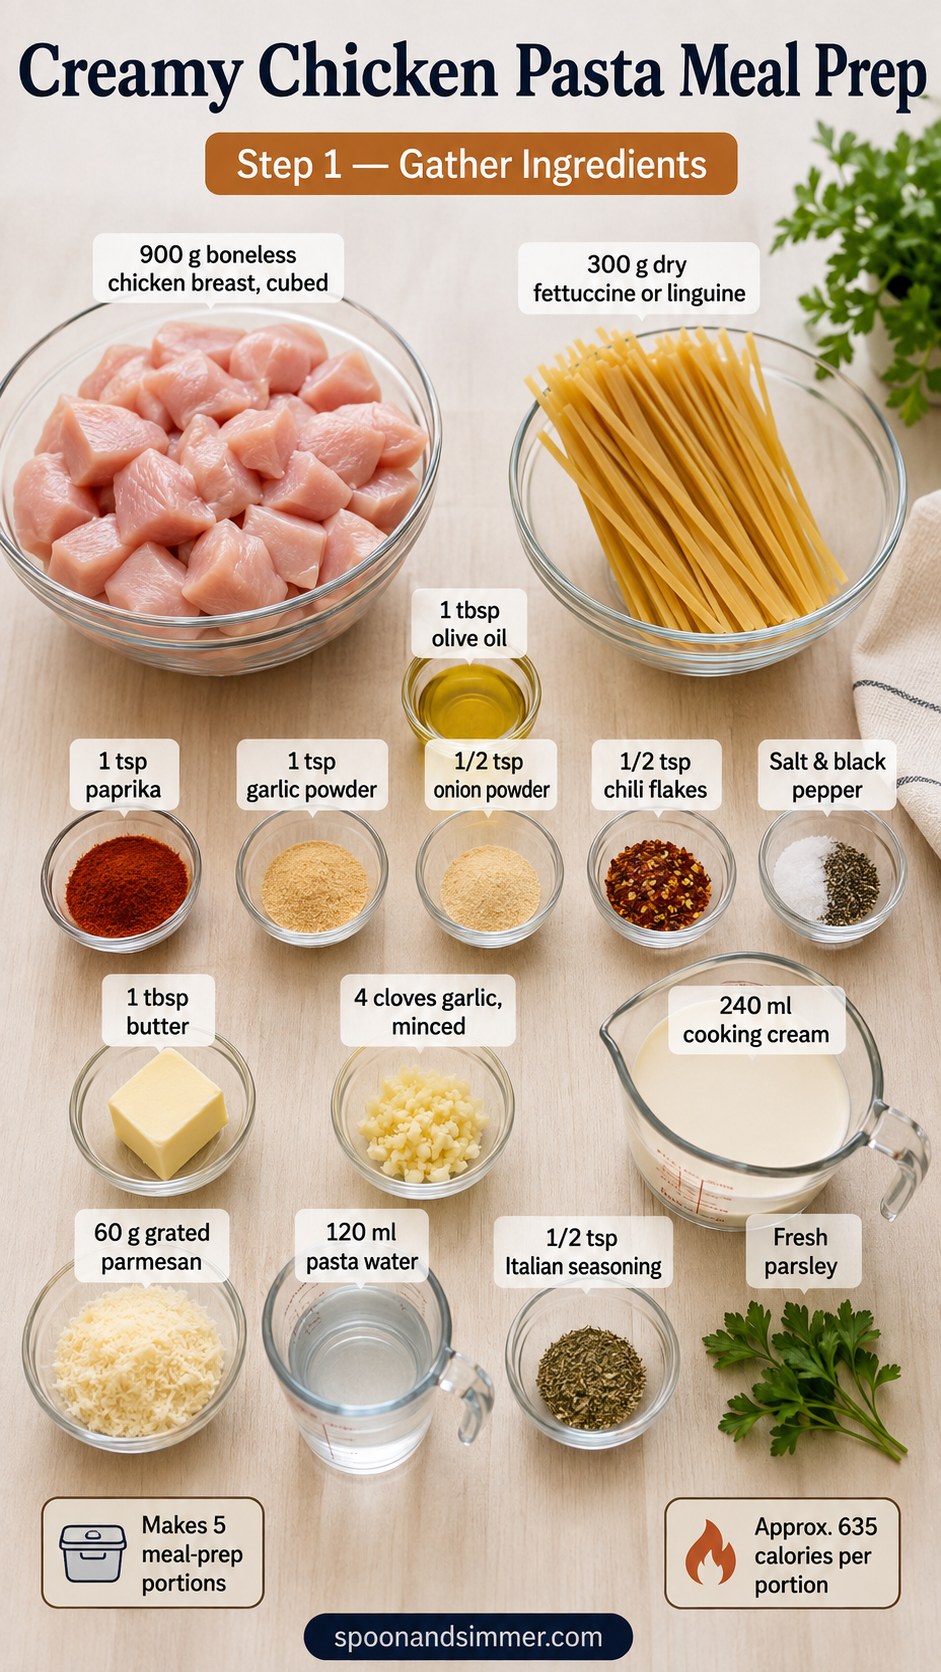
I learned the hard way, back on the line at the restaurant, that mise en place isn't fussy — it's insurance. Everything you see laid out here — the 900 g of cubed chicken breast, 300 g of dry fettuccine, the little bowls of paprika, garlic powder, onion powder, and chili flakes — needs to be within arm's reach before the skillet gets hot, because cream sauce moves fast once it starts.
This recipe makes 5 meal-prep portions at roughly 635 calories each, so if you're stretching a grocery budget, it's already doing double duty as a five-lunch plan from one shopping trip.
- Chicken: 900 g boneless, cubed evenly so it cooks in one pass
- Pasta: 300 g fettuccine or linguine
- Dairy: 240 ml cooking cream, 60 g grated parmesan, 1 tbsp butter
- Aromatics: 4 cloves garlic, plus fresh parsley to finish
Seasoning the Chicken for Maximum Flavor
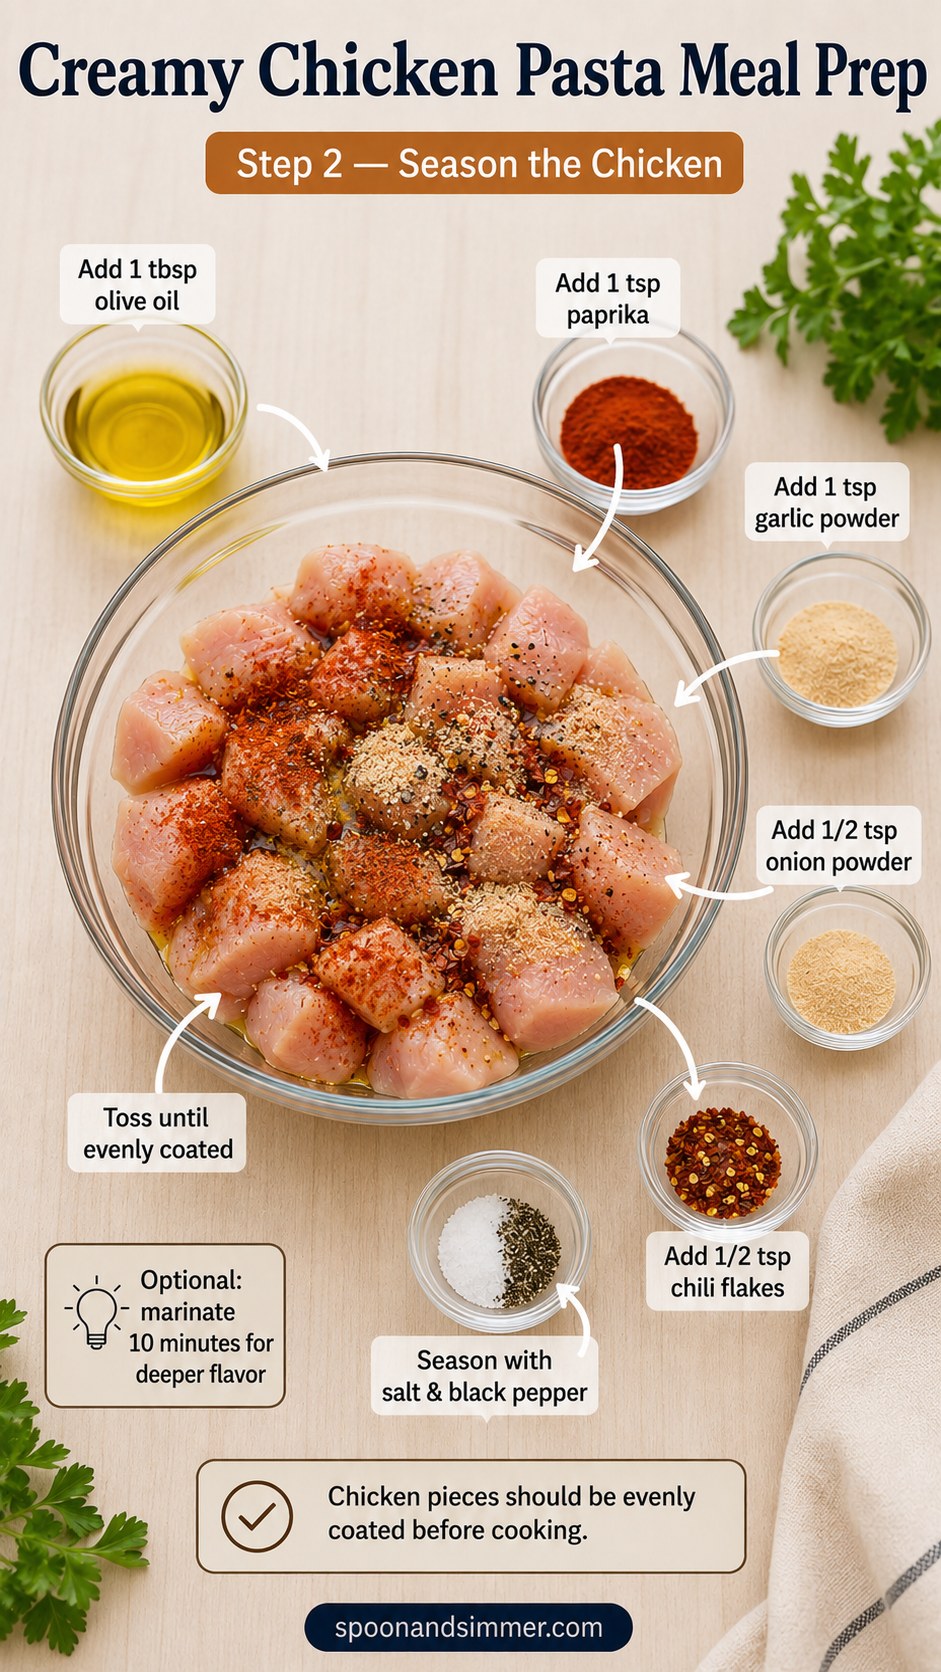
This is the step people rush, and it's the one that actually builds the flavor everyone tastes later. Toss the cubed chicken in 1 tbsp olive oil, then add 1 tsp paprika, 1 tsp garlic powder, 1/2 tsp onion powder, 1/2 tsp chili flakes, and a generous pinch of salt and black pepper directly into the bowl.
Use your hands, not a spoon — you want every piece evenly coated, not just the top layer. If you've got ten extra minutes, let it sit and marinate; the paprika and garlic have time to actually cling to the meat instead of just dusting the outside.
My sous chef instinct never left me: season in the bowl, not in the pan, and you'll never end up with one bland bite hiding at the bottom.
Chicken pieces should look uniformly dusted, no pale patches, before they touch the skillet.
Searing the Chicken to a Golden Crust
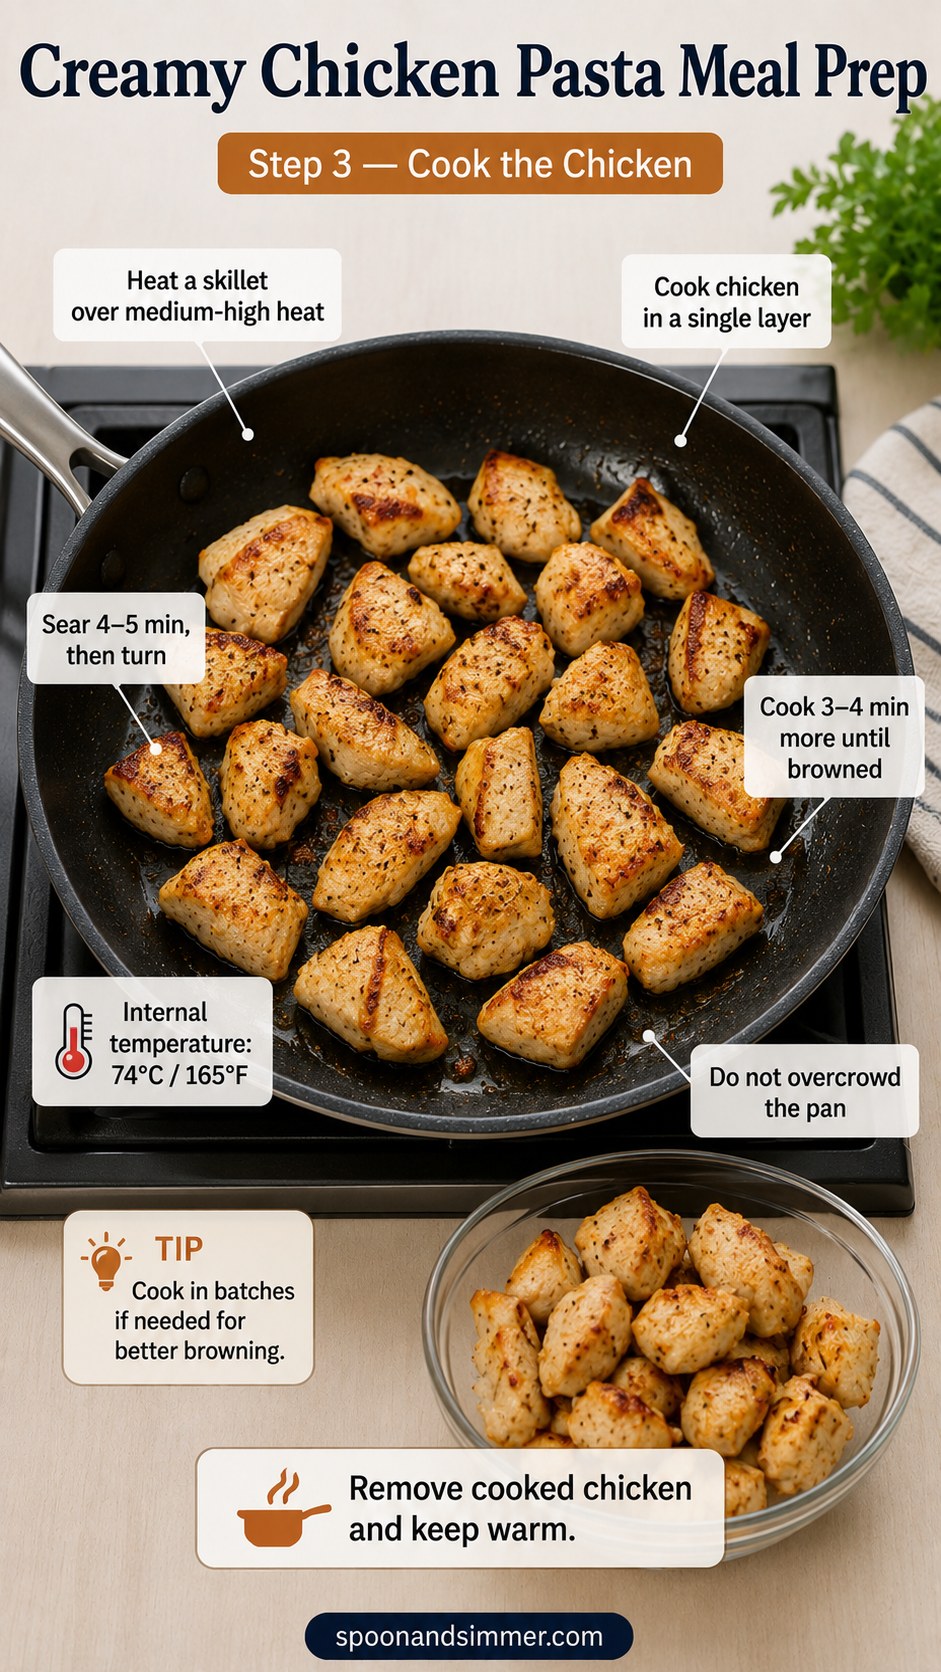
Heat your skillet over medium-high heat and lay the chicken in a single layer — crowding is the number one reason home cooks end up with steamed, gray chicken instead of a golden crust. Sear 4–5 minutes, undisturbed, then flip and cook 3–4 minutes more until deeply browned on both sides.
- Doneness check: an internal temperature of 74°C / 165°F, no pink at the center
- If it's crowded: cook in two batches — better browning beats speed here
- Rescue tip: if pieces stick, resist scraping hard; a splash of water loosens the fond without tearing the crust
Pull the chicken out and keep it warm off to the side — it finishes in the containers, not in the sauce, so it stays juicy instead of turning rubbery from a second simmer.
Boiling the Pasta (And Saving That Starchy Water)
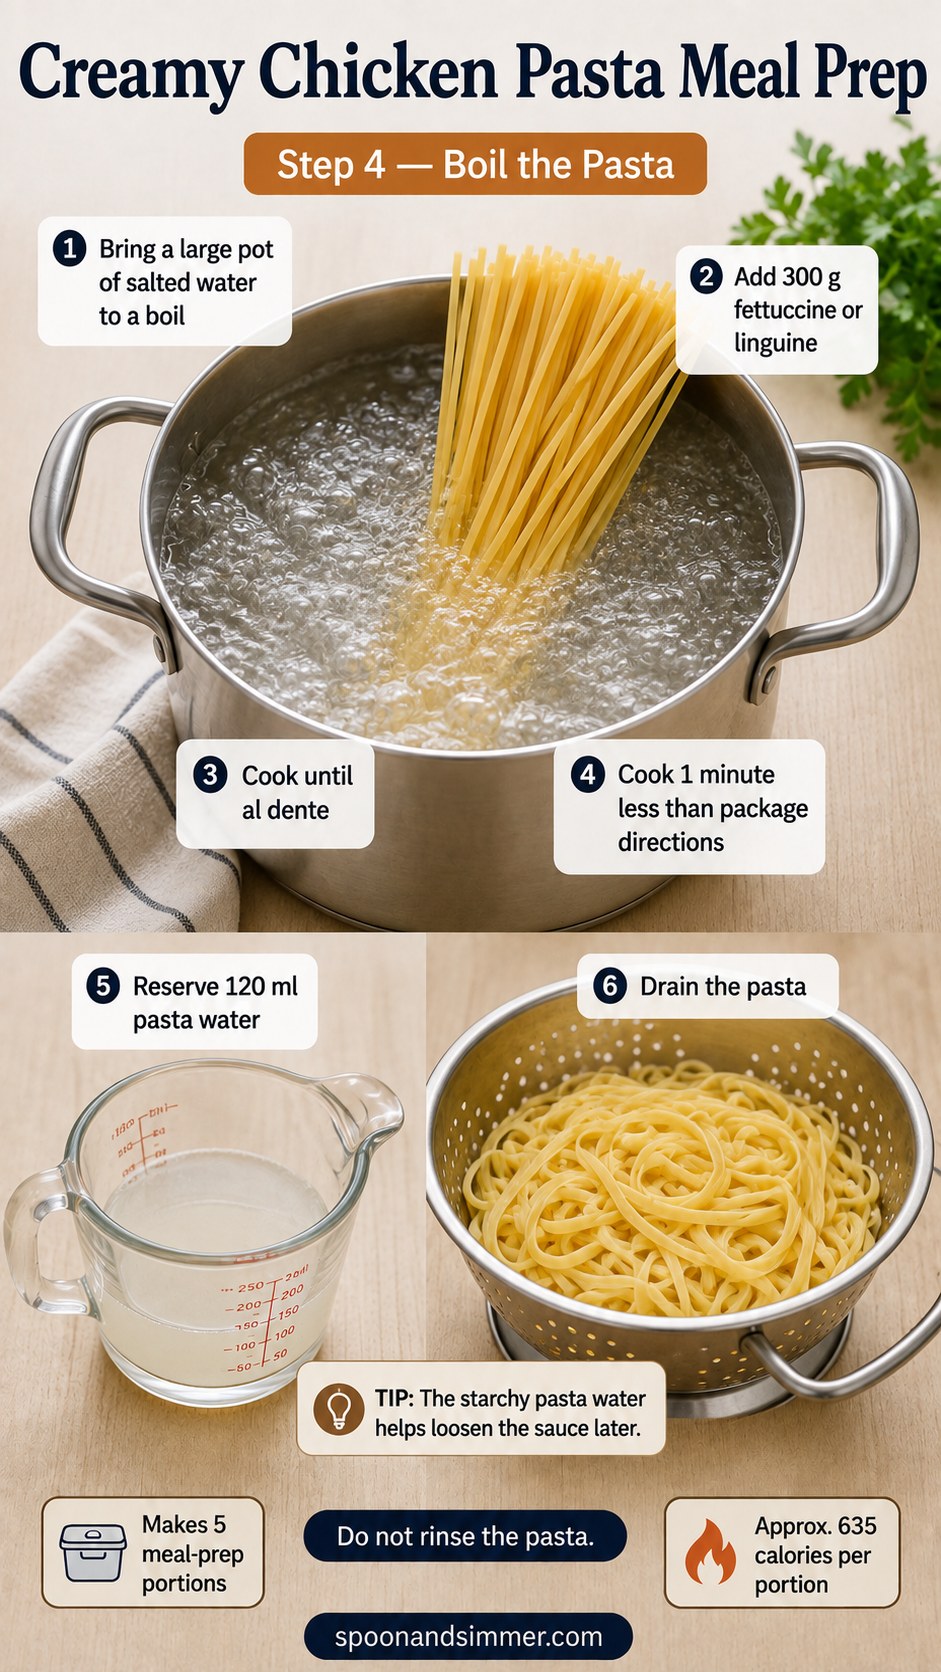
Bring a large pot of well-salted water to a rolling boil, then add the 300 g of fettuccine. Cook it one minute less than the package directions — you want it just shy of al dente, because it'll finish softening in the hot sauce later and you don't want mush by day three in the fridge.
Before you drain, scoop out 120 ml of that starchy pasta water — this is the single most useful habit I picked up in restaurant kitchens, and it's what keeps the sauce silky instead of gluey once it's been sitting in the fridge for a few days.
Drain the pasta in a colander and do not rinse it — that starch coating is exactly what helps the cream sauce cling instead of sliding right off.
Building the Creamy Garlic Parmesan Sauce
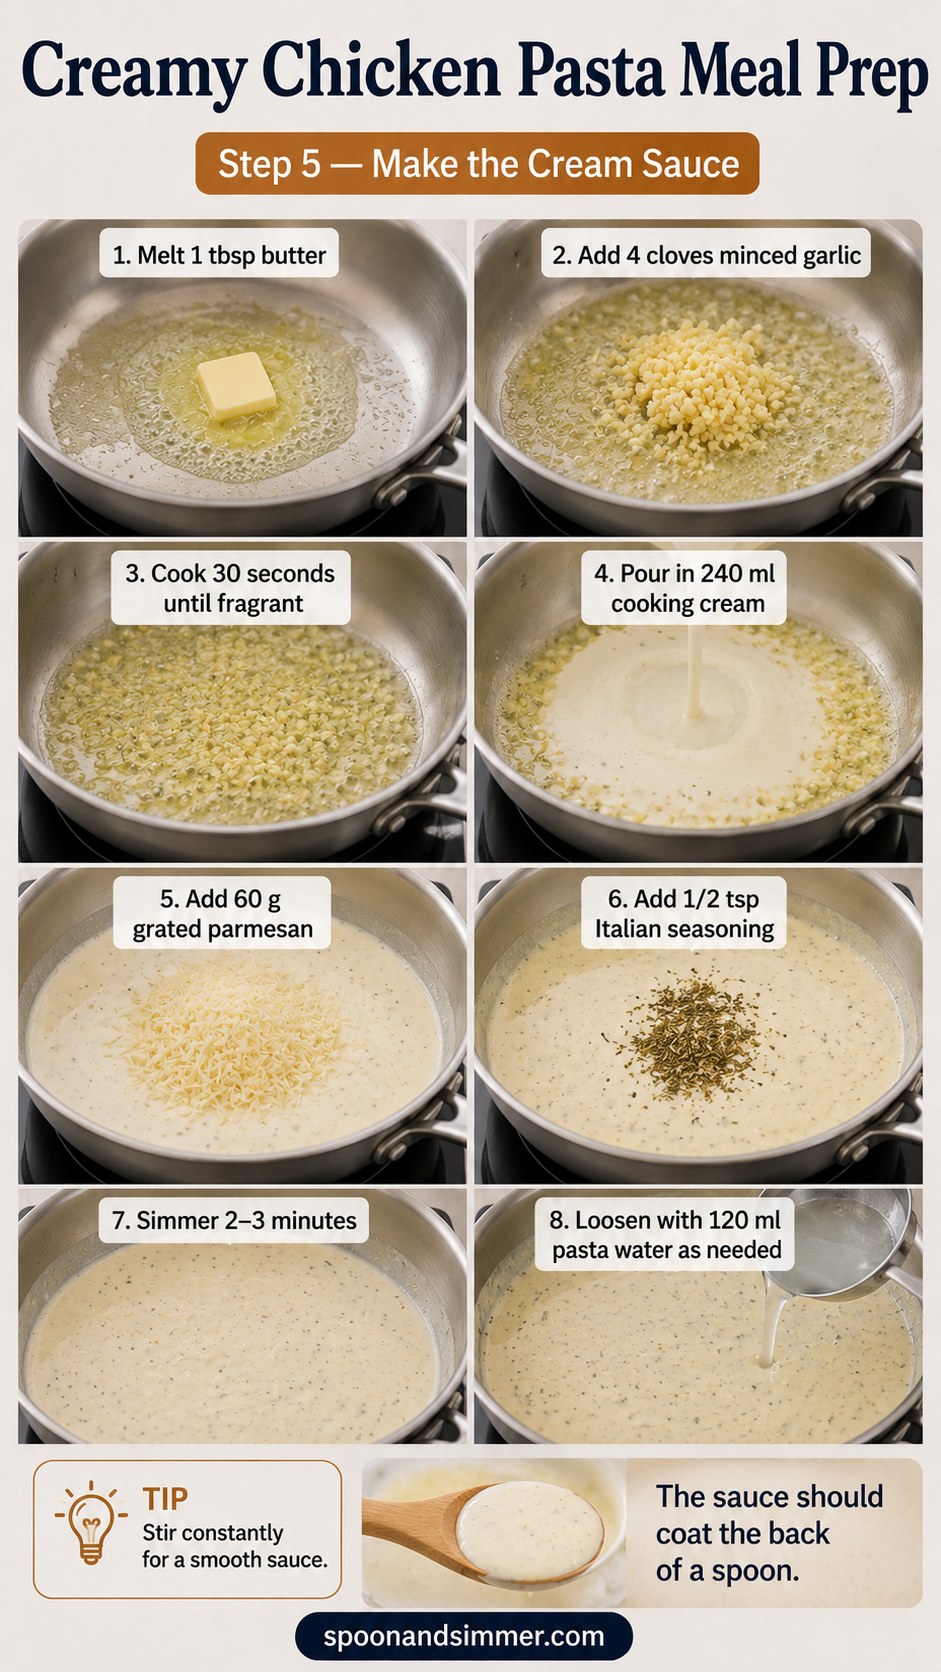
In the same skillet you used for the chicken — don't wash it, that fond is flavor — melt 1 tbsp butter over medium heat. Add the 4 cloves of minced garlic and cook just 30 seconds, only until fragrant; garlic turns bitter fast, so if it starts to brown, pull the pan off the heat immediately.
Pour in 240 ml cooking cream, then whisk in 60 g grated parmesan and 1/2 tsp Italian seasoning. Let it simmer 2–3 minutes, stirring constantly, until it visibly thickens.
- The test: the sauce should coat the back of a spoon and hold a trail
- Too thick already? loosen with that reserved 120 ml pasta water, a splash at a time
This is the sauce that carries the whole dish, and it's honestly the part I taste-test twice with a spoon before it ever touches the pasta.
Combining, Portioning, and Cooling for the Fridge
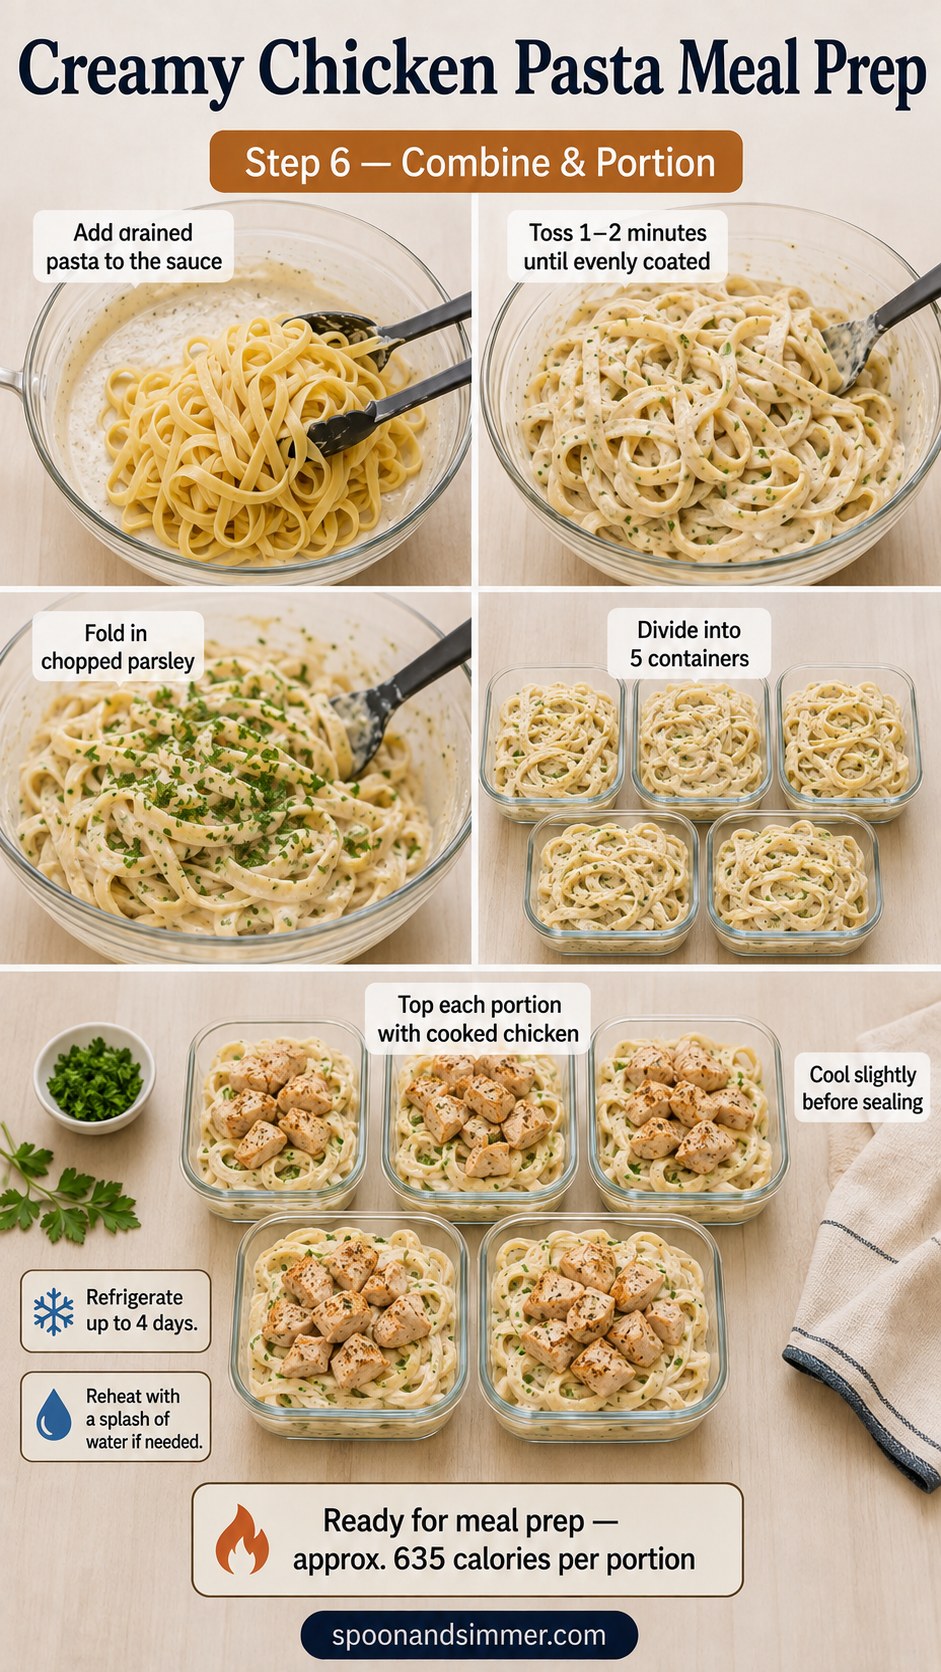
Add the drained pasta straight into the sauce and toss for 1–2 minutes until every strand is coated and glossy. Fold in a handful of chopped fresh parsley for brightness — it cuts through all that richness nicely.
Divide the pasta evenly among 5 meal-prep containers, then top each one with the seared chicken. Let the containers cool slightly on the counter before sealing the lids — trapping steam in a closed container is how you end up with watery, weepy sauce by Tuesday.
- Storage: refrigerate up to 4 days
- Reheating: a splash of water or cream loosens the sauce back up in the microwave
- Calories: approximately 635 per portion
Once they're cooled and sealed, they're genuinely grab-and-go — Dave's usually the one who steals an extra portion for lunch before I've even finished labeling them.
What My Actual Sunday Meal Prep Looks Like
Step photos always look a little too tidy, so here's the real version — same recipe, same counter, but with the apron I actually wear and the light coming through my kitchen window on a normal Sunday. I think it helps to see the process happen in real hands, at real speed, especially the parts that feel awkward the first time you try them. This is the batch I made most recently, and a few things happened that never make it into a numbered step.
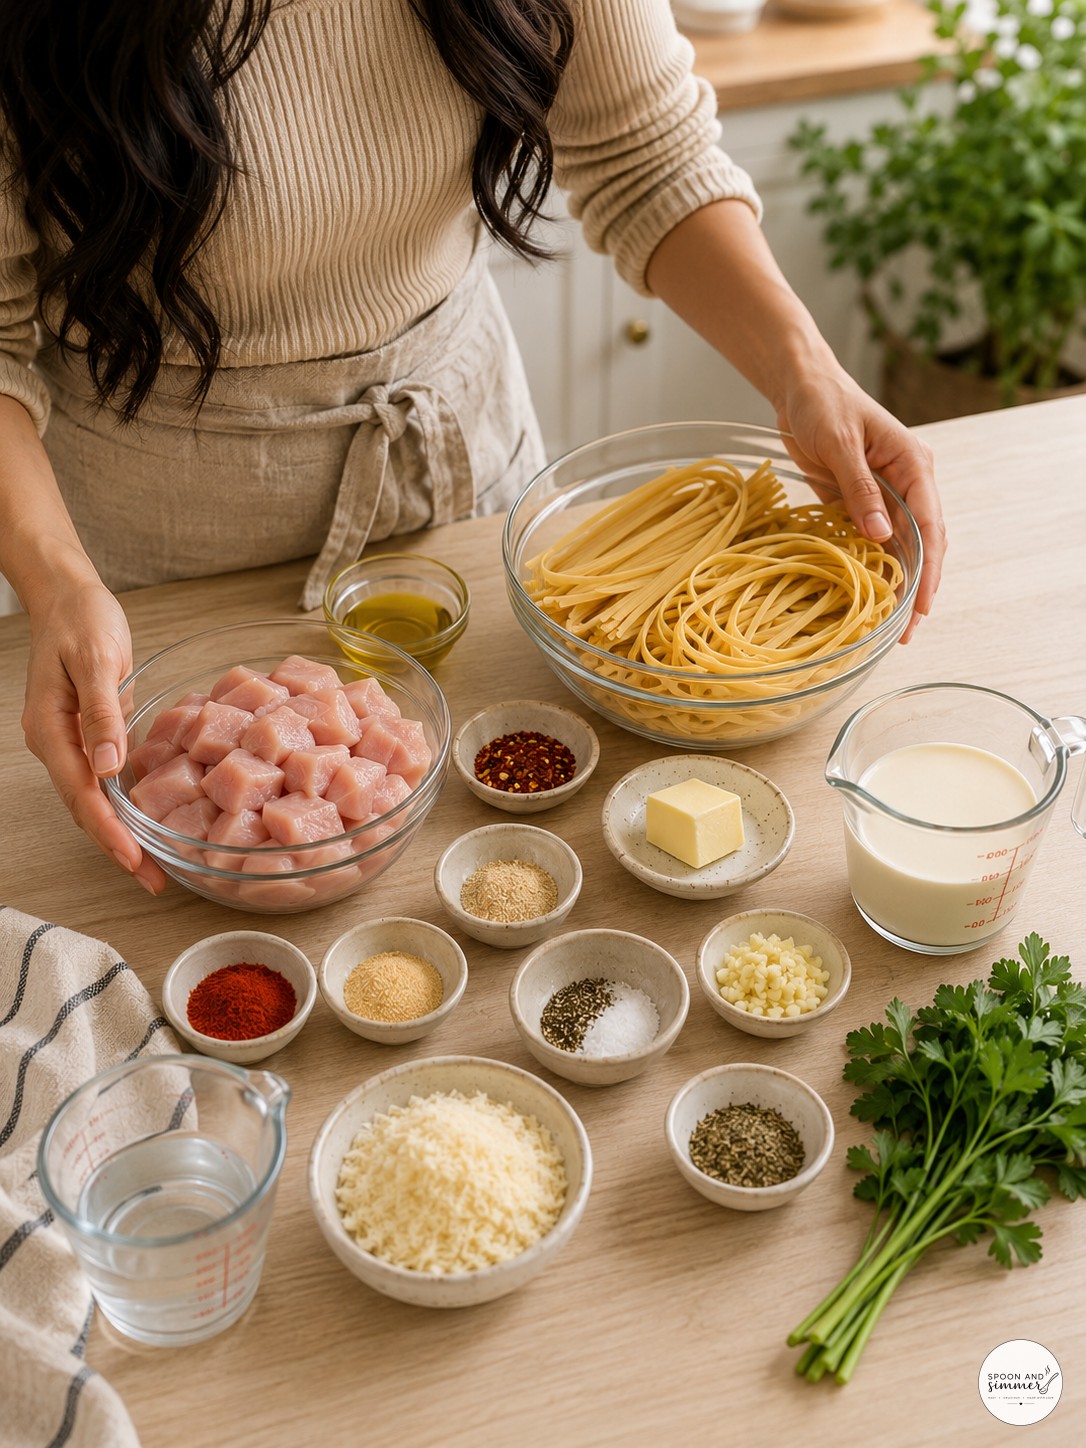
This is the exact moment I count containers in my head before I even start cooking — five lunches, five lids, no guessing later. My counter is small, so everything gets grouped into little clusters like this or I lose track of what's already measured.
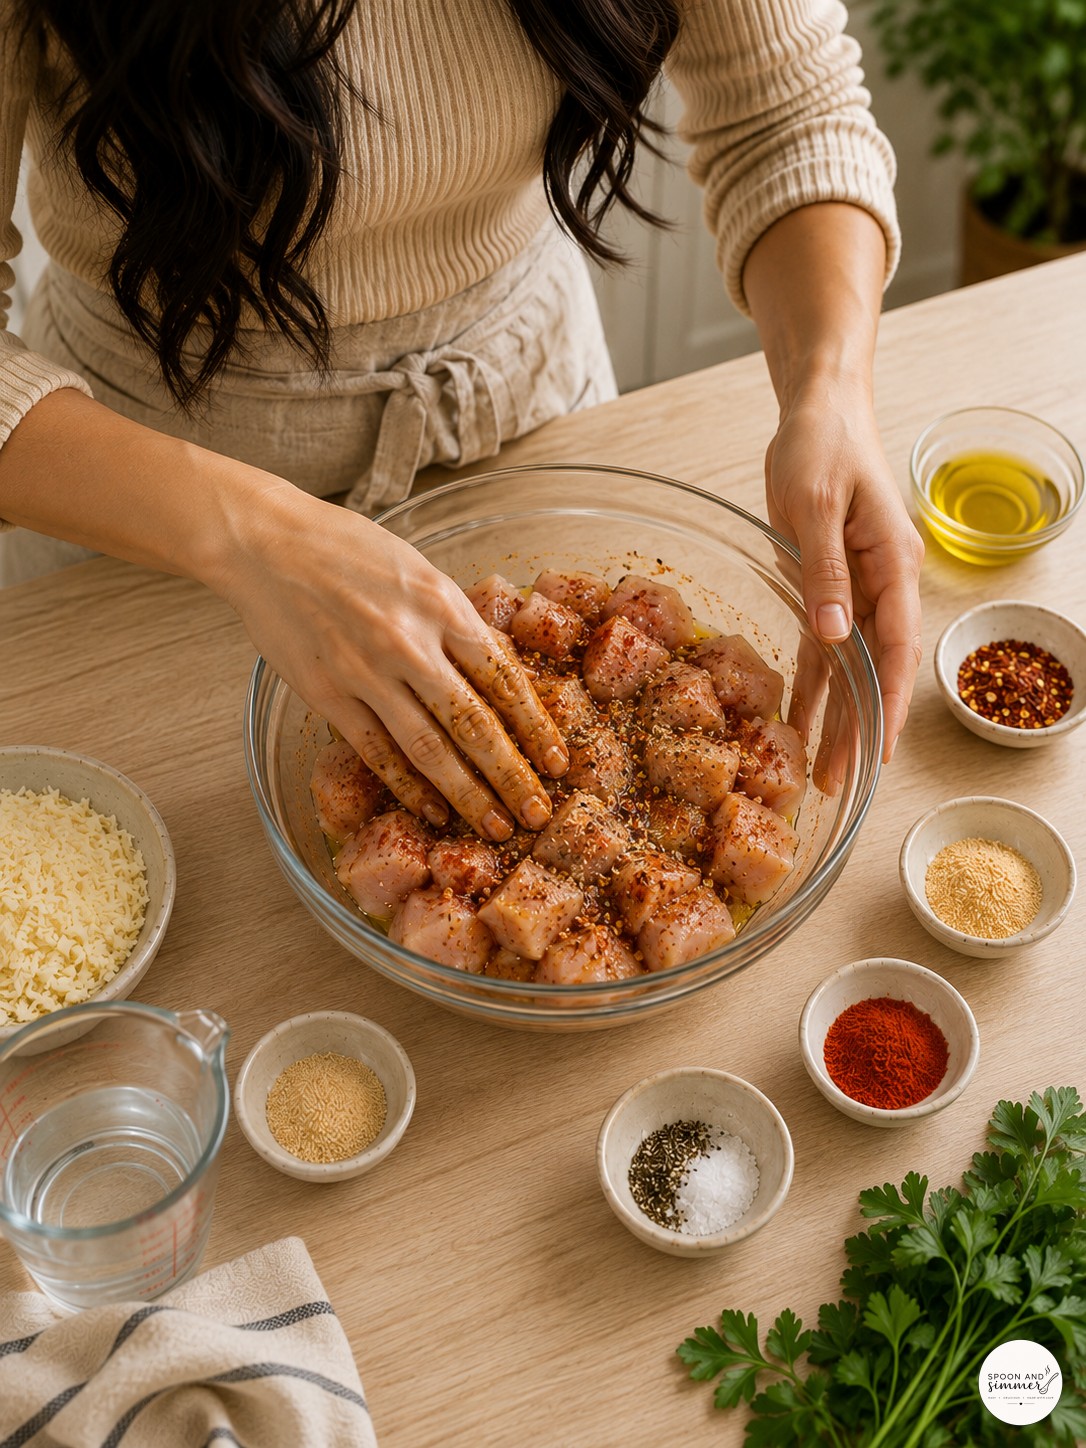
I always season with my hands flat like this instead of stirring with a spoon, because a spoon misses the pieces at the bottom of the bowl every single time. My nails get orange from the paprika and I've stopped fighting it.
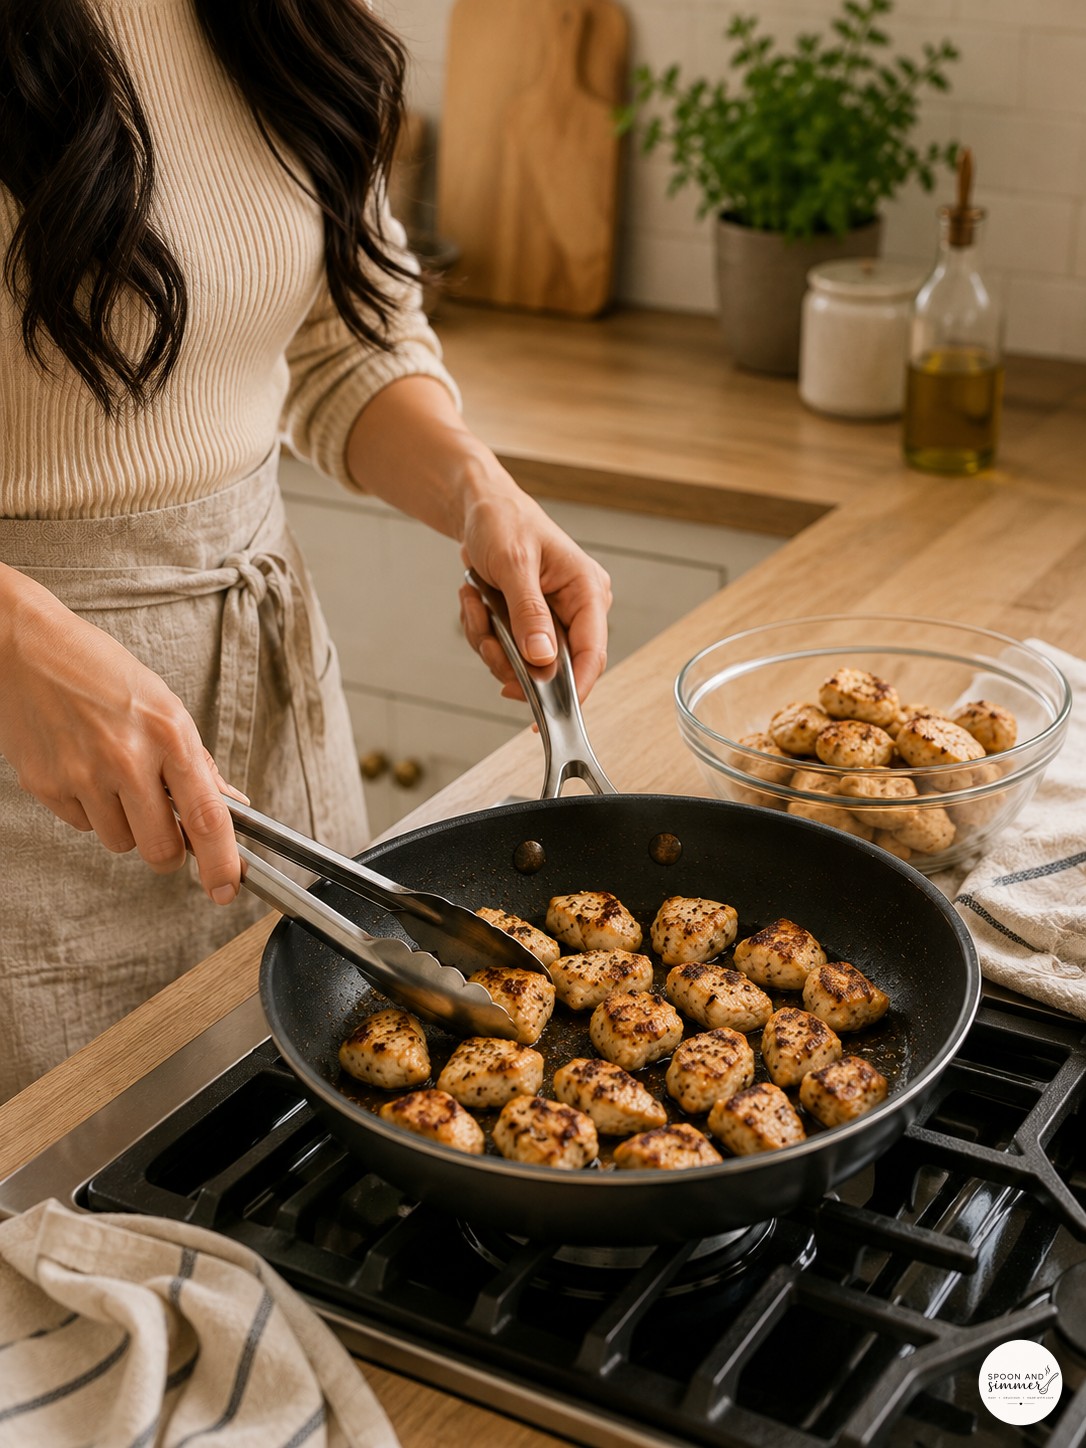
This pan is nonstick, not cast iron, which surprises people — for a quick sear on cubed chicken I actually prefer it because cleanup after a busy Sunday is already enough. You can see the pieces are spaced apart, not touching, which is the whole secret to that color.
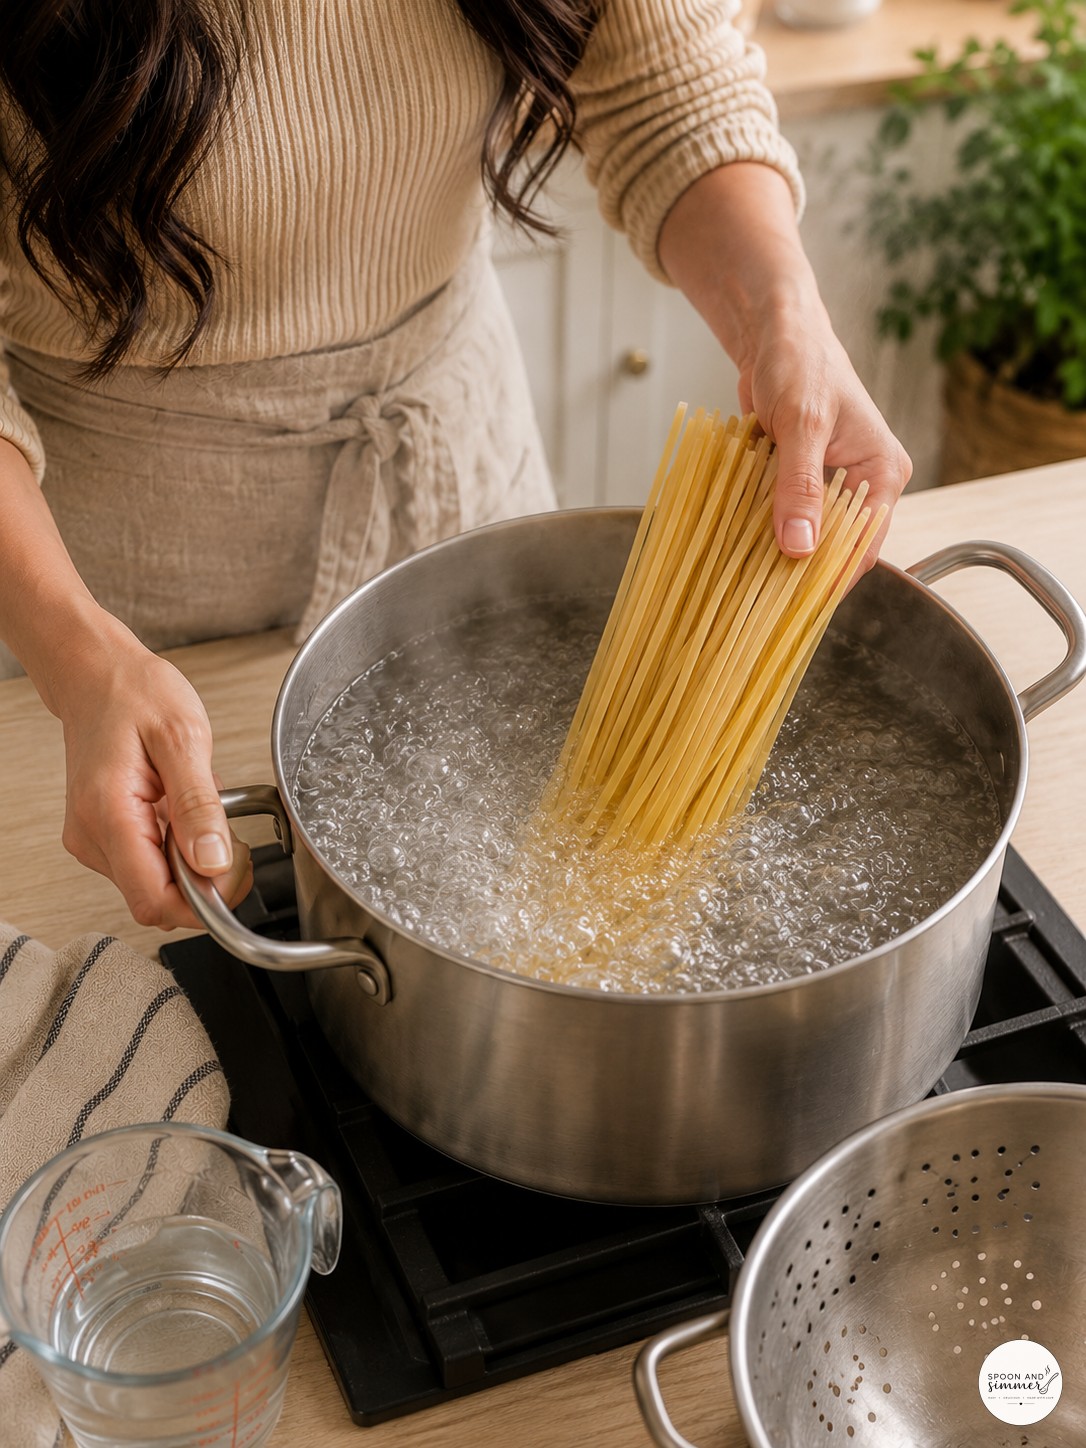
Lowering the pasta in like this, gripped in a fan shape, keeps it from clumping into one solid brick the second it hits the water. I always set a timer on my phone here because I have absolutely walked away and come back to a pot boiled dry.
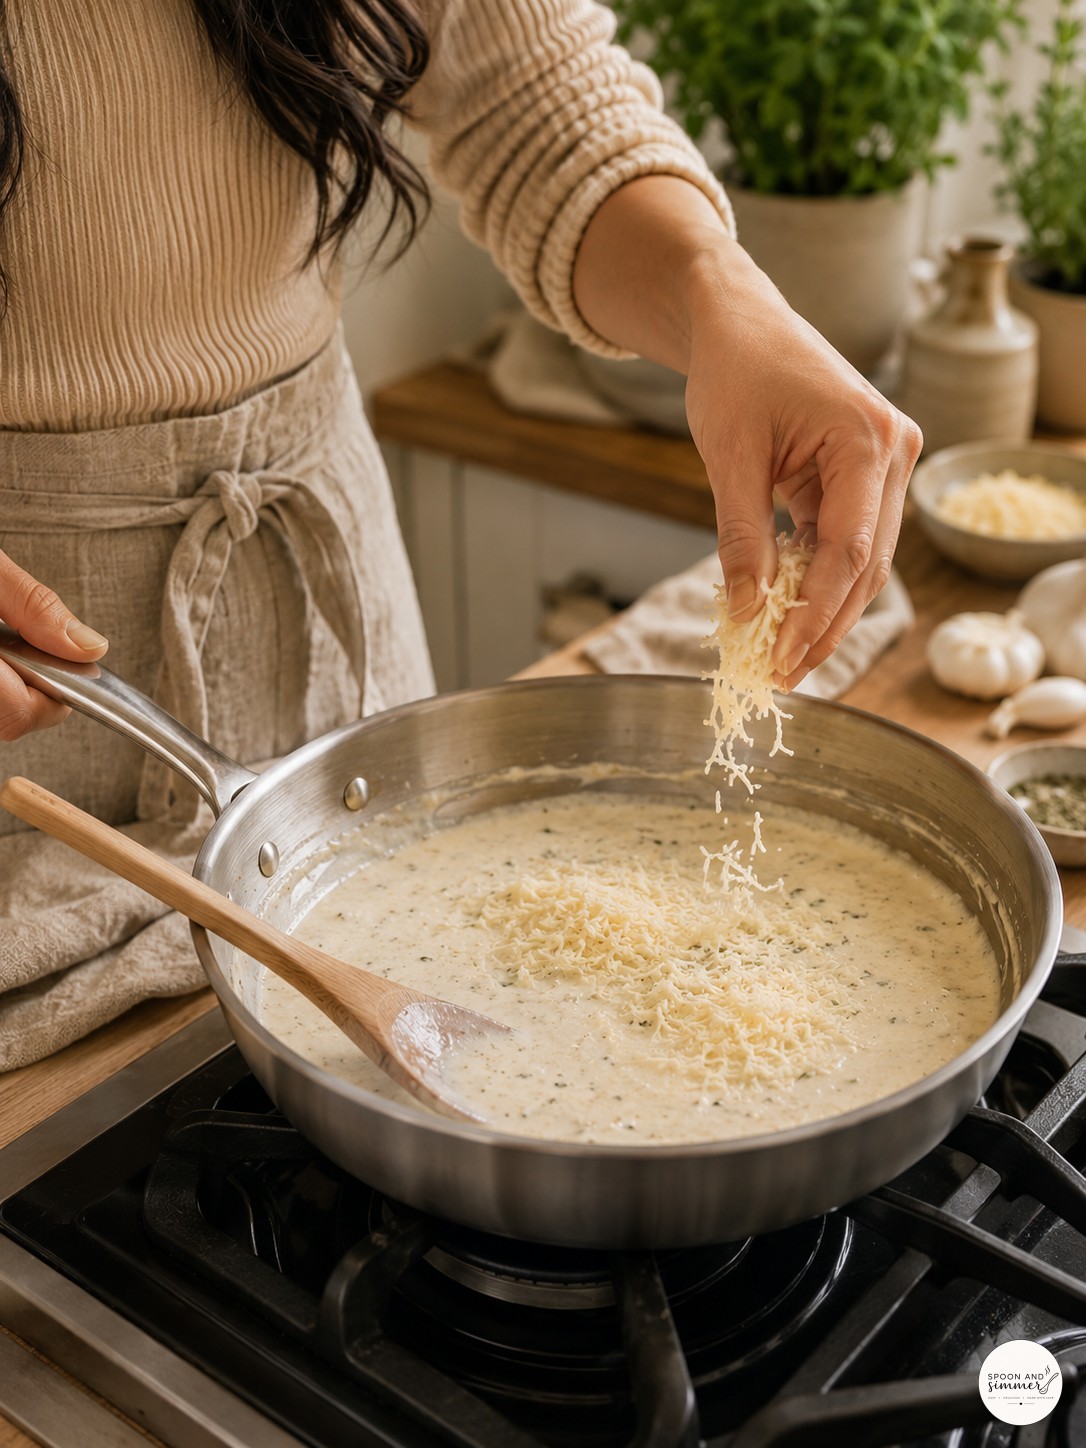
Sprinkling the parmesan in from a height like this instead of dumping it in one clump helps it melt evenly instead of forming a stubborn cheese ball at the bottom of the pan. My wooden spoon collection is mostly hand-me-downs, and this one's my favorite for sauces because the handle's long enough to keep my hand away from splatter.
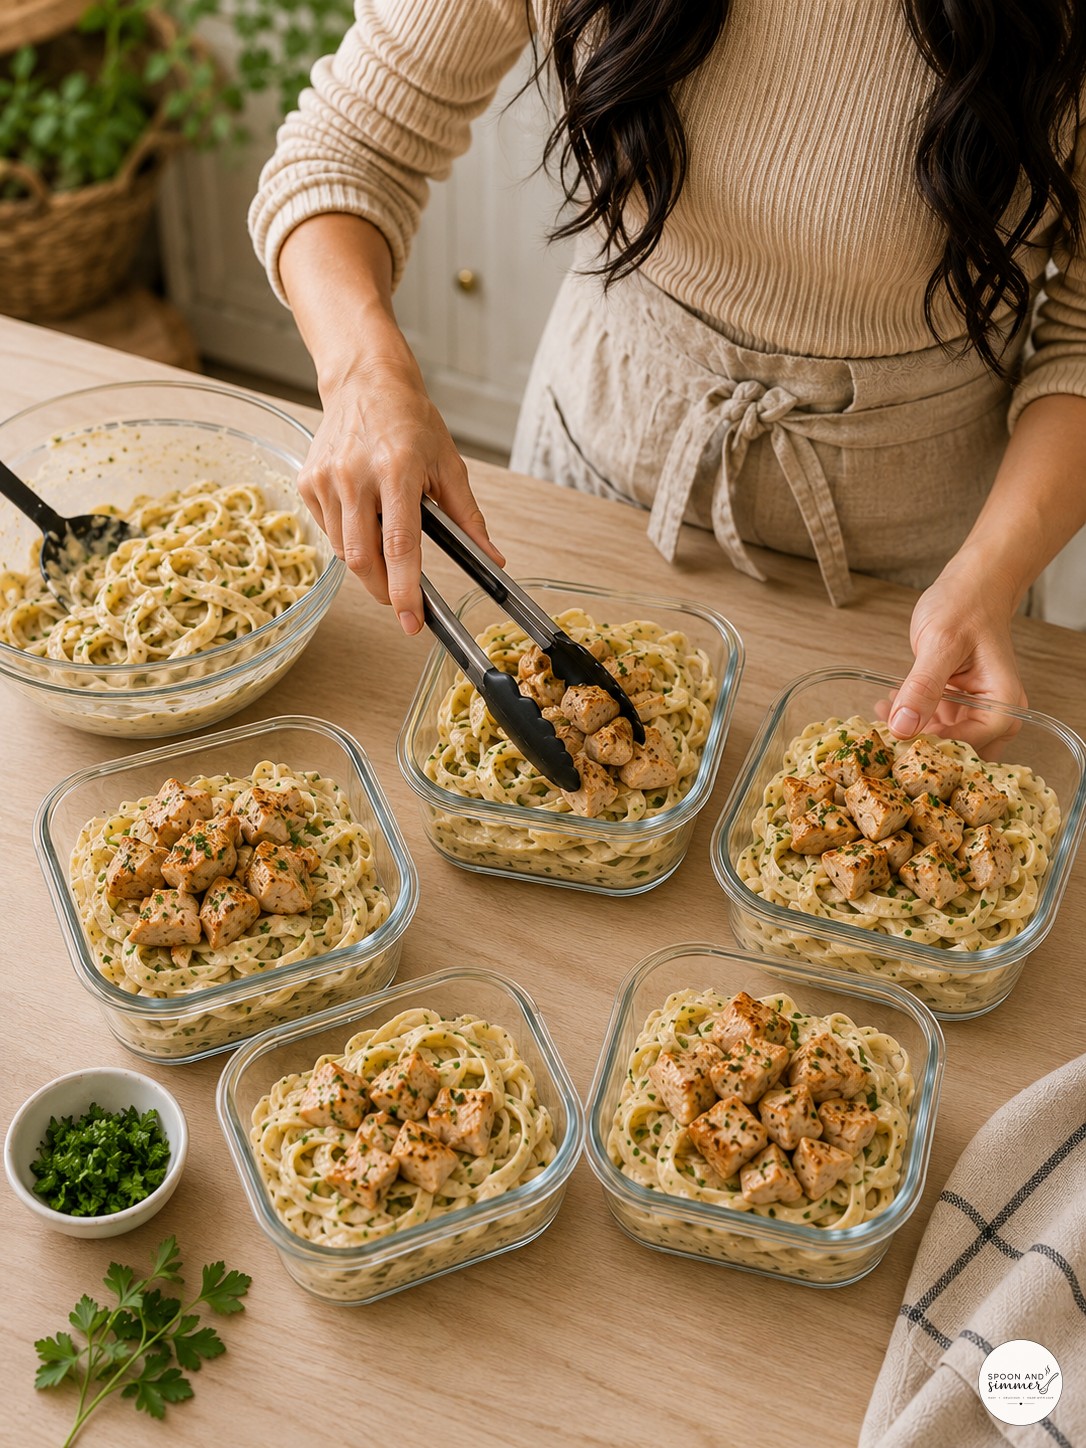
This is the part where Biscuit the beagle is usually underfoot, hoping something falls, and something occasionally does. Portioning five containers by eye gets easier every time I do it, but I still weigh the first one just to calibrate my scoop for the rest.
The Takeaway
Five containers, one skillet, and a pot of pasta water you almost forgot to save — that's really the whole trick here. Once this is in the fridge, lunch stops being a decision you have to make every single morning.

- For the Chicken
- For the Pasta
- For the Cream Sauce
- To Finish

Frequently Asked Questions
Can I use a different pasta shape?
Yes — penne, rigatoni, or even bowtie pasta all hold this cream sauce well. Just cook whatever shape one minute less than the package directions and reserve the pasta water the same way.
Why does my sauce look thin right after cooking?
Cream sauce always looks looser hot than it will once it cools and sits in the fridge overnight — parmesan and the residual heat continue to thicken it, so don't panic and over-reduce it on the stove.
Can I make this dairy-free?
You can swap the cooking cream for a full-fat coconut cream or a dairy-free heavy cream alternative and use a plant-based parmesan, though the flavor will shift slightly sweeter and less sharp.