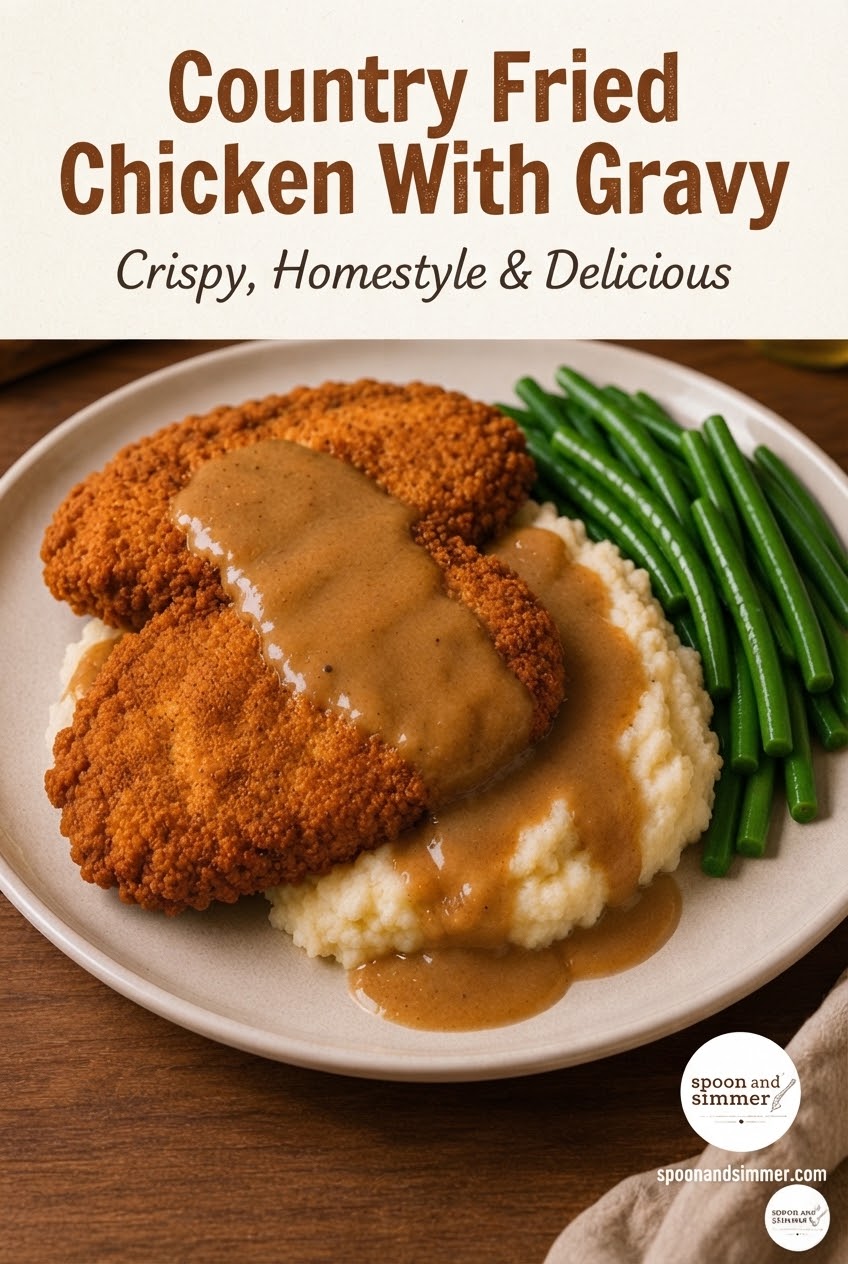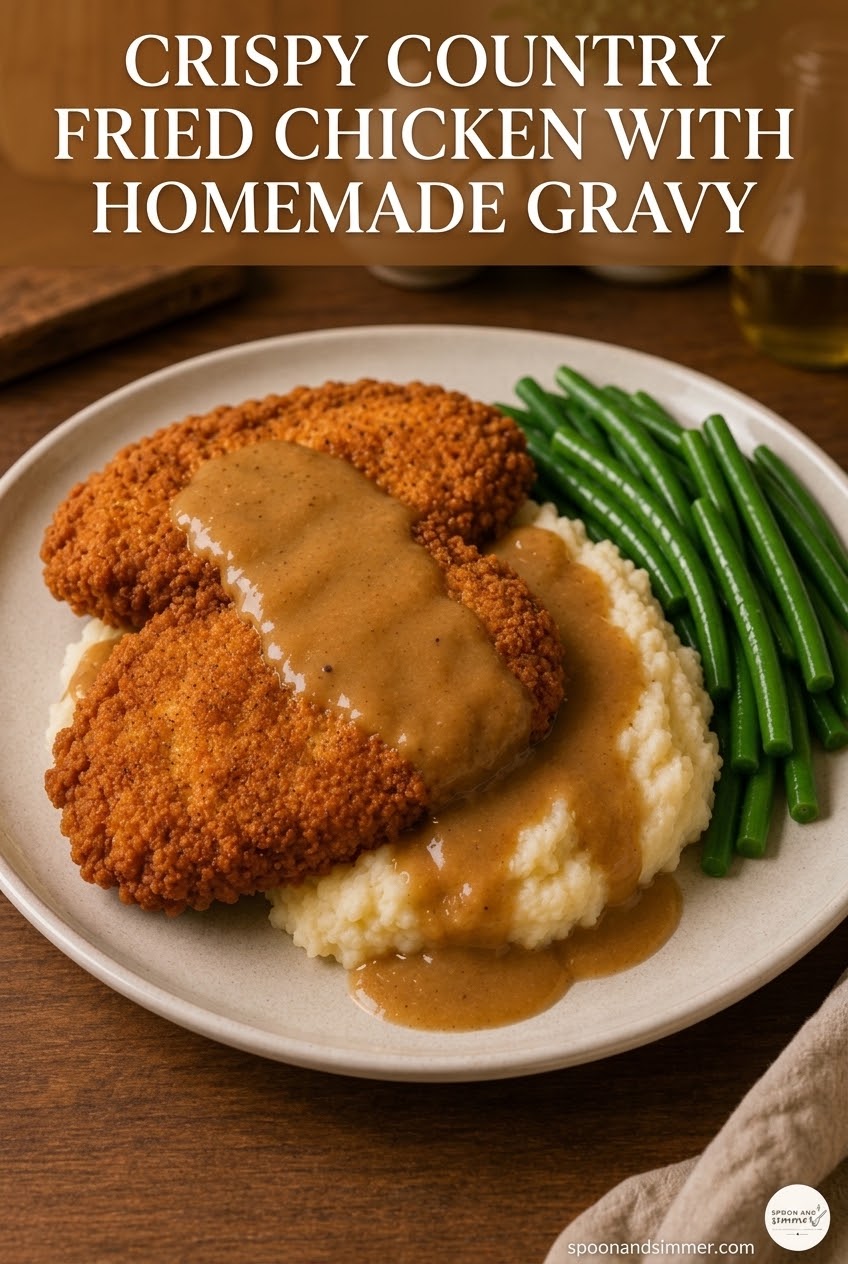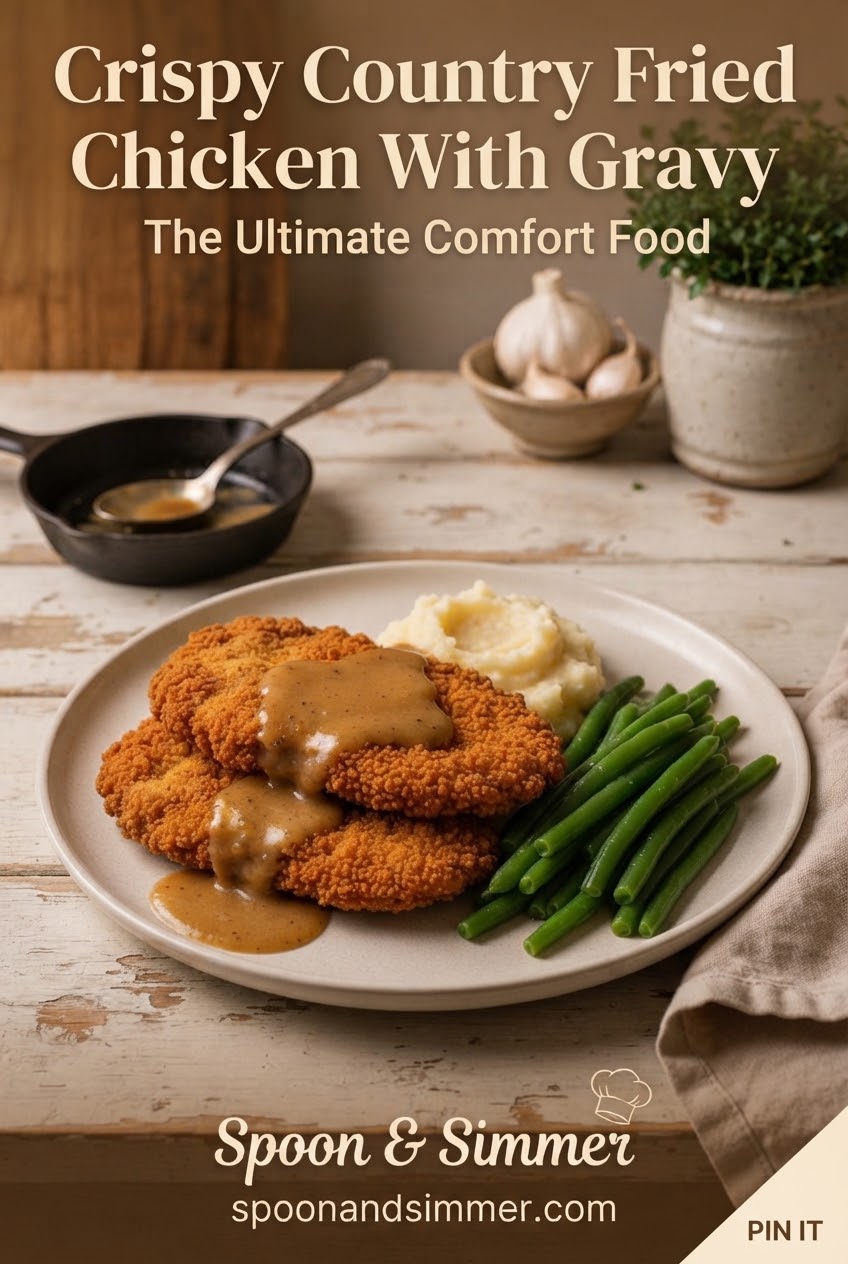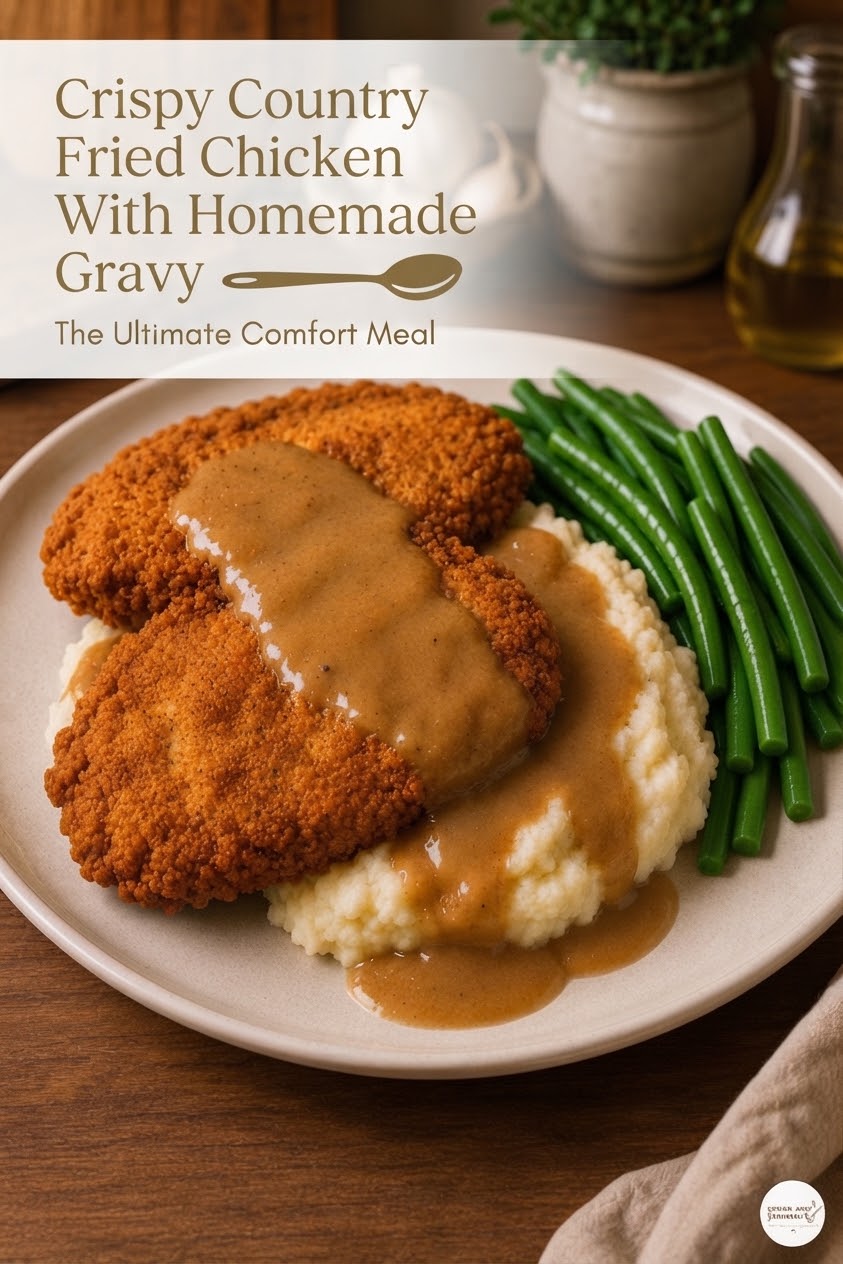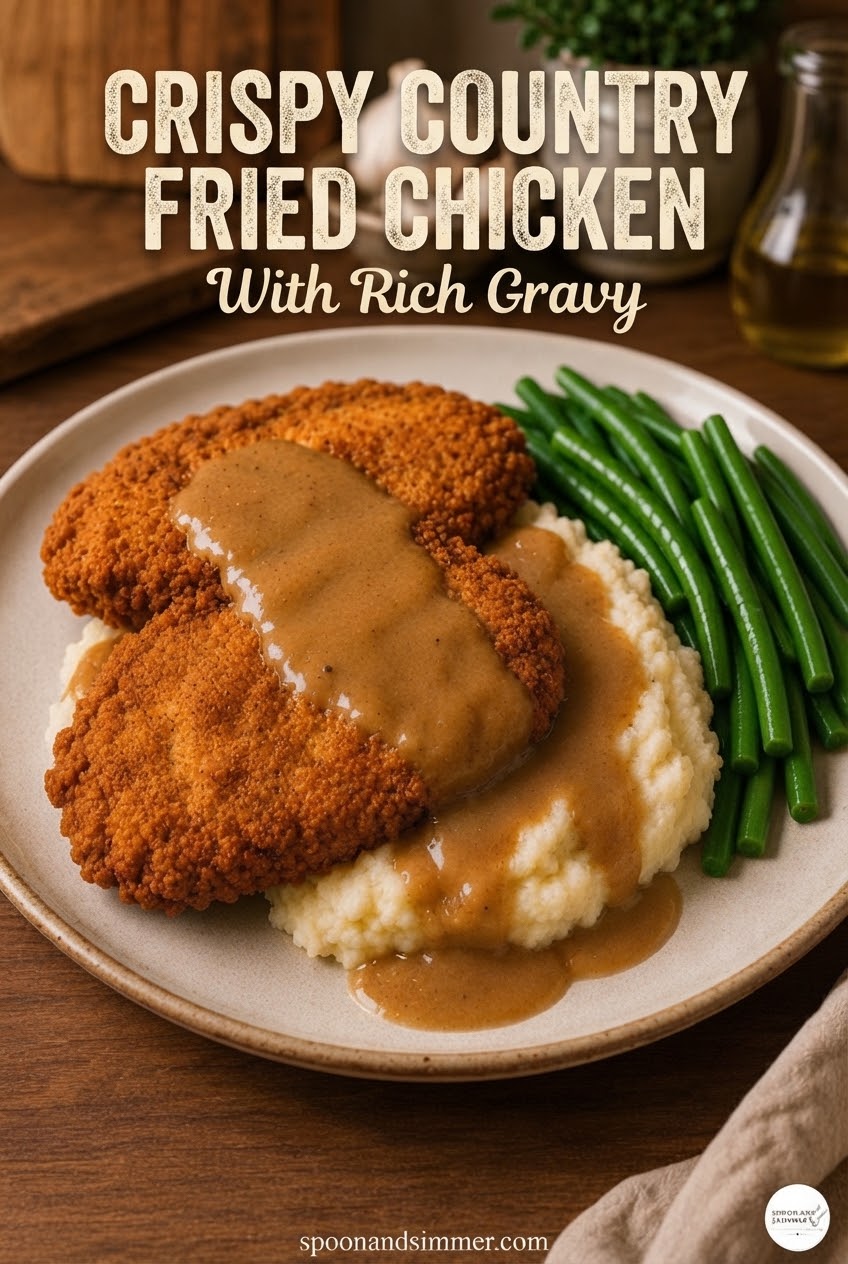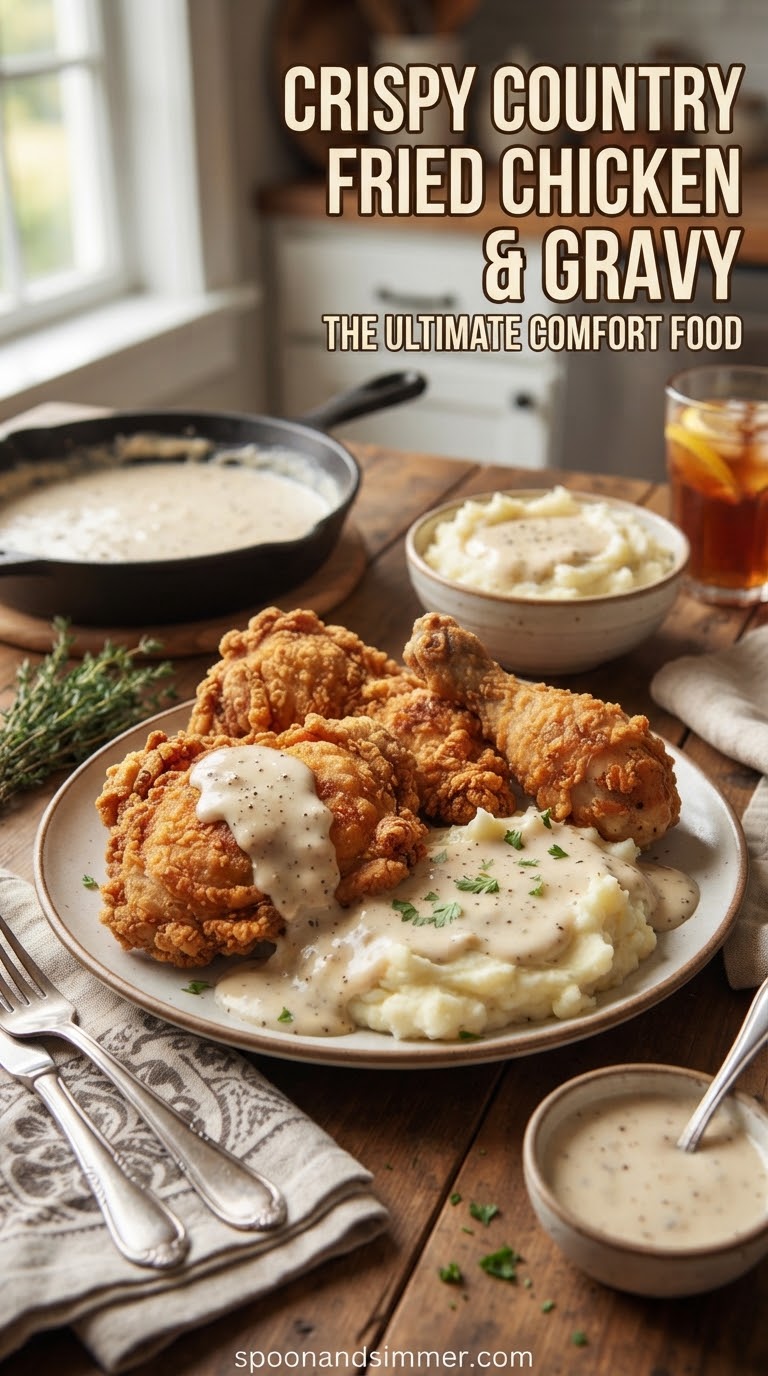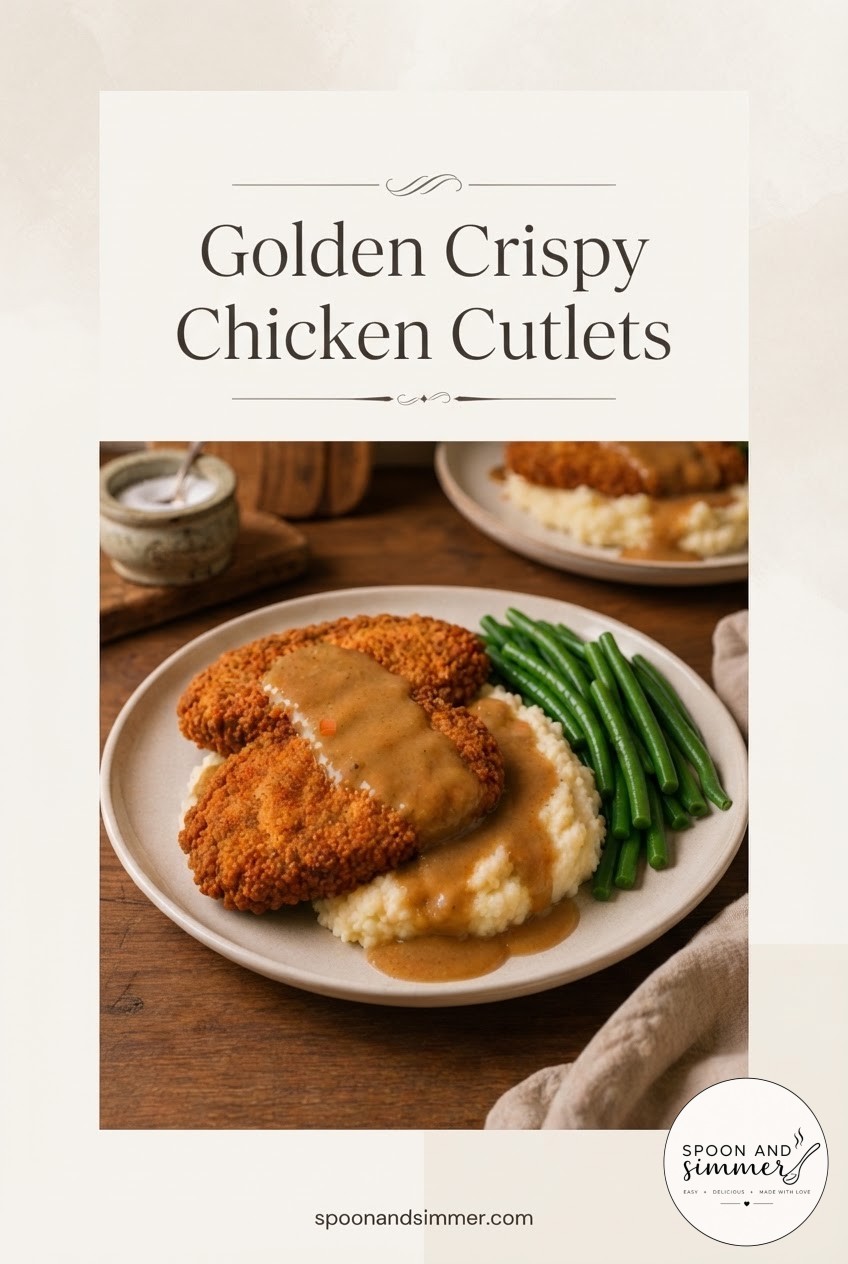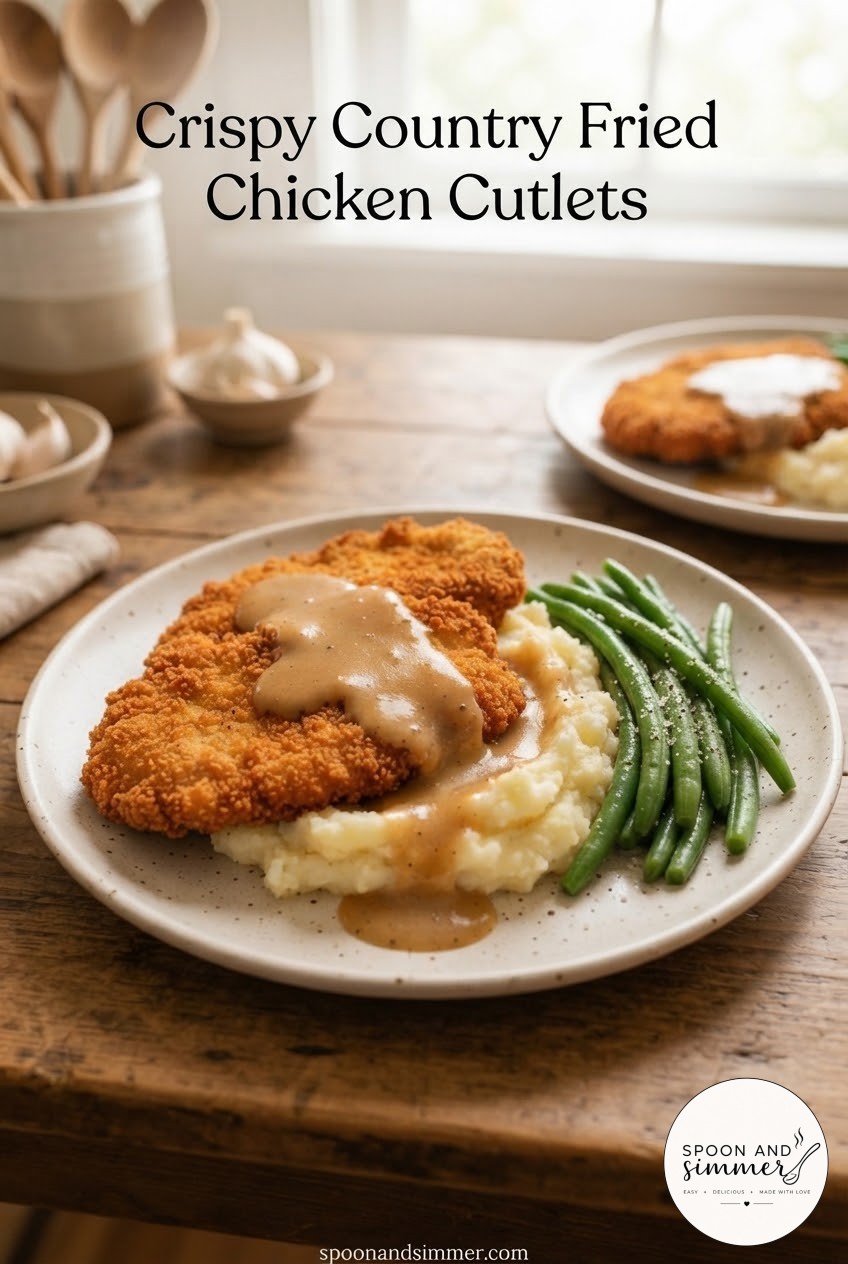
This is the dinner my dad's side of the family would have called a Sunday plate, even on a random Tuesday — thin chicken cutlets pounded out, double-dredged, and fried in a cast iron skillet until the crust looks almost bumpy and craggy, then finished with a gravy built right in the same pan. I've made versions of this with buttermilk brines and overnight marinades, but the one in these photos is the one I actually cook when Leo and Ivy are hollering about being hungry, and it's every bit as good.
Getting Everything in Its Place First
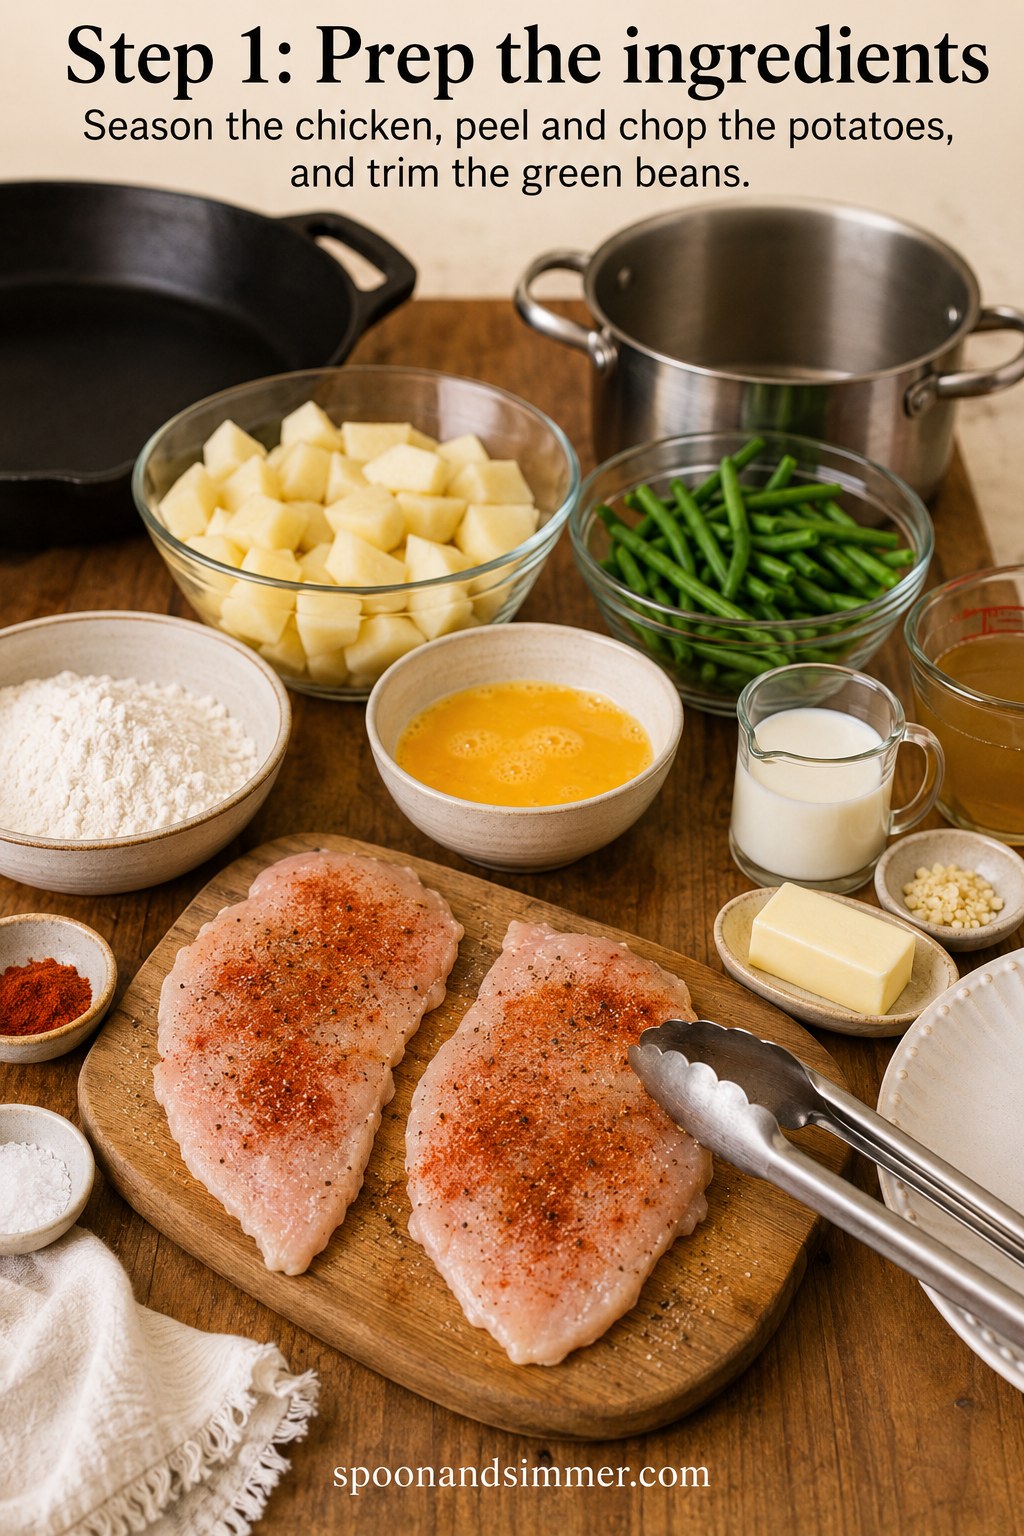
Before anything hits heat, I lay out every bowl on the cutting board so I'm not scrambling mid-fry — that's a lesson six years on a restaurant line beat into me. Season the chicken first and let it sit while you prep everything else; those few minutes let the salt and paprika actually soak in instead of just sitting on the surface.
- Chicken: two boneless breasts, cutlet-cut and pounded to an even thickness so they cook through without drying out
- Potatoes: peeled and diced small so they boil evenly
- Green beans: trimmed and ready, not touched yet
Have your flour, egg wash, seasoned flour, milk, butter, and oil all measured and sitting in their bowls. This dish moves fast once the skillet's hot, and you don't want to be measuring flour with greasy tongs in your hand.
Boiling Potatoes and Building the Crust
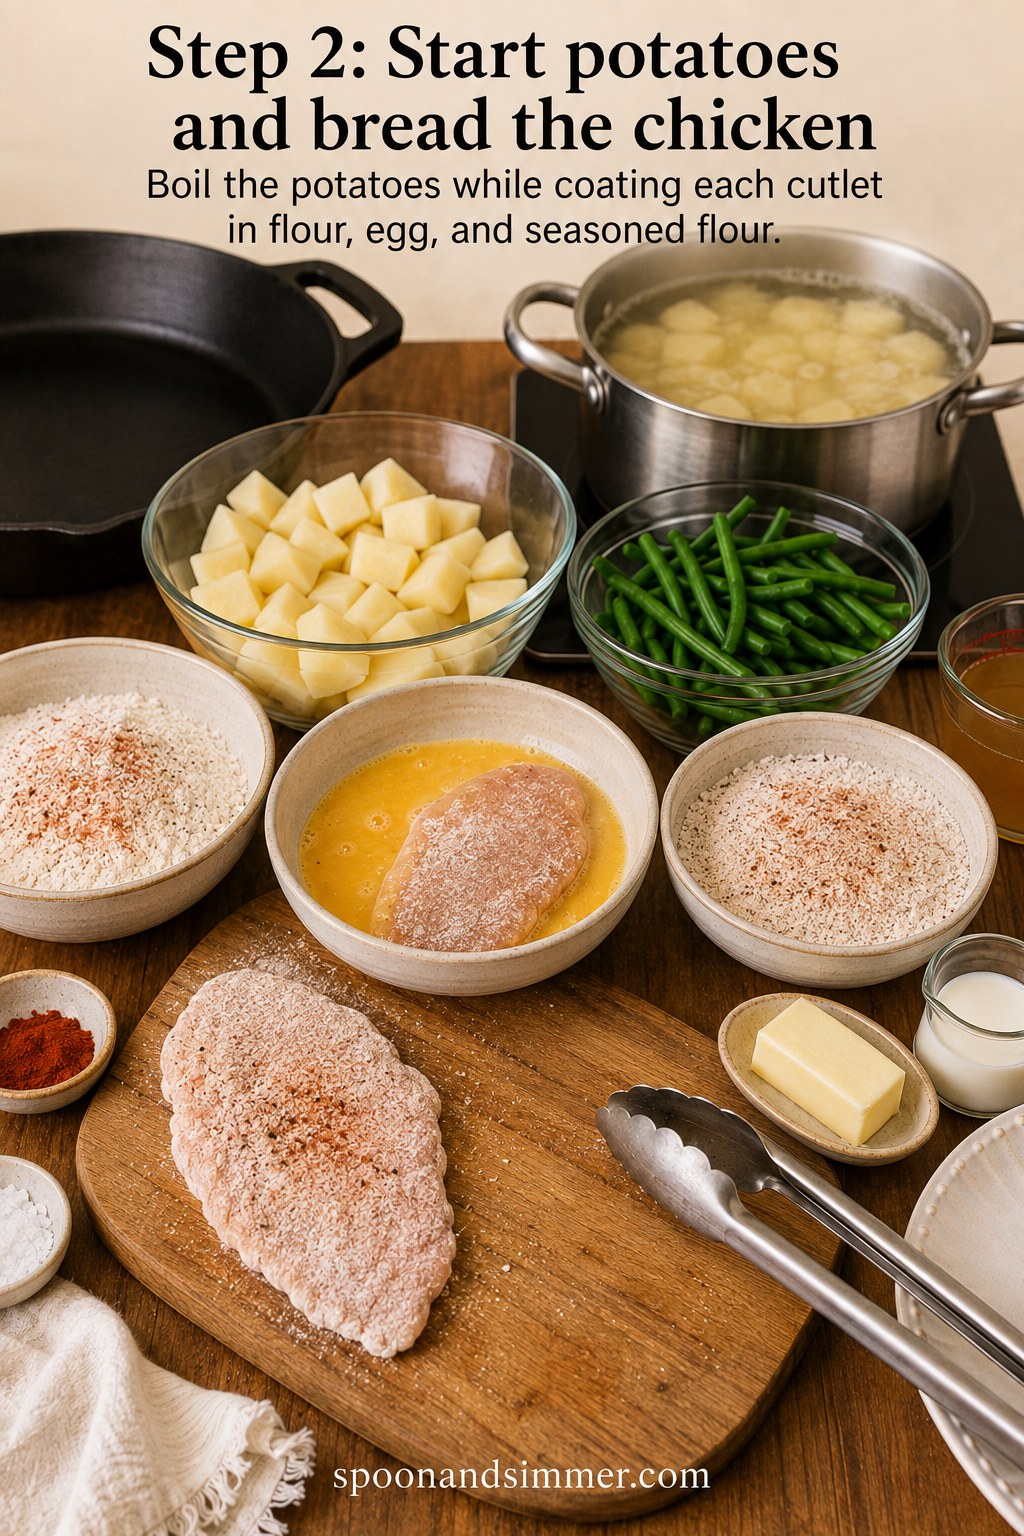
Get the potatoes into cold, salted water and bring them up to a boil while you bread the chicken — this is the kind of multitasking that makes weeknight cooking actually work. The cutlets get a three-stage dredge: plain flour first, then a dip in beaten egg, then a press into seasoned flour spiked with paprika, salt, and pepper.
Press firmly on that last coat so it clings — a light dusting will just slide off in the hot oil. The potatoes need about 15-18 minutes at a simmer, until a fork slides in with zero resistance; check them while you're finishing the second cutlet.
The craggy texture on that seasoned flour is what gives you a crust with real bite, not just a smooth shell — don't smooth it down.
Frying Until the Crust Turns Deep Gold
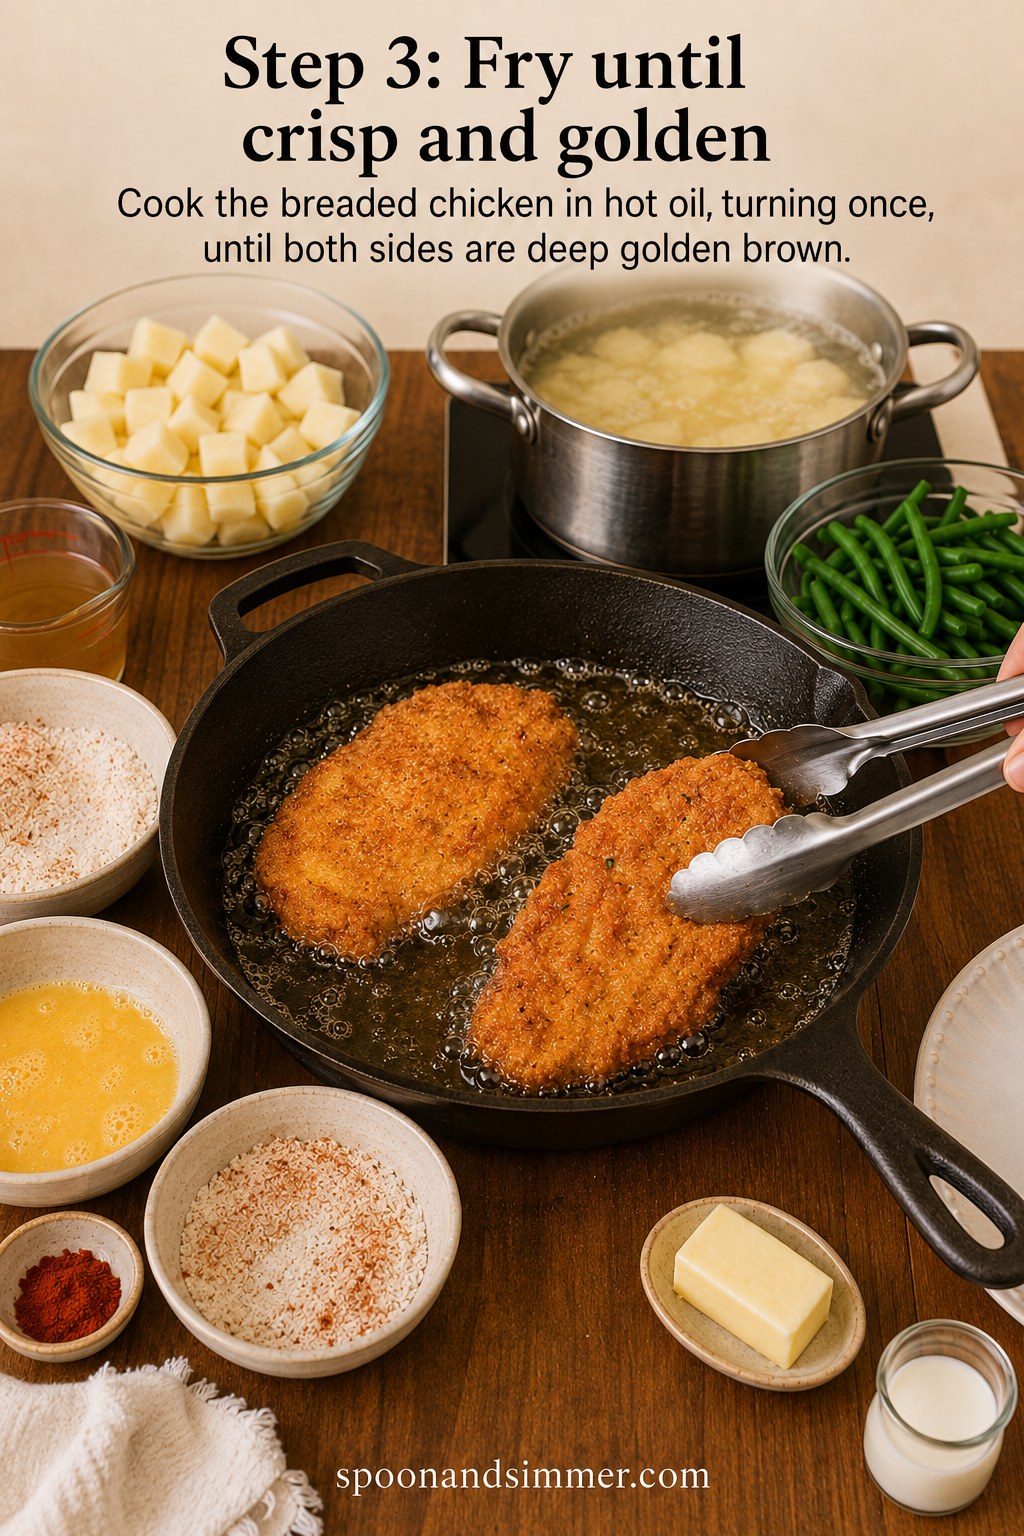
Heat about a half-inch of oil in a cast iron skillet over medium heat until it shimmers — around 350°F if you've got a thermometer, or test it with a pinch of flour that should sizzle immediately on contact. Lay the cutlets in gently; you'll hear an aggressive, steady sizzle that settles after the first minute.
- Fry 3-4 minutes per side, turning once with tongs when the underside is deep golden brown
- Resist the urge to flip early — a pale, half-set crust will tear and lose its coating in the oil
- Internal temp should hit 165°F; if the crust's dark but the middle's still pink, finish it in a 350°F oven for a few minutes rather than burning the outside
Pull them to a rack, not a paper-towel-lined plate, so the bottom stays crisp instead of steaming soft.
Mashing the Potatoes While the Pan Waits
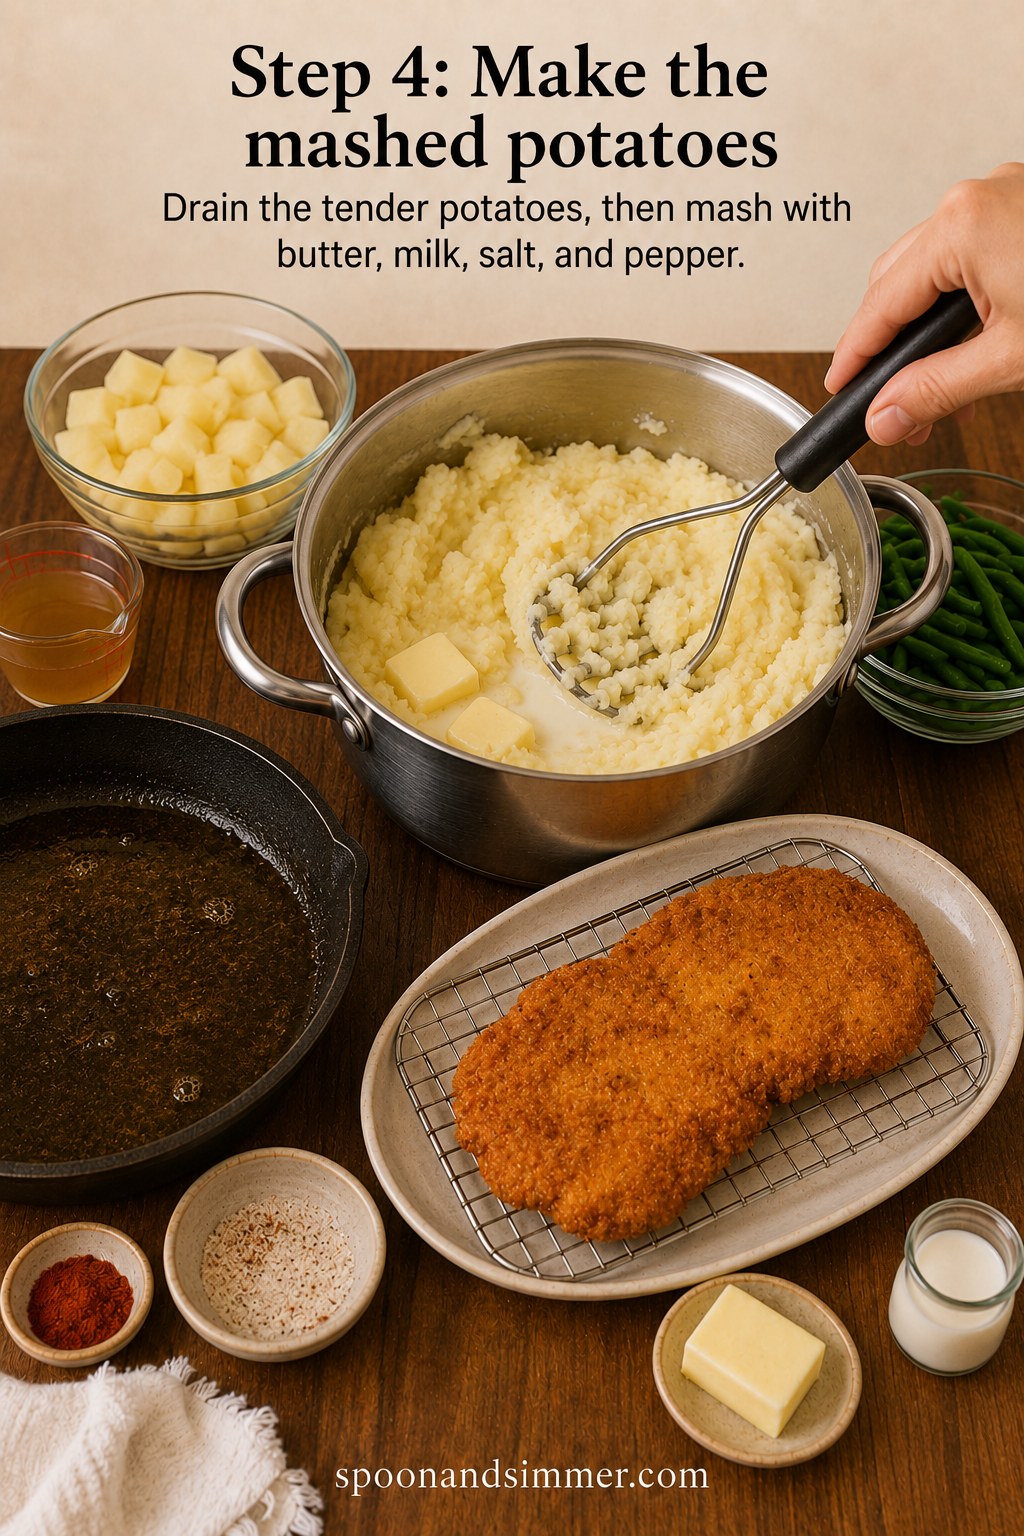
Drain the potatoes the moment they're fork-tender — sitting in that water even a few extra minutes turns them waterlogged and gluey. Return them to the warm pot (the residual heat helps evaporate any excess moisture) and mash right in with butter and warm milk.
Warm milk matters more than people think — cold milk shocks the starches and can make your potatoes gummy instead of fluffy. I go by feel here, adding milk in small splashes until the potatoes hold soft peaks on the masher but aren't runny. Salt generously; potatoes need more than you'd guess, and this is the plate's biggest bite.
Leave that fried chicken resting on its rack right next to the pot — don't cover it, or the crust softens.
Turning Drippings Into Real Gravy
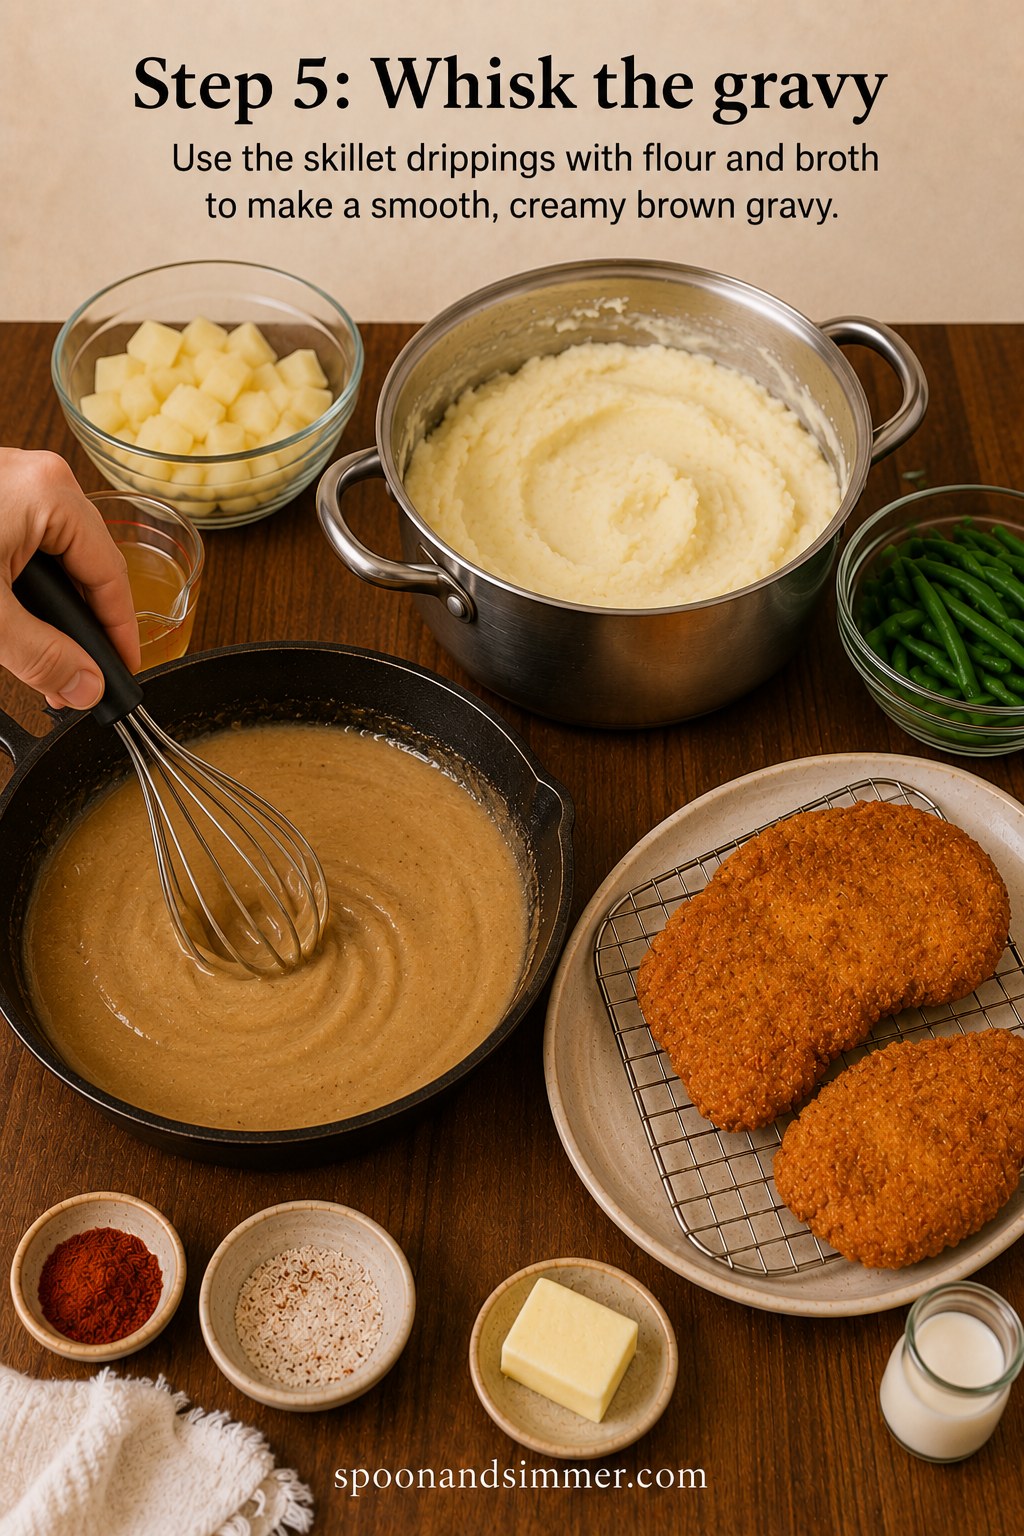
Don't wash that skillet. Those browned bits stuck to the cast iron are pure flavor, and this is the step that separates a homemade gravy from anything out of a packet. Whisk in flour directly with the leftover drippings over medium heat and cook it for about a minute, until it smells toasty and turns the color of light caramel — that's the roux doing its job.
- Whisk in the broth gradually, a splash at a time, working out any lumps before adding more
- Keep whisking constantly as it comes to a gentle simmer
- It's ready when it coats the back of a spoon and holds a trail when you drag the whisk through it
If it seizes into paste, don't panic — just keep adding warm broth in small amounts, whisking hard. Every skillet gravy I've ever ruined came back to life this way.
Cooking the Beans and Building the Plate
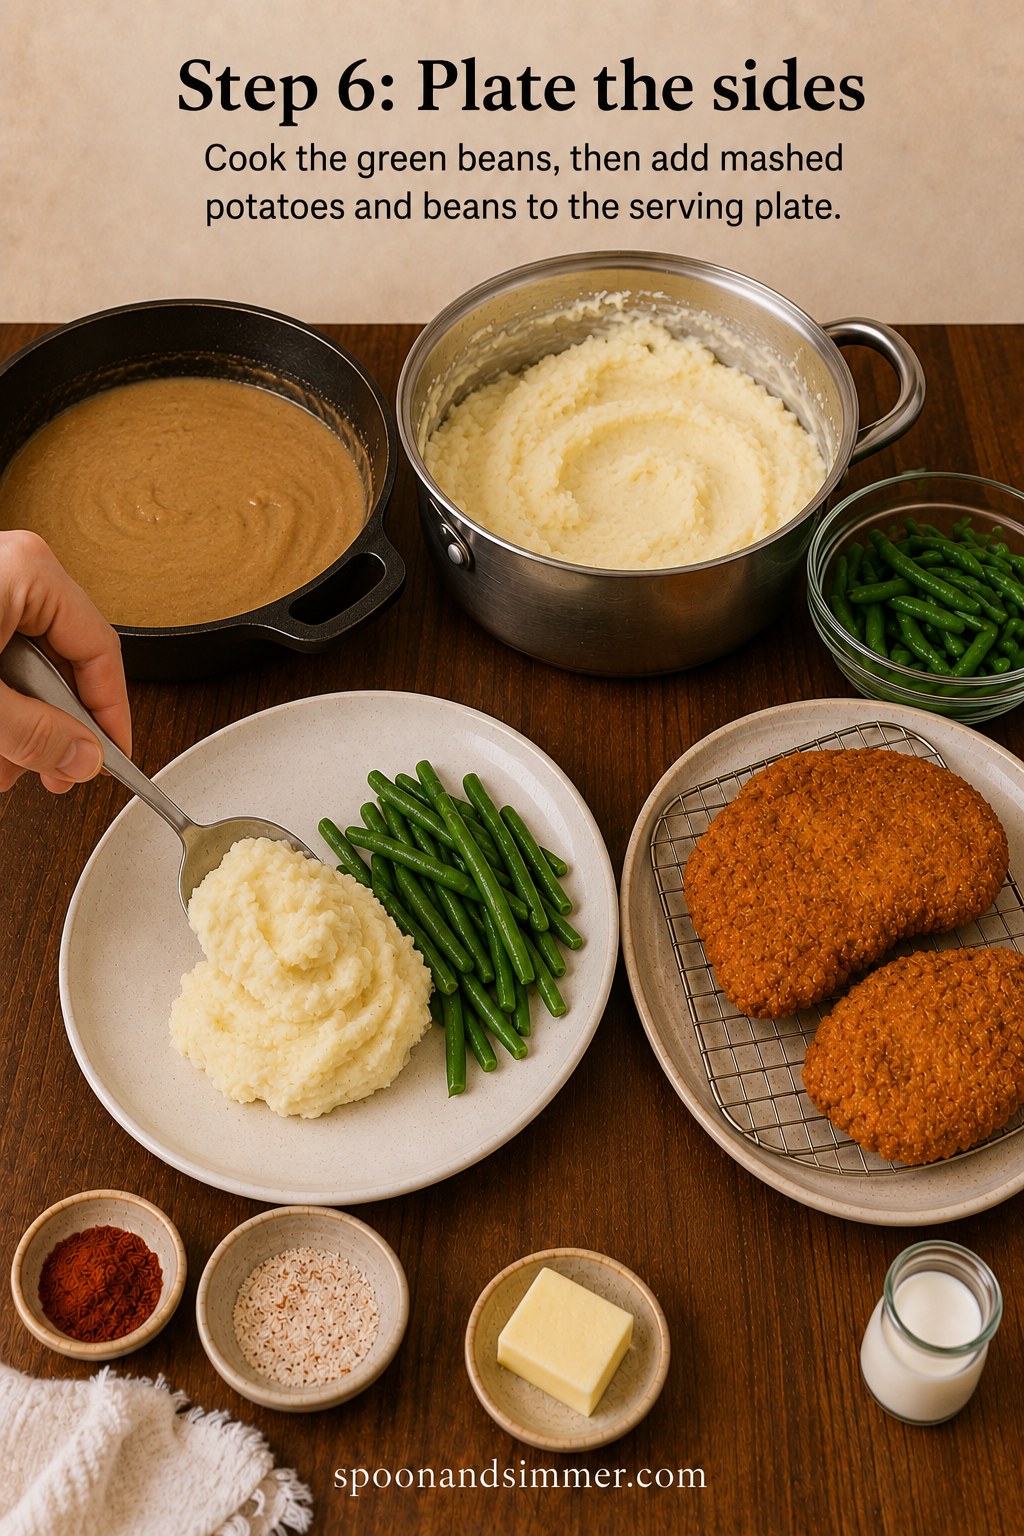
Boil the green beans in salted water for 4-5 minutes, until they've lost their raw crunch but still snap cleanly when you bite one — nobody wants mushy beans sitting under gravy. Drain and lay them straight onto the plate next to a generous scoop of mashed potatoes.
This is the part of the meal where I let the sides do the plating work before the chicken even lands. A swirl of potatoes, a neat row of beans, and the gravy waiting warm in the skillet — everything's ready to come together in the last minute, which is exactly how you want a hot dinner to land on the table.
Layering the Chicken and Pouring the Gravy
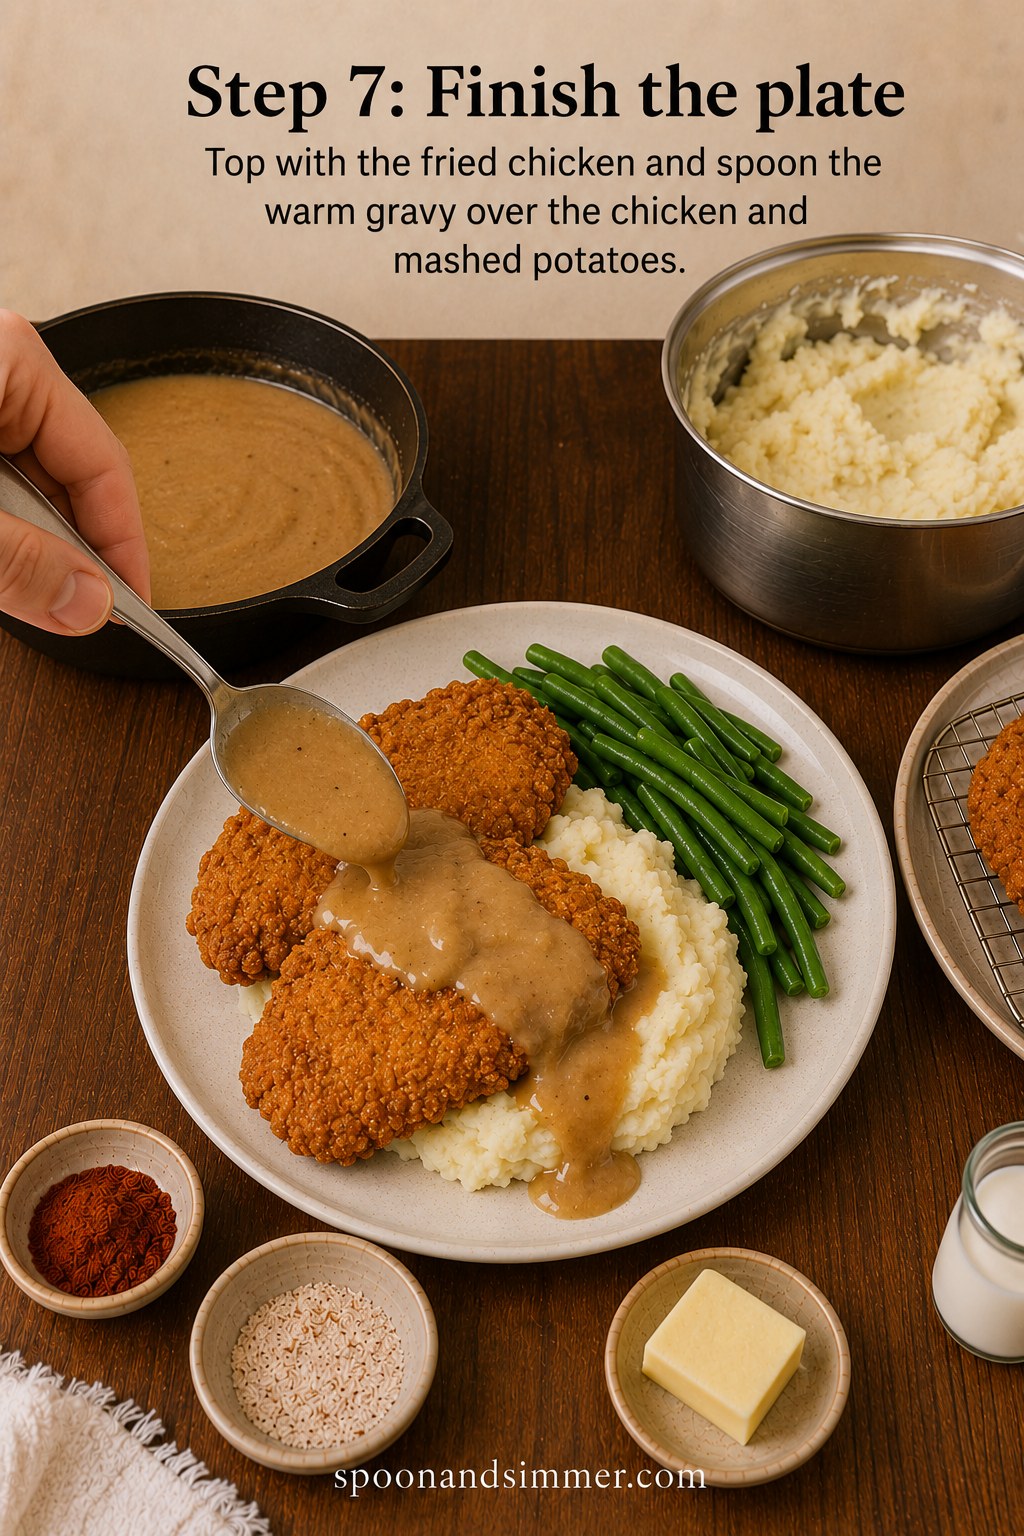
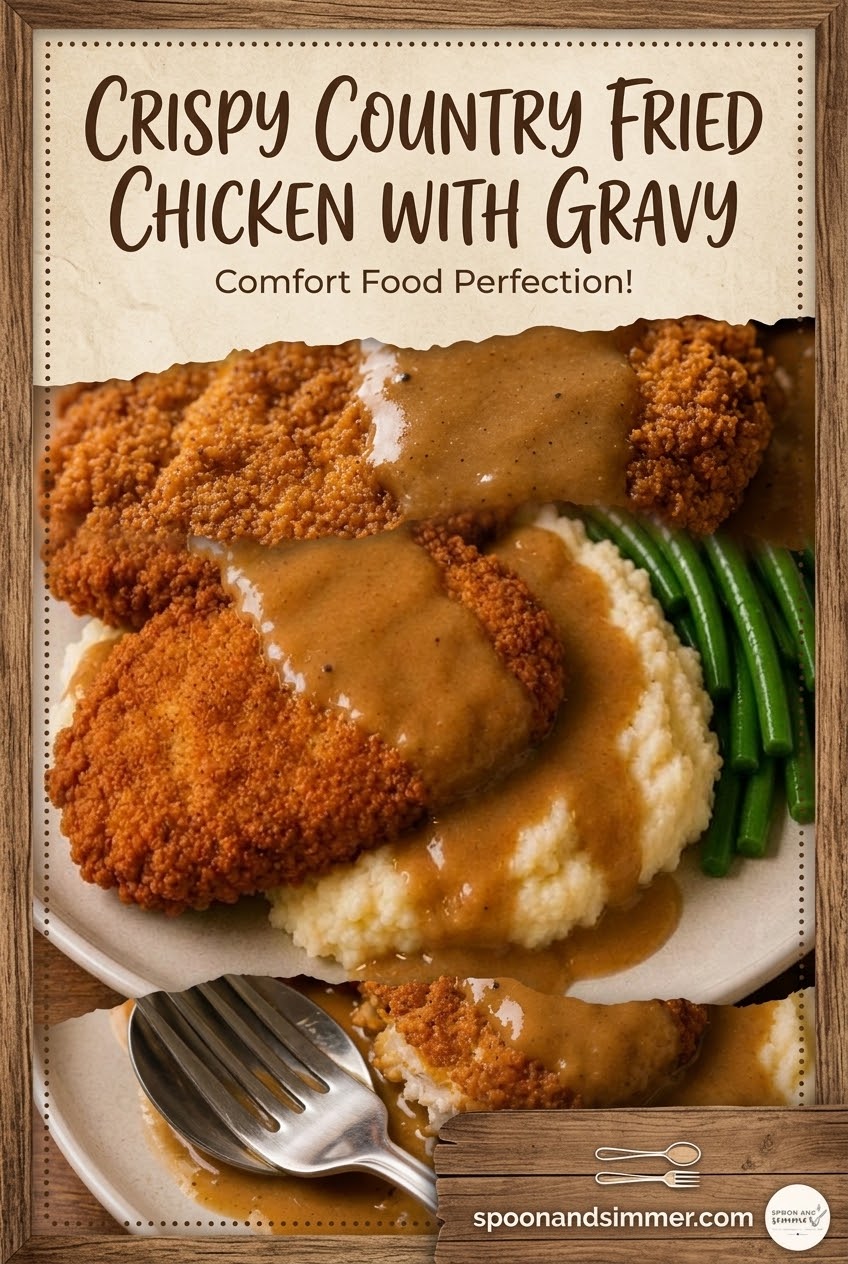
Set the cutlets right on top of the mashed potatoes, slightly overlapping, so the crust still peeks out from under the gravy instead of drowning completely. Then spoon the warm gravy over — pour it slowly and unevenly, letting some crust stay exposed on the edges.
That contrast between the crunchy ridges of fried coating and the soft, gravy-soaked center is the whole point of this dish. If your gravy's thickened up too much while it sat, whisk in a tablespoon of warm broth right before serving to loosen it back to pourable.
The Plate That Makes People Go Quiet
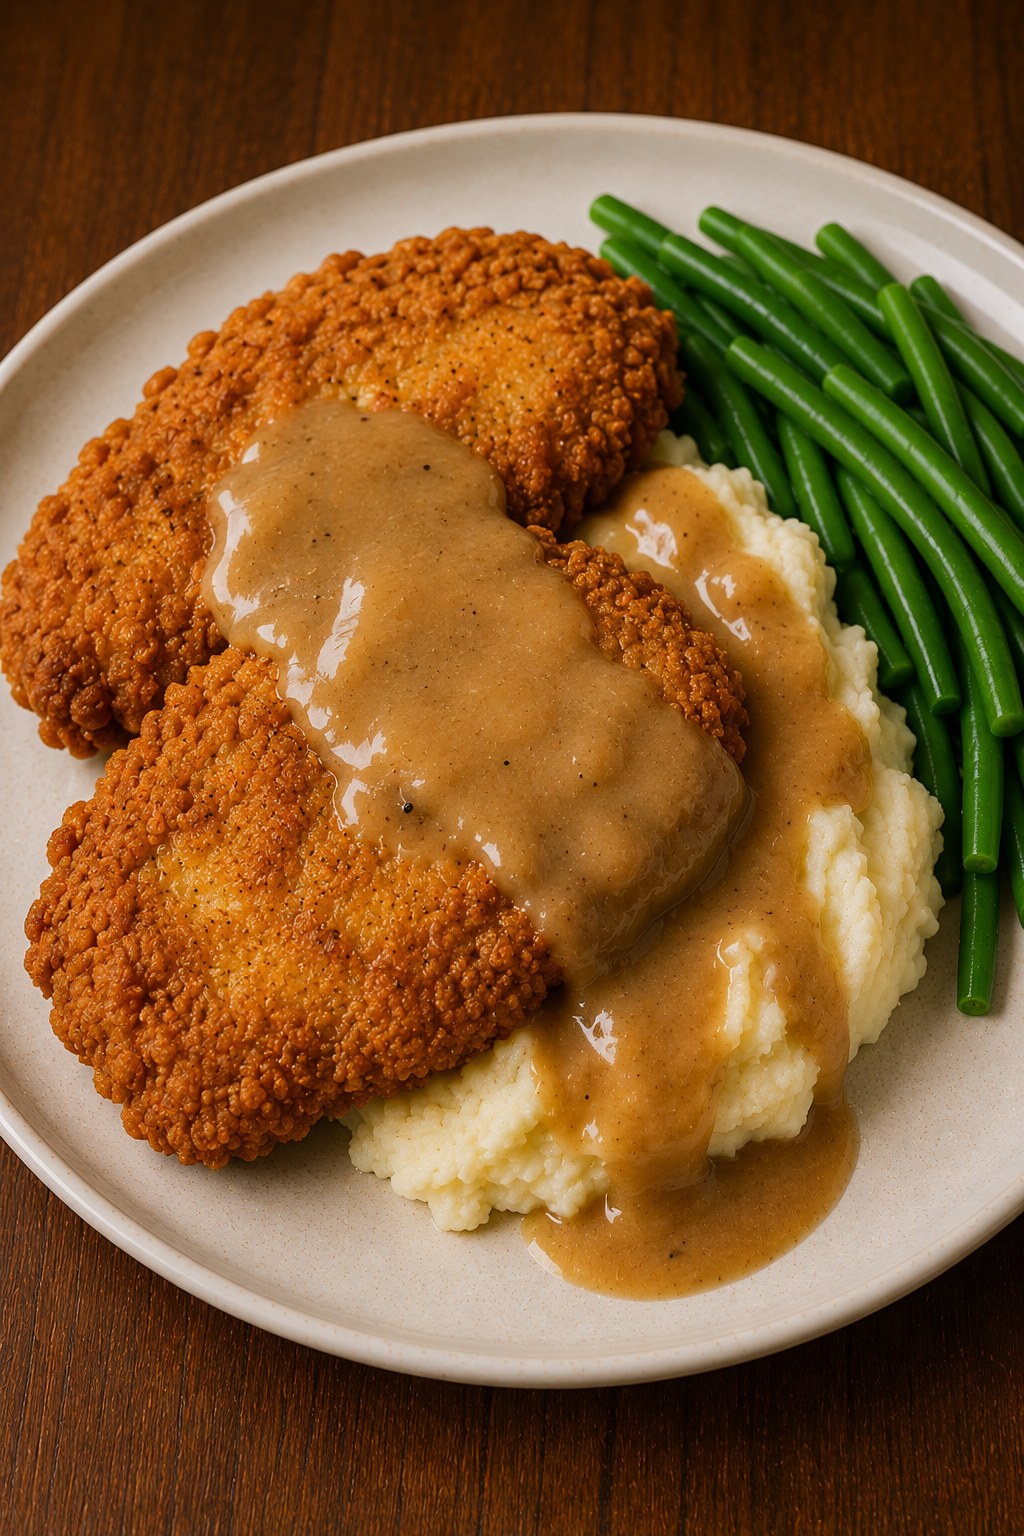
This is the moment the whole thing was built for — the top-down shot where you can actually see the texture: that deep amber gravy pooling into every crevice of the crust, the bright green beans holding their color, the potatoes soft underneath everything. It's not a fussy plate, and it shouldn't be.
My kids will pick the beans off to the side (Ivy still hasn't forgiven vegetables for existing) but they'll clean every bit of chicken and gravy without prompting. That's the real test of a comfort food recipe — not how it photographs, but whether the plate comes back empty.
What Country Fried Chicken Night Actually Looks Like at My House
Step photos are useful, but they don't show the actual mess and motion of getting this dinner on the table on a weeknight. These are from one real run in my kitchen, sweater sleeves pushed up and all, so you can see what the texture and timing genuinely look like outside a styled shot.
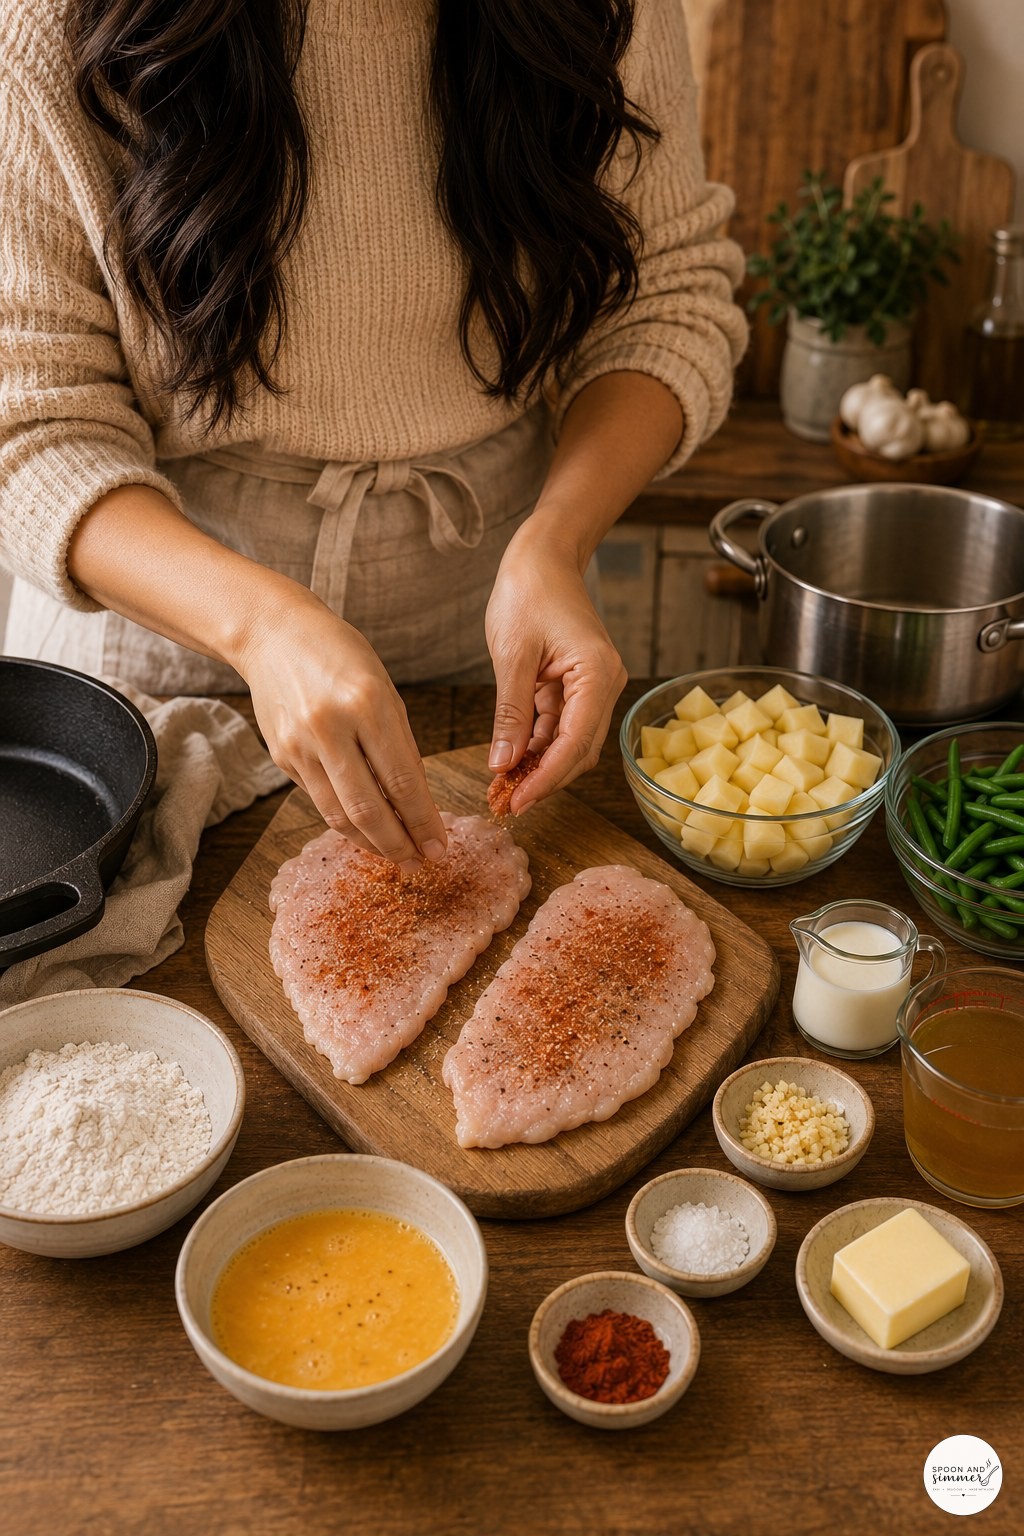
I press the seasoning into the chicken with my fingers instead of shaking it on, working it into every ridge of the cutlet. You can see the paprika hasn't fully dissolved into the surface yet — that happens as it sits for a few minutes before breading.
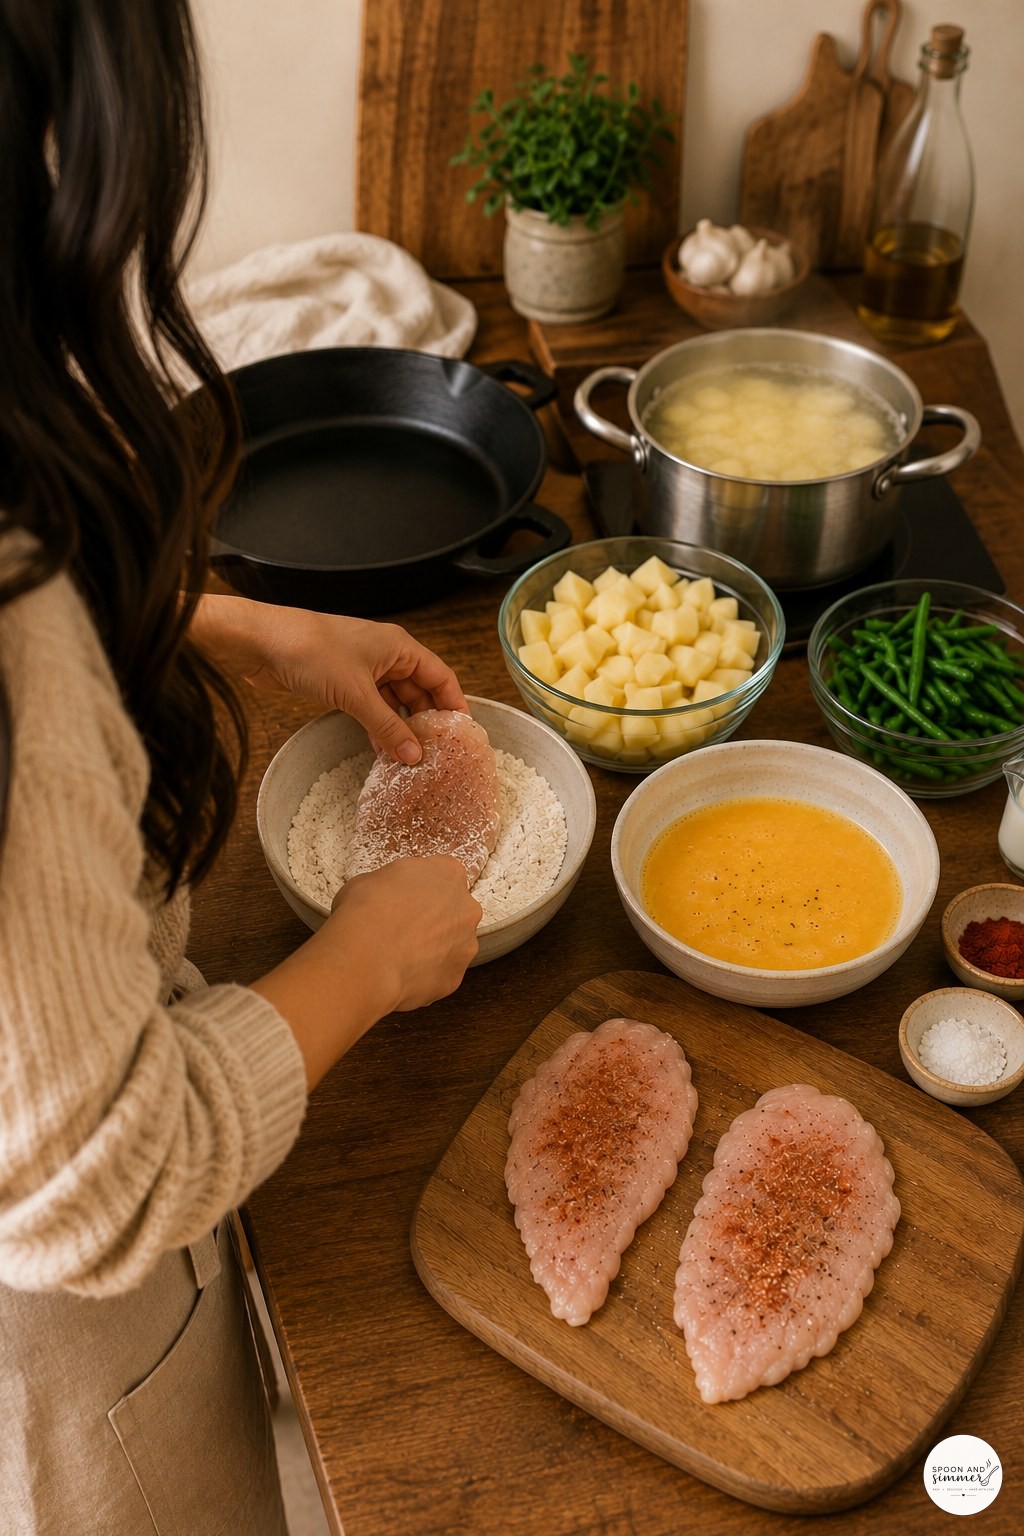
This is the messiest part of the whole process for me — one hand stays dry for the flour bowl, one hand gets sticky with egg, and I still manage to get breading under my nails every single time. The potatoes are already boiling behind me so nothing sits idle.
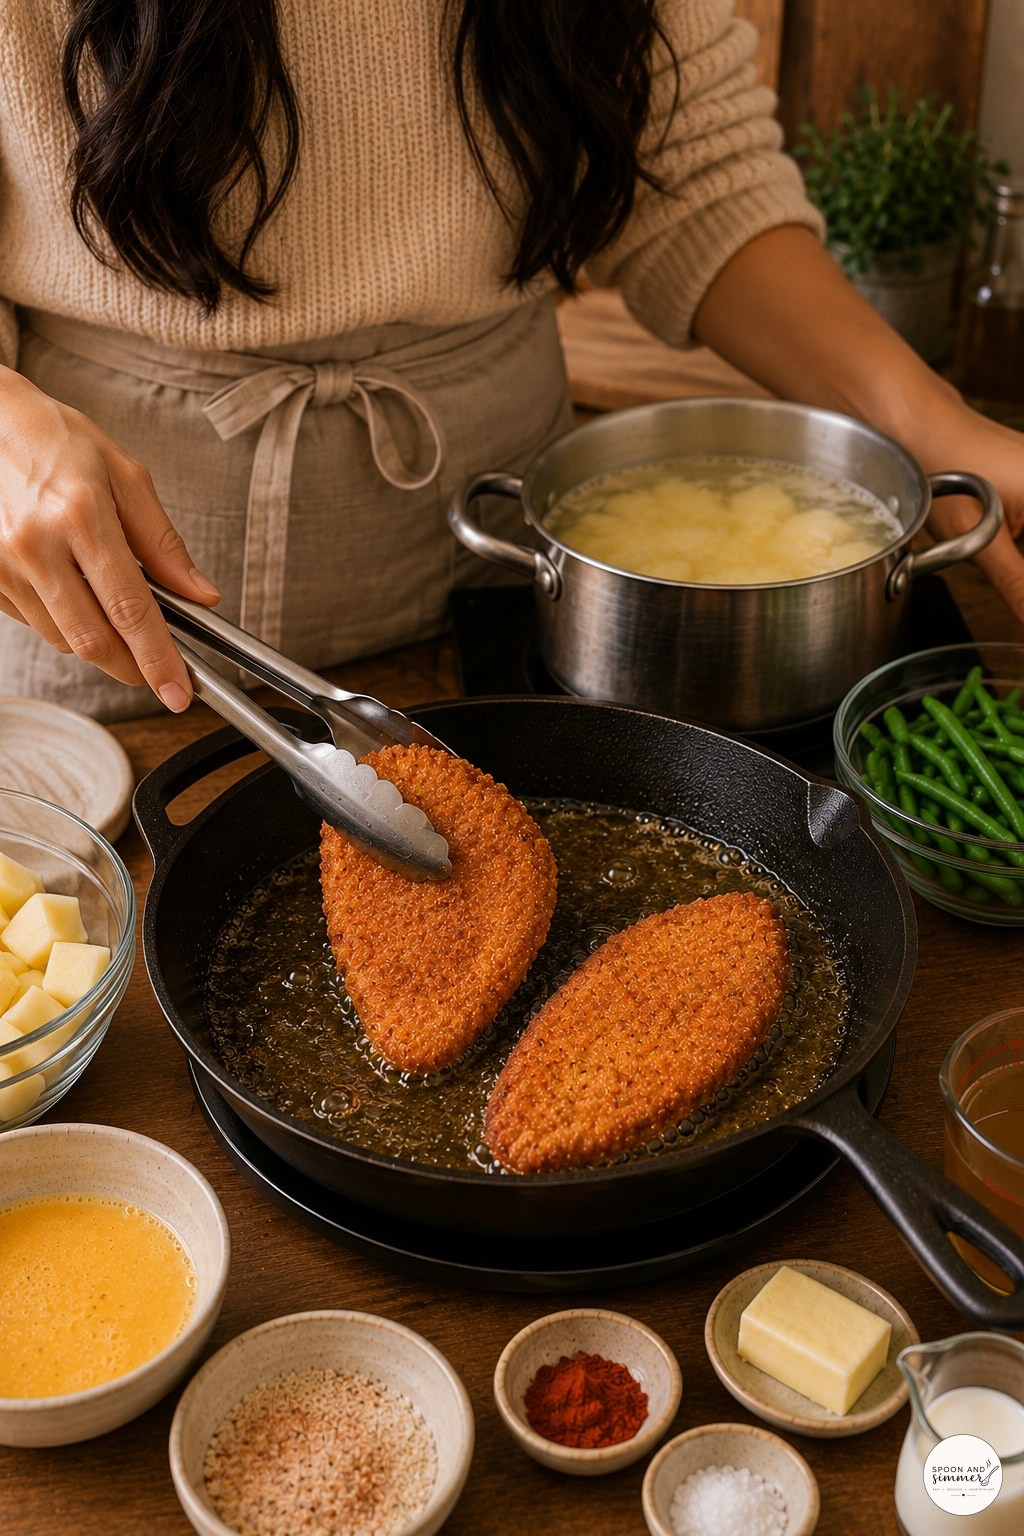
That oil pop you see near the tongs is normal and means the pan's at the right heat — if the oil sits dead silent when the chicken goes in, it's not hot enough yet. I never fully walk away from the stove during this part.
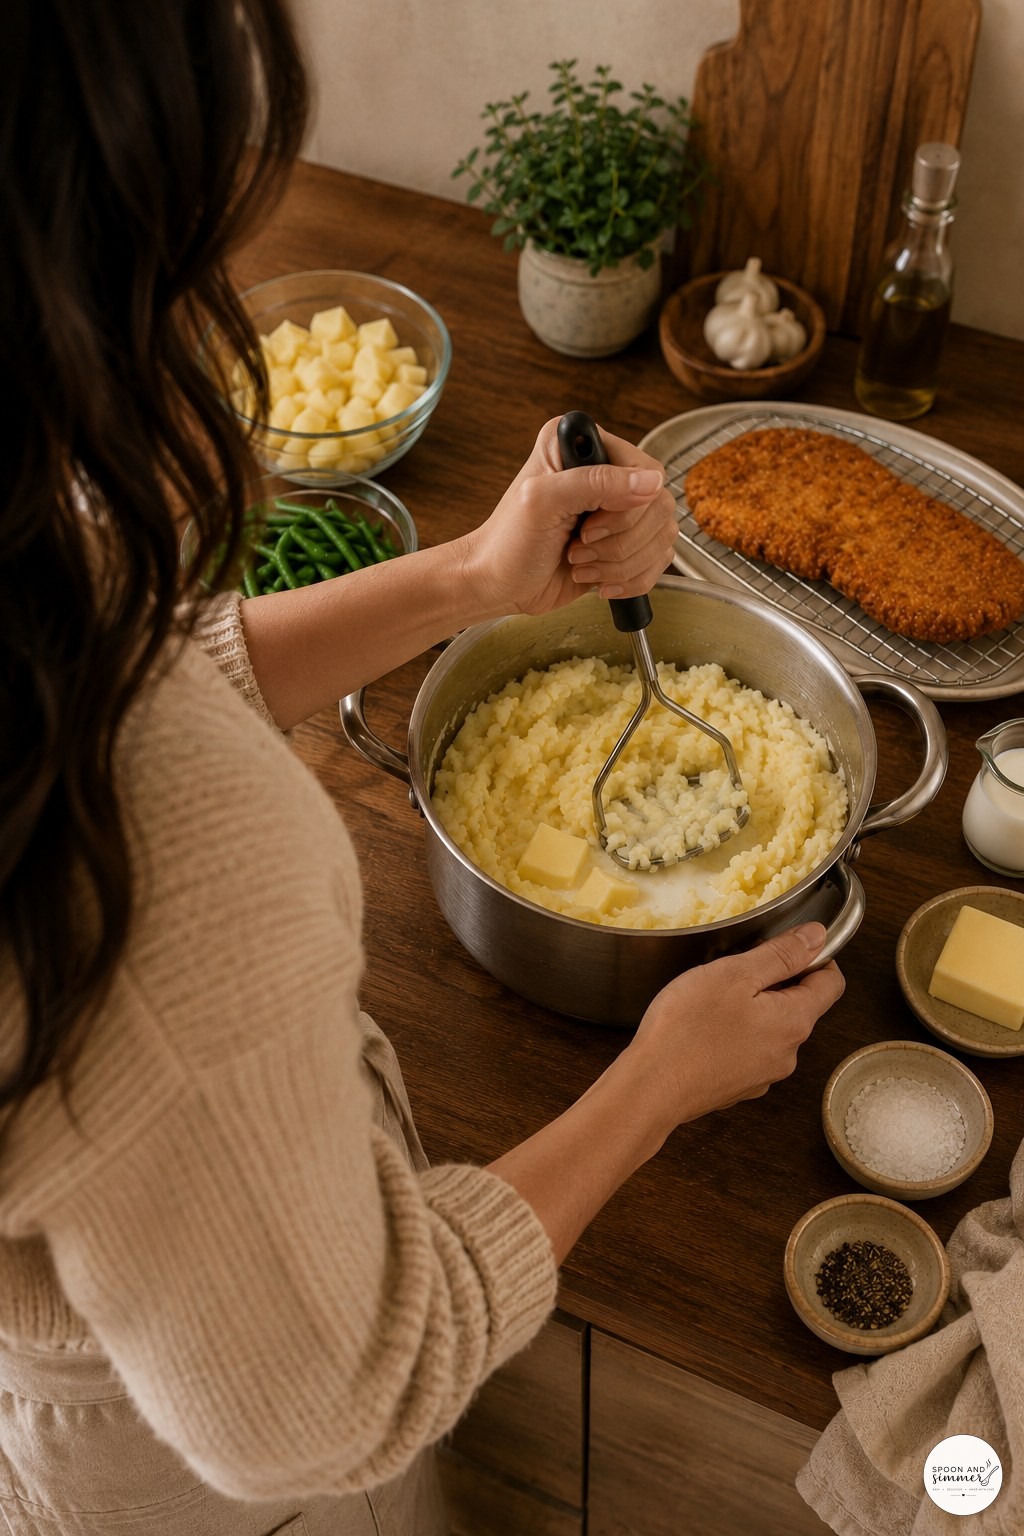
I always mash right in the pot instead of transferring to a bowl, partly for fewer dishes and partly because the potatoes stay warmer longer that way. The fried chicken cooling on the rack behind me is a good reminder not to rush the potatoes just to plate faster.
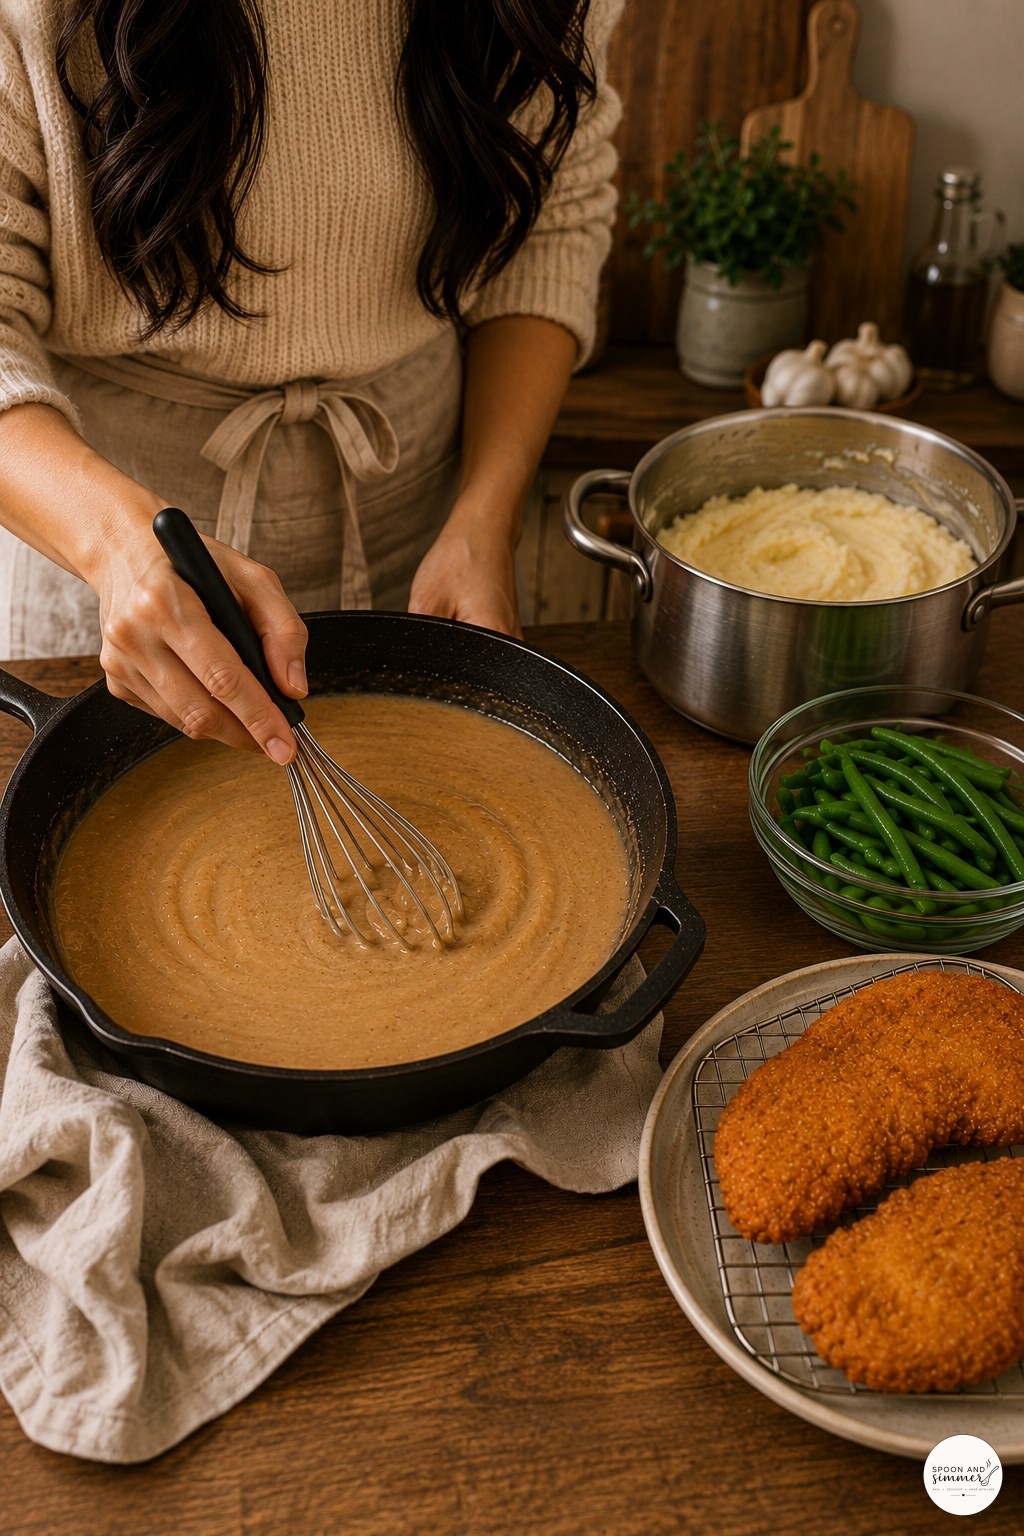
You can see the gravy is still a little streaky in spots right here — that's the flour and drippings not fully combined yet, and another thirty seconds of steady whisking smooths it out completely. I keep the whisk moving the whole time it simmers.
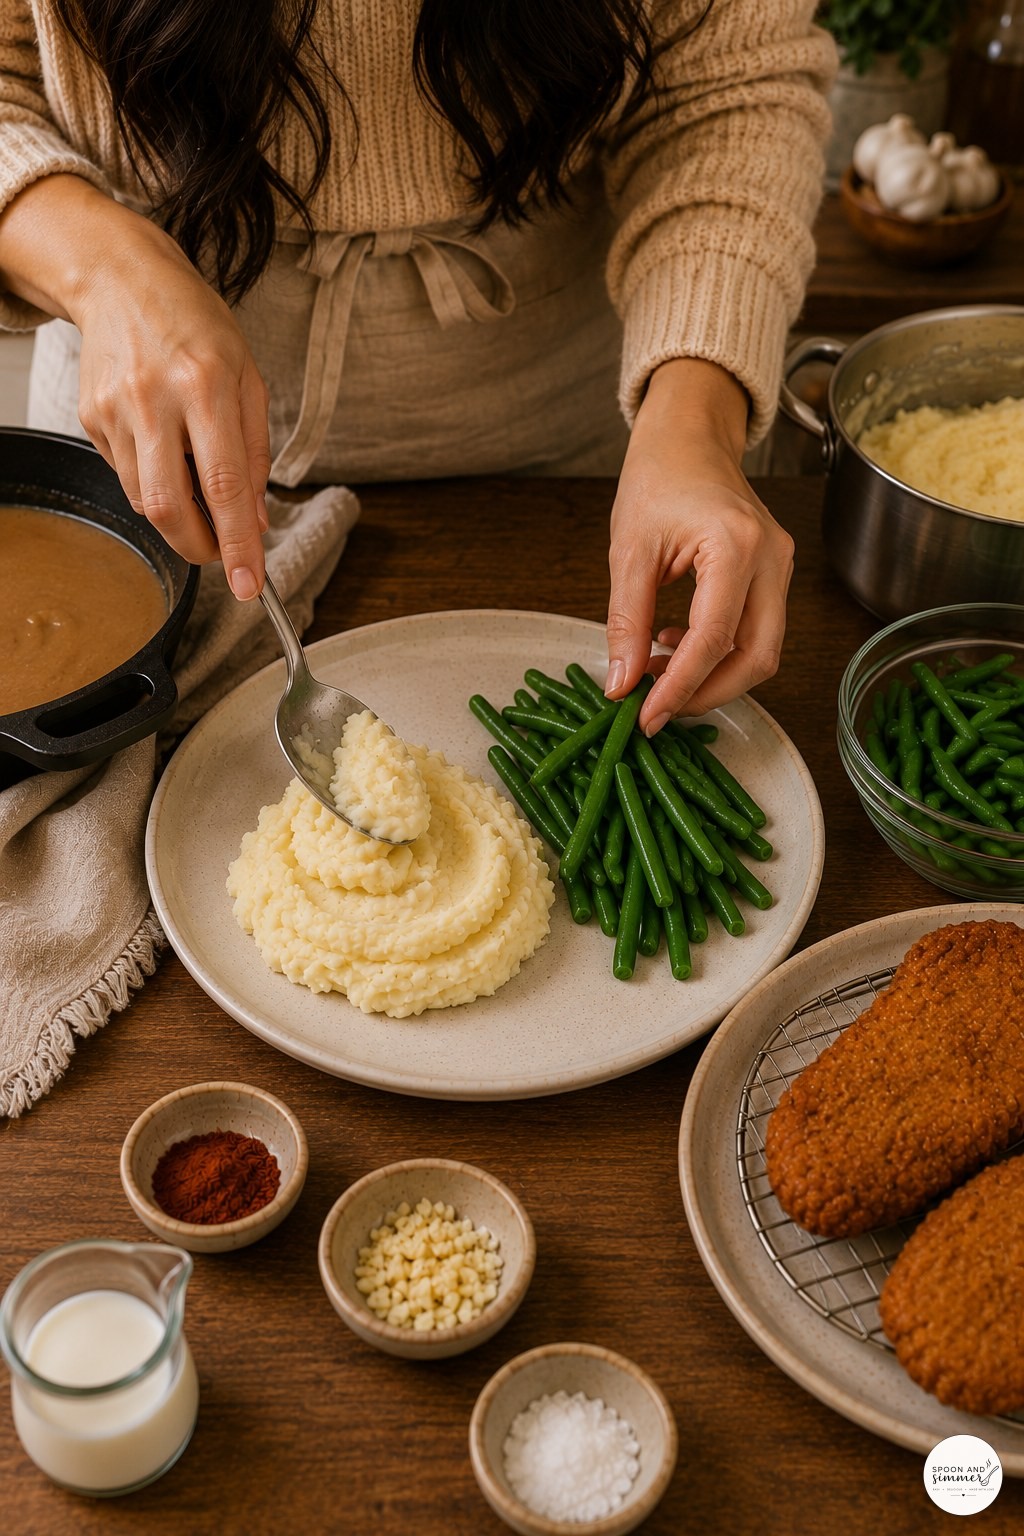
I always plate the beans first because they're the easiest thing to mess up timing-wise — a green bean that's boiled too long loses its color fast, and nobody wants a dull, olive-drab bean sitting next to bright gravy.
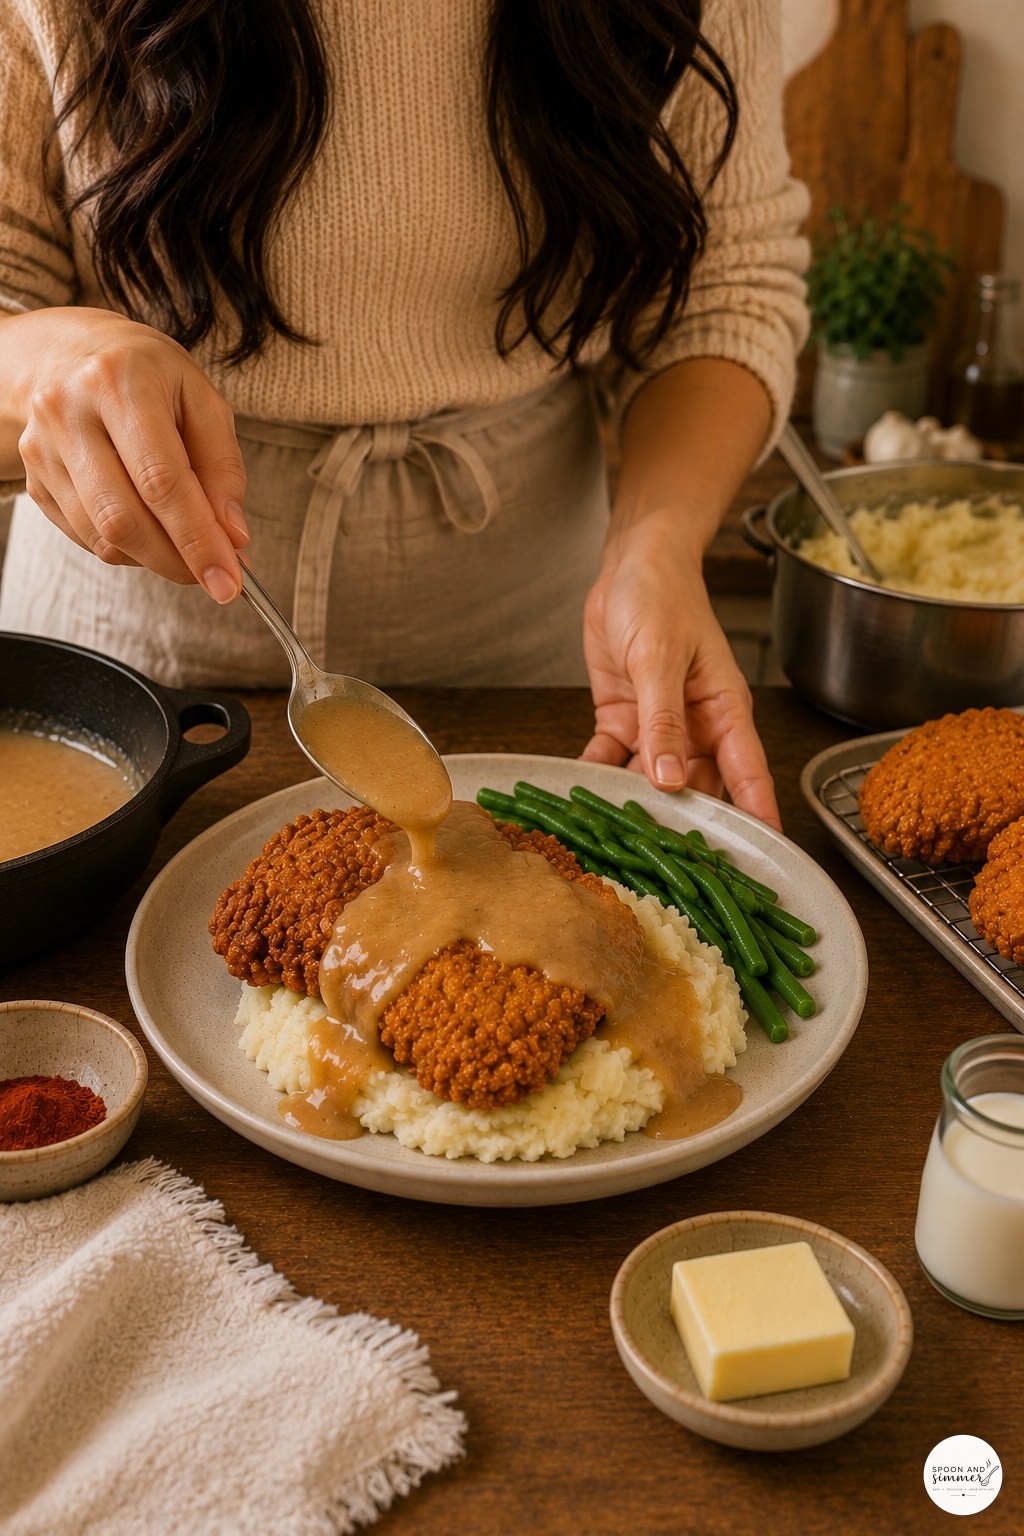
This is the part where I get slightly obsessive about not drowning the crust entirely — you can see me holding back the spoon so the gravy pools in the center rather than blanketing every inch. It's a small detail but it changes how the plate eats.
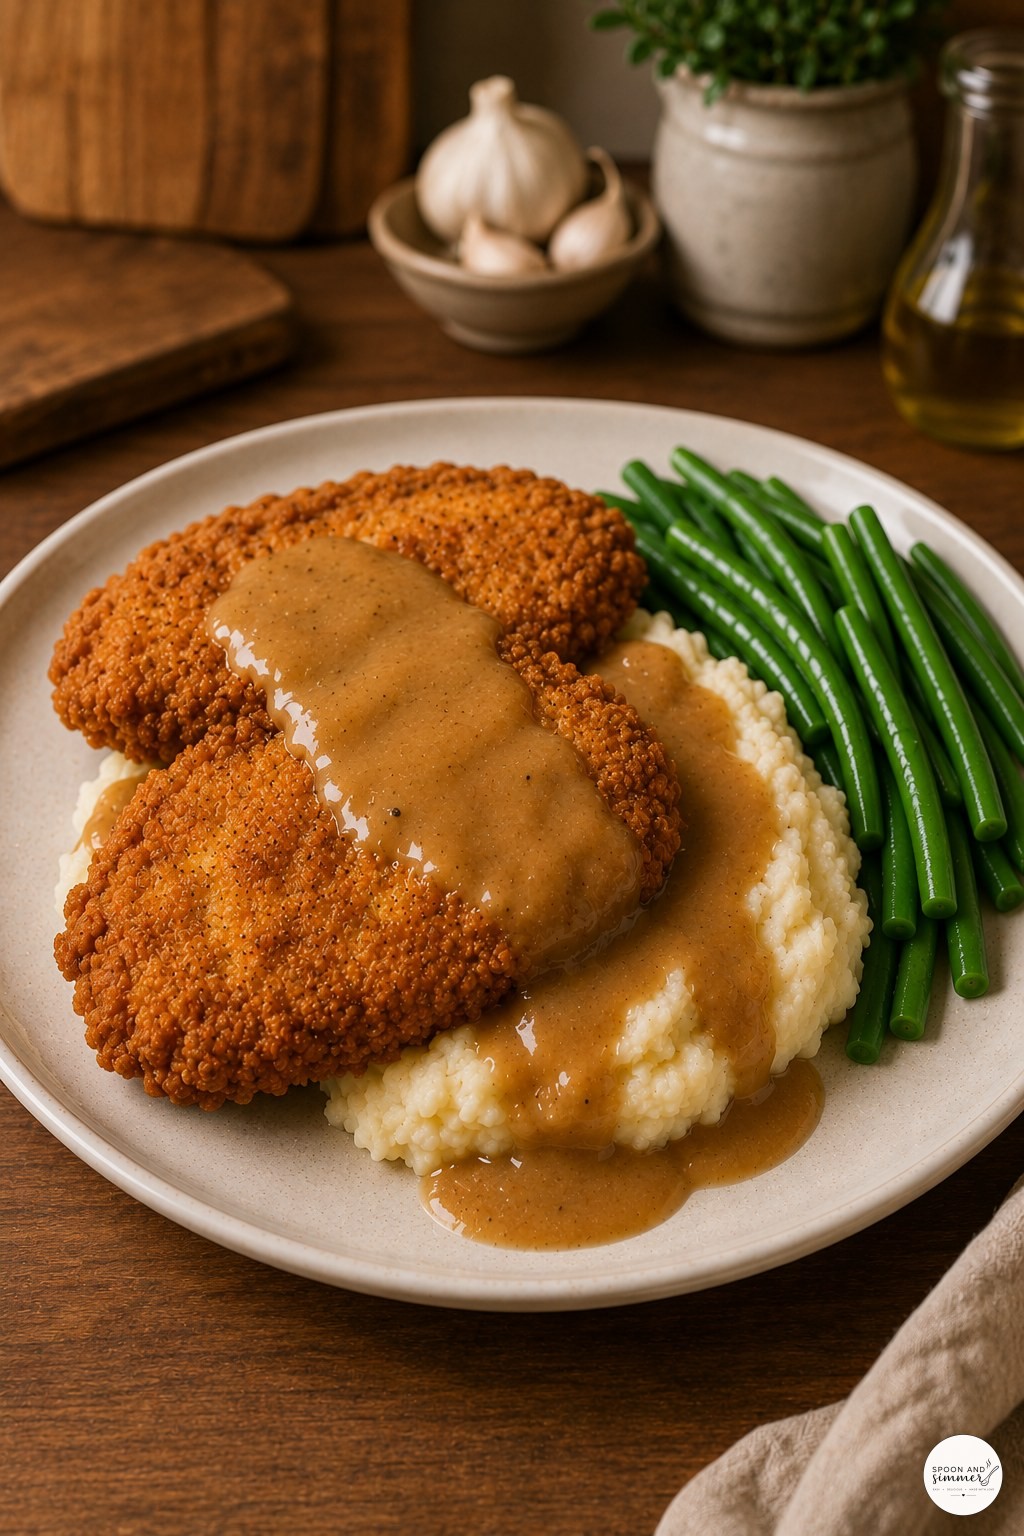
Garlic and olive oil sitting in the background weren't part of this batch, just leftover setup from prepping the gravy earlier, but they're a fair hint of how often garlic ends up in my skillet gravy variations. This plate went straight to the table while it was still steaming.
Conclusion
Fry the chicken hot, keep whisking that gravy, and don't be afraid of a little mess on the stovetop — that's where all the flavor's hiding. This one's going straight back into my regular rotation, beans and all.

- For the chicken
- For breading
- For the mashed potatoes
- For the gravy
- For the green beans

Common Questions
Can I use chicken thighs instead of breast cutlets?
You can, but pound them to an even thickness first so they cook at the same rate as the crust browns. Thighs will need an extra minute or two per side and should still hit 165°F internally before coming off the heat.
Why did my gravy come out lumpy?
The broth went in too fast. Add it a splash at a time, whisking hard between additions, and if lumps still form, just keep whisking over heat with warm broth — it will smooth out. Cold broth added all at once is the usual culprit.
Can I make the gravy or mashed potatoes ahead?
Mashed potatoes reheat well with a splash of milk stirred in over low heat. Gravy also reheats fine on the stove with a little extra broth whisked in, since it thickens as it sits in the fridge.