I've made birria the traditional stovetop way and the slow cooker way more times than I can count, and I'll say this plainly: the crock pot version is the one I actually reach for on a real week. You still get that deep, brick-red sauce and beef that falls apart at the touch of a fork, but the slow cooker does the babysitting while I get everyone through homework and bath time. This is a project recipe, not a Tuesday-night one, but it's a project that mostly runs itself.
Ingredients & Equipment: Setting Up for Real Birria
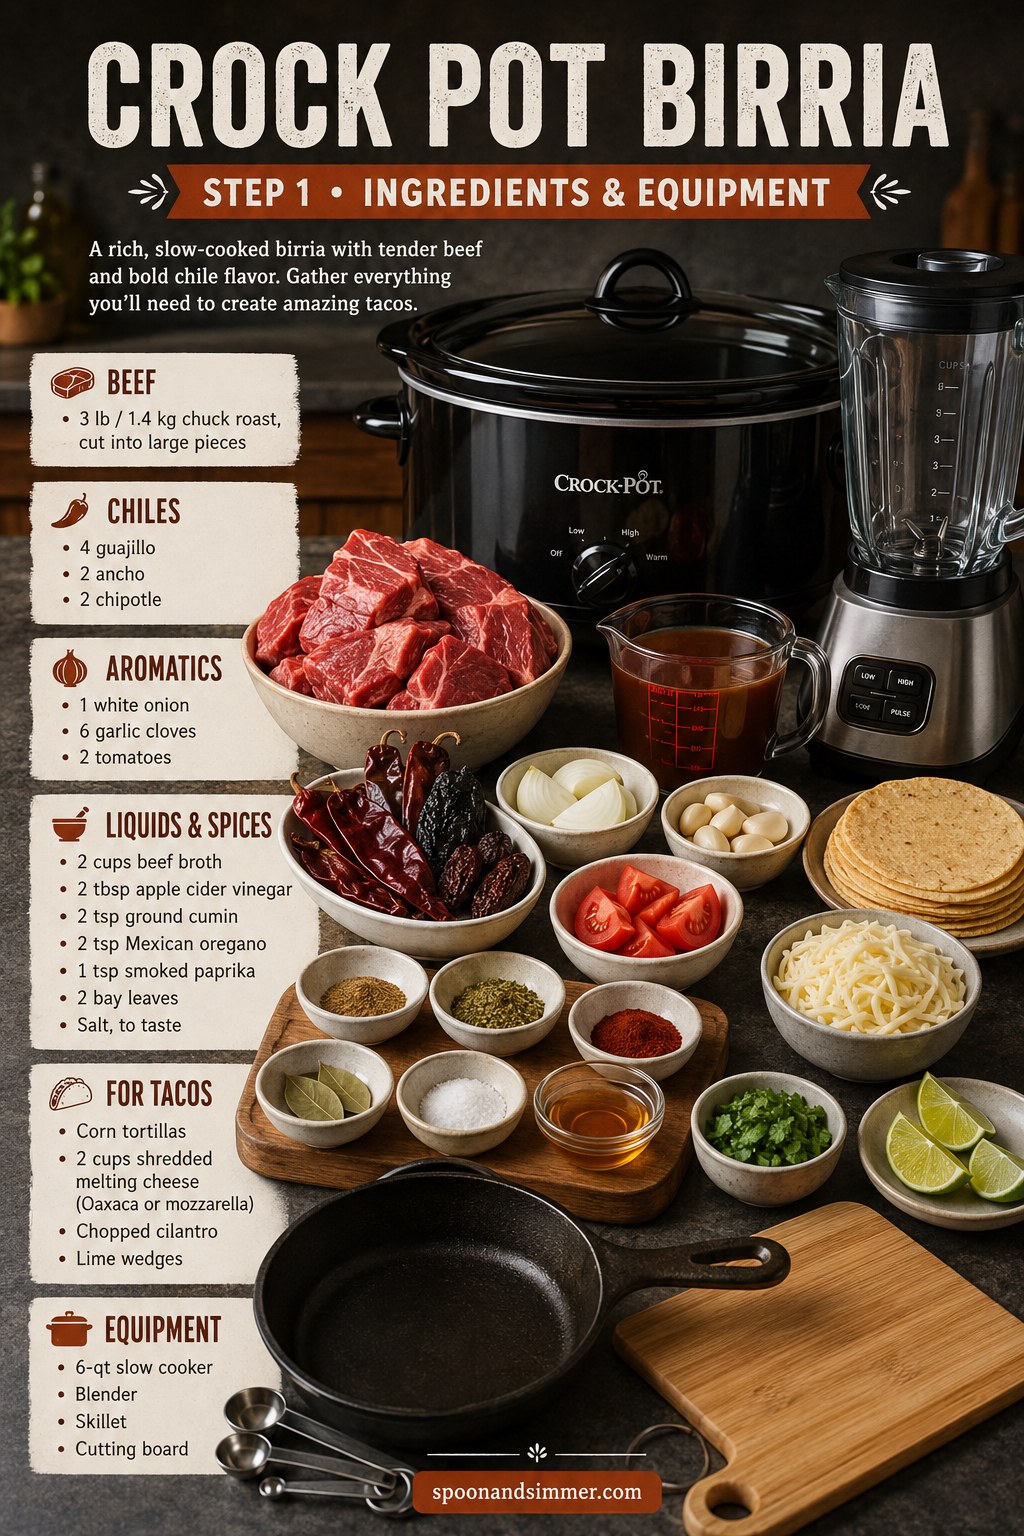
Before anything hits heat, I like everything measured and staged — it's a habit from my line cook days that has saved me more than once. Here you're looking at 3 lb (1.4 kg) chuck roast cut into large pieces, a trio of chiles (guajillo, ancho, and chipotle), plus onion, garlic, and tomatoes for the aromatic base.
- Broth and acid: beef broth and a splash of apple cider vinegar for brightness
- Spice backbone: cumin, Mexican oregano, smoked paprika, bay leaves, salt
- For serving: corn tortillas, shredded Oaxaca or mozzarella, cilantro, lime
Equipment-wise, you need a 6-quart slow cooker, a blender, a cast iron skillet, and a cutting board. Nothing exotic — this is restaurant flavor built with a grocery-store shopping list.
Toast the Chiles, Char the Aromatics
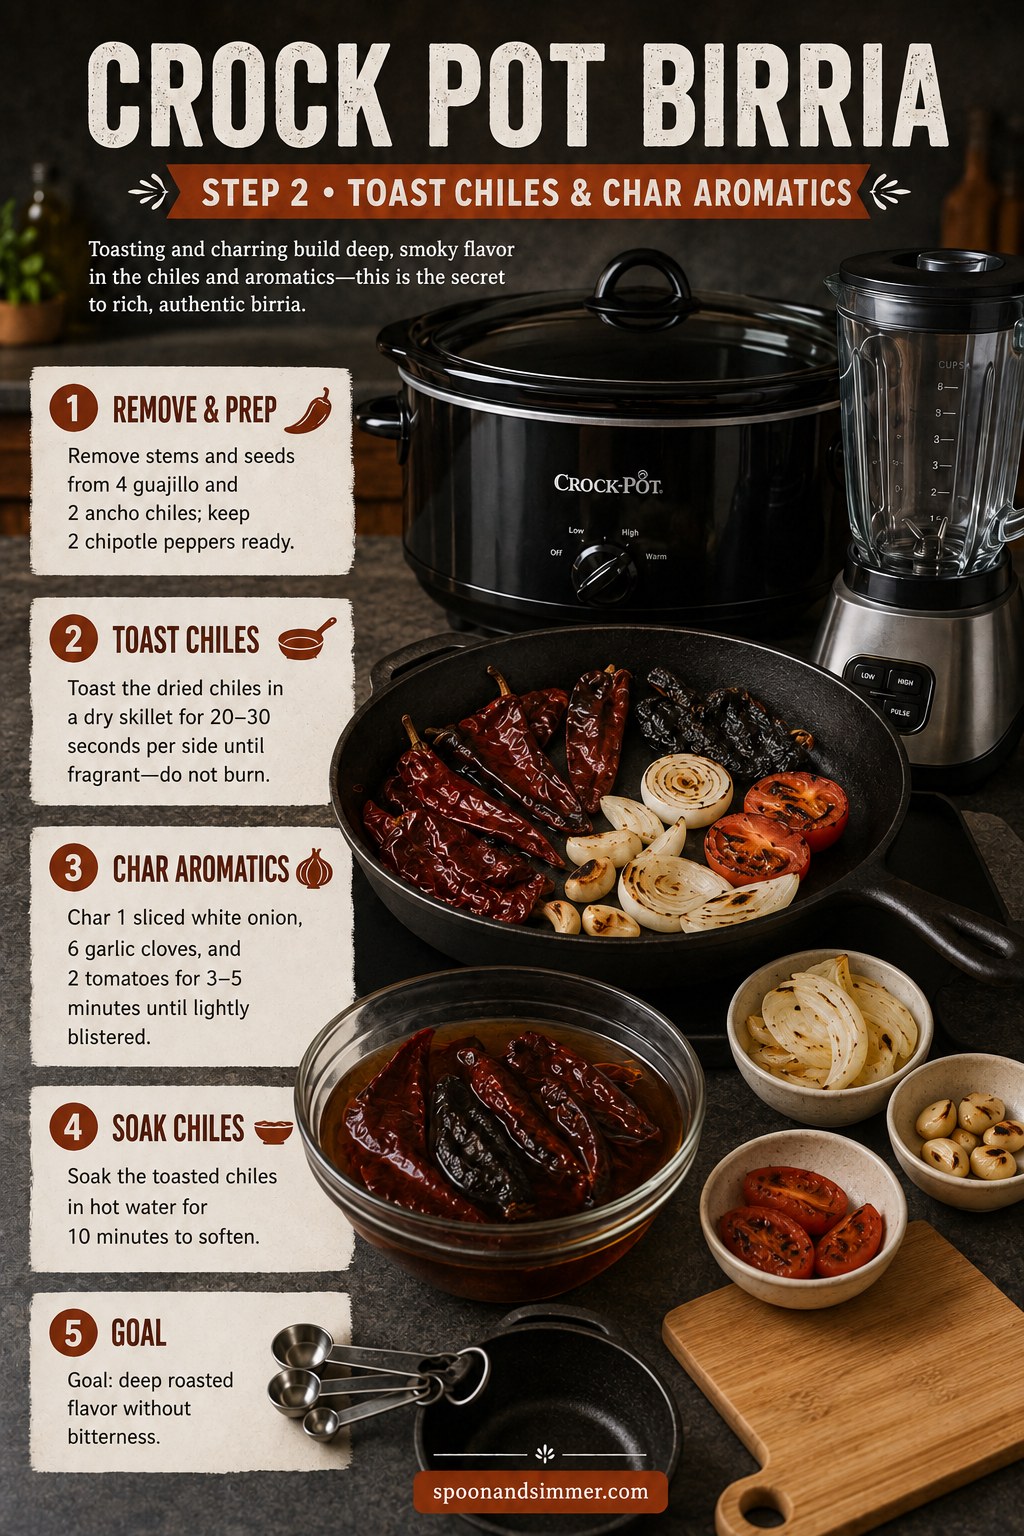
This step is where the flavor actually gets built, and skipping it is the difference between good birria and forgettable birria. Stem and seed the 4 guajillo and 2 ancho chiles, keep the 2 chipotle whole, then toast the dried chiles in a dry skillet for 20-30 seconds per side — just until fragrant, never until they blacken and turn bitter.
In that same skillet, char 1 sliced white onion, 6 garlic cloves, and 2 tomatoes for 3-5 minutes, until they're lightly blistered at the edges. Then soak the toasted chiles in hot water for 10 minutes to soften.
The goal here is deep roasted flavor without a hint of scorched bitterness — if you smell smoke turning acrid, pull the pan off the heat immediately.
Blend the Chile Sauce Until Silky
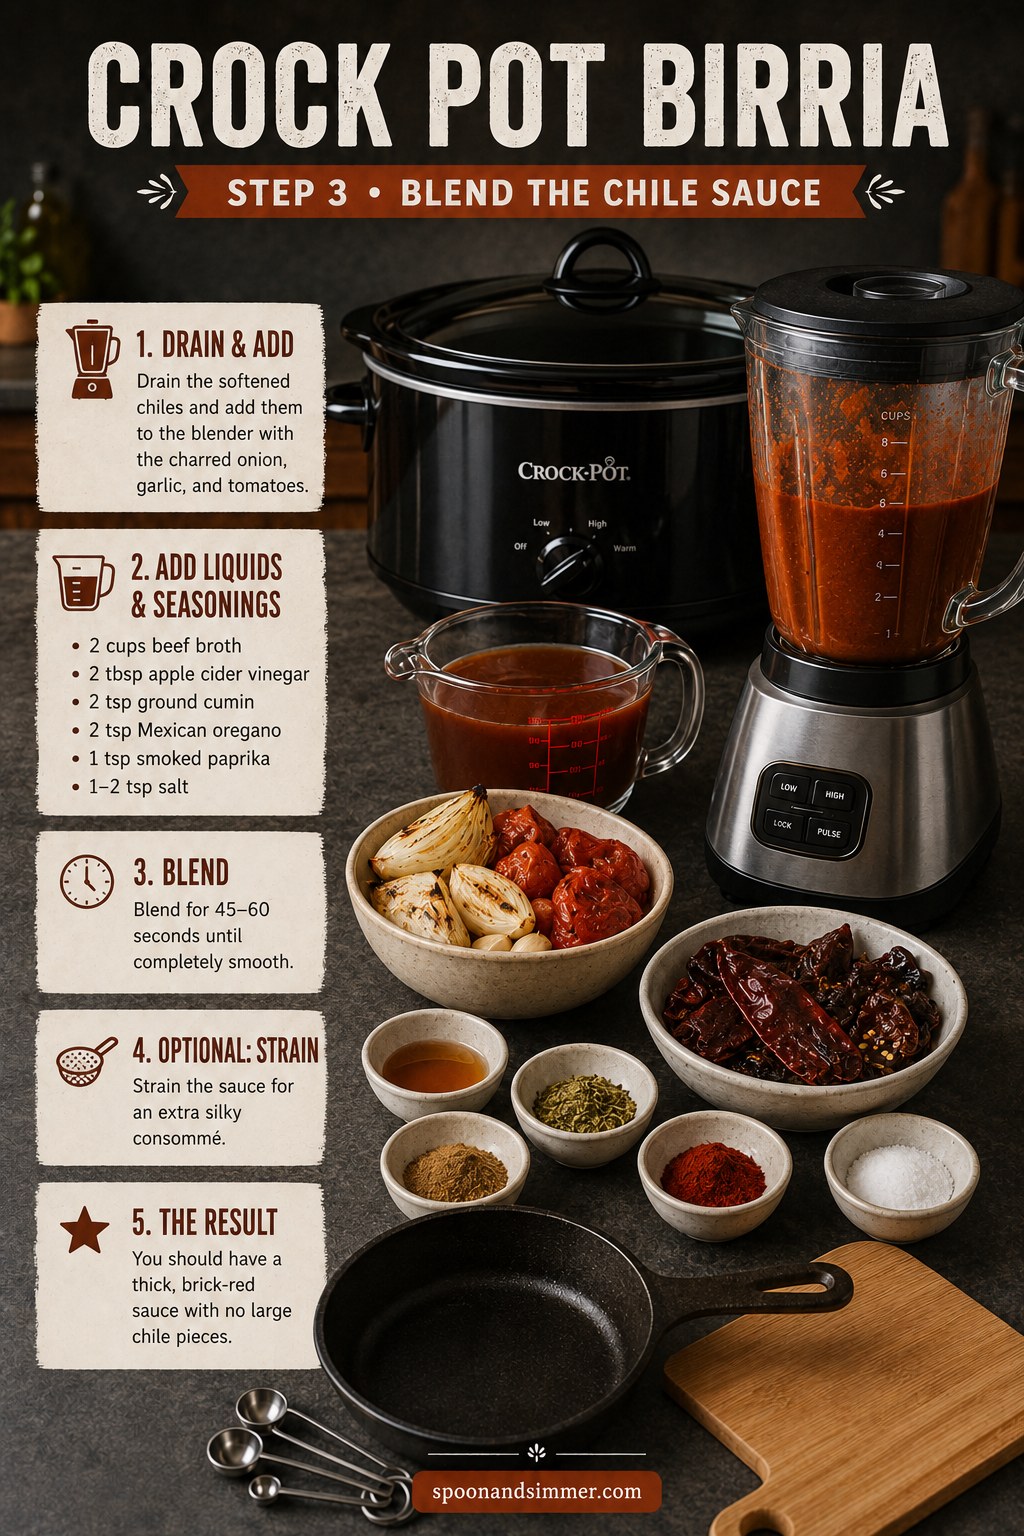
Drain the softened chiles and add them to the blender along with the charred onion, garlic, and tomatoes. Pour in 2 cups beef broth, 2 tbsp apple cider vinegar, 2 tsp ground cumin, 2 tsp Mexican oregano, 1 tsp smoked paprika, and 1-2 tsp salt.
- Blend for 45-60 seconds until completely smooth
- Strain if you want an extra-silky consommé later
- You're aiming for a thick, brick-red sauce with no visible chile flecks
If it looks too thick to pour easily, thin it with a splash more broth — it should coat a spoon but still move.
Season and Sear the Beef
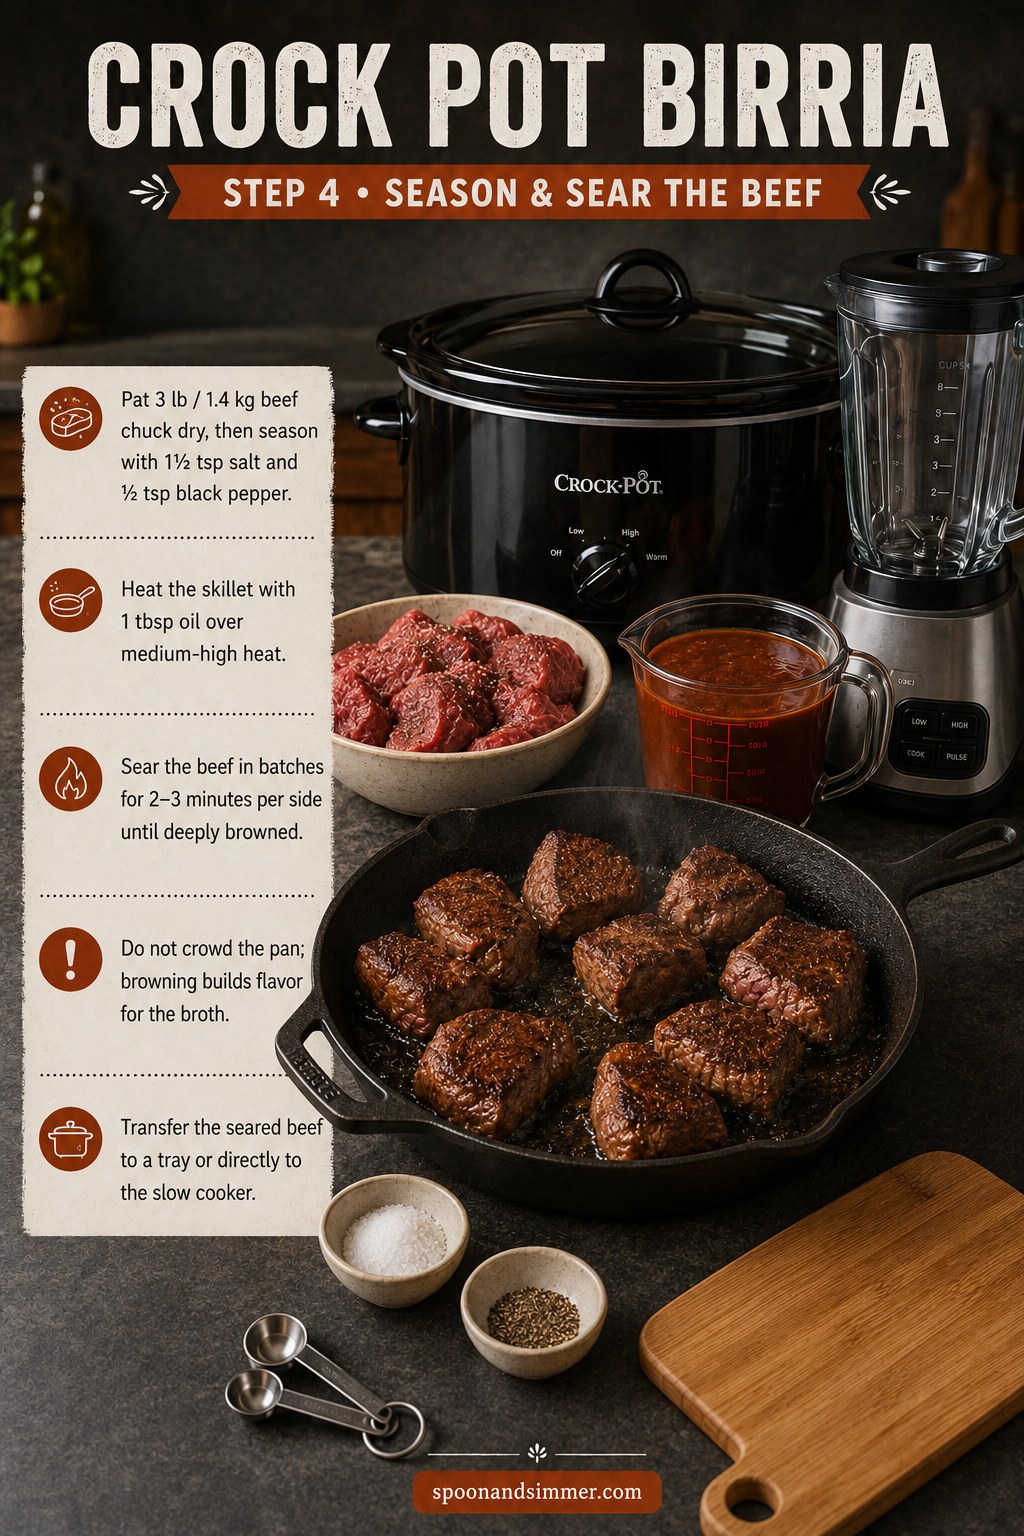
Pat the chuck roast pieces completely dry, then season with 1½ tsp salt and ½ tsp black pepper. Heat 1 tbsp oil in the skillet over medium-high until it shimmers, then sear the beef in batches, 2-3 minutes per side, until deeply browned.
Do not crowd the pan. I learned this the hard way in restaurant kitchens — too much meat at once drops the pan temperature and you get gray, steamed beef instead of that flavorful crust that builds the whole braise. Work in two or three batches and transfer each one to a tray or straight into the slow cooker.
Load the Slow Cooker
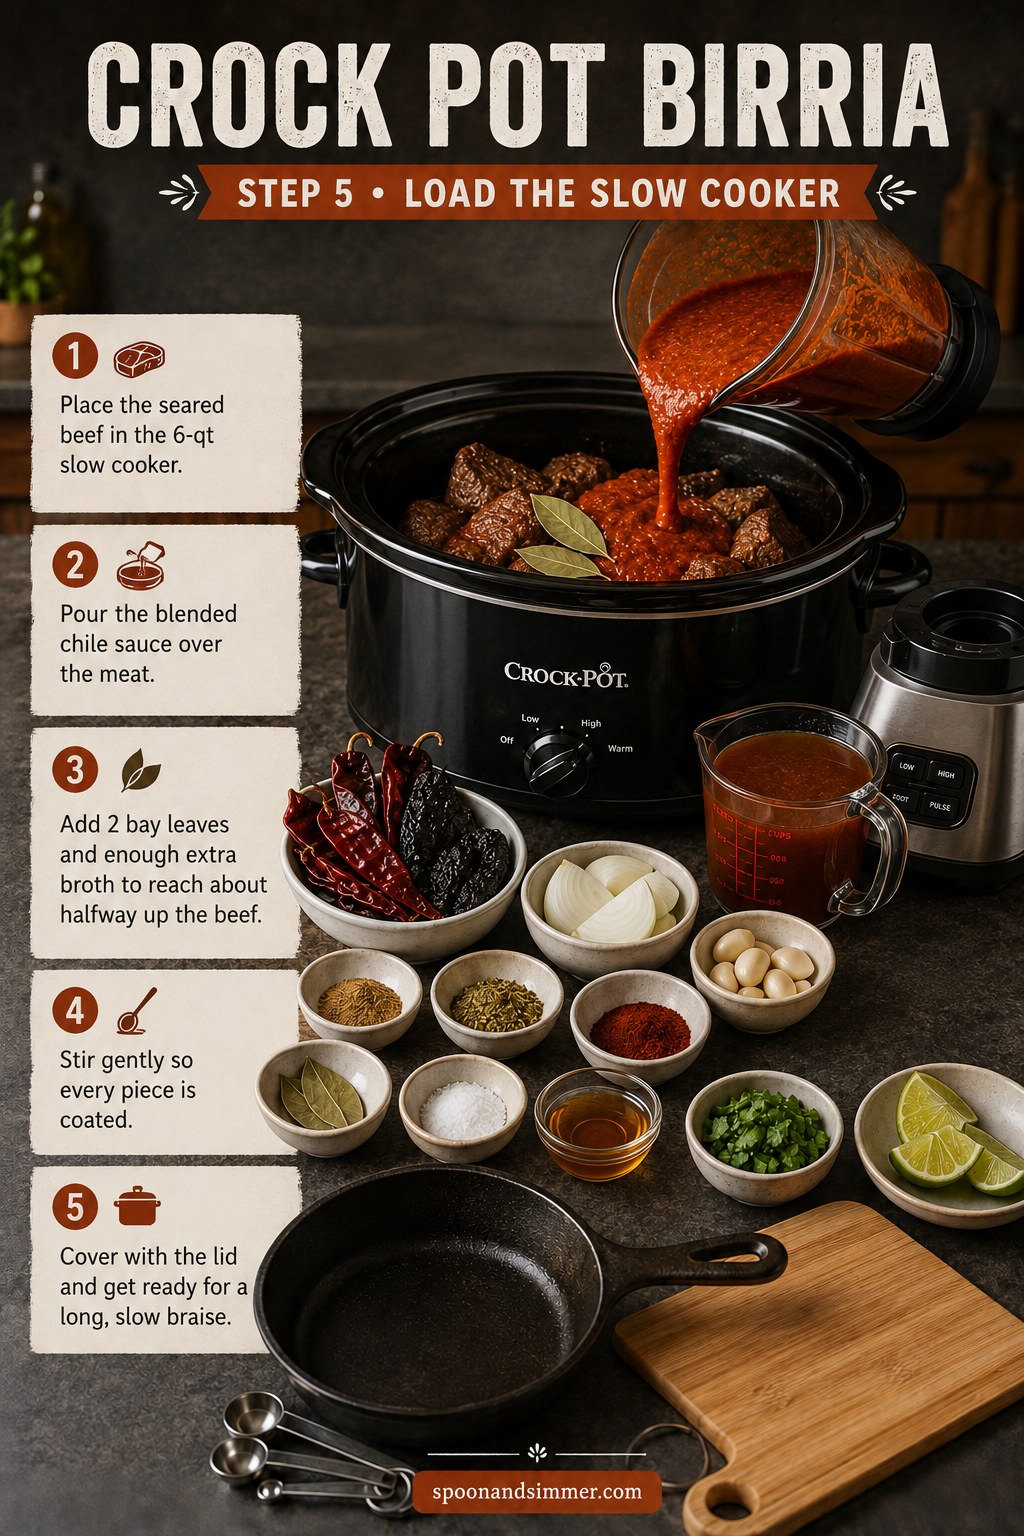
Place the seared beef in the 6-quart slow cooker, then pour the blended chile sauce over the top — watch it cascade over the meat, that deep red color is exactly what you want. Tuck in 2 bay leaves and add extra broth until the liquid reaches halfway up the beef, no higher.
- Stir gently so every piece gets coated in sauce
- Don't submerge the meat completely — it braises better partially exposed
- Cover with the lid and you're done for hours
Slow Cook Until Fork-Tender
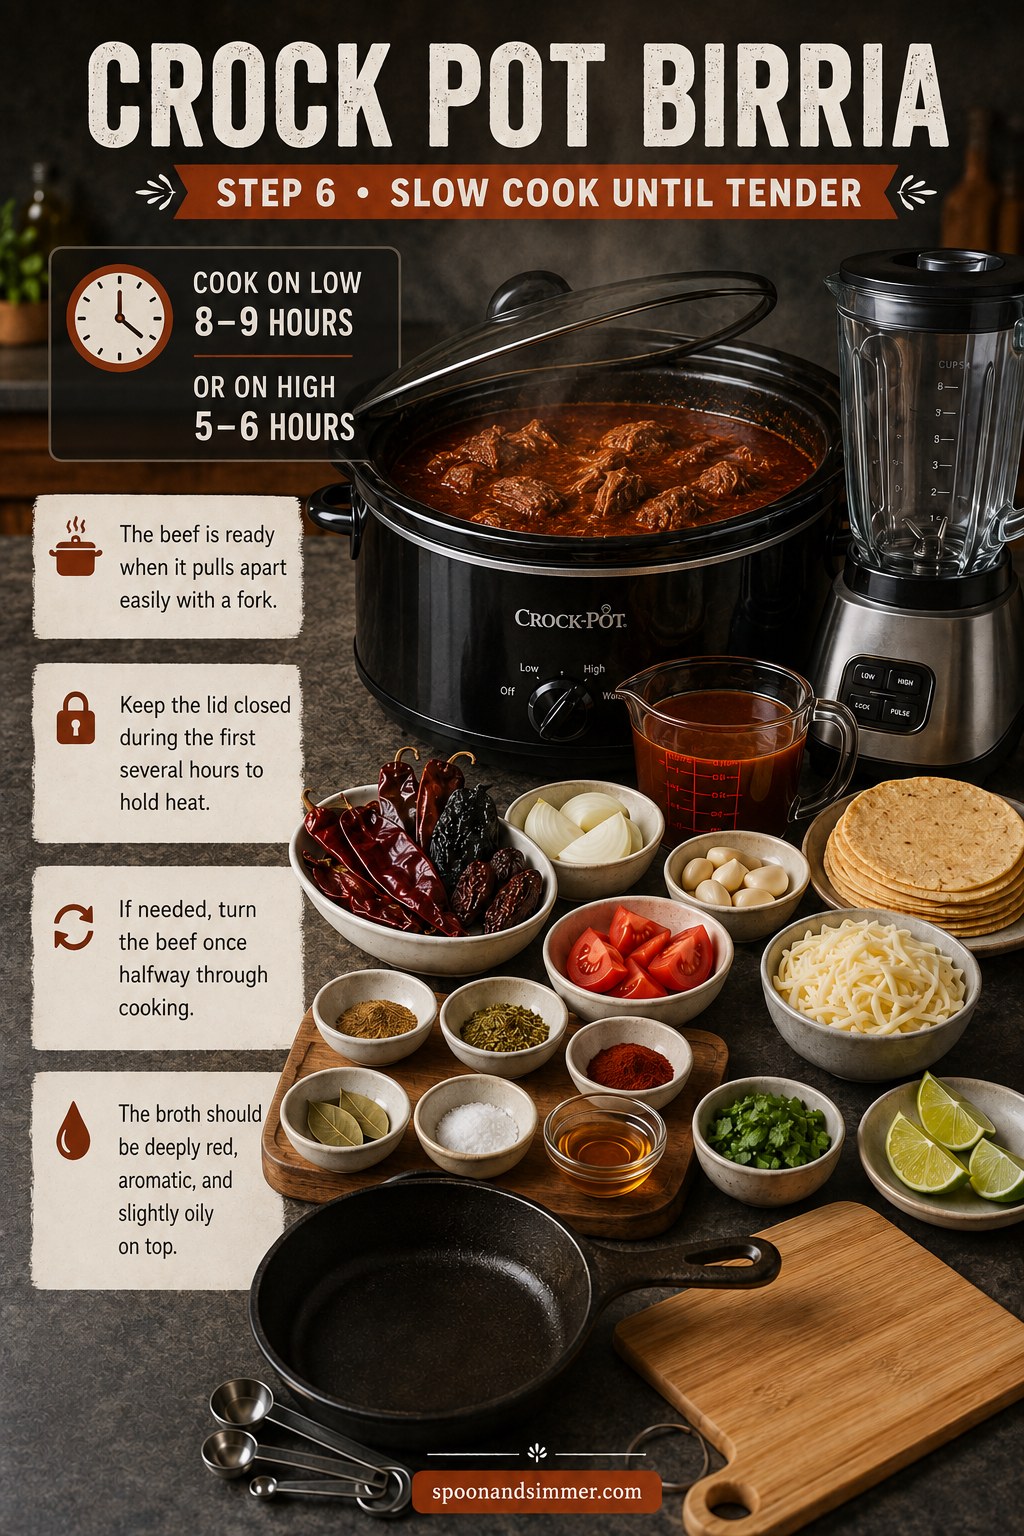
Set the slow cooker to low for 8-9 hours or high for 5-6 hours. Keep the lid closed for the first several hours to hold in heat — every peek costs you cooking time. If you're around, turn the beef once halfway through so both sides braise evenly.
You'll know it's ready when the beef pulls apart easily with a fork and the broth has turned deeply red, aromatic, and just slightly oily on top. That thin layer of red fat isn't a flaw — it's what you'll dip your tortillas in later.
Shred the Beef, Finish the Consommé
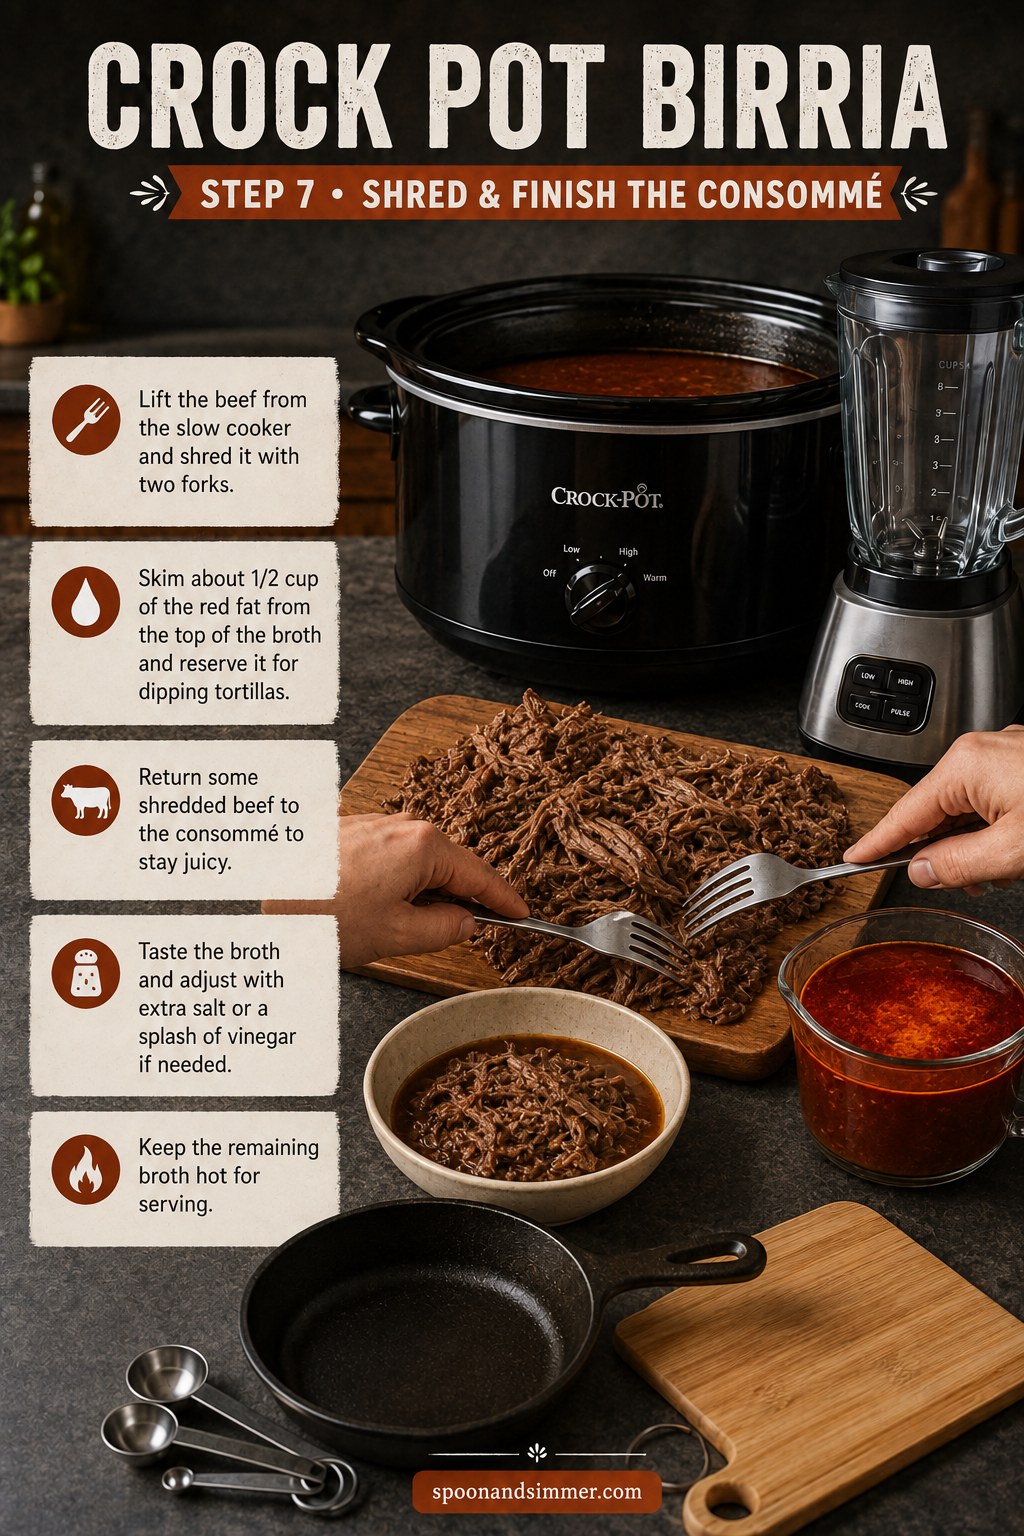
Lift the beef out and shred it with two forks right on a cutting board — the wood soaks up a little of the juice and keeps the meat from drying out while you finish the broth. Skim about ½ cup of the red fat off the top and set it aside for dipping tortillas.
Return some of the shredded beef to the consommé so it stays juicy, then taste and adjust with extra salt or a splash of vinegar if it needs brightness. Keep the remaining broth hot — it's doing double duty as dip and soup.
Crisp the Tacos and Serve
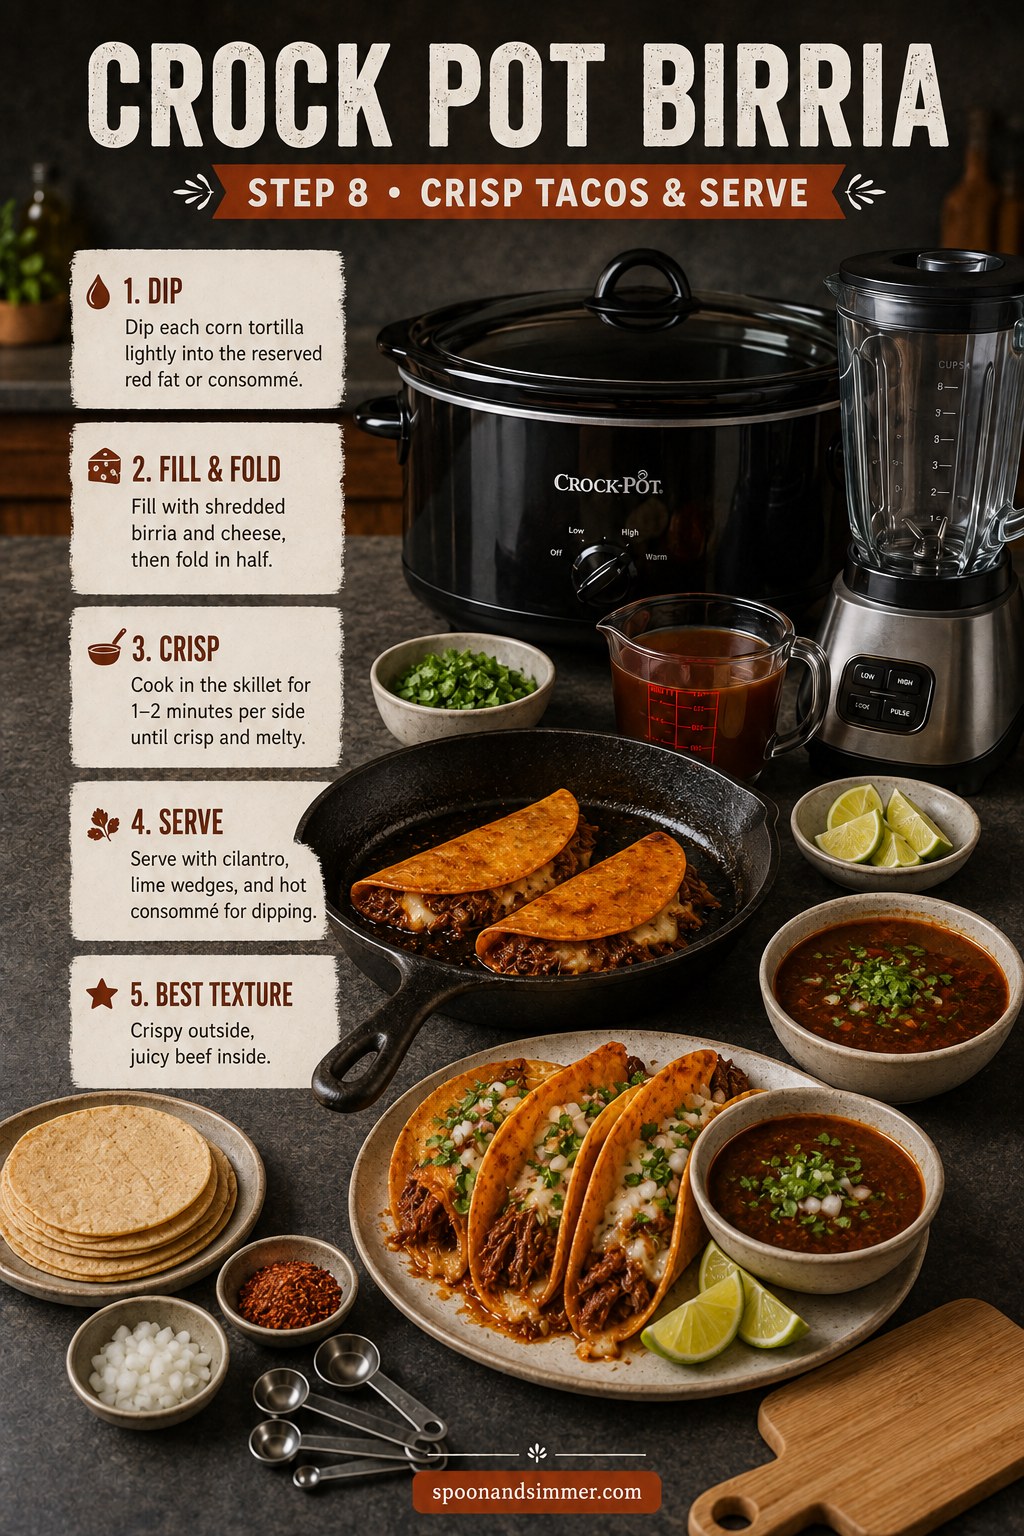
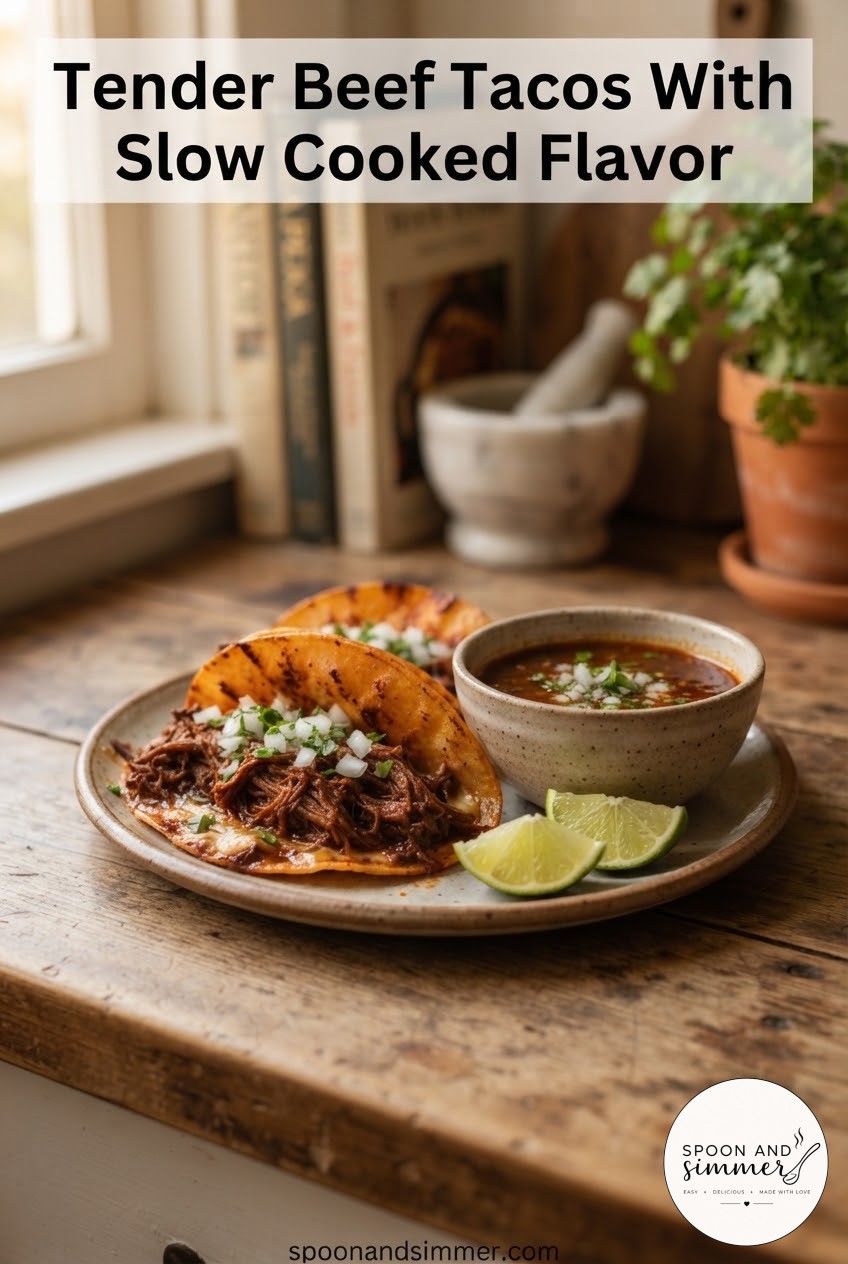
Here's the payoff. Dip each corn tortilla lightly into the reserved red fat or consommé, fill with shredded birria and cheese, and fold it over. Cook in the skillet for 1-2 minutes per side until crisp outside and melty within.
- Serve immediately with cilantro, lime wedges, and hot consommé for dipping
- Best texture is crispy-edged outside, juicy and cheesy inside
- Keep extra tortillas dipping only right before they hit the pan, not ahead of time
Why Crock Pot Birria Is My Go-To for Big Pot Night
I wanted to show you this whole process in my actual kitchen, not just in tidy step photos, because birria is exactly the kind of recipe that shows up on my monthly big pot night rotation. Friends bring bread and wine, I bring the braise, and this is the one that disappears fastest. Seeing it made start to finish, mid-conversation and slightly messy, tells you more about the real timing and texture than any diagram could.
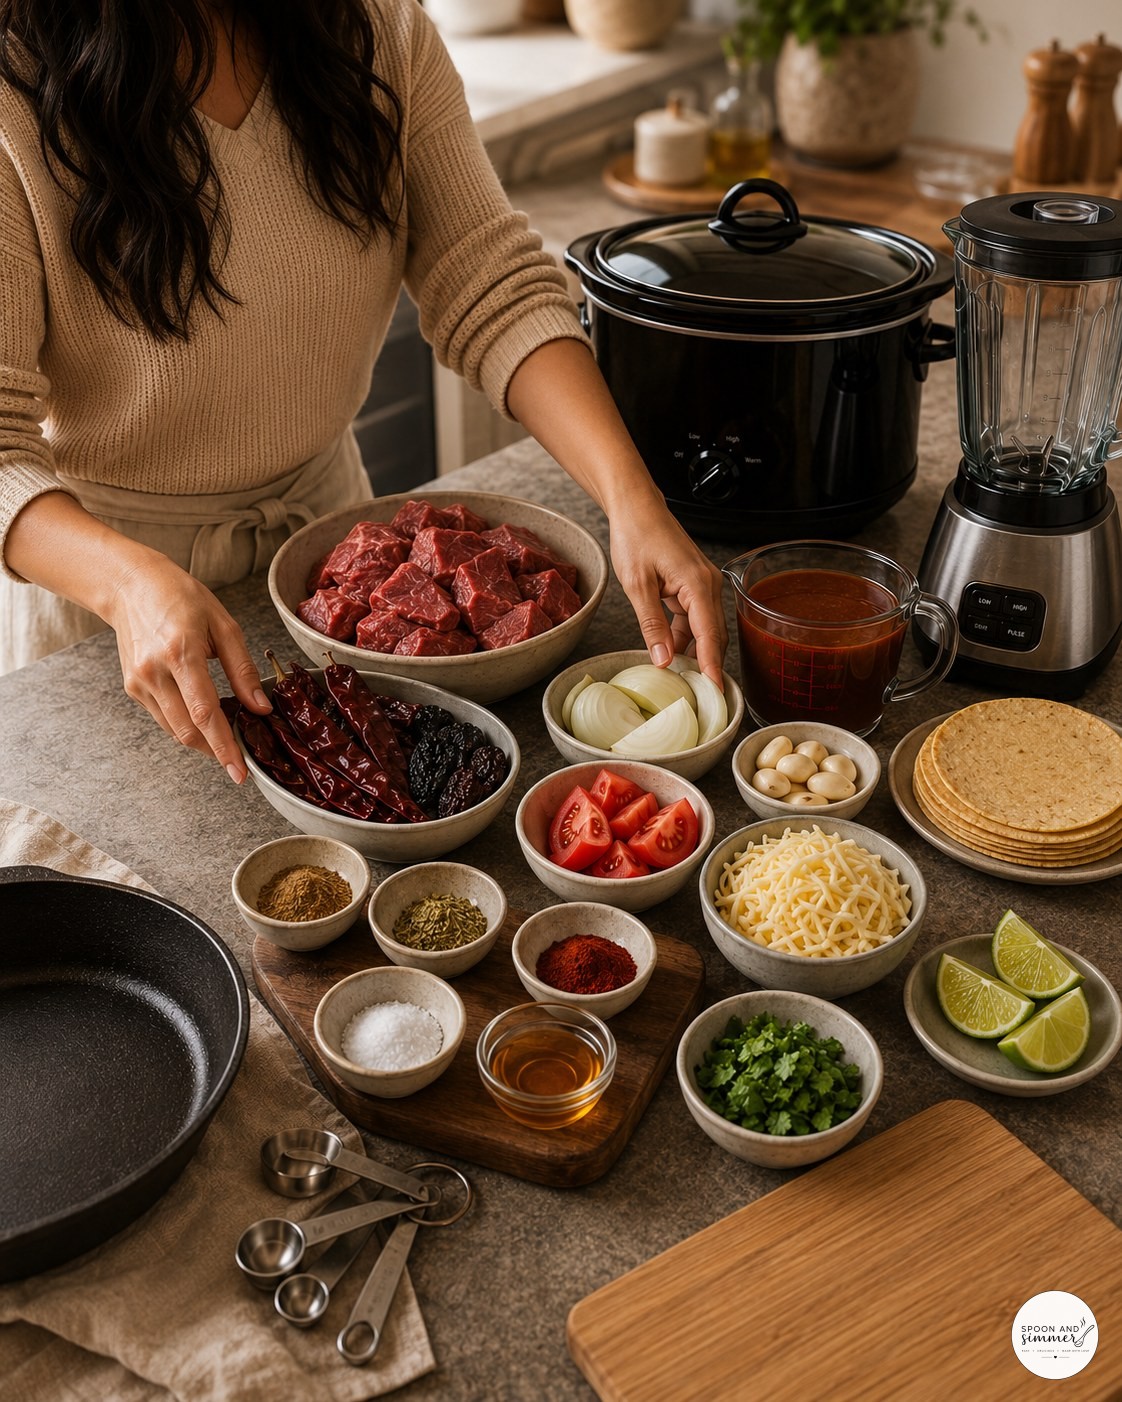
This is the exact lineup I set out on my counter before big pot night — every bowl pre-measured because once that blender starts running, I do not want to be scrambling for cumin.
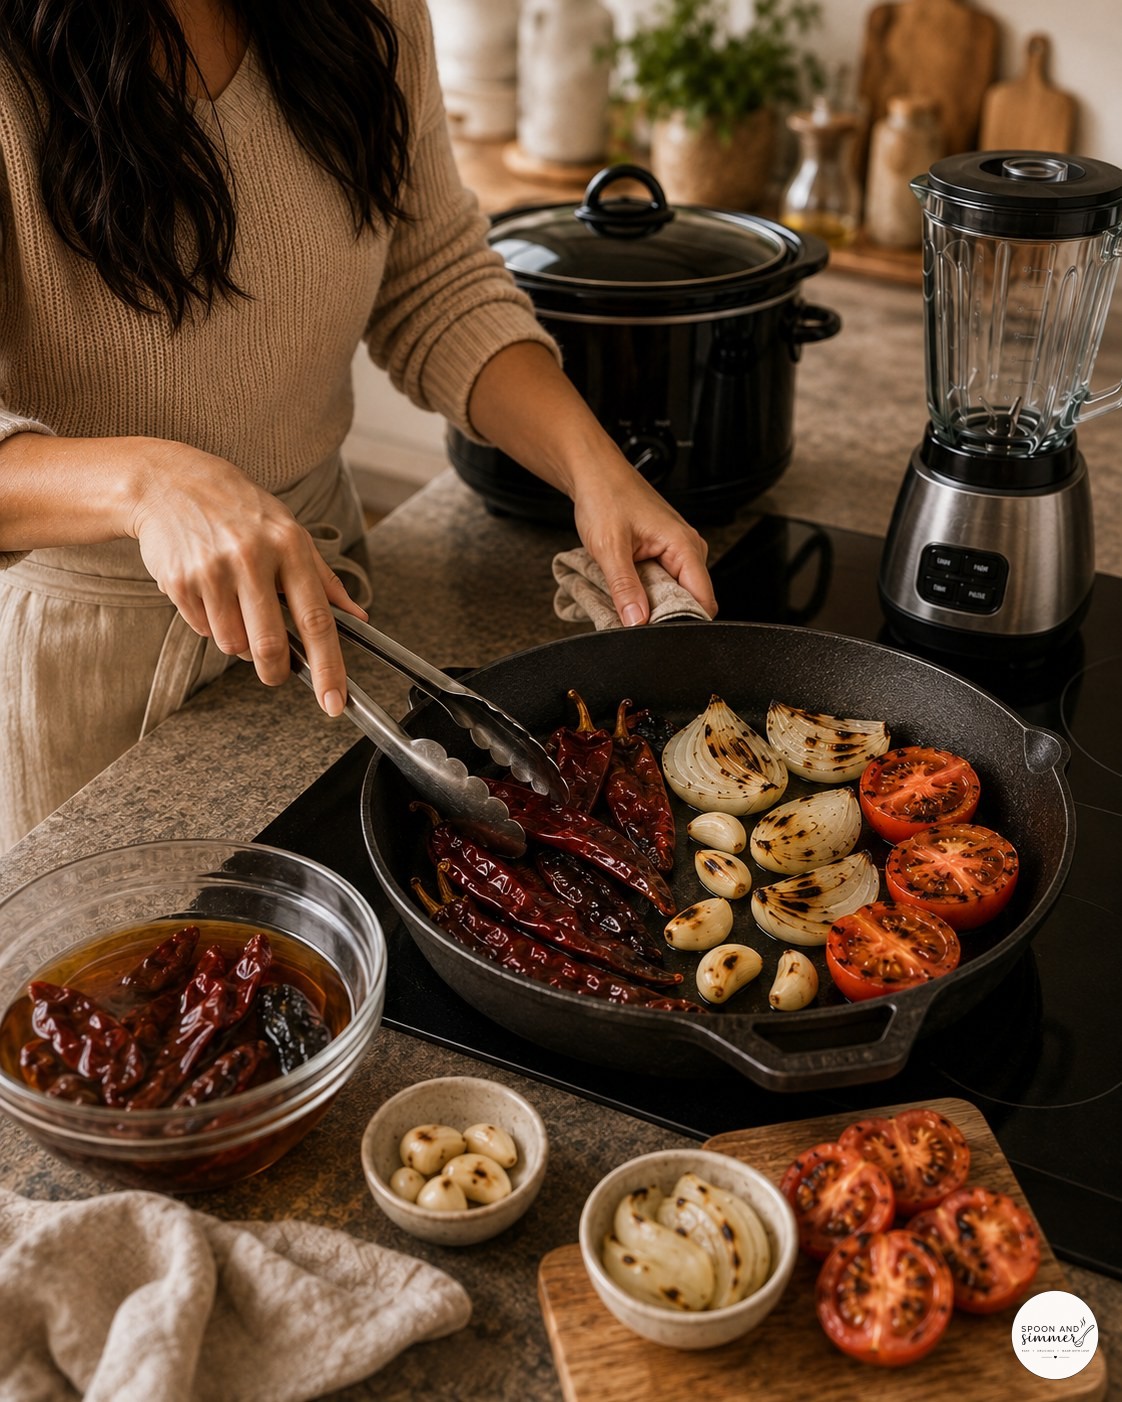
Charring the onion, garlic, and tomatoes right alongside the chiles is the step I used to skip when I was in a hurry, and you can taste the difference every single time — my kitchen smells like a Tex-Mex restaurant for the rest of the day.
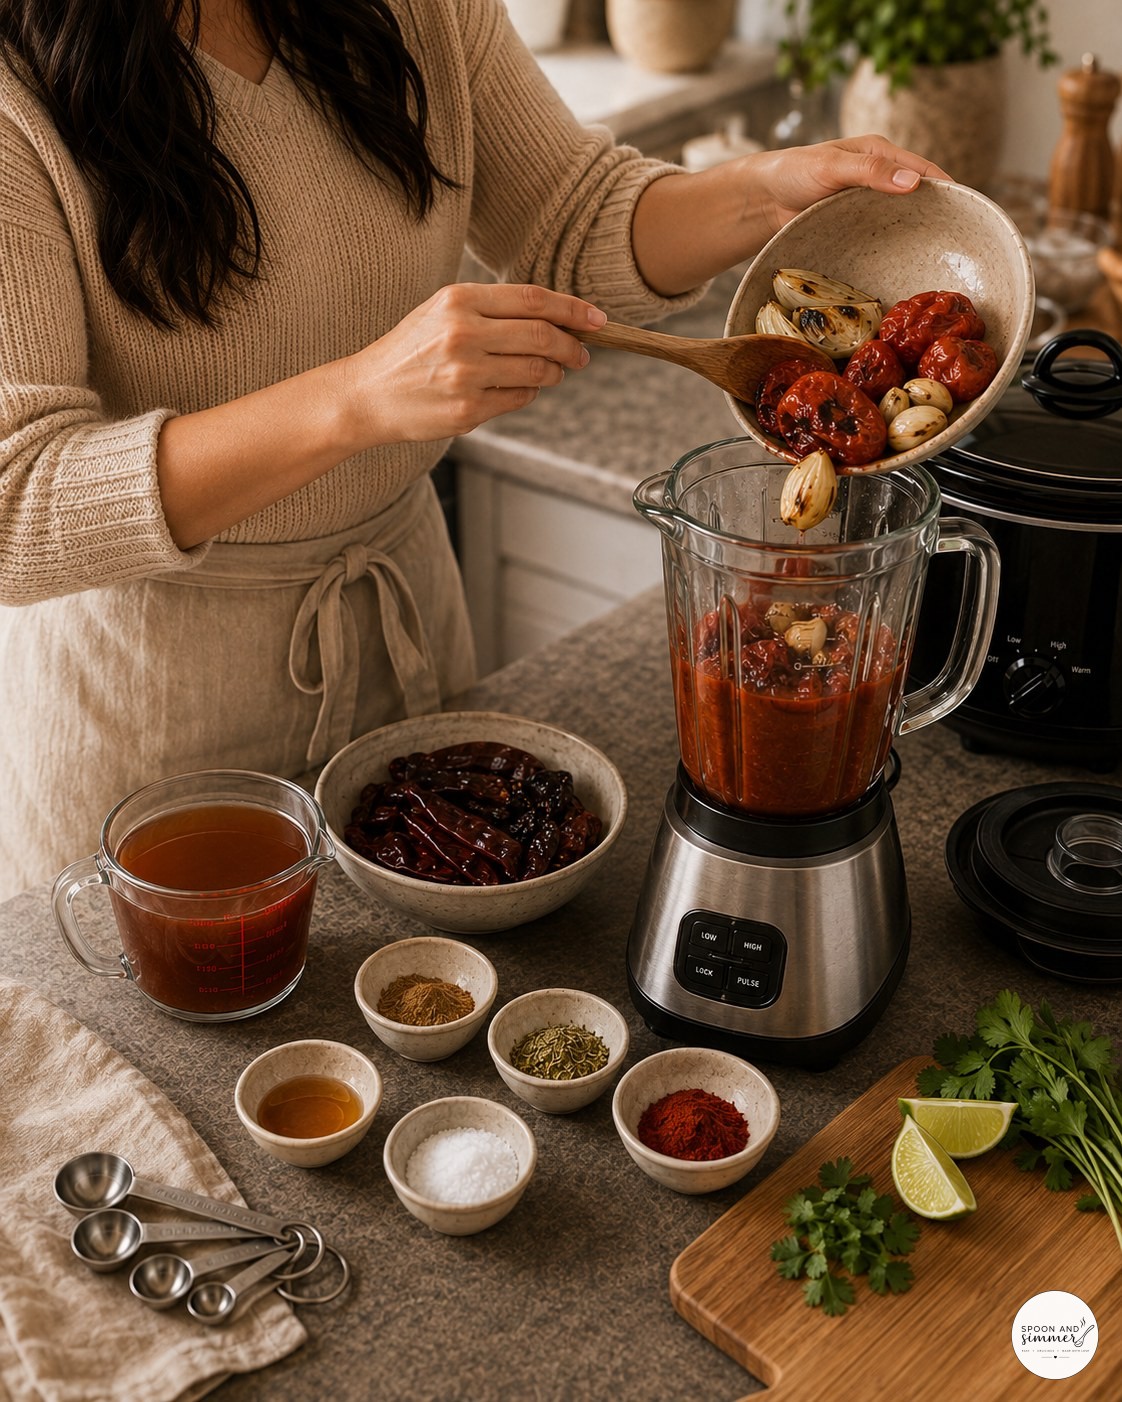
Pouring the roasted vegetables into the blender still warm helps the sauce come together silkier, and I always taste a spoonful right here to check the salt before it ever touches the beef.
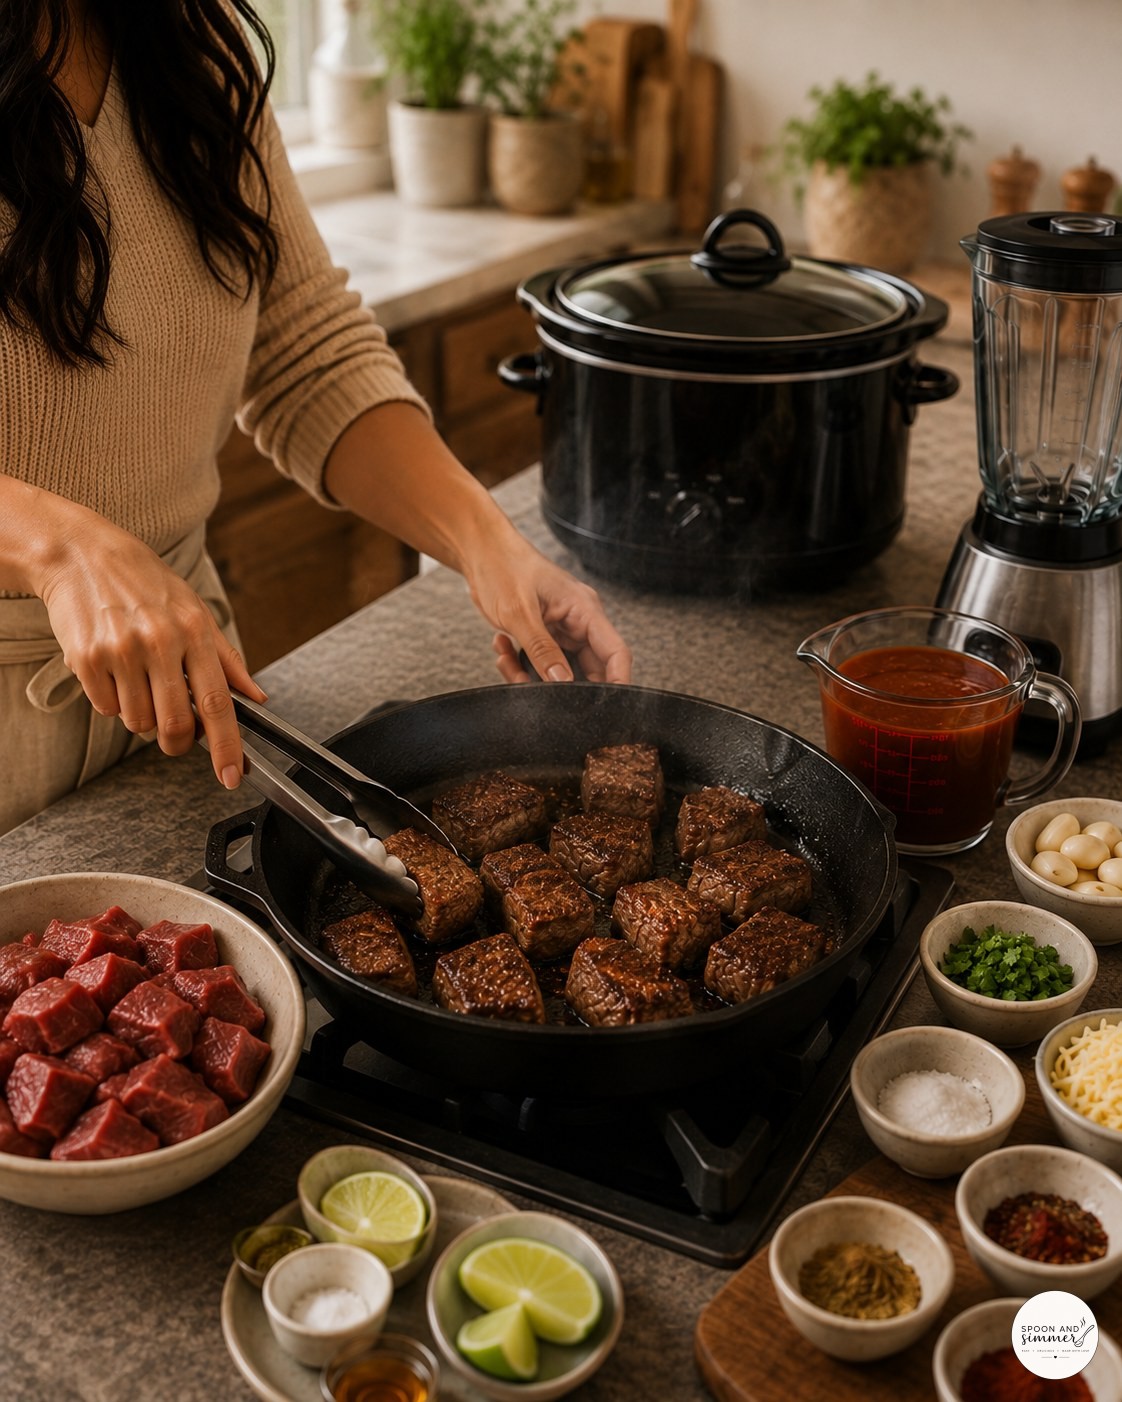
Searing the chuck in batches on my stovetop takes longer than I'd like, but crowding the pan is the single fastest way to steam the meat instead of browning it, a mistake I made more than once back in restaurant kitchens.
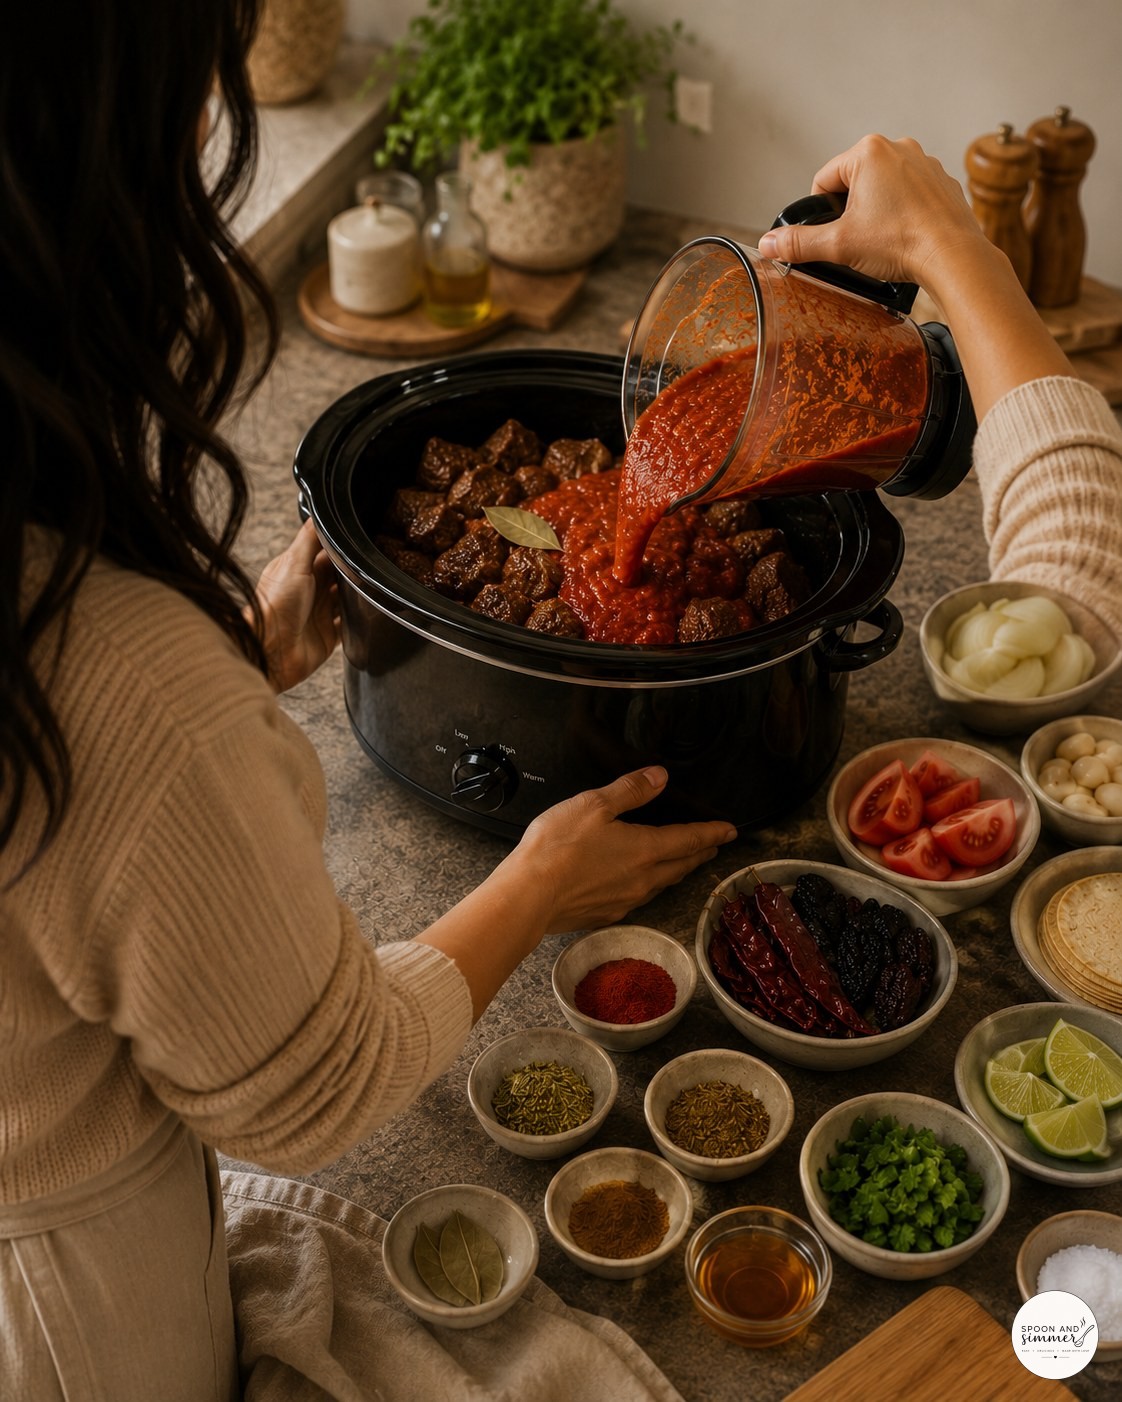
Pouring that sauce over the seared beef is my favorite moment of the whole process — the color always surprises me, even after making this a dozen times.
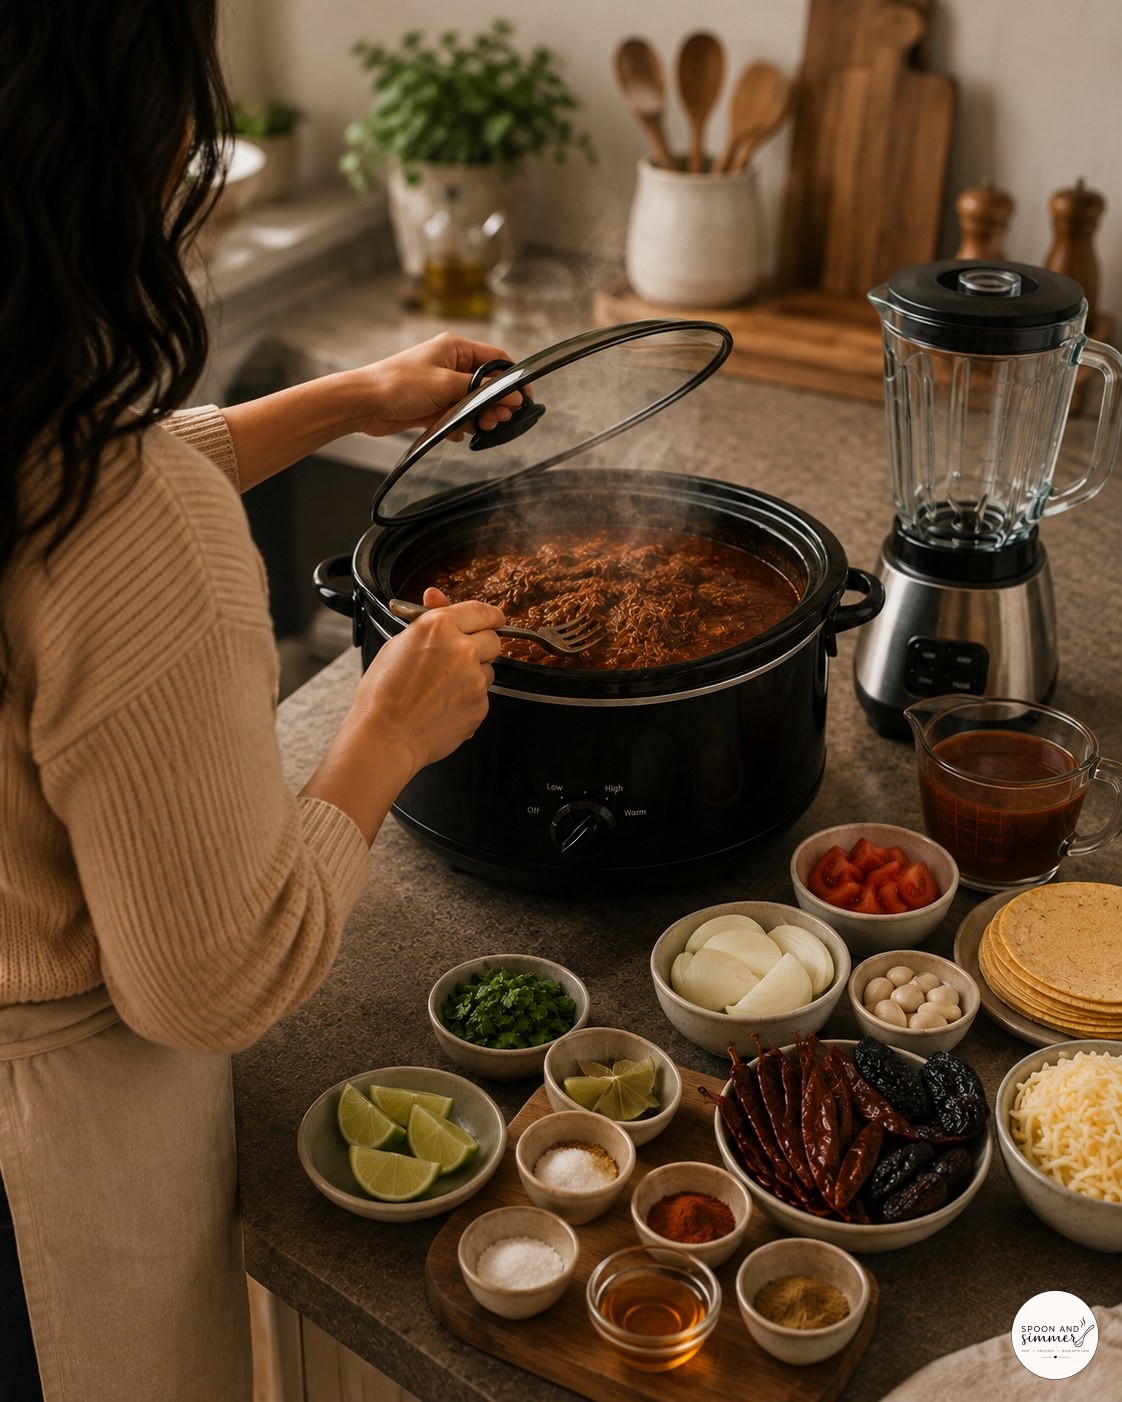
Checking on the pot around hour six, with steam curling out from under the lid, is when the house starts to smell like something worth waiting for.
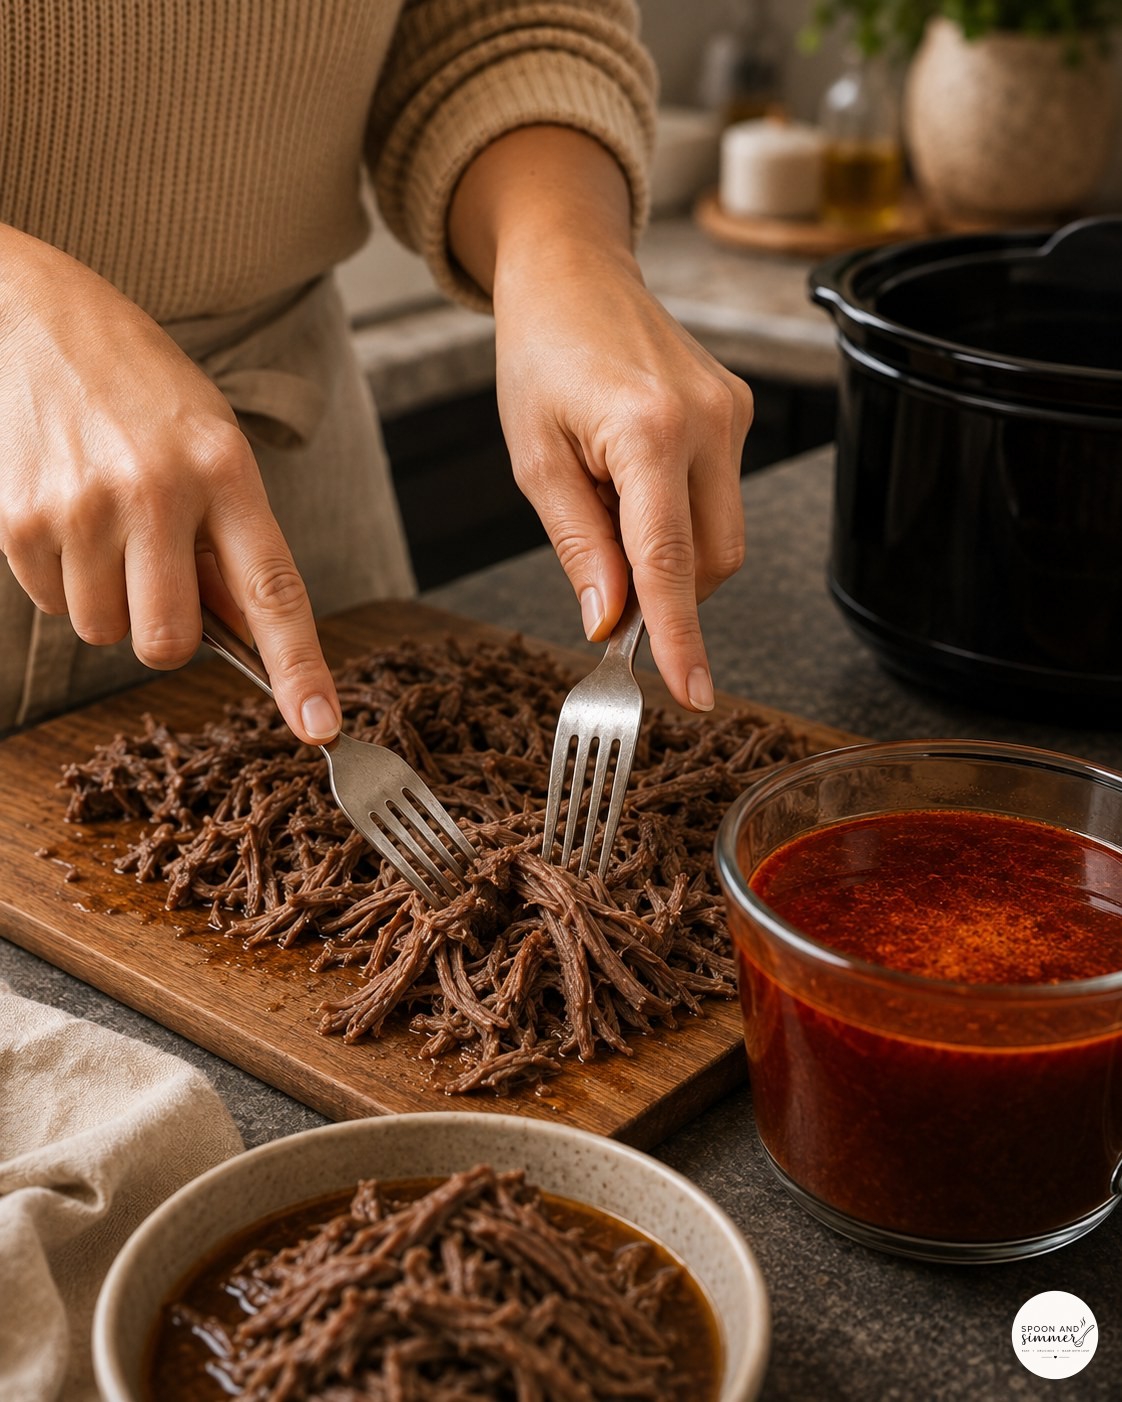
Shredding the beef right on my cutting board instead of in a bowl lets the juices soak into the wood grain a little, which keeps the meat from drying out while I finish the consommé.
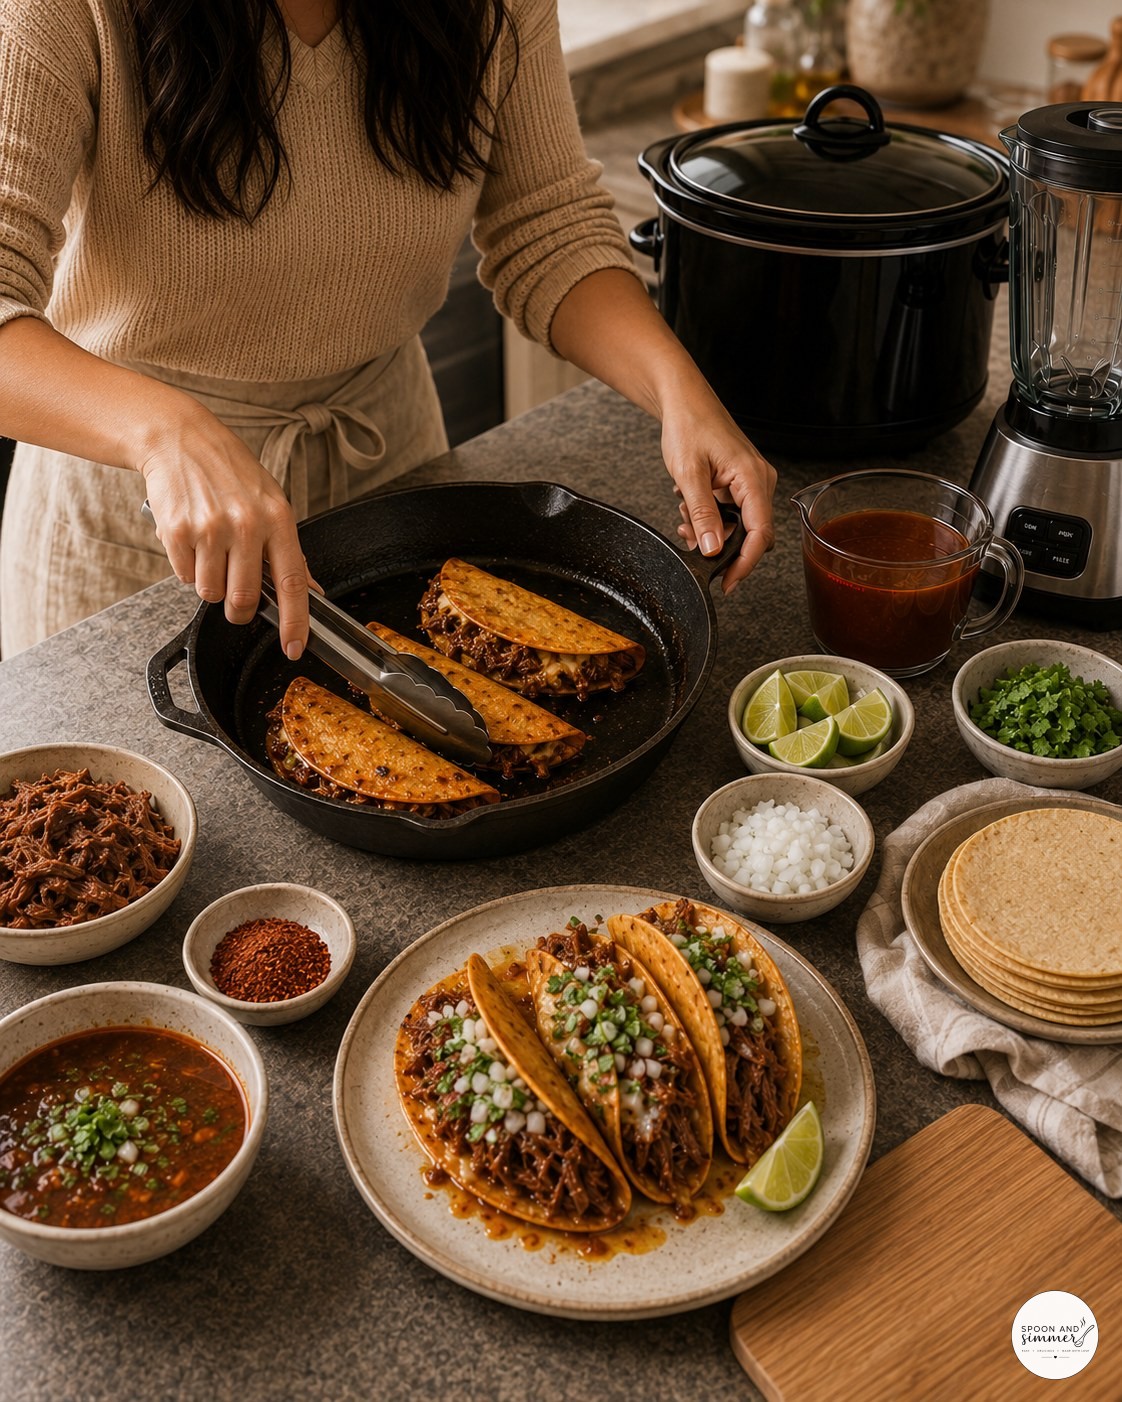
Crisping the folded tacos in the same skillet I seared the beef in feels like using every bit of flavor built up in that pan, and it's a detail I never skip.
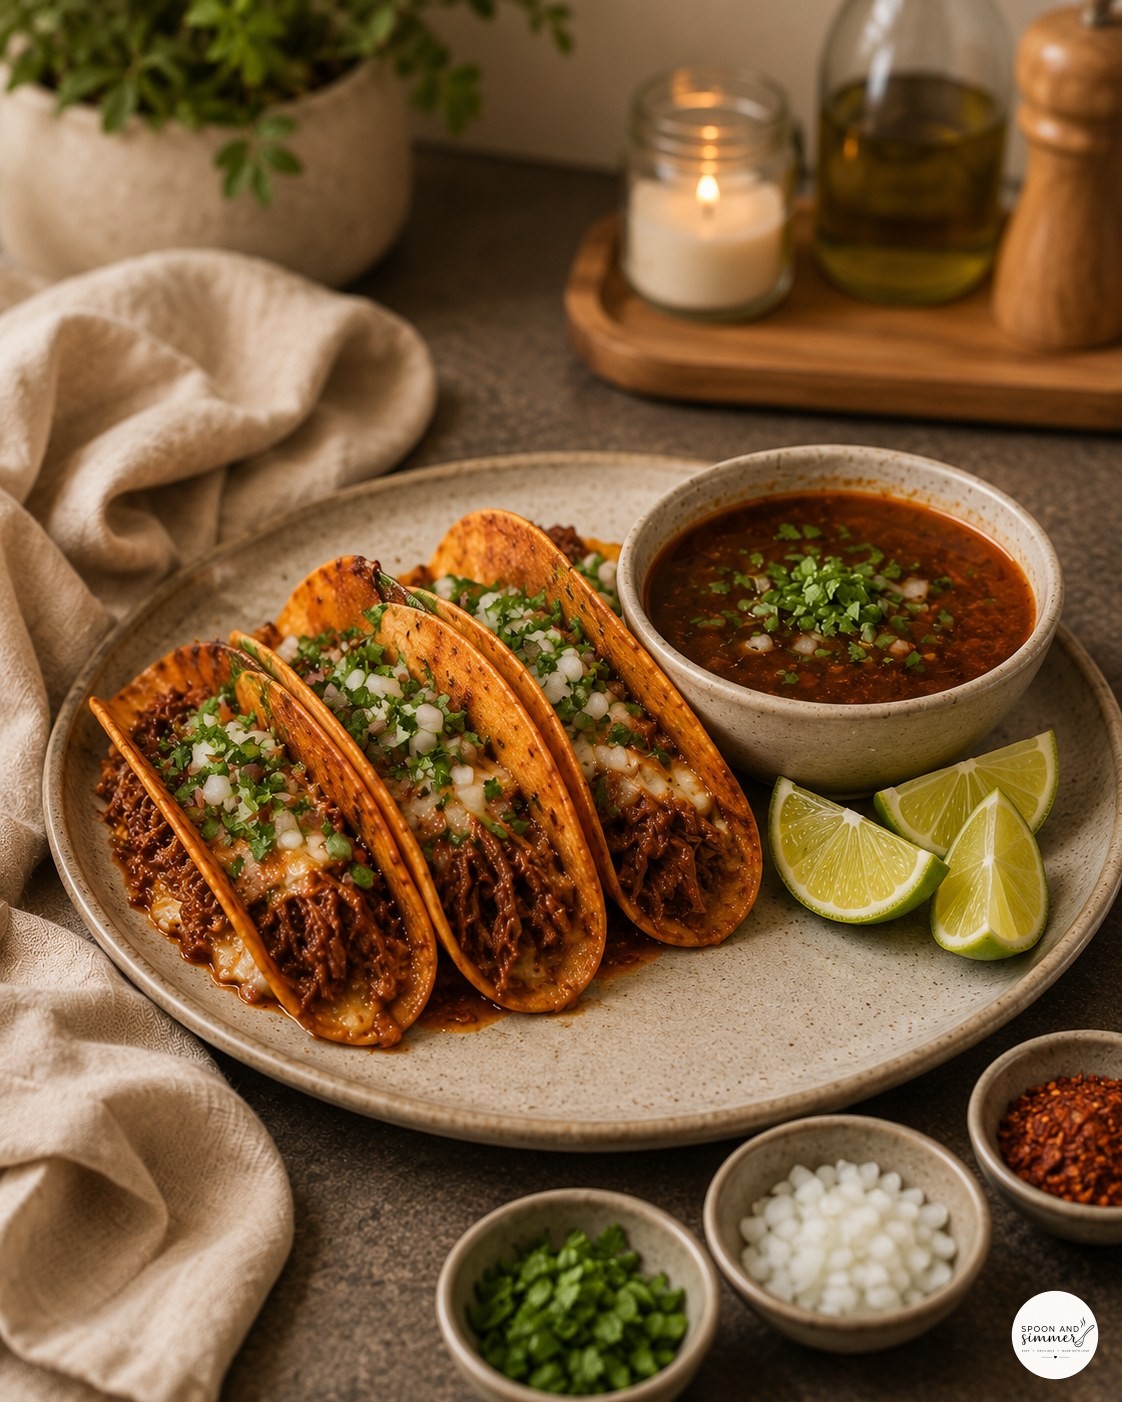
This is what lands on the table for big pot night — a platter everyone reaches for before I've even set out napkins, with the consommé bowl disappearing first.
Final Thoughts
Big pot night at my house has a rotation, and this one earns its spot every time the platter comes back empty before the napkins are even out. Give yourself the better part of a day, let the slow cooker do the heavy lifting, and you'll end up with something worth the wait.

- Beef
- Chiles
- Aromatics
- Liquids & Spices
- For Tacos



Your Questions, Answered
Can I make crock pot birria ahead of time?
Yes, and honestly it tastes better the next day. Cool the shredded beef and consommé separately, refrigerate up to 4 days, and reheat gently on the stove before crisping tacos fresh.
What if my sauce tastes bitter?
That usually means the chiles or garlic scorched during toasting or charring. There's no fixing bitter sauce after it's blended, so taste as you go and pull anything off the heat the moment it smells sharp instead of smoky.
Can I freeze the leftovers?
Freeze the shredded beef and consommé together in a freezer-safe container for up to 3 months. Thaw overnight in the fridge and reheat on the stove before assembling tacos.